Showing posts with label TIG. Show all posts

Wednesday, 1 October 2014

Shift up, slow down

Alrighty then, it has been a while.

I have wanted to move away from suburbia for a long while now, and had droned on to my wife for so long that I got an 'Ah just do whatever you want' response. As everyone knows this is secret woman code for 'I have a happy and enthusiastic acceptance of your charming if somewhat alarming foibles, and shall follow you to the ends of the earth my love'.

So we packed things up and moved 385kms away to Nelson.

So far this appears to be a pretty sound move, in the first week of residency we had so much good weather that I started to question why we had waited so long. The summers in Christchurch can be pretty good, but it is a rare day that has sunshine and does not have the Nor'easterly freezing your tits off. In Nelson we got a solid two weeks of calm sunny days before the more unsettled spring weather set in. I have high hopes for summer...
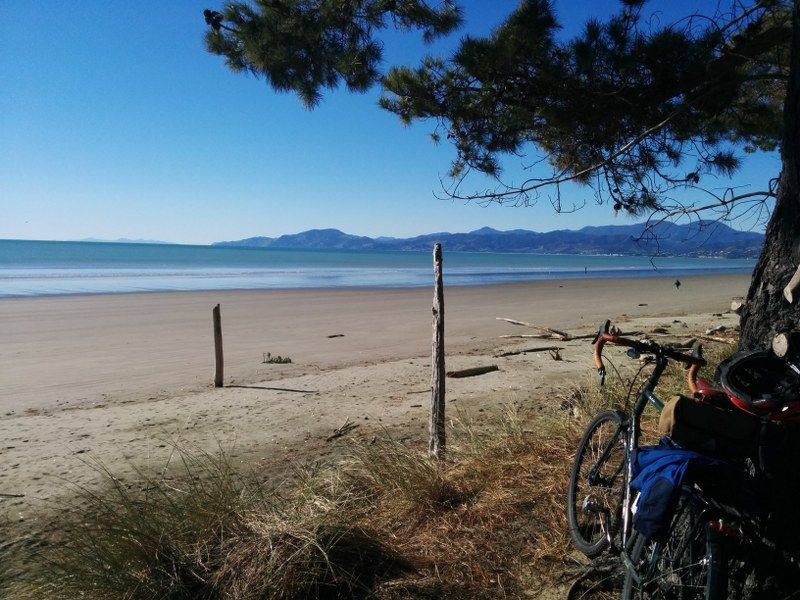
Not a bad place to stop midway through your ride...
One of the joys of Nelson are the cycle trails. From my doorstep I can do a 40km bike ride that has about 5% riding on roads. If I do choose the roads, there are awesome gravel basher loops on back roads that suit the Disc Trucker perfectly, then there is the Mountainbike trail network. I did a ride called the Coppermine on the Fatbike a few weeks ago, and it was just spectacular. If you ride nowhere else in Nelson, you should do this.

One other thing I have now is shed space....... a lot of shed space. 240 square meters of shed space, to be exact.

Ample Pogward shed space, yesterday.
This picture shows all of the things that I had in my garage at home, with the addition of a drum kit and a piano, and it comfortably fills up just one portion of my sheds, about 1/3rd of the total.

Yay for me.

So as I have the space and we have mostly settled in to our new life, I have resumed the bike building;
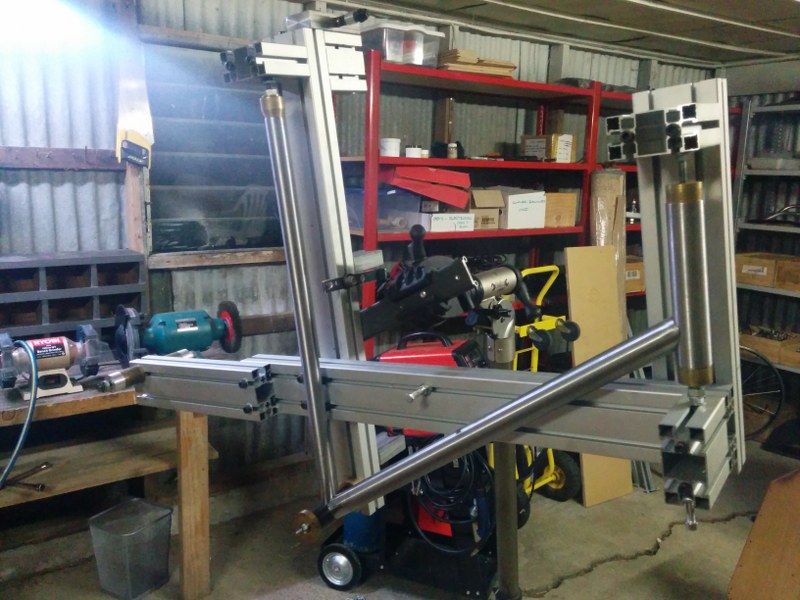
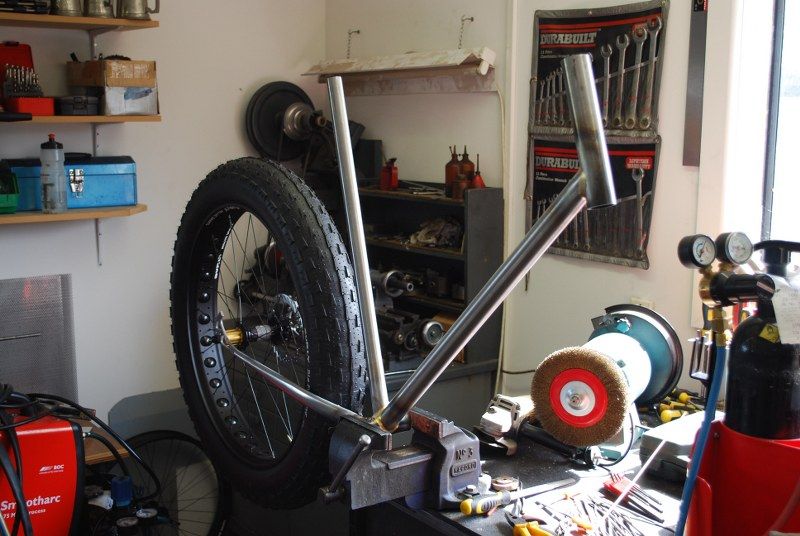
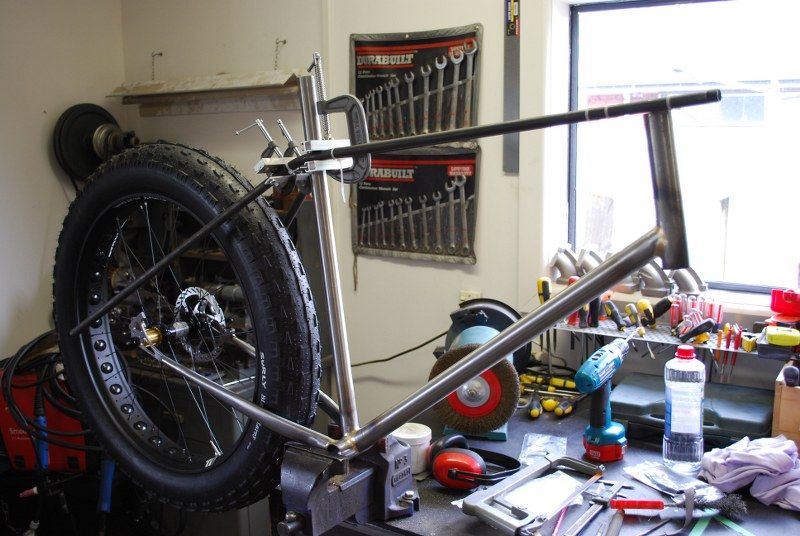
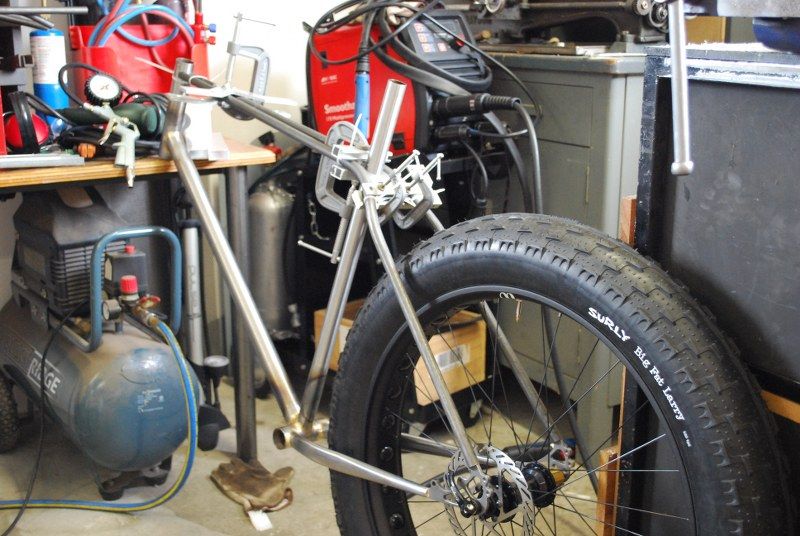
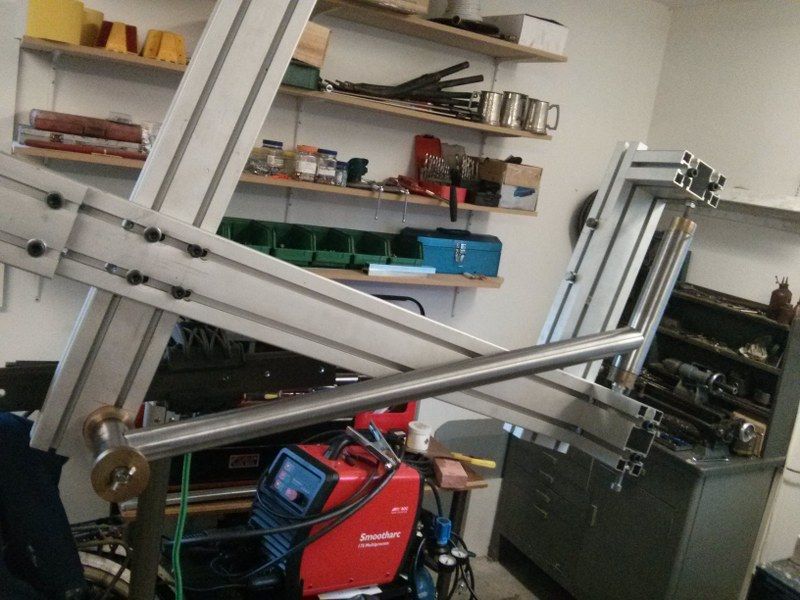
The beginnings of a fatbike for my lovely wife, small recompense for what she puts up with I am sure.
This frame I intend to TIG weld entirely, so I am borrowing a much nicer welder than mine off a lovely chap called Alex. This welder has HF start, pulse and a foot control. This is so I do not blow big holes in those expensive tubes...

One of the things I did before leaving Christchurch was to get rid of a lot of old bike parts. As part of this exercise I built up a bike to sell as I figured I might get more money that way, unfortunately the bike I built was so cool that I could not part with it. Bear in mind, I built this entirely from parts I had lying around, I did not even have to leave the garage...
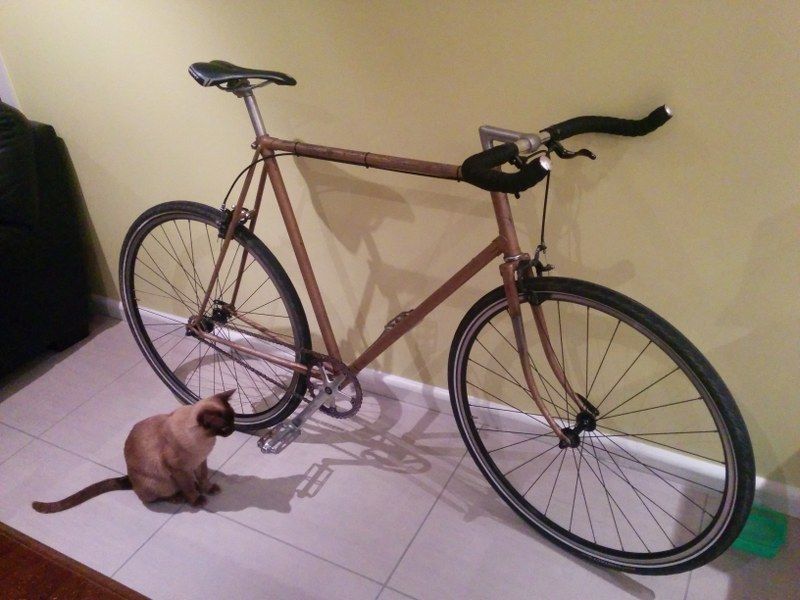
An entirely convincing parts bike build and indifferent Burmese, sometime in July.
This bike now resides at work, where it gets a daily workout.

So there it is, and rest assured you can look forward to more exciting blow by blow accounts of the trials and tribulations of Pogward Framebuilding Enterprises, there will be more to come shortly....

Wednesday, 16 April 2014

Fork it

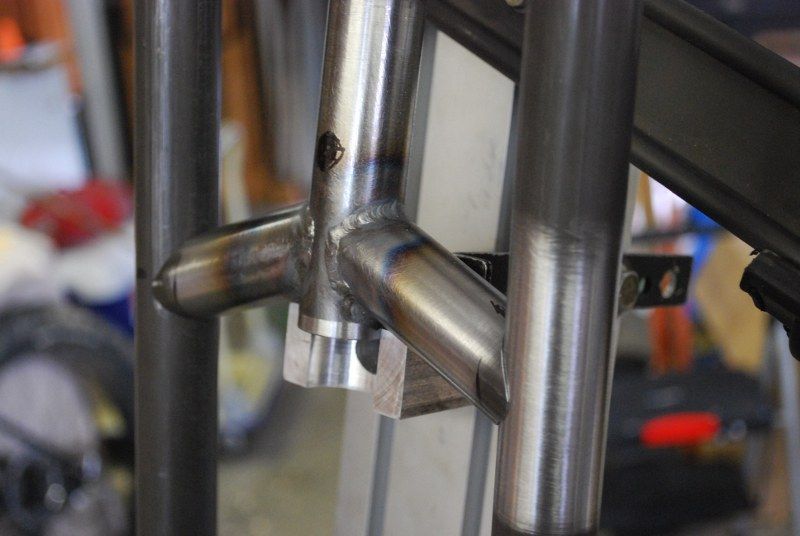
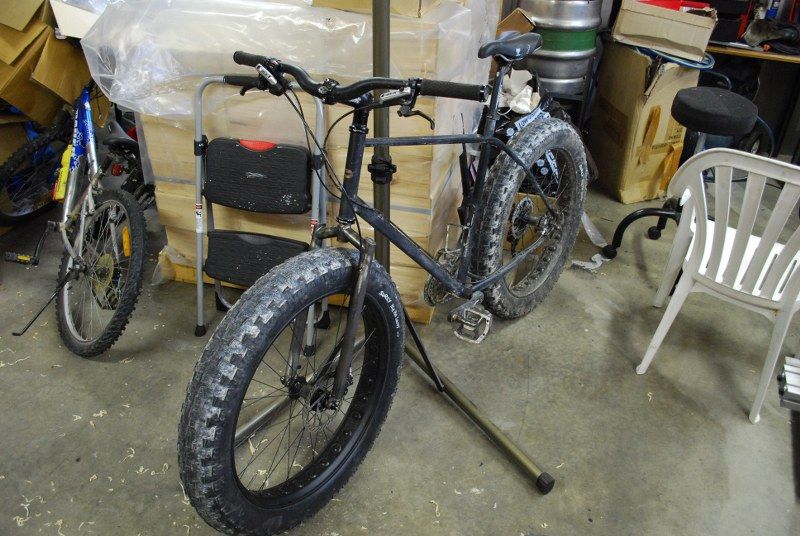
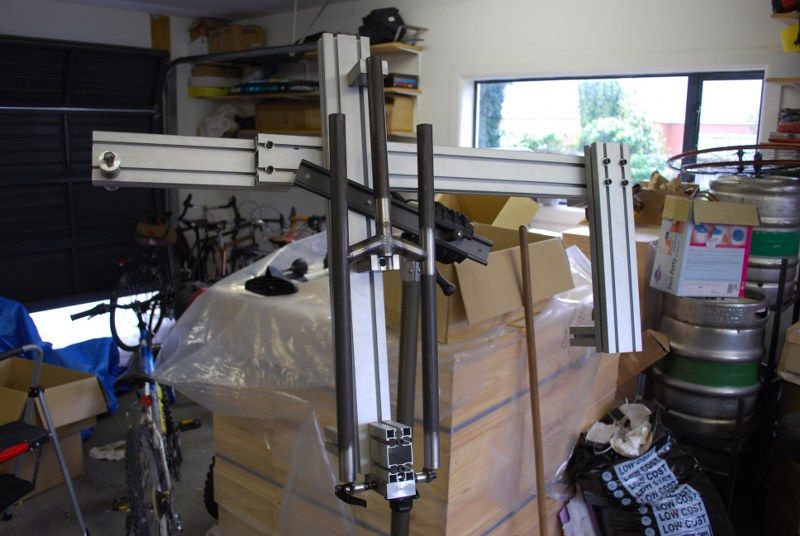
I may have mentioned that I was not 100% happy with the forks on the Fatness, the biggest issue being the steerer tube flexing quite disconcertingly under load. This was because I used straight gauge 4130 where I should have used a proper butted tube. Various tiresome things have got in the way of doing anything about it, but now things have progressed.

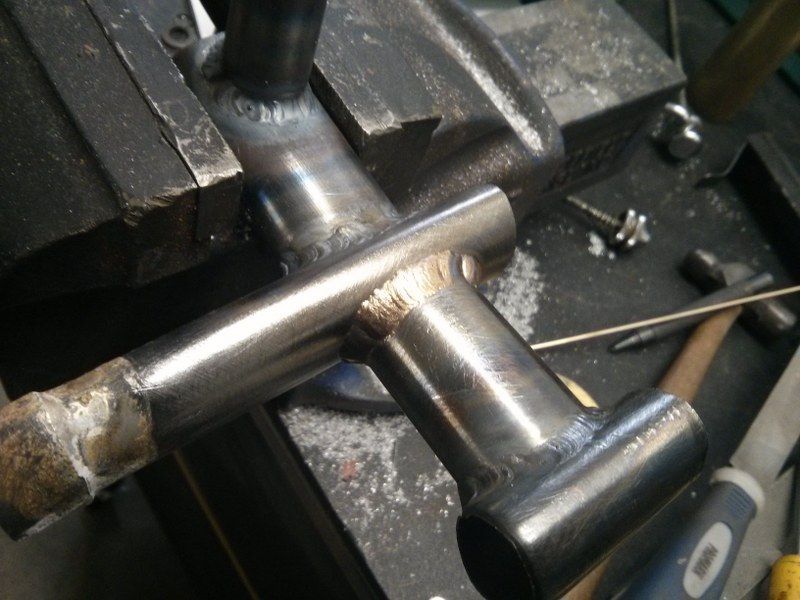
One of the issues preventing progress is that I was really quite unhappy with where my TIG welding skills were at. I started the new forks a few weeks ago, but the welding of the crown parts to the steerer was frankly terrible, with lots of bubbles and voids and large chunks of tungsten thrown into the mix. I could TIG weld once upon a time, so why couldn't I do it now? This stalled things because I want 100% confidence in something as stressed as a fork and I fell into framebuilders funk.

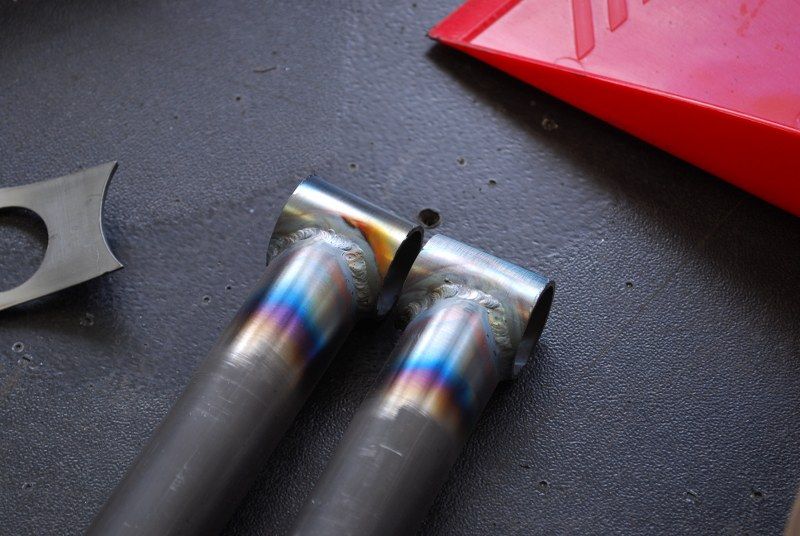
As it happened I had ordered enough parts for two sets of forks, so a few days ago I decided to start in fresh on the second set. I did a few trial welds with the same issues, then decided to swap the tungsten from the recommended thoriated type to a ceriated one that came with the machine. What a difference! It was like coming home and settling in front of the fire with a hot toddy. And so I cracked on with super renewed enthusiasm. The skill is still not at the level it was when I did it for a job, but it is way, way nicer than it was.

Mitering in the fork tubes
Some slightly better then previous welds, yesterday. The next ones were much better than this.
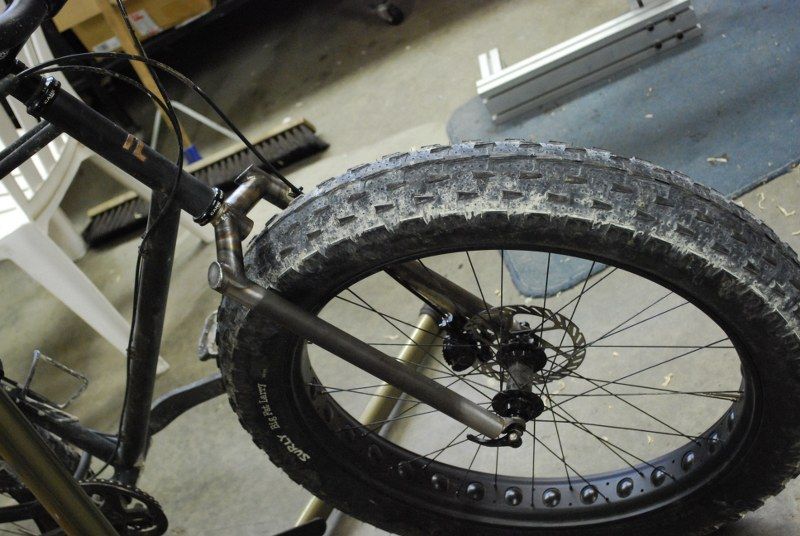
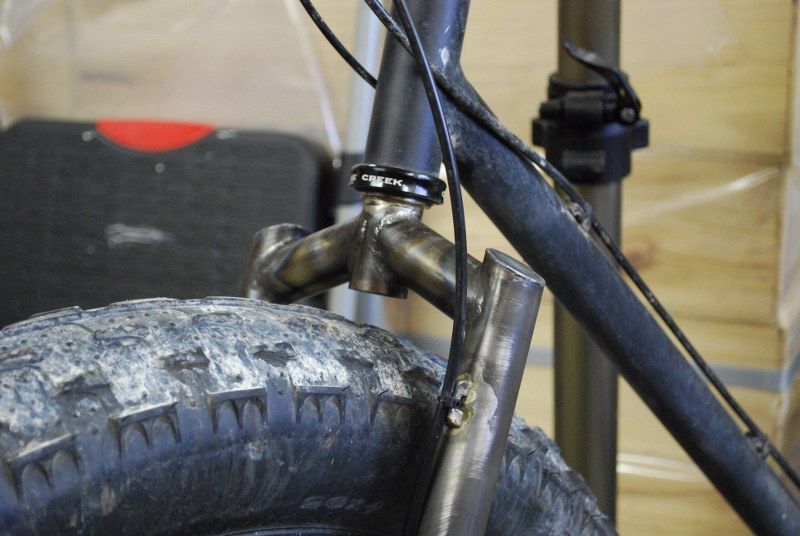
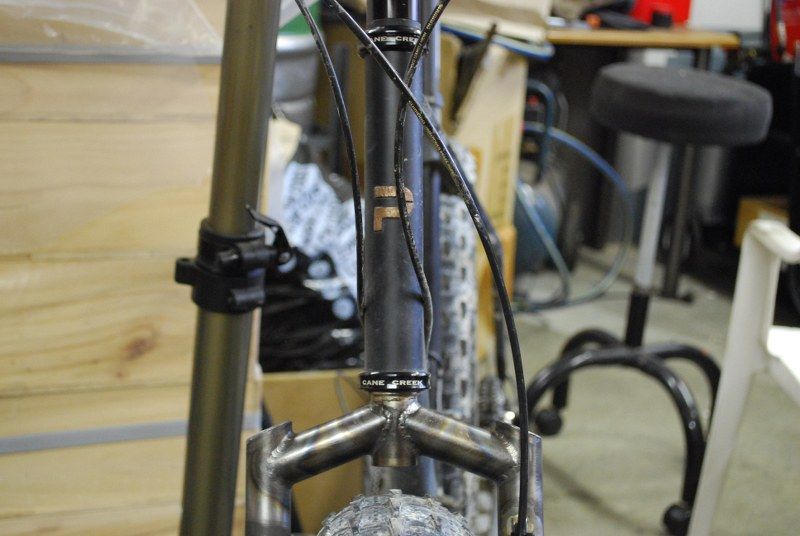
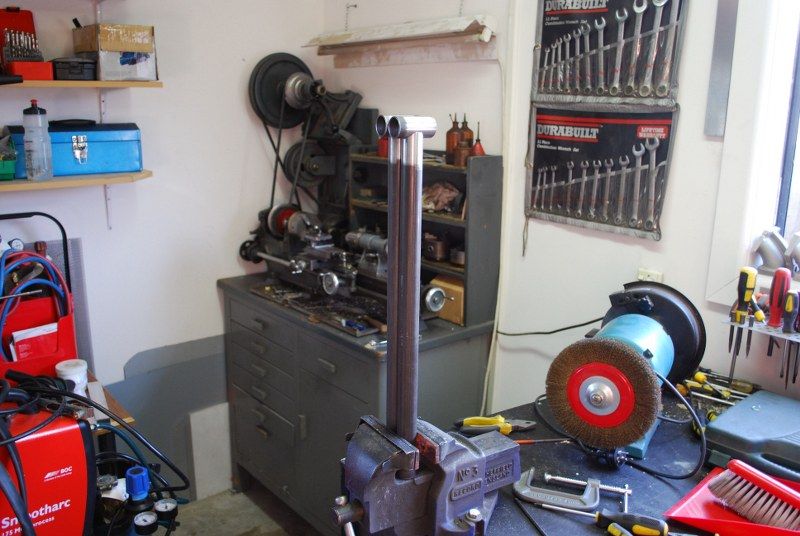
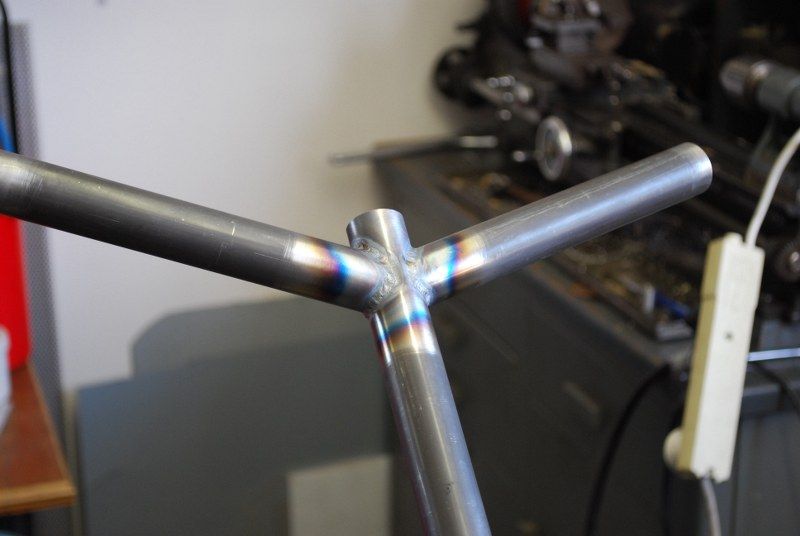
All fitted up. I changed the design detailing a bit, the fork tubes are closer to each other for a start, this was defined by the Ceeway sourced plug in dropouts I used.
The fork is also taller to give a bit more vertical clearance. This slightly slackens the headtube angle, and I took a 10mm spacer out of the stem stack to drop it back to the previous height.
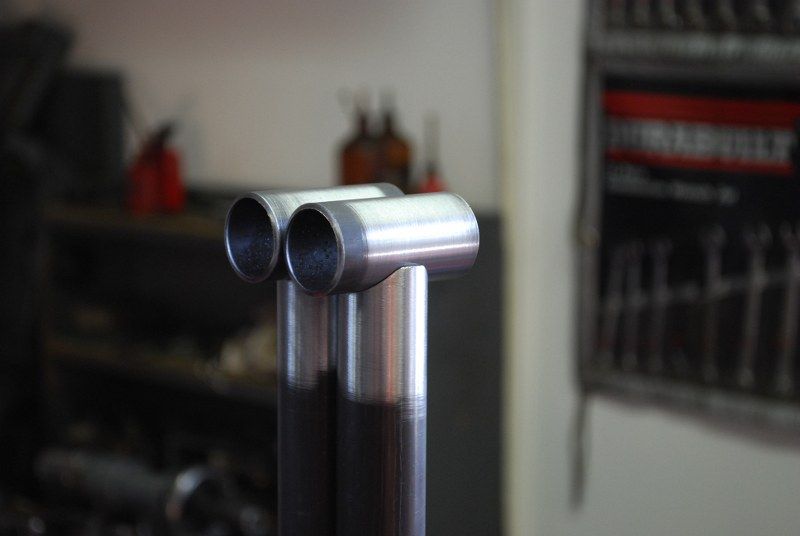
And I angled the fork tube caps and used flat sheetmetal instead of coins
Well, it is a fork attached to a fatbike. Time to see if it will work....
Yes, I have been riding some wet trails in the recent past. All trails in Christchurch are wet and will be for the foreseeable future.
So the plan is to ride it as it is for a week or two to see if there are any niggles, then strip it down for coating. The thin coat of primer is not really cutting it in the current conditions. I have been riding it a lot though.... including a trip with some fat friends to Hanmer.
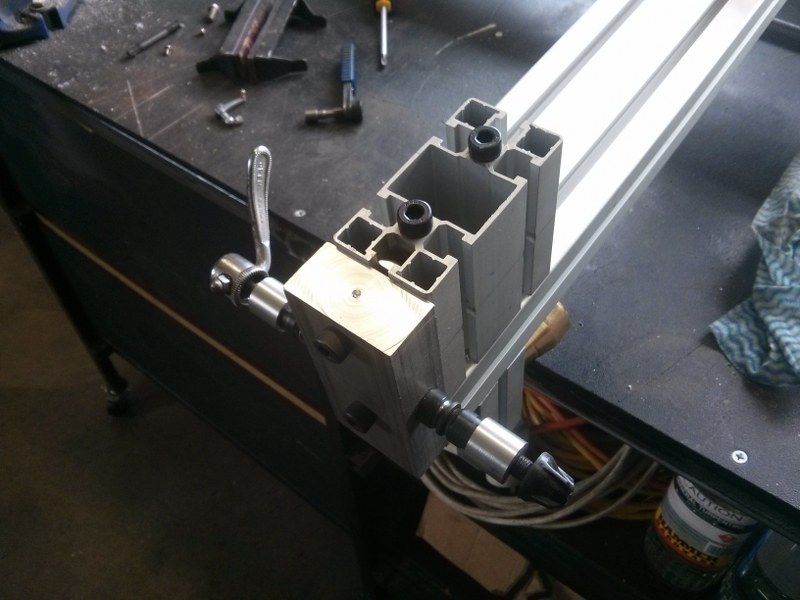
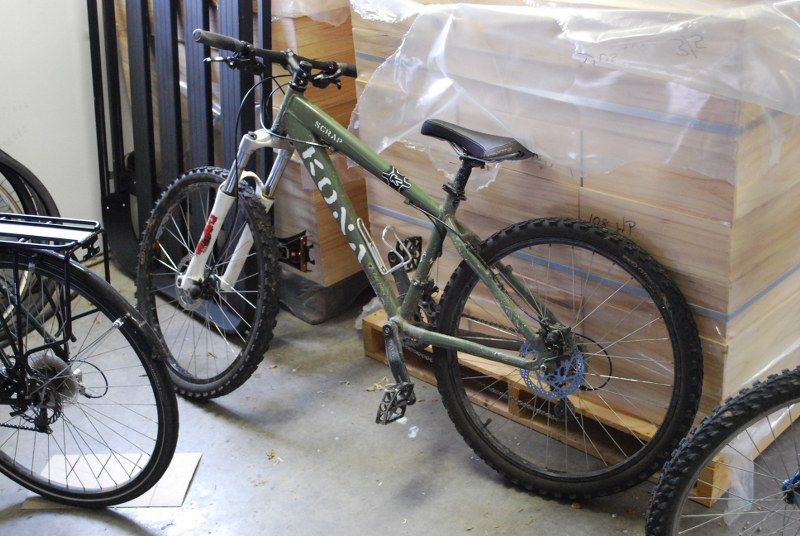
In other bike related news I built this up for my eldest daughter - I got sick of buying crappy kids bikes and I figured this would last her for a good long while. I got it as a stripped frame and forks with wheels and brake calipers. By the time I bought a headset/BB/chain/cassette/hanger/derrailleurs/discs/levers/shifters/tyres it became probably the least economic option possible. But it looks sweet and will last forever. She loves it.


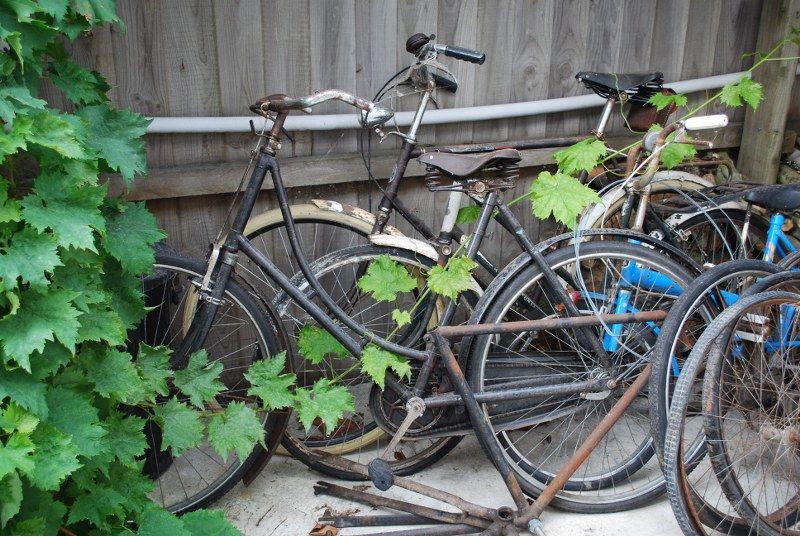
I also spotted these forlorn looking beasties in the woodshed, I will need to bring them inside for the winter I imagine.


In other, other bike related news I have a new set of tubes awaiting me in the garage. These are to make into my wife's fattie, which I may well TIG now, and looking further out I have plans for an updated commuter with disc brakes and much other secret goodness.

Saturday, 16 November 2013

Frame Rate

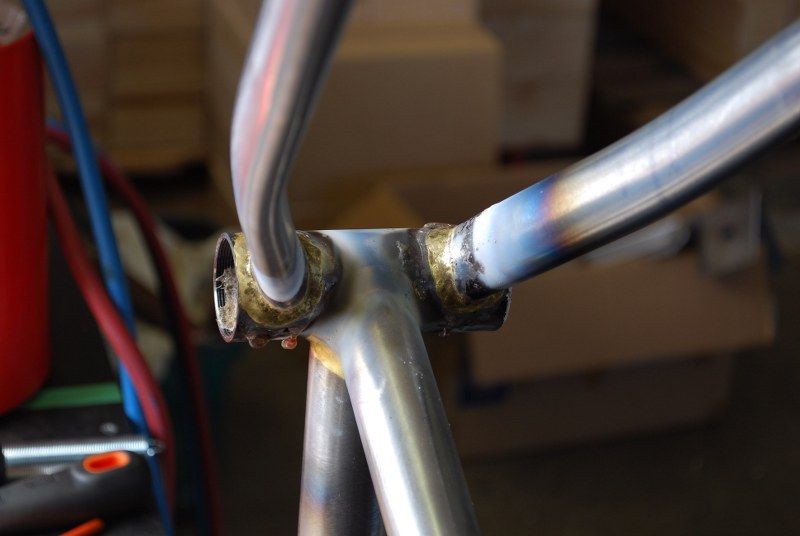
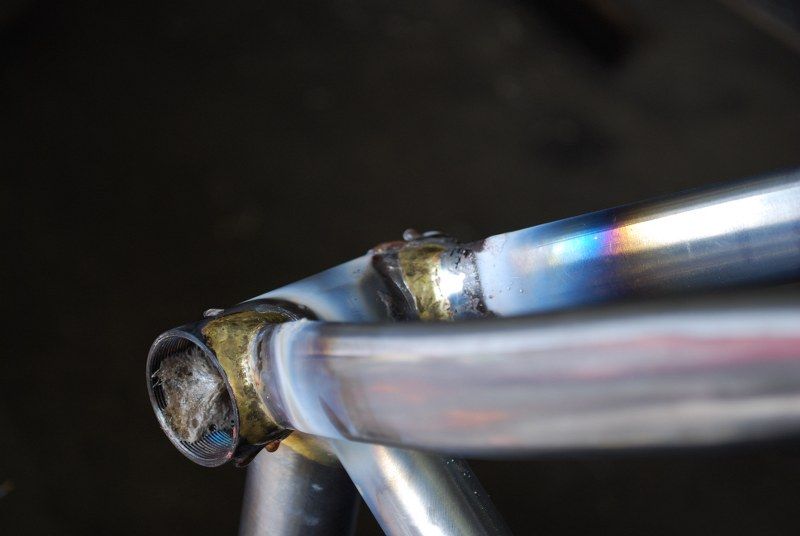
I must say that fillet brazed frames go together a lot faster than lugged frames. I have spent a good few nights and weekends working away at this, and apart from the twin top tubes which have proven to be a bit of a pig, this have moved well. I have also decided that I should care more about photography so have been using my fairly nice Nikon rather than my cellphone. This means I have taken far too many photos, many of which are in focus;

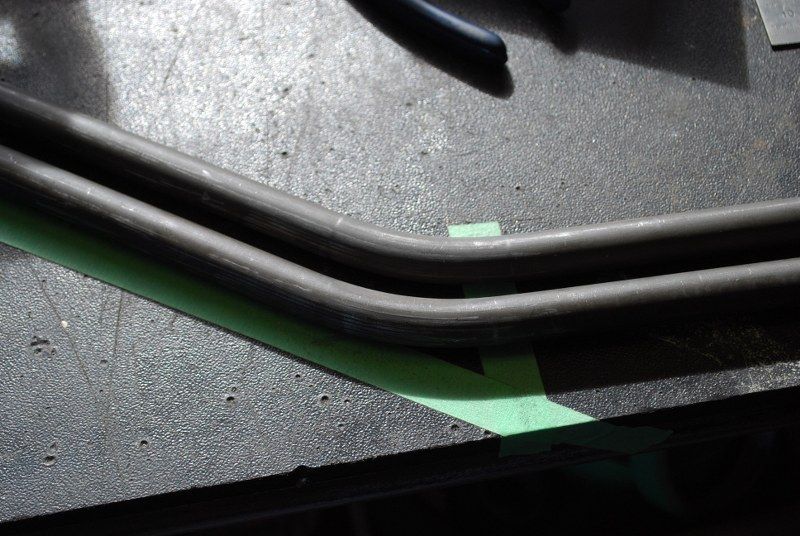
Two lovely tubes, I have finally nailed the bending process probably

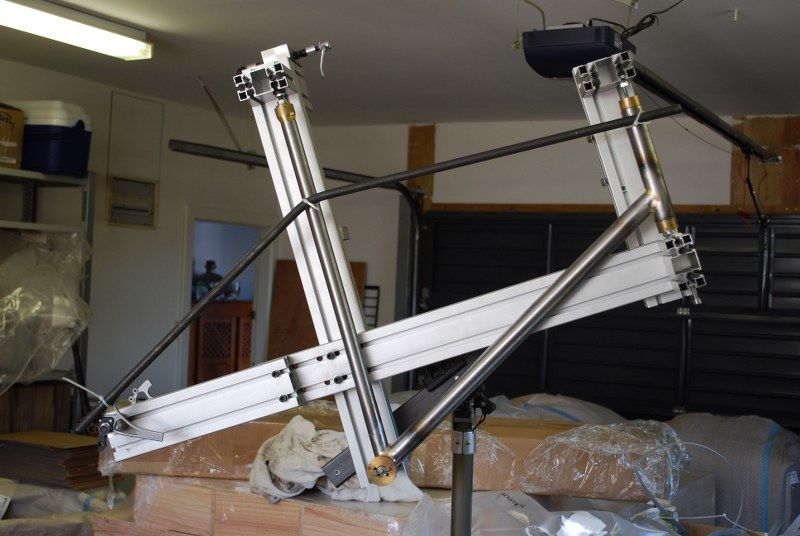
The start of many, many fitups of those bloody top tubes
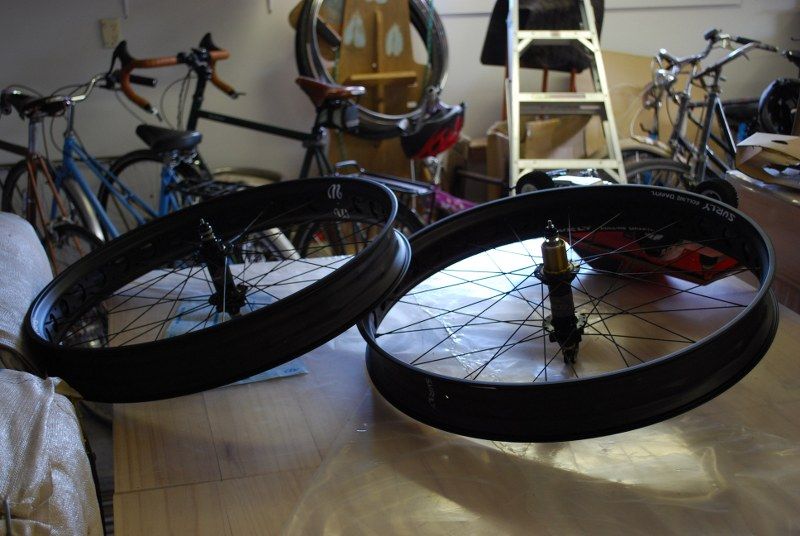
The wheels arrived - yay!
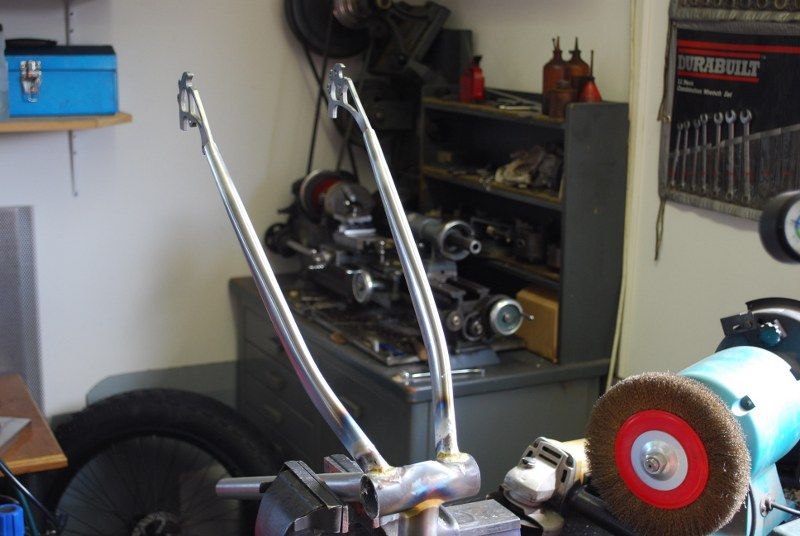
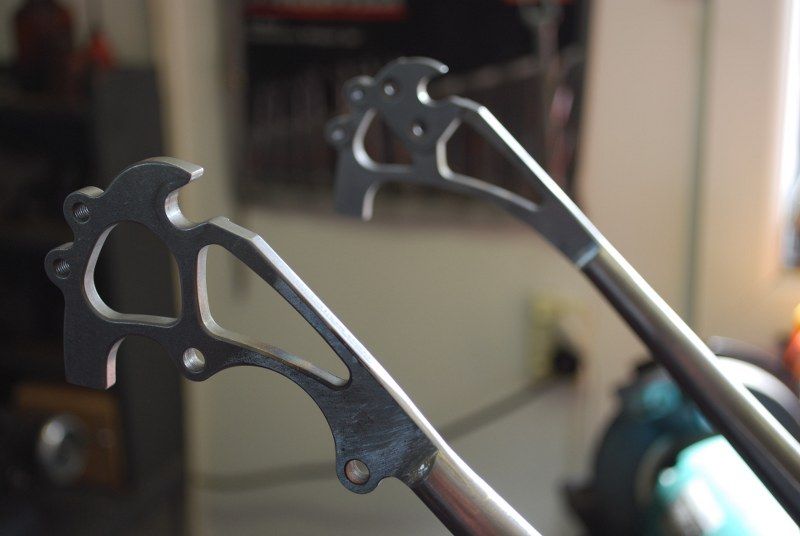
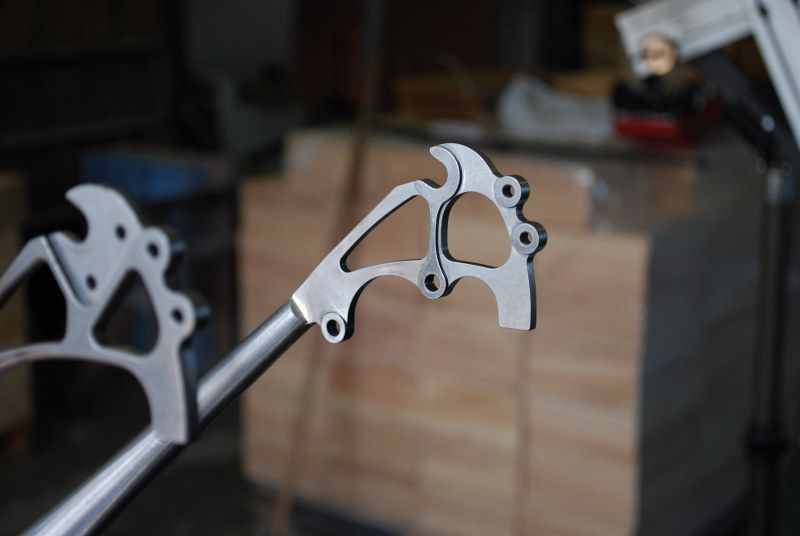
I started the forks using Paragon dropouts, unfortunately my TIG skills are not yet that great and they ended up too untidy to use, hence;
The start of my fully custom front dropouts.
Fork legs
Brazing the chainstays
More chainstays
The outside fillet on both of these had a bit of porosity, I had to grind it all out and redo that bit, I am not sure exactly why this is so as I made sure things were clean. Maybe not clean enough...
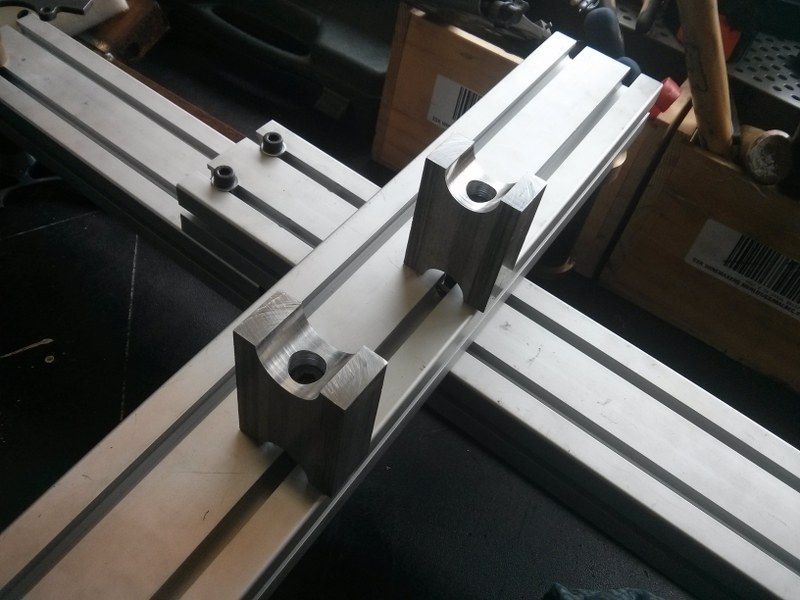
Rear dropouts from Paragon, I silver soldered these in.
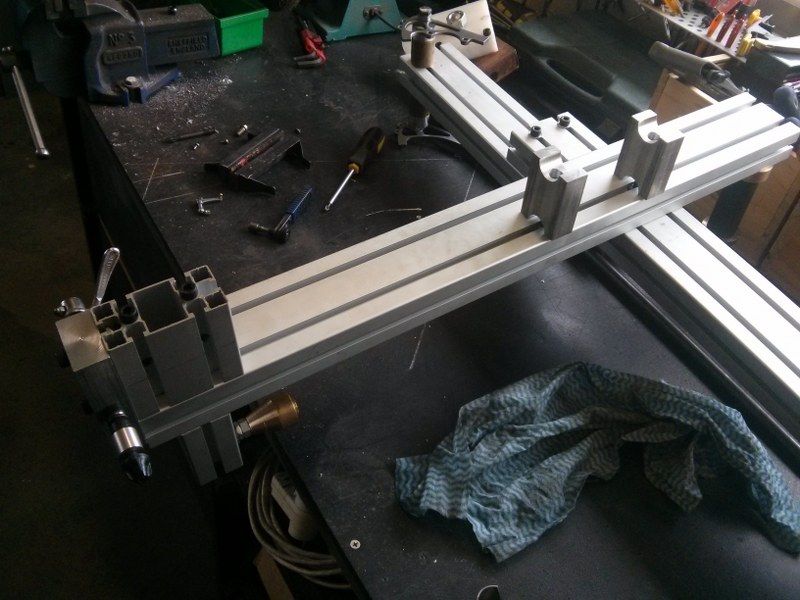
Check out the mad photography skillz - depth of field yo
Fitting up the rear wheel to see if it fits at all
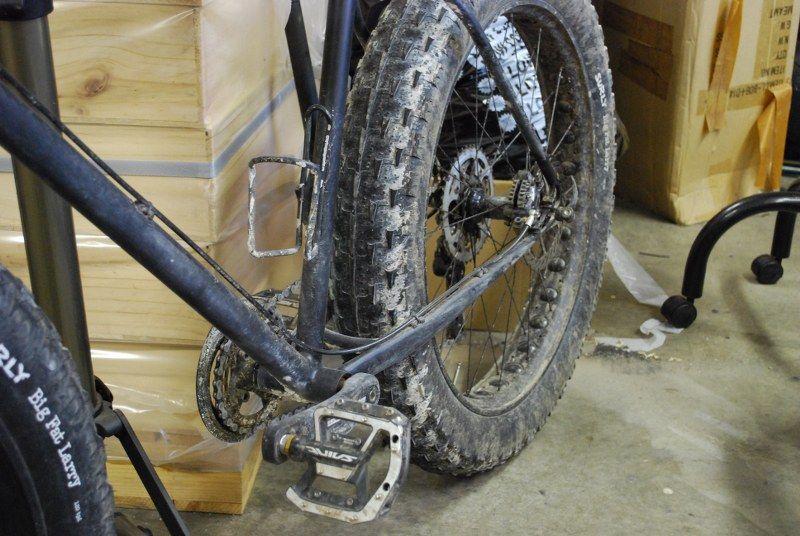
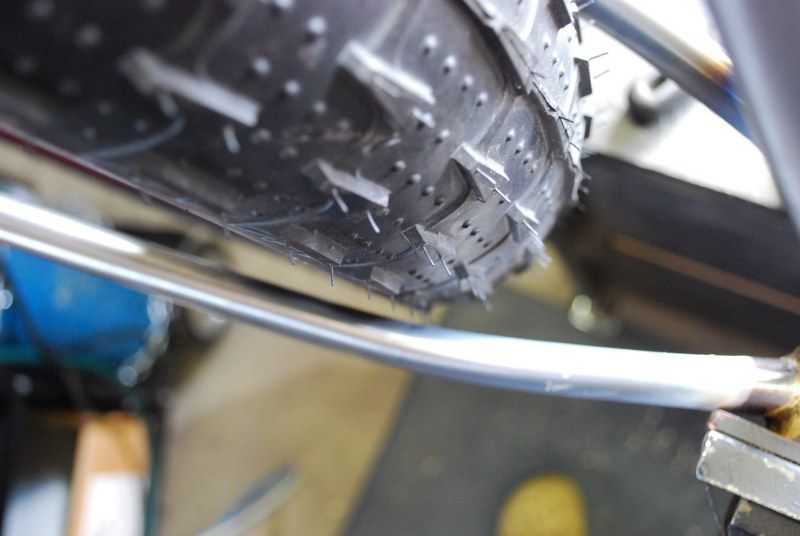
Hard to get lots of clearance with Big Fat Larry 4.7" tyres!
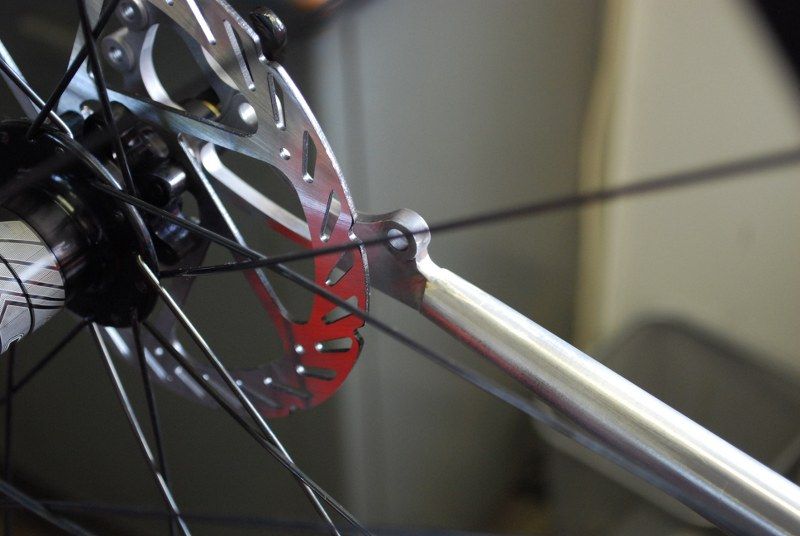
I checked the brakes all lined up as well
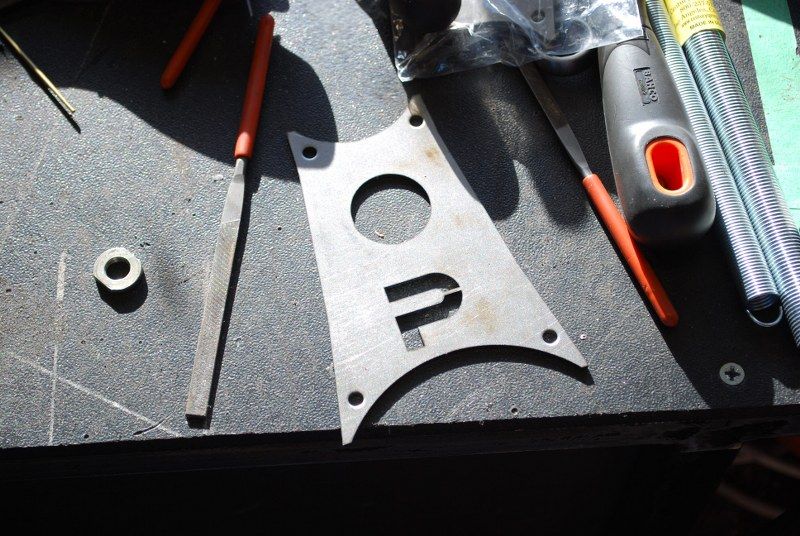
I got this laser profiled for the seat plate
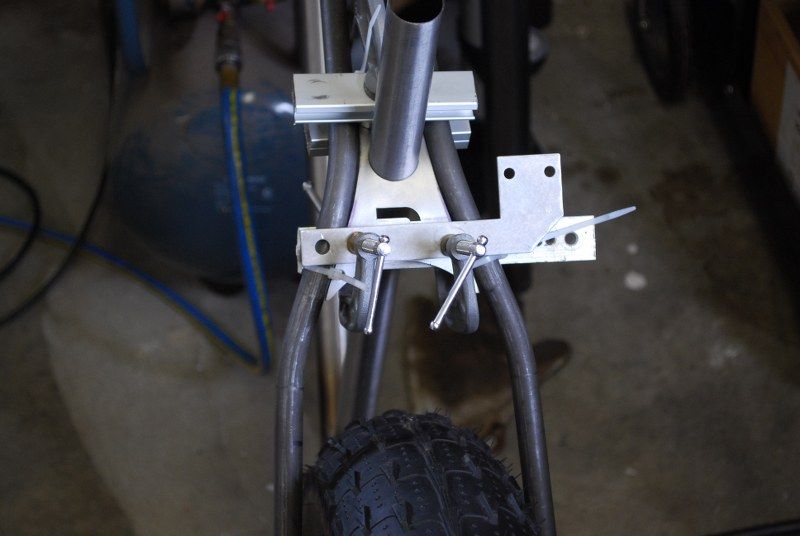
I bent it up and jigged it in place, it was immediately apparent that the tubes were sitting too wide, so I rejigged it all with a fair bit of width taken out.
Endless fitting up and checking before I made the first cut of those hard won tubes
But then I bit the bullet and mitered in the front
Now just the back bends to do
Back bends achieved.......but
I am just not happy with how the lower bends ended up, I wanted them to tuck right around the tyre, but through a slight (yes again - I know) miscalculation they ended up there. I am sure they would be alright, but I suspect I will be allowing Leanne to retire just that bit sooner on Monday.
So I cracked on with the forks...
TIGged the dropout tubes - not yet perfectly tidy but I am getting better every day.
TIGged the crown tubes.
I made sure there was a good overlap of all the fork joints as burning away the edge of the tube end was my downfall when welding the Paragon dropouts.

Tuesday, 22 October 2013

MIG, TIG, Jig

Update time!

Much has been happening, with the focus being on jigs and fixtures rather than actual framebuilding, but a wee bit of mitering snuck in regardless.

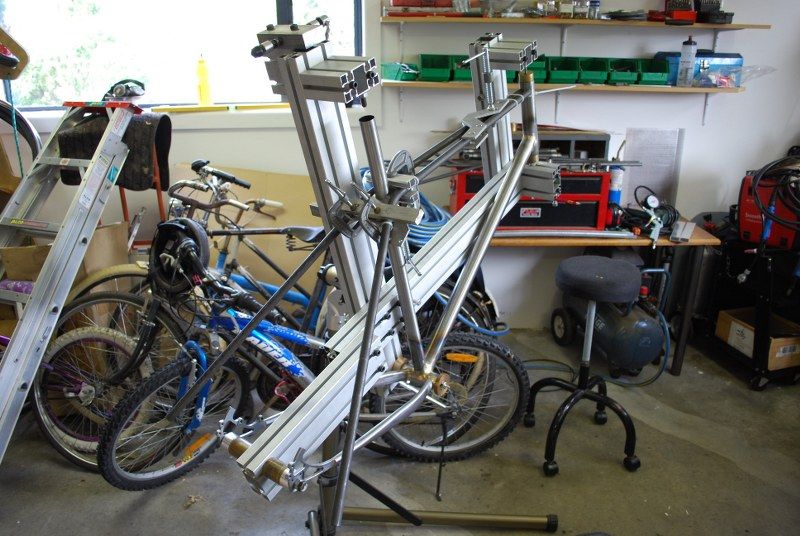
First up; the last frame jig mod...

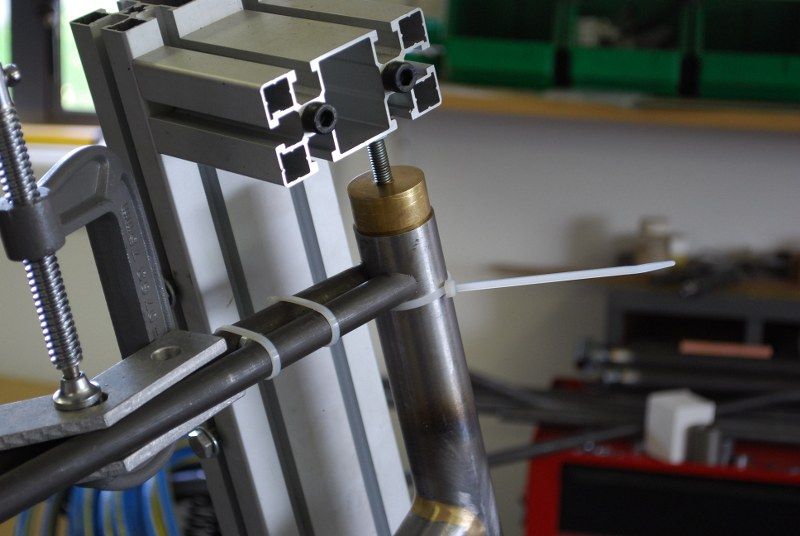
Rear spacers to bring the dropouts to 170mm, awkward little blighters with an M10x1.0 thread on the inside to match the axle, and an M10x1.5 to take a standard bolt on the outside. This is because I do not have a 170mm skewer.

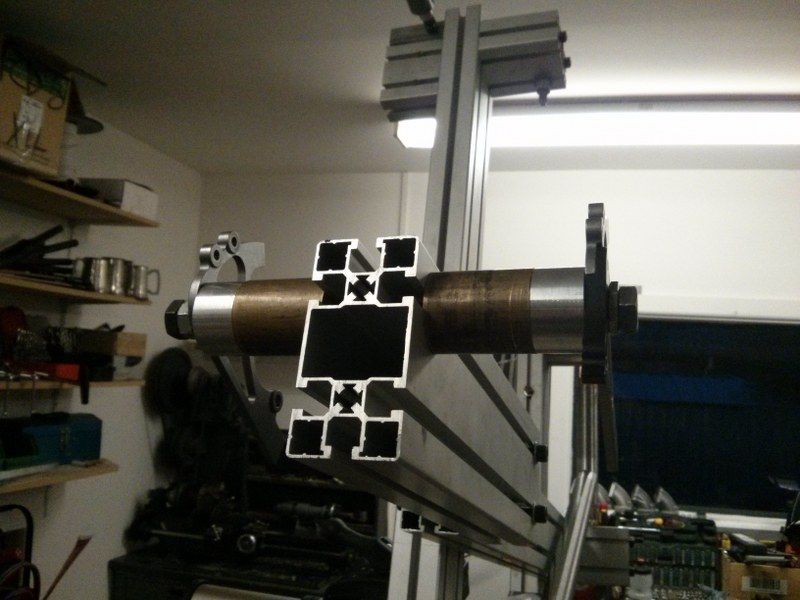
Next I decided to tweak the fork jig to suit what I wanted as this was going to be cheaper than buying new bits of Minitec to form the backbone of a separate jig;

Front dropout spacers as per the rear dropout methodology, but these have an M9x1.0mm thread - try finding that tap in Placemakers on a Saturday morning.... These I tapped all the way through and screwed and loctited in a short cut off section of hollow axle at either end, because I could then use a rear skewer to clamp it all up.
Sorted, give or take a bit of setup time....
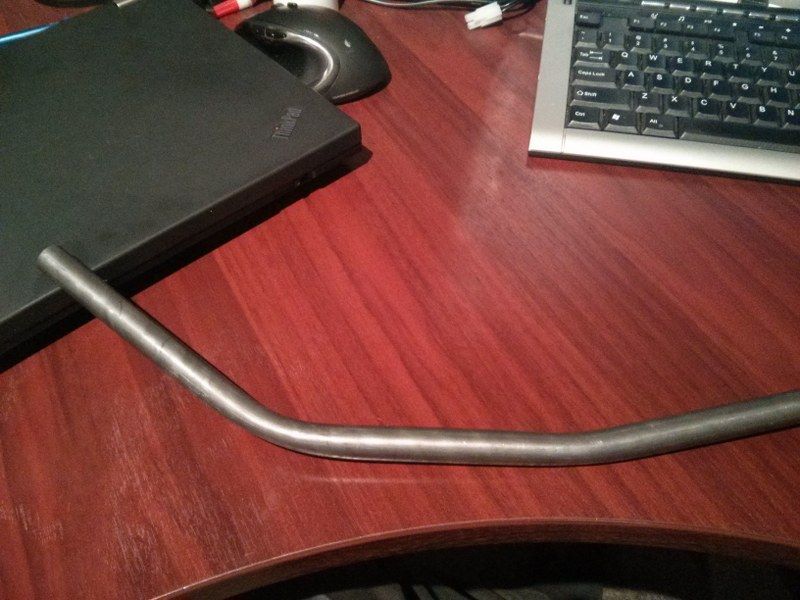
I then turned my attention to bending tubes.... now, I had a day off last Friday, and I spent a fair bit of time avoiding child minding duties by crashing about the place trying to find a good but cheap tube bender. The problem I have is that I have precisely four bends to create, so spending $640 on a tube bender simply wasn't making mathematical sense. I couldn't find anything decent for less than that sort of money so I thought I may as well have a hack and something quick and dirty to do the job. I only need 35 degrees of bend so this cut down the required effort somewhat..

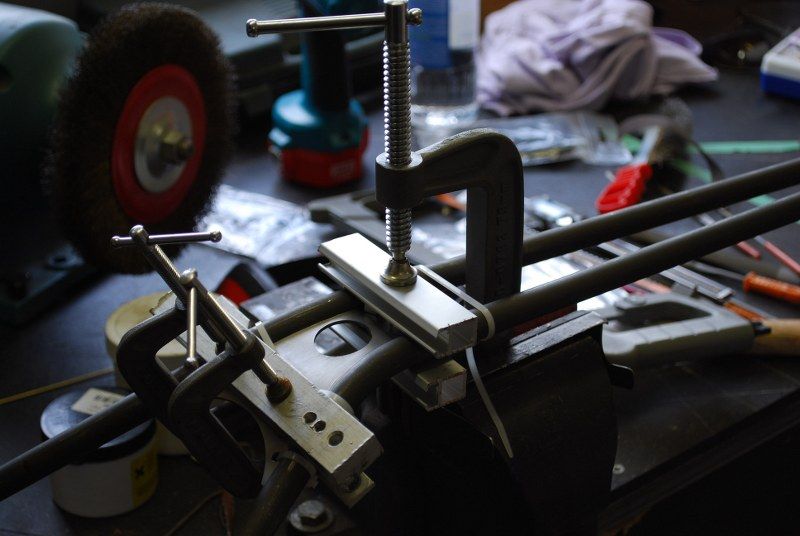
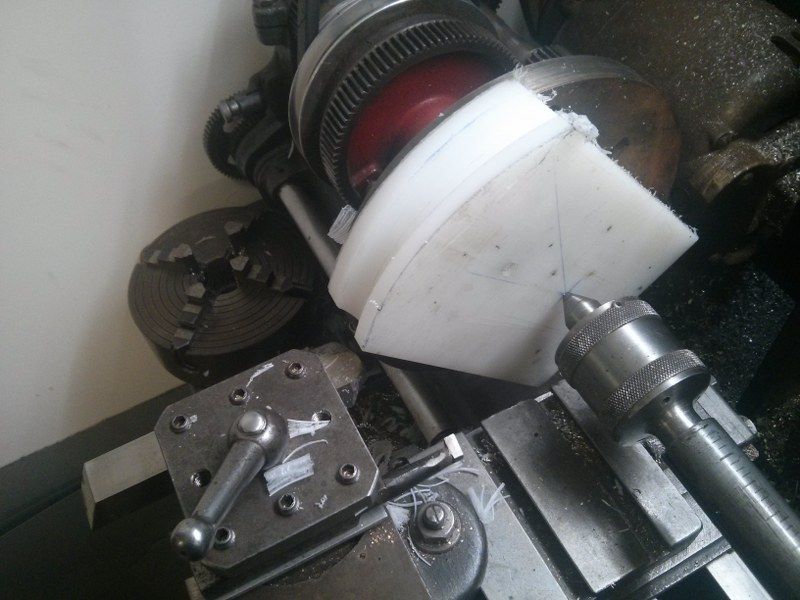
Turning the main former - I found a dirty great chunk of tool steel in the drawers of the Grayson and formed the entire 8mm radius in that with an angle grinder (With many years of experience the use of an angle grinder can be elevated into the realms of art). I used the same tool to cut the form into a block of aluminium for the roller.

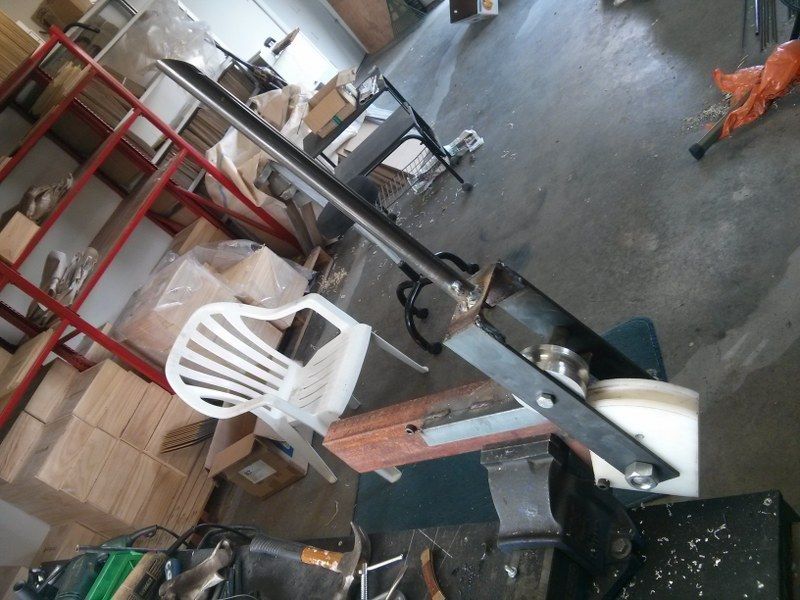
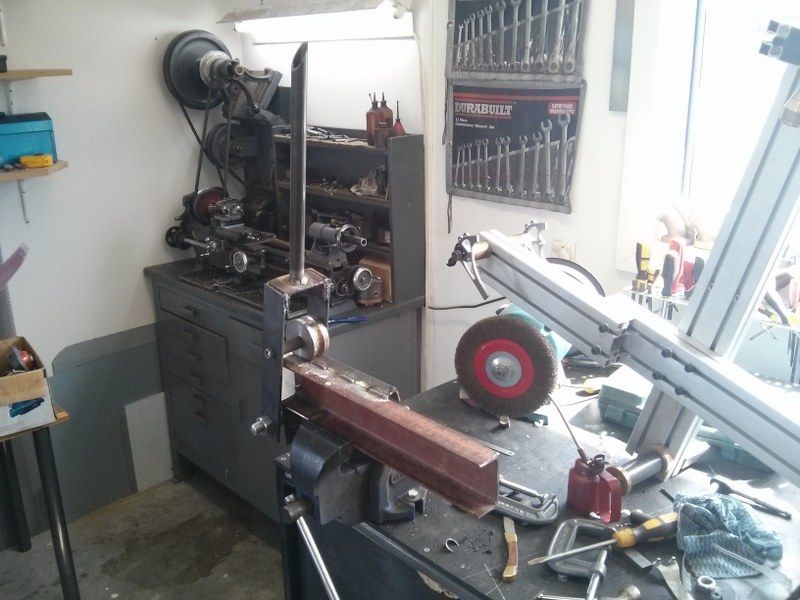
That abortive frame jig channel has finally found some use
I used my new Mig to slap it together, this is proving to be a sound investment already, it has a beautiful sharp crackling sound when welding. I thought I was being thick when trying it out because I couldn't find the wire speed adjustment - it turns out it adjusts it automatically depending on the amps selected. Technology in action right there, I'm impressed.
The result.
I bought an extra length of the 5/8ths tube for testing bends etc. It turns out there is a bit more crush than I am happy with on the bigger bend, so I think I will get a spring made up to fit inside. I may have a fiddle with heat as well, although I don't imagine I can get too carried away with that plastic former. This former is made from UHMWPE and sadly I can recall without any serious mental effort that UHMWPE stands for Ultra High Molecular Weight PolyEthylene. That info is a great line for pulling MILFS at parties, I can tell you. No, I cannot recall what MILF stands for sorry.

So this is all good stuff, and I am now pretty much in a position to crack on with the build. I have been boning up on my TIG skills (are you allowed to say 'boning up' these days?), even trying a wee bit of TIG brazing;

TIG and TIG brazing test pieces. Not bad looking, but then I tried a more complicated joint with the TIG brazing - this was less pretty.
This has pretty much fixed me on fillet brazing the frame, it is just so much more controllable than the TIG, although perhaps if the TIG had more refined controls (or I actually had some retained skill) this would be different.

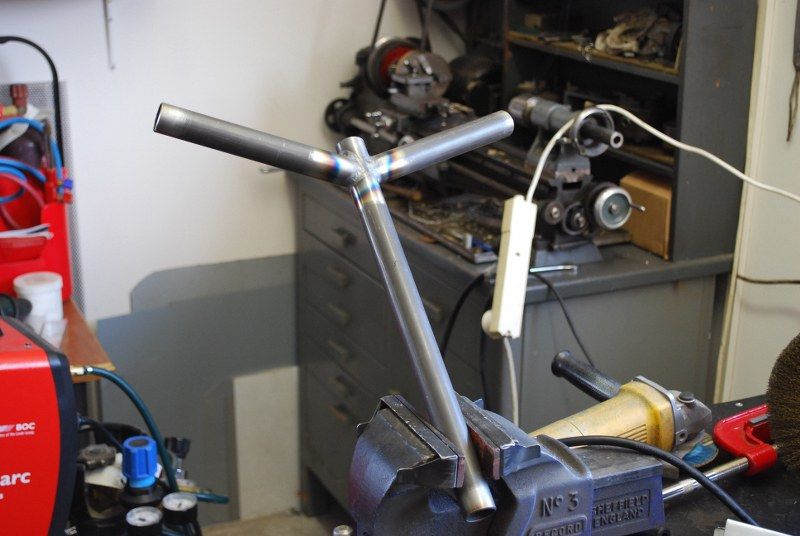
Some manually mitered tubes, today.
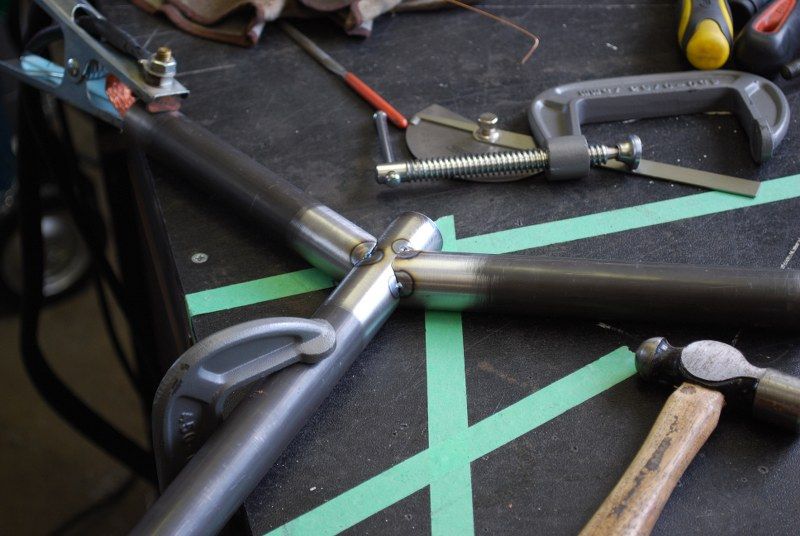
 I then did a wee bit of mitering by hand, now that I have proved that the lathe is probably not best suited for this sort of thing, and I am now ready to weld the first two joints....

 While on my tube bender mission I spotted this at Scott Machinery, I have decided it shall be mine.

I may have to sell some bikes or children to get it, but get it I shall. I can simply make more bicycles and children as needed.