Sunday 24 November 2013

The Mistake Free Top Tubes MkIV™

I have pretty much been in the garage every night this week and nearly all of the weekend, so things are moving quickly...

My extra tubing arrived on Tuesday morning, allowing me to utilise lessons learnt from the tube bending learning curve to great effect. In a couple of days the tubes were ready with minimum fuss and no obvious mistakes. But first the forks, which stretched the limits of my TIG skills.

I re-used the actual dropout bits of the Paragon failure, mostly because I didn't have any other suitable material lying around. The dropout holes are not at the same centers as the tubes so turning them down to suit what I had required some thinking and setup on the Grayson. Here they are freshly silver soldered into the leg tubes.
Much time was spent taking microns at a time off the leg tube to crown miters, I have learnt the hard way to take this sort of thing slowly, and I get slower when both bits have required some effort to get to a level of complexity. I then welded it up but forgot to take pics.
Mistake Free Top Tubes MkIV™
The Mistake Free Top Tubes MkIV™ come free with several meters of randomly badly bent tubes, sort of like steak knives but less effective for slicing vegetables. I clearly need to design a frame that utilises many many very short bits of straight pipe.
Once I was basically happy with the top tube mitering etc I brazed in the top plate. This was silver soldered actually as it is such a beautifully controllable thing to do and I did not want a big fat braze in there. As things were going to be a tight squeeze in there I cleaned it up nicely before getting too much further down the track.
I then fettled the fitment of the The Mistake Free Top Tubes MkIV™ so they slotted into place beautifully. Clearly some things just require you to bollox them up a few times before you can achieve creamy goodness.
I then plunged into welding the things into place and before it was even cool I had to chuck the wheel in to see if all was well, which it was. The dropout slots will require some very minor loving to get the wheel sitting 100%, but it is looking pretty good as it is.
It looks so much better with those bends tucking around the wheel.
And then I thought I would chuck the half finished forks on to see how things shaped up, unfortunately I only have one tyre at the moment. An upside down pewter tankard is an admirable tyre replacement, but it might make for a slightly bumpy ride.
I spent some time today cleaning things up, there is still a good few hours yet to spend though.
I have made a bridge to fit in here but I need some more silver solder rods before I can do any more.
Some nearly finished fillet brazed cleanup.
This plate ended up with a bit of a shave off the sides, I think it still works visually.
I have silver soldered the seat stay joints and sweated the filler up inside the junctions, I will clean up and cap the open ends a bit later when I have more welding rods.
This pleases me.

I am discovering that at the end of a build session I get a certain feeling depending on how well or badly that particular bit of the build has gone. If it has gone well it means that I have been in the zone and doing things that I am totally comfortable with, without rushing or stressing. Then I get a warm glow of satisfaction...

 If I have rushed or stressed then I am clearly not in the zone and I end up with a knotty feeling centred on my solar plexus, reminding me that I did not do as good a job as I could have when making that particular bit. I am getting much better at stopping or changing what I am doing until I am in a better space.

My current aim in life is to build a frame that is the culmination of build sessions that have all ended in the warm glow of satisfaction. This may take time and a number of frames.

Yay.

Saturday 16 November 2013

Frame Rate

I must say that fillet brazed frames go together a lot faster than lugged frames. I have spent a good few nights and weekends working away at this, and apart from the twin top tubes which have proven to be a bit of a pig, this have moved well. I have also decided that I should care more about photography so have been using my fairly nice Nikon rather than my cellphone. This means I have taken far too many photos, many of which are in focus;

Two lovely tubes, I have finally nailed the bending process probably

The start of many, many fitups of those bloody top tubes
The wheels arrived - yay!
I started the forks using Paragon dropouts, unfortunately my TIG skills are not yet that great and they ended up too untidy to use, hence;
The start of my fully custom front dropouts.
Fork legs
Brazing the chainstays
More chainstays
The outside fillet on both of these had a bit of porosity, I had to grind it all out and redo that bit, I am not sure exactly why this is so as I made sure things were clean. Maybe not clean enough...
Rear dropouts from Paragon, I silver soldered these in.
Check out the mad photography skillz - depth of field yo
Fitting up the rear wheel to see if it fits at all
Hard to get lots of clearance with Big Fat Larry 4.7" tyres!
I checked the brakes all lined up as well
I got this laser profiled for the seat plate
I bent it up and jigged it in place, it was immediately apparent that the tubes were sitting too wide, so I rejigged it all with a fair bit of width taken out.
Endless fitting up and checking before I made the first cut of those hard won tubes
But then I bit the bullet and mitered in the front
Now just the back bends to do
Back bends achieved.......but
I am just not happy with how the lower bends ended up, I wanted them to tuck right around the tyre, but through a slight (yes again - I know) miscalculation they ended up there. I am sure they would be alright, but I suspect I will be allowing Leanne to retire just that bit sooner on Monday.
So I cracked on with the forks...
TIGged the dropout tubes - not yet perfectly tidy but I am getting better every day.
TIGged the crown tubes.
I made sure there was a good overlap of all the fork joints as burning away the edge of the tube end was my downfall when welding the Paragon dropouts.

Friday 1 November 2013

Tubular Balls

A fair amount of time has been spent since the last update, but it has been a 2 steps forward, one step backwards journey due to my seemingly endless stupidity....

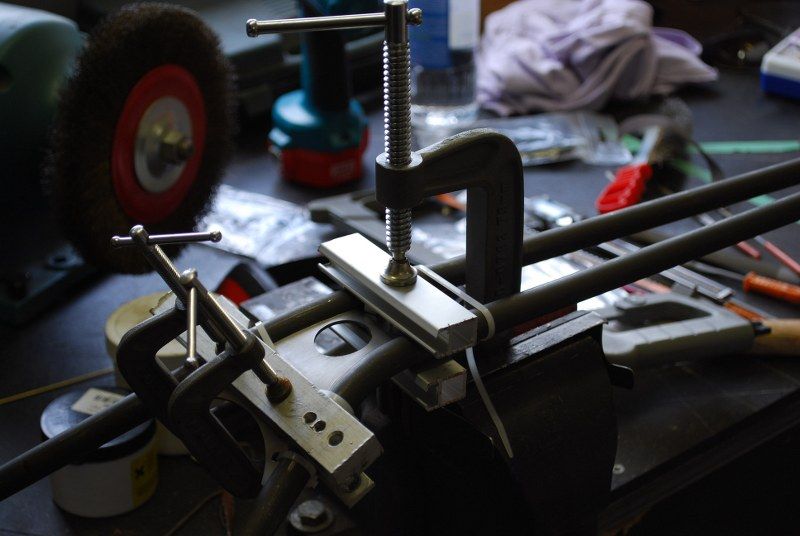
So the last update left us with some inadequately formed bends in the test tube due to the jig crushing the tube. The first thing I tried was fitting a long 1/2" spring into the tube and trying again. This looked promising but was not quite there, probably because the tube ID is 14(ish)mm, and 12.7mm was not filling things up all that well.

I then bought a spring the next standard size up (standard for Century Springs at least - these come from America, virtually the last bastion of what I shall kindly call an antiquated measuring system), this spring had an OD of 14.3mm, but I figured quite rightly that it would wind into the tube without too much issue. I tried a couple of test bends which looked really good so I figured it was time to risk the real tubes - it was about now things started to go badly.

I had set up a smaller diameter tube to be the spring winding in and out helper, and this had a secondary function of measuring how far in the spring needed to sit to support the bend. I carefully measured this and wound in the spring, gingerly bent the tube and eagerly pulled it out to see the results - which was a completely crushed tube..... a bad word may have escaped my lips at this point.

Somehow I had managed to get the spring in the wrong position, carefully placed precisely 50mm away from the bend. What a tool. This was bad because the size of tube I had ordered was not a stock item and had to be shipped in from America - hence the 2 week wait. I now had precisely one good tube.

The next day I rang Lianne and asked if perchance she had ordered more of my tube - no she hadn't. She did however have quite a lot of tube with a smaller wall thickness - just over 0.7mm vs 0.9mm for the first tube. This should still be plenty strong enough so I ordered 2 lengths of that. This turned up the next day which was a result. I then bought a fresh spring, as the removal method of the old one had proved fatal to it's elastic limit - this may have had something to do with my state of mind as much as anything as I removed it.....

So today I set it all up again, very carefully checked the bend was in the right place, aligned in the jig etc, inserted the spring after checking it against my pencil marks on the tube and wrapping it with tape at the perfect insertion length, bent the tube.......... and got a bend that was halfway good and halfway crushed.

F________k.

(fill in the blanks, it will not be an intellectual stretch)

Somehow I had got the pencil markings for the jig alignment and for the bend proper mixed up and the spring was positioned only halfway along the bend. I genuinely do not understand how I could do that twice, maybe I am getting senile, which is eminently possible.. I bent the second tube just to prove that it was actually possible for a clearly retrograde intellect such as myself to achieve, and this turned out very well.

I shall ring Lianne on Monday.

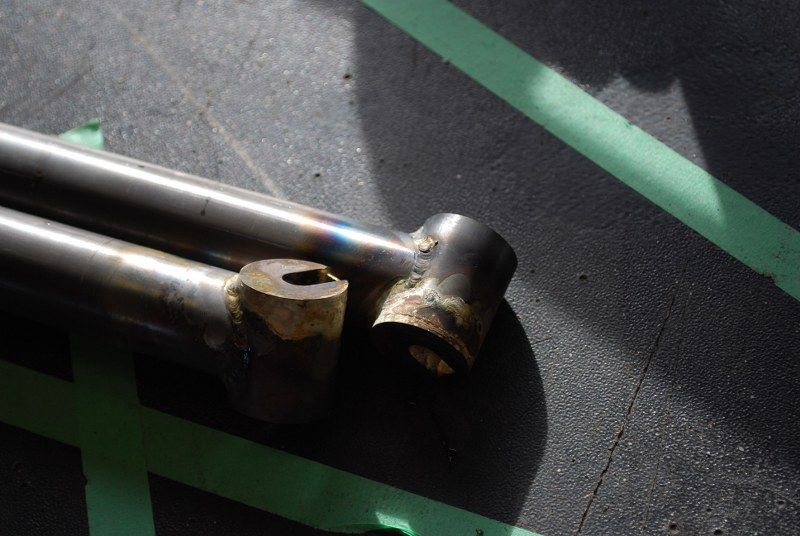
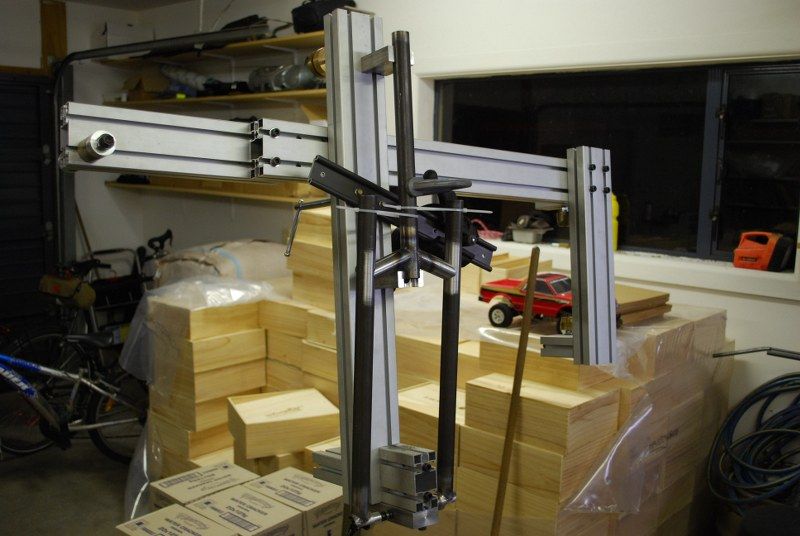
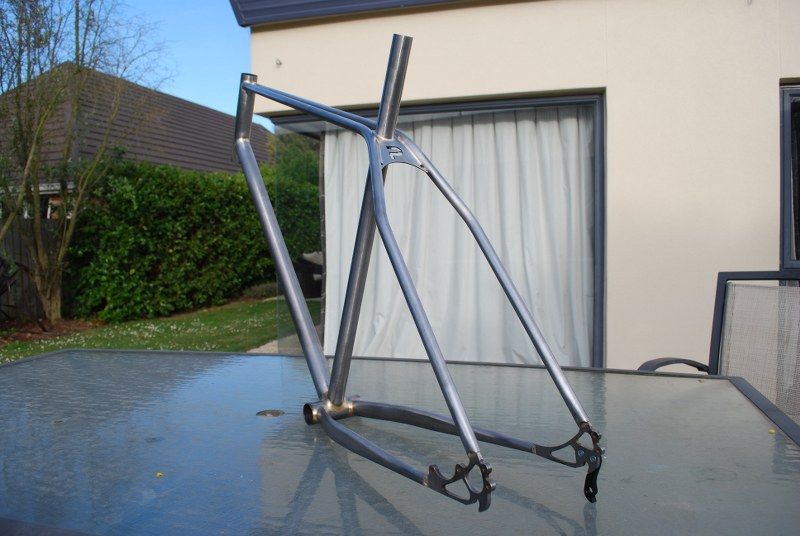
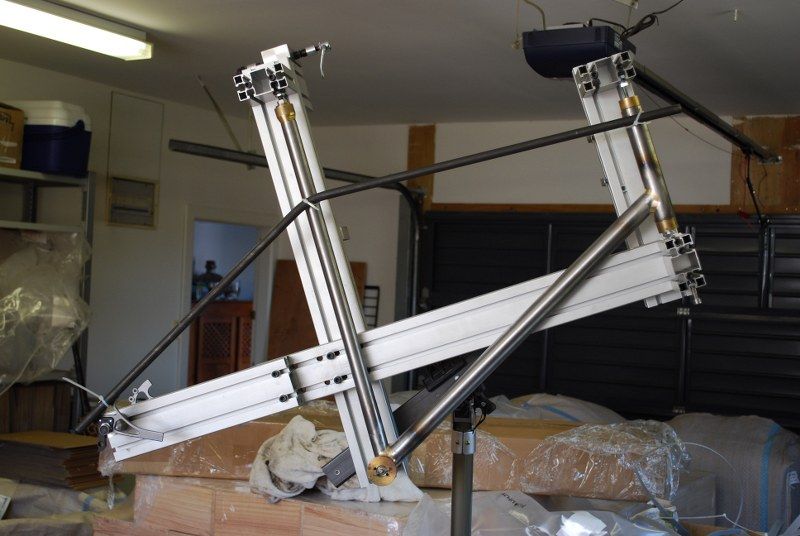
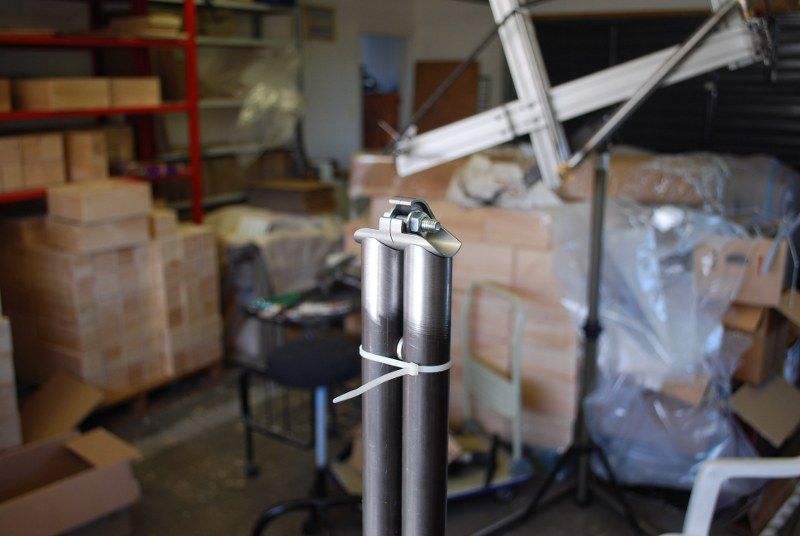
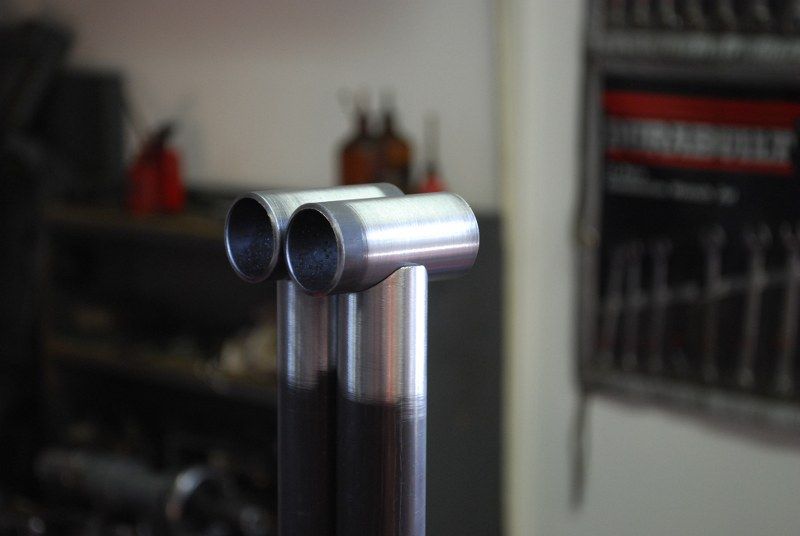
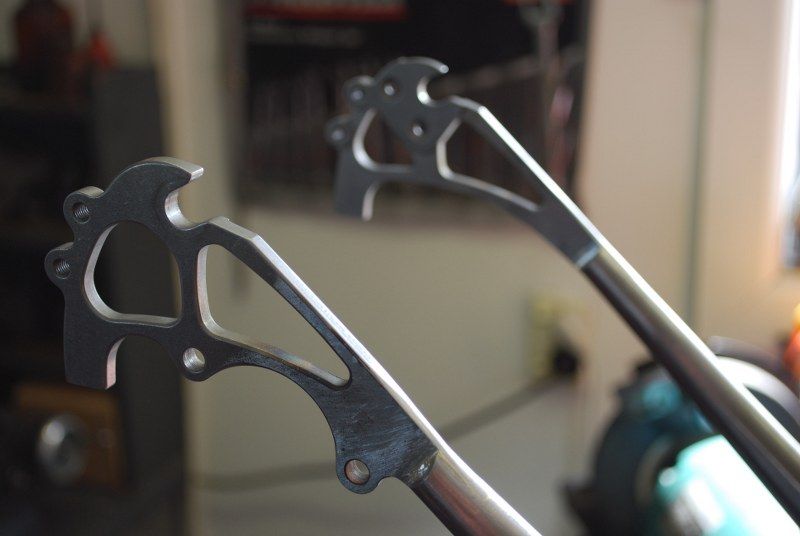
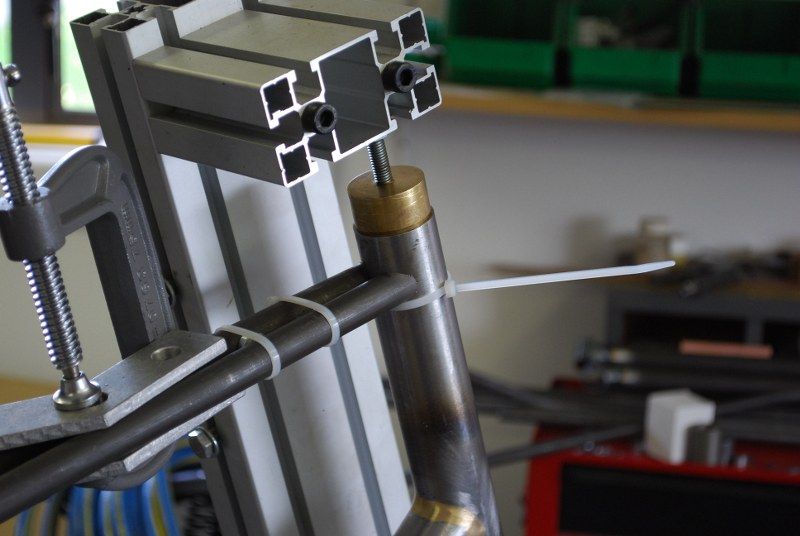
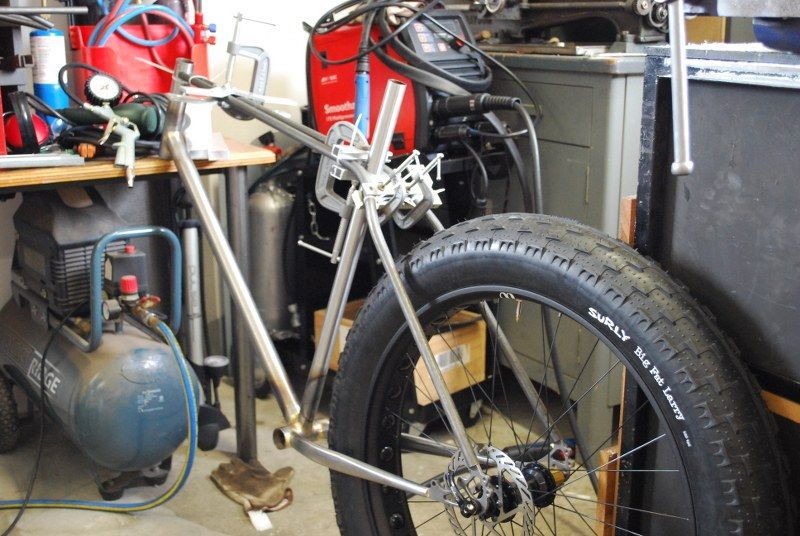
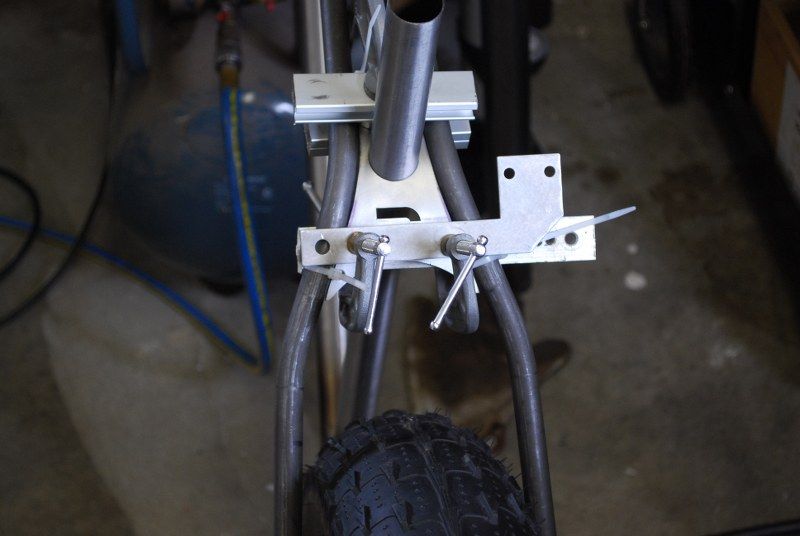
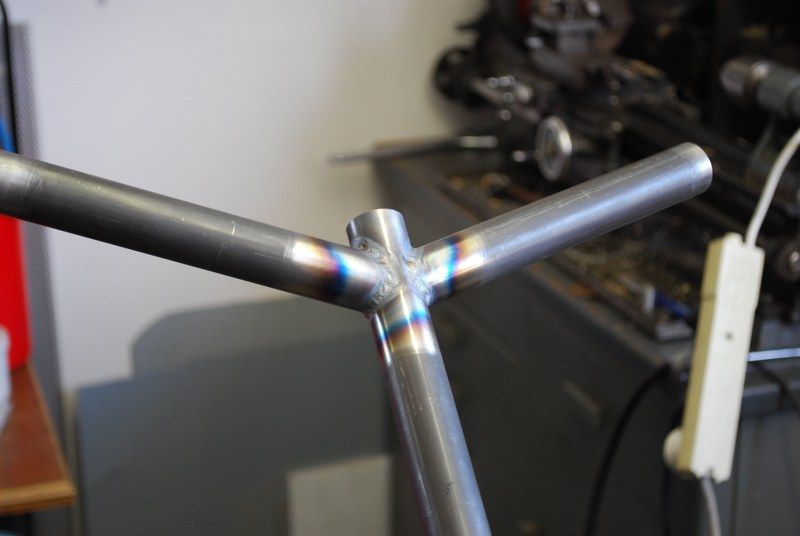
Anyway, in between all this I started welding things, then cleaning them up;

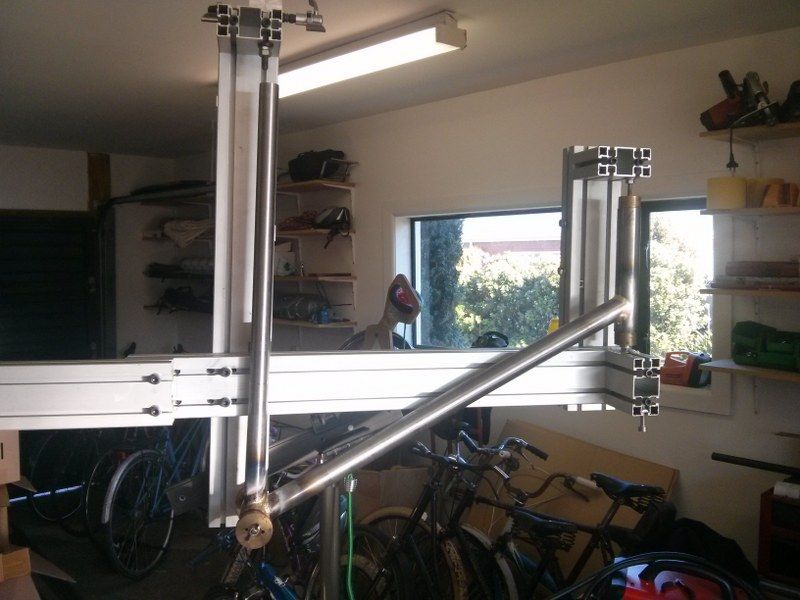
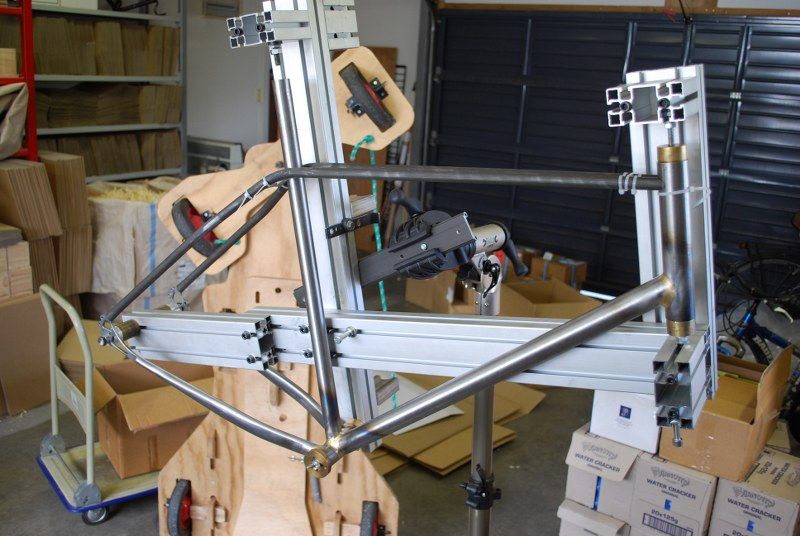
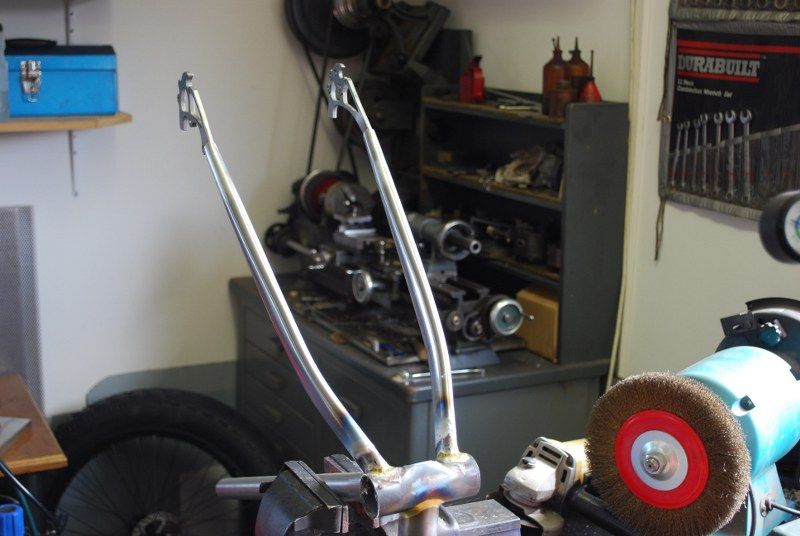
A wee bit of cold setting will be needed to straighten the seat tube
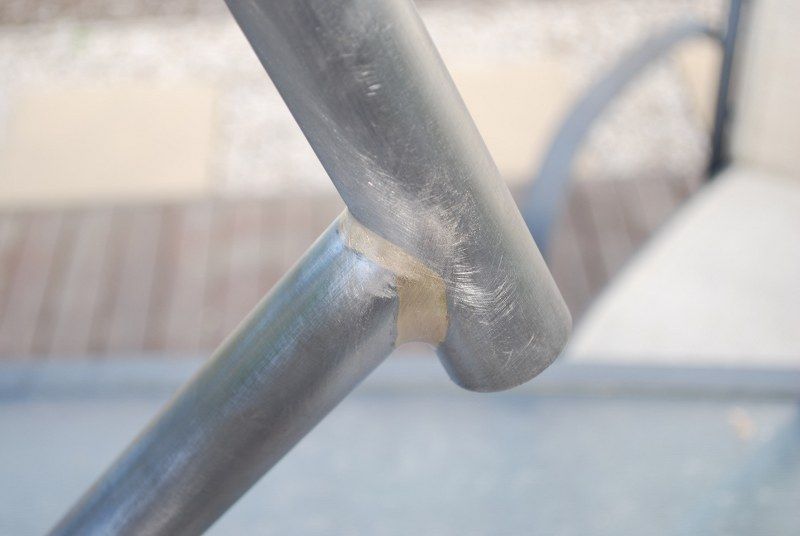
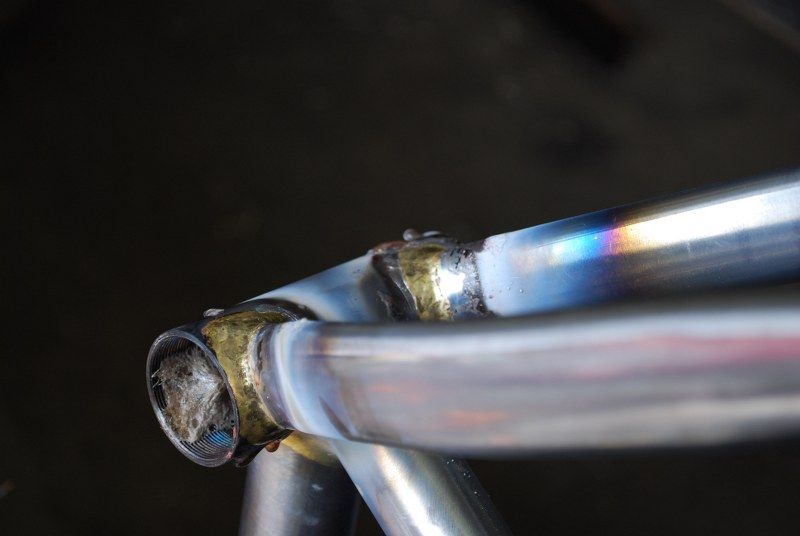
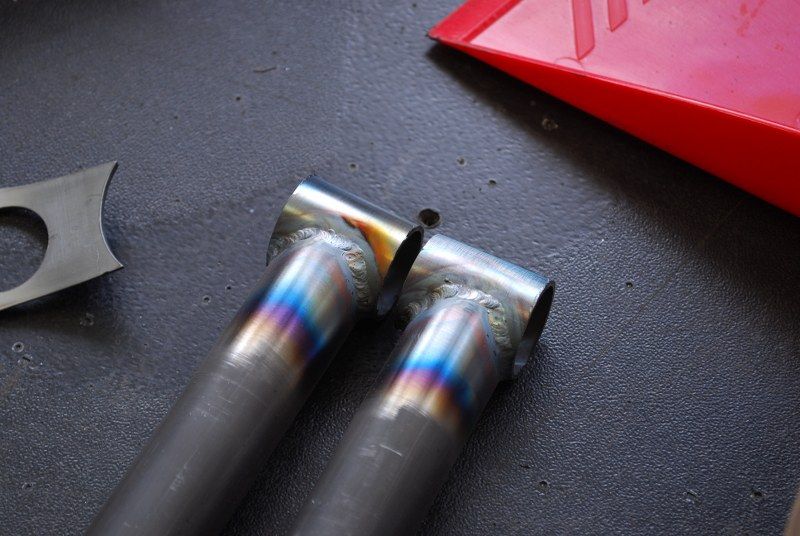
Raw welded tube
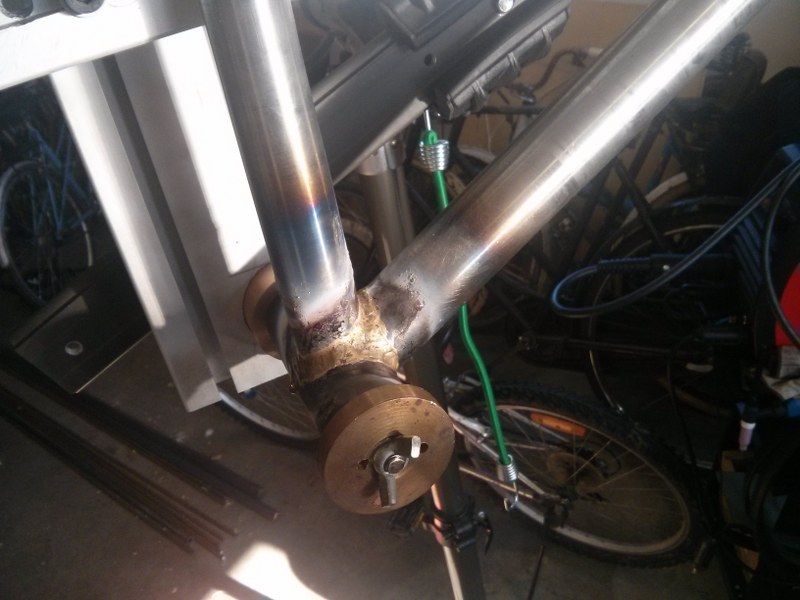
Raw welded tube, 2nd angle
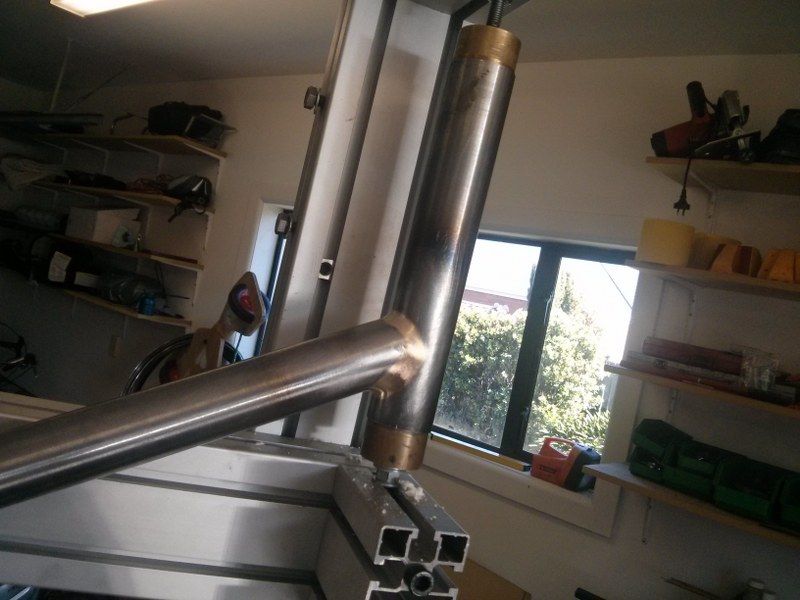
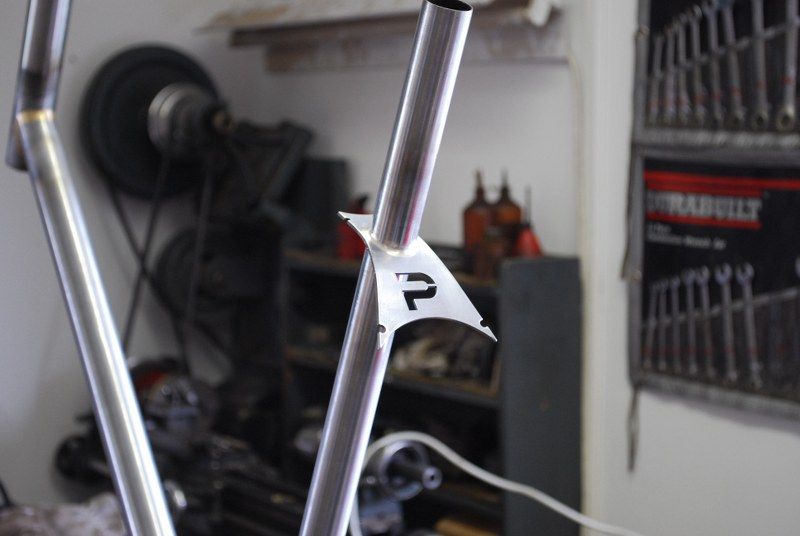
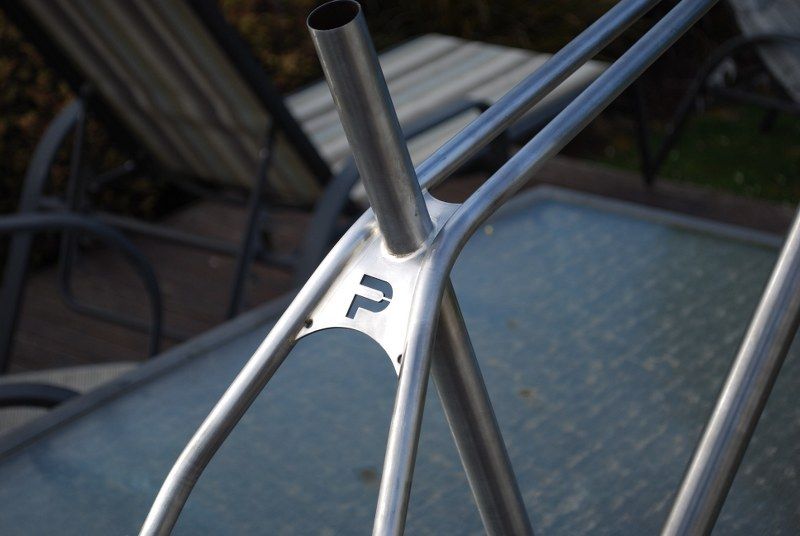
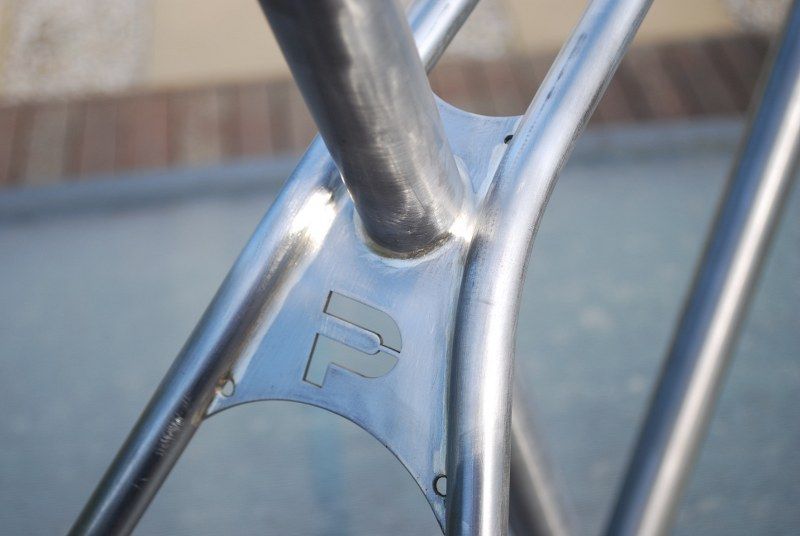
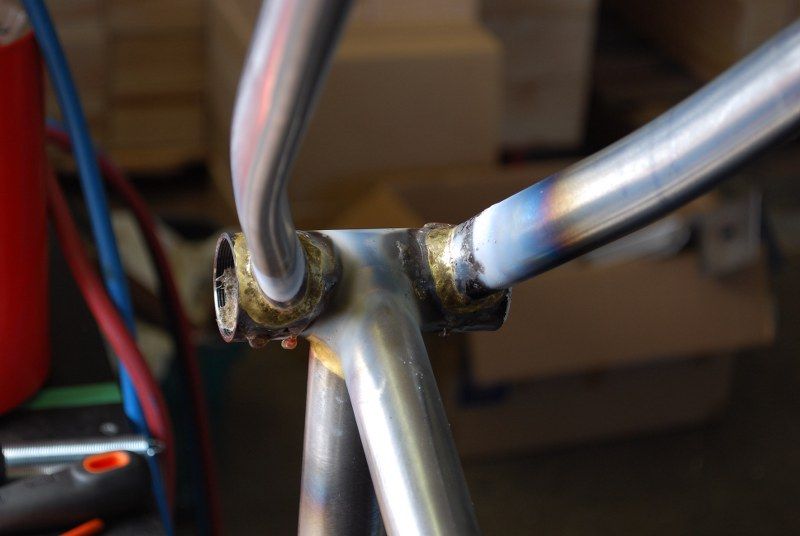
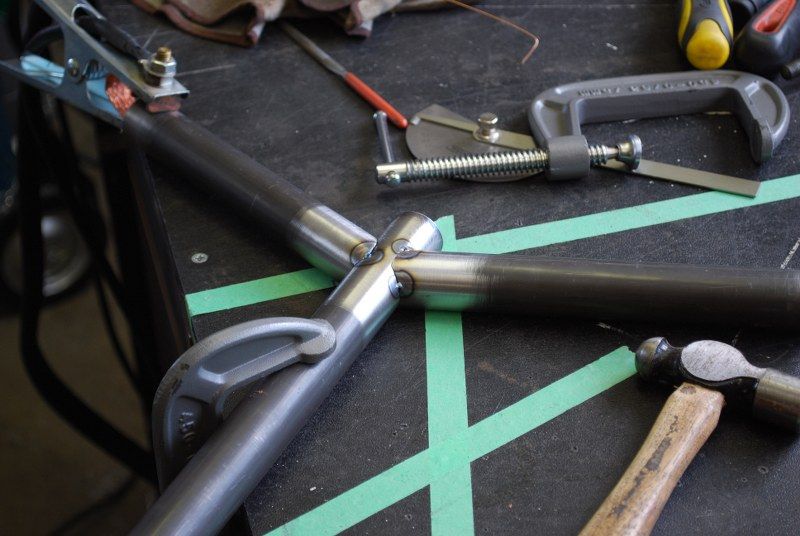
Mostly cleaned up head tube joint
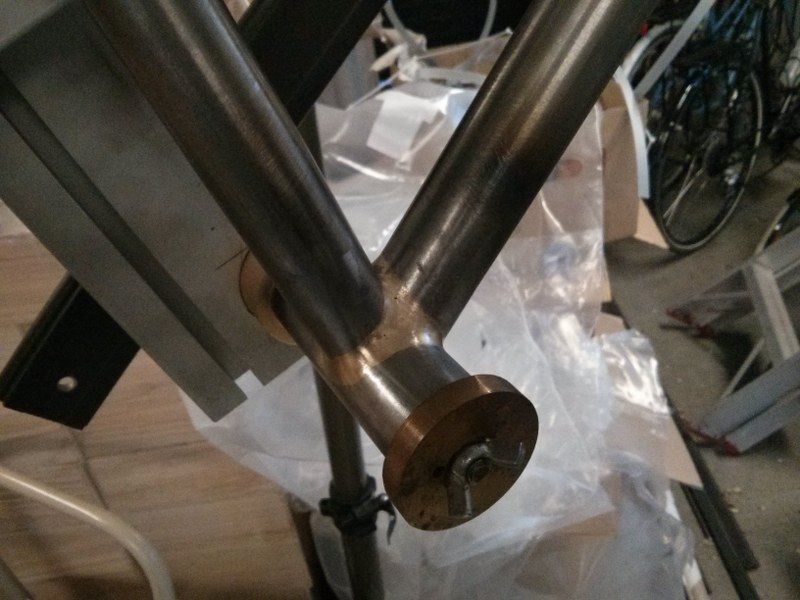
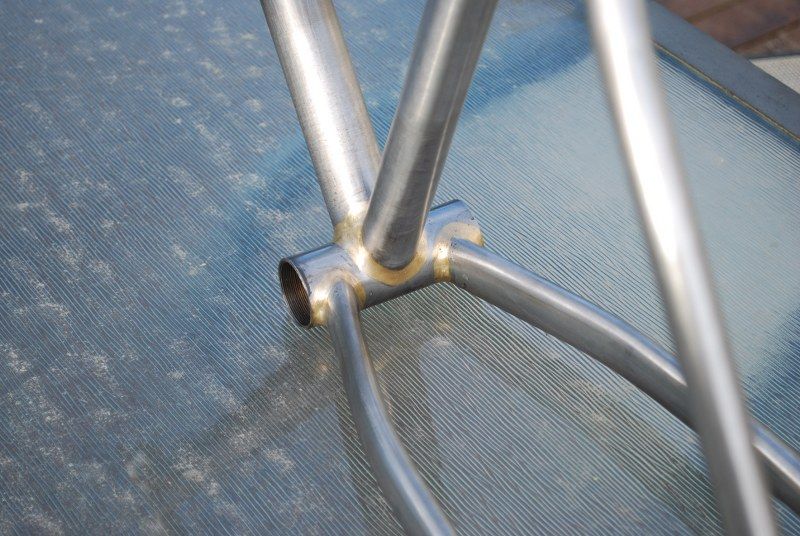
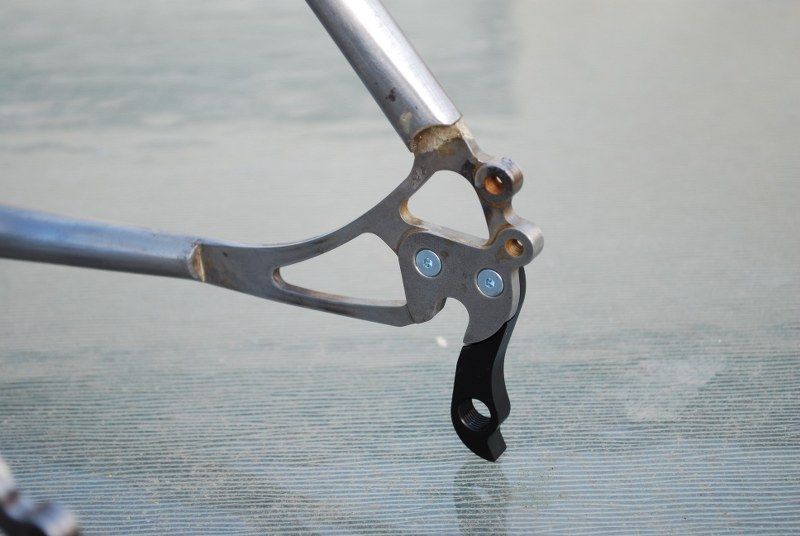
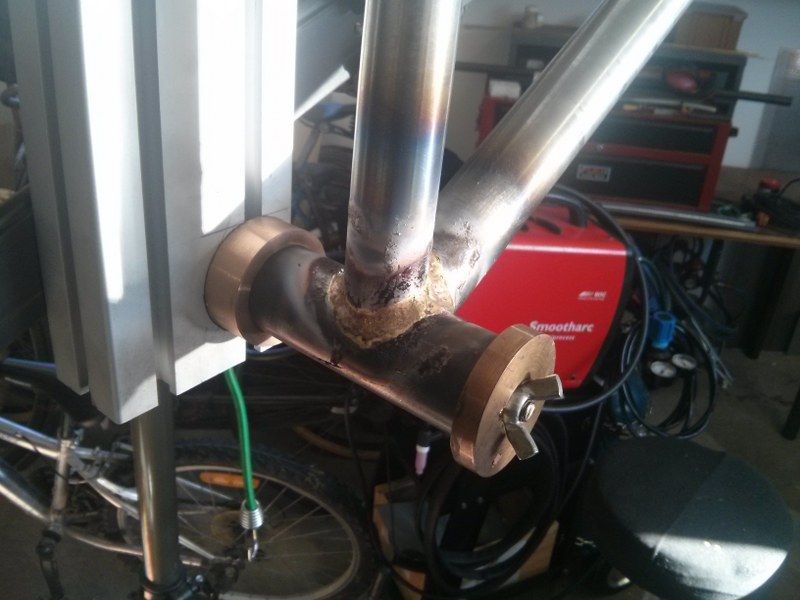
Mostly cleaned up head BB joint
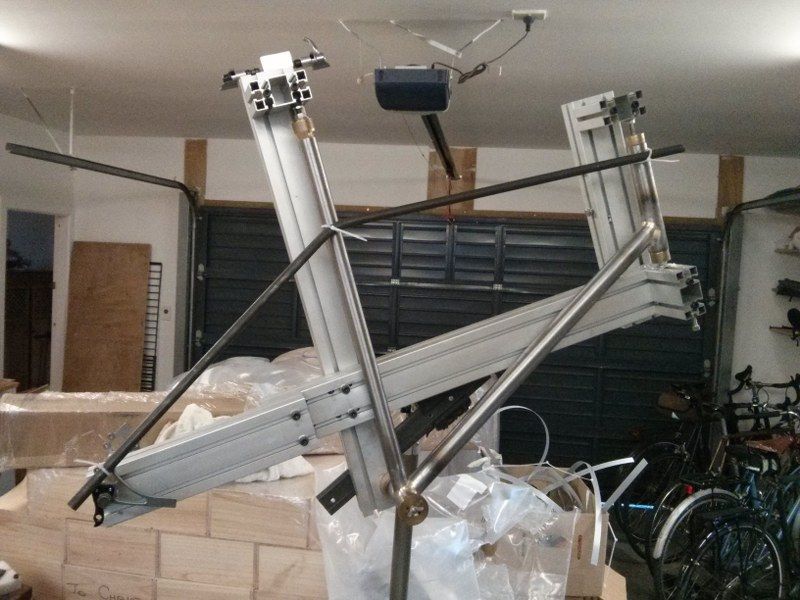
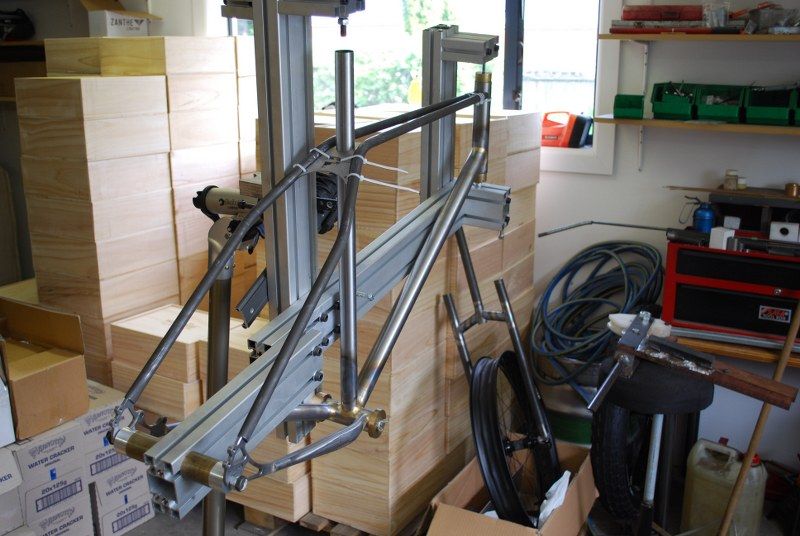
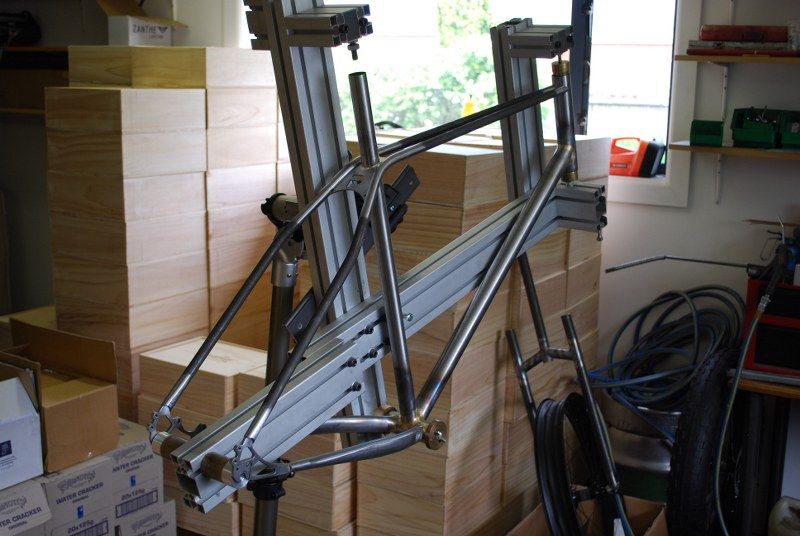
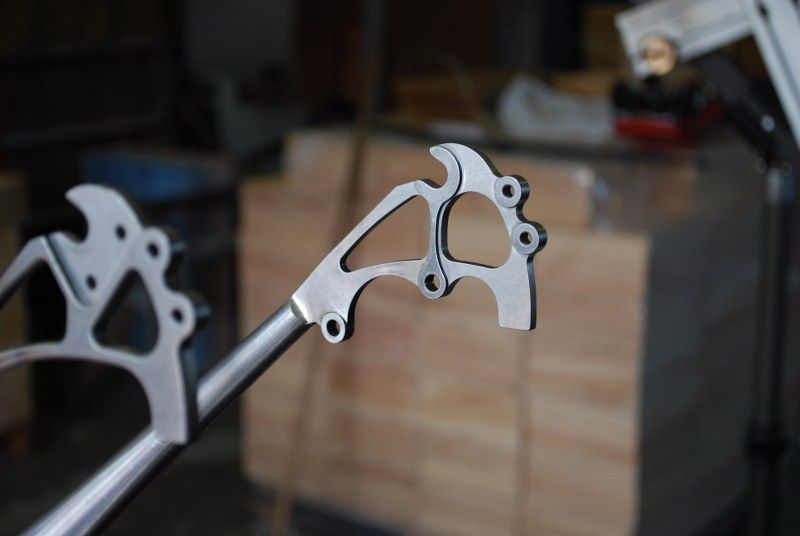
Sortof getting the idea...
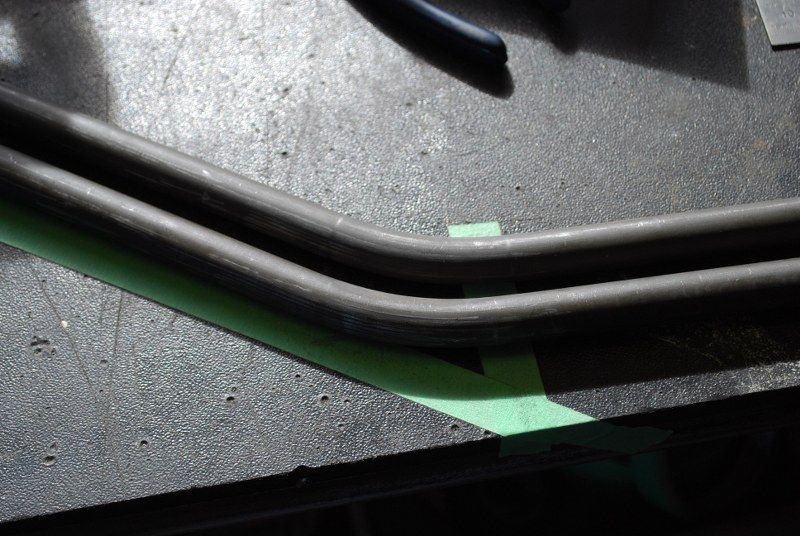
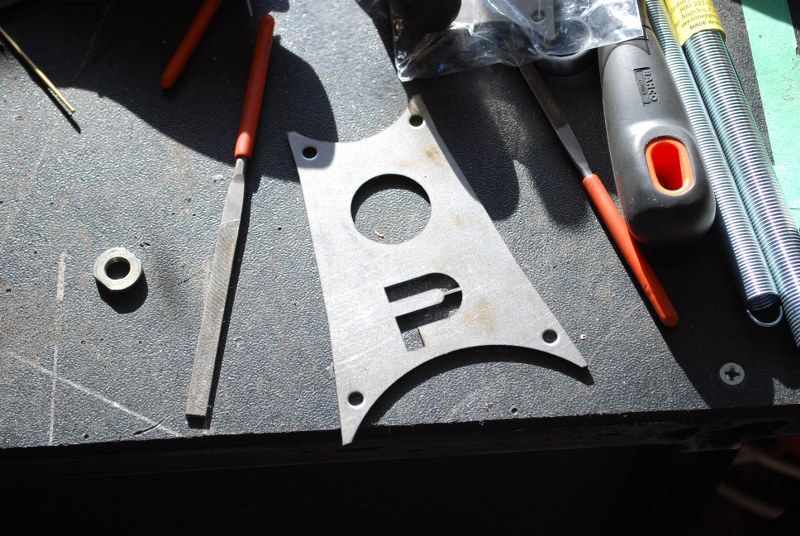
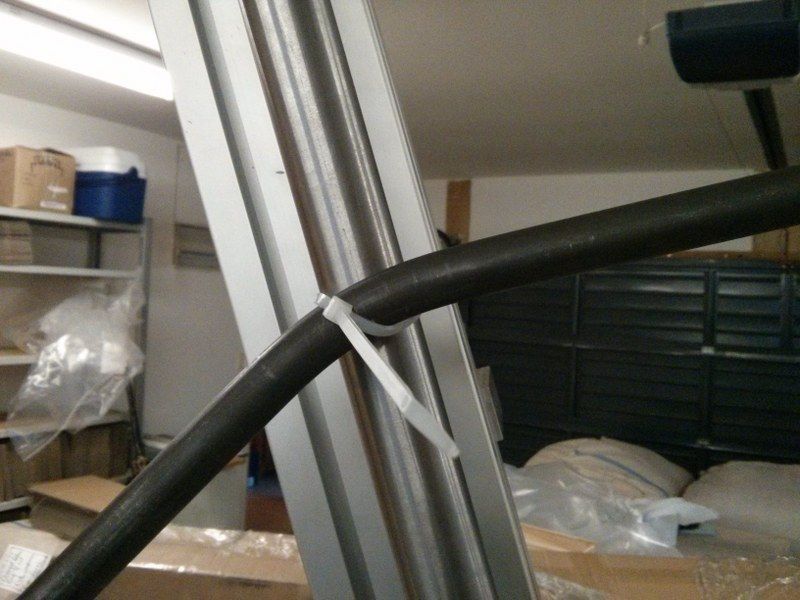
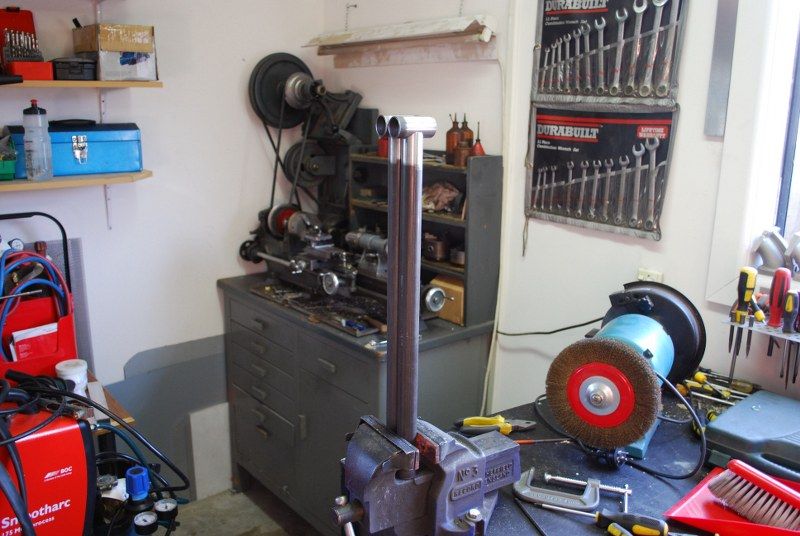
A single perfectly formed tube.
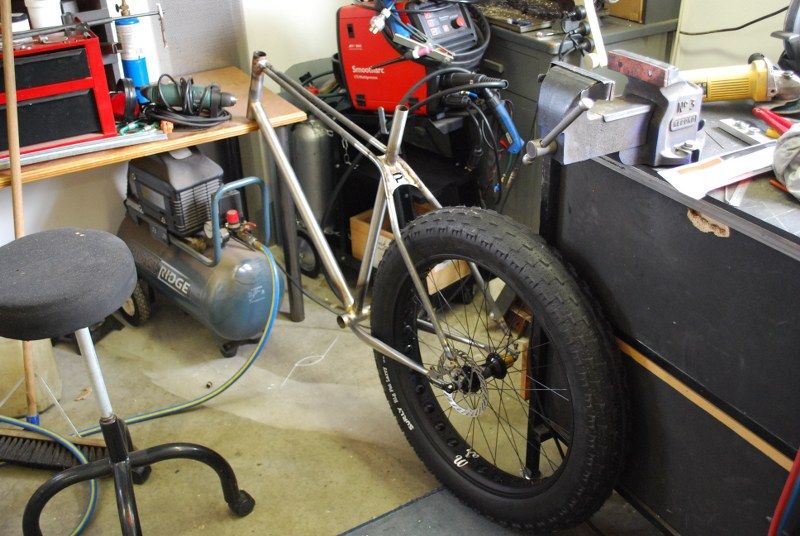
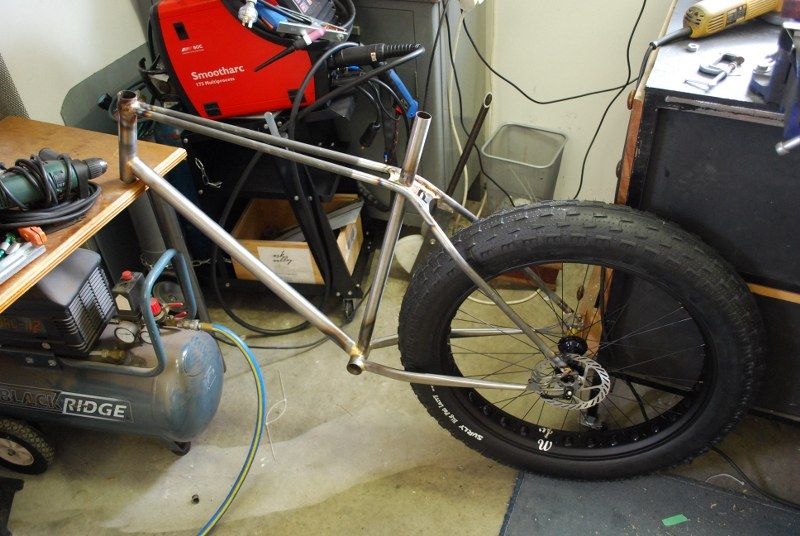
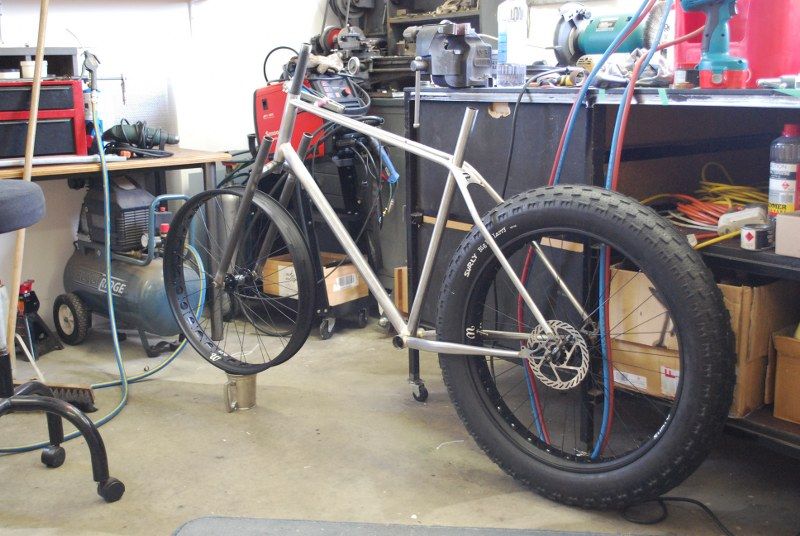
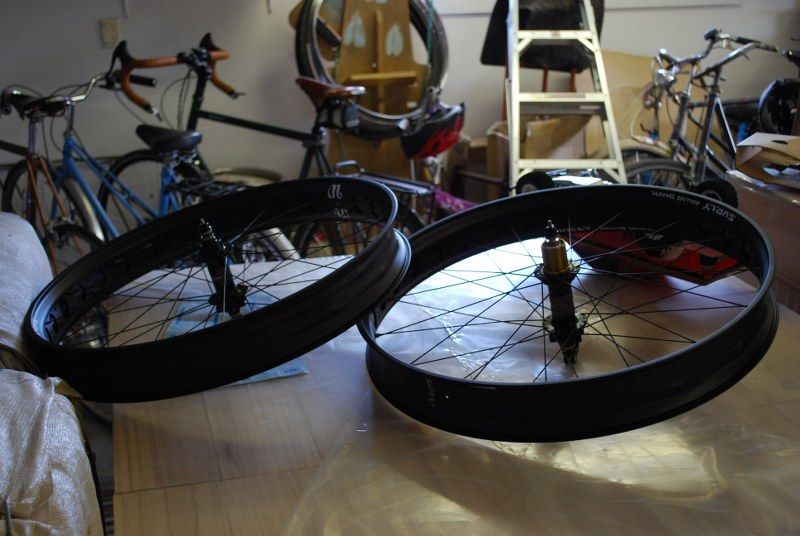
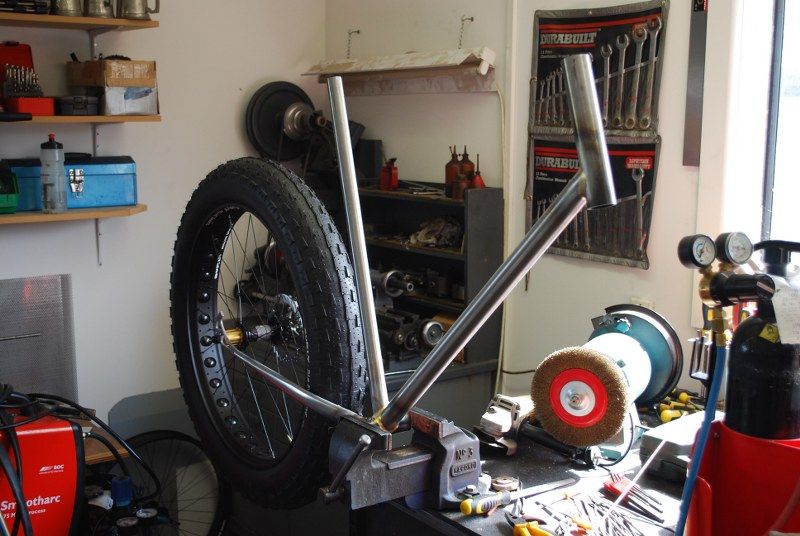
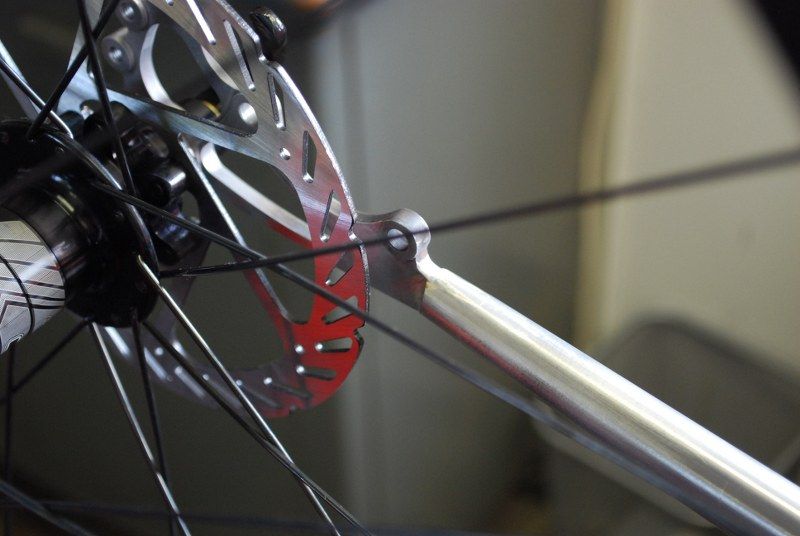
The other big news is the wheelset;

My actual wheelset, today.
My father had offered to pay for these, mostly because I asked him to. As I had decided it was an early Christmas present from him I did kind of use this as an excuse to go a bit further out there than I had intended. I therefore asked the extremely helpful Tristan from WheelWorks to sort something for me and he appears to have done a sweet job. These have Fatbike specific Hope Fatsno hubs laced to Surly Rolling Darryl rims, mmmm tasty. These should be here tomorrow or Monday, I am gagging I can tell you.