Tuesday 22 October 2013

MIG, TIG, Jig

Update time!

Much has been happening, with the focus being on jigs and fixtures rather than actual framebuilding, but a wee bit of mitering snuck in regardless.

First up; the last frame jig mod...

Rear spacers to bring the dropouts to 170mm, awkward little blighters with an M10x1.0 thread on the inside to match the axle, and an M10x1.5 to take a standard bolt on the outside. This is because I do not have a 170mm skewer.

Next I decided to tweak the fork jig to suit what I wanted as this was going to be cheaper than buying new bits of Minitec to form the backbone of a separate jig;

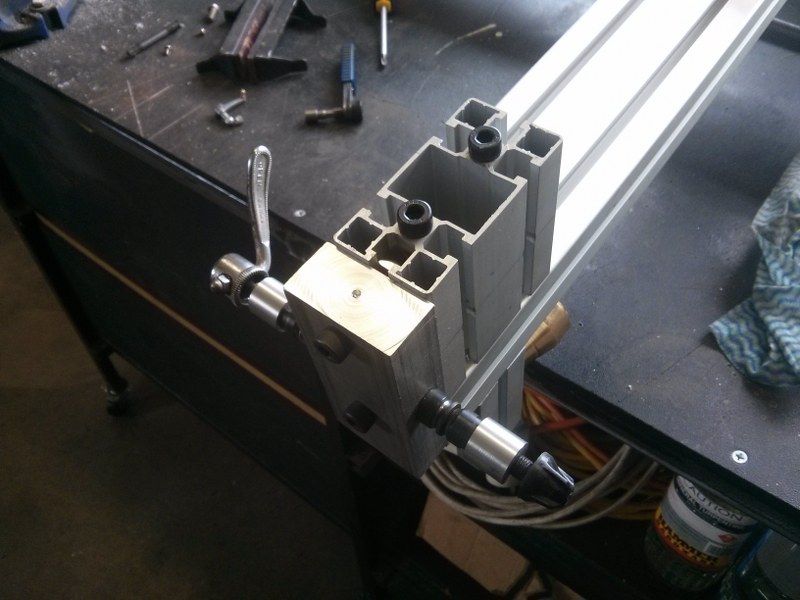
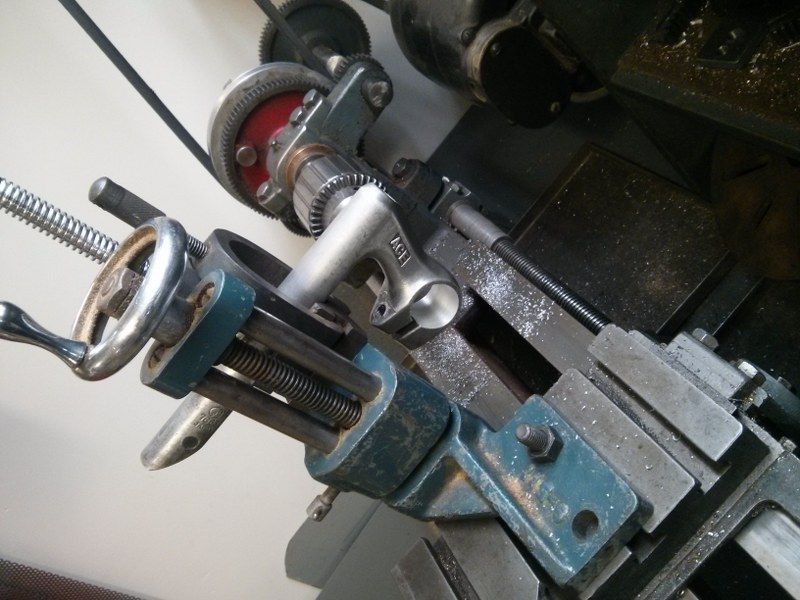
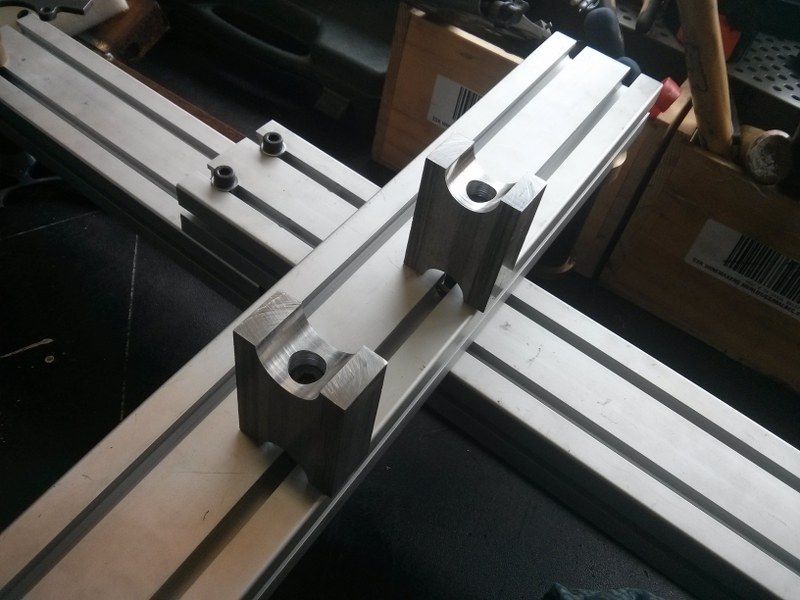
Front dropout spacers as per the rear dropout methodology, but these have an M9x1.0mm thread - try finding that tap in Placemakers on a Saturday morning.... These I tapped all the way through and screwed and loctited in a short cut off section of hollow axle at either end, because I could then use a rear skewer to clamp it all up.
Sorted, give or take a bit of setup time....
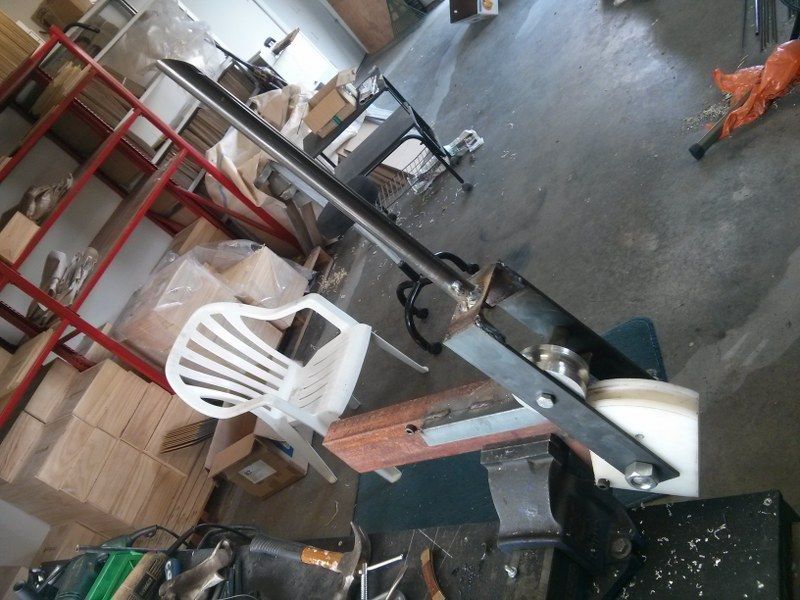
I then turned my attention to bending tubes.... now, I had a day off last Friday, and I spent a fair bit of time avoiding child minding duties by crashing about the place trying to find a good but cheap tube bender. The problem I have is that I have precisely four bends to create, so spending $640 on a tube bender simply wasn't making mathematical sense. I couldn't find anything decent for less than that sort of money so I thought I may as well have a hack and something quick and dirty to do the job. I only need 35 degrees of bend so this cut down the required effort somewhat..

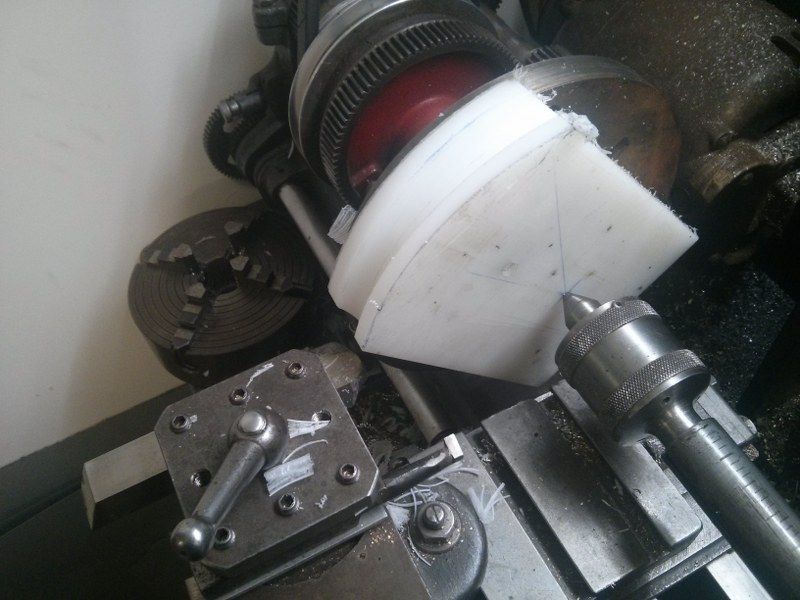
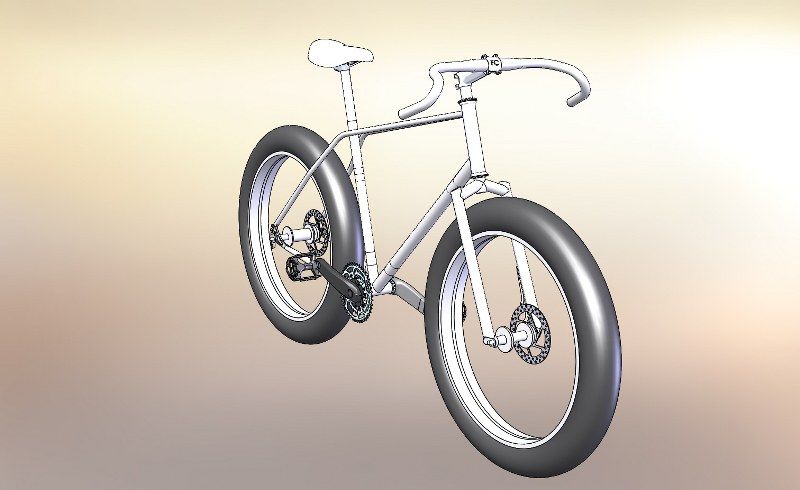
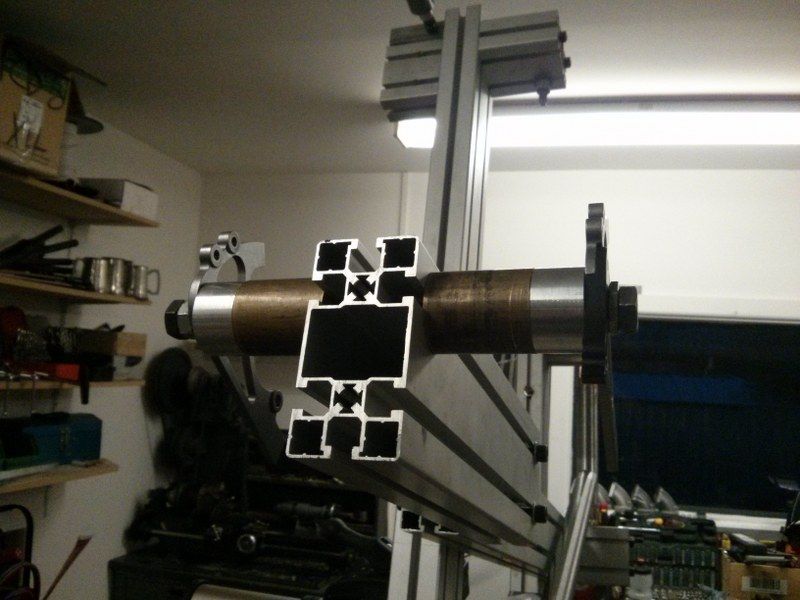
Turning the main former - I found a dirty great chunk of tool steel in the drawers of the Grayson and formed the entire 8mm radius in that with an angle grinder (With many years of experience the use of an angle grinder can be elevated into the realms of art). I used the same tool to cut the form into a block of aluminium for the roller.

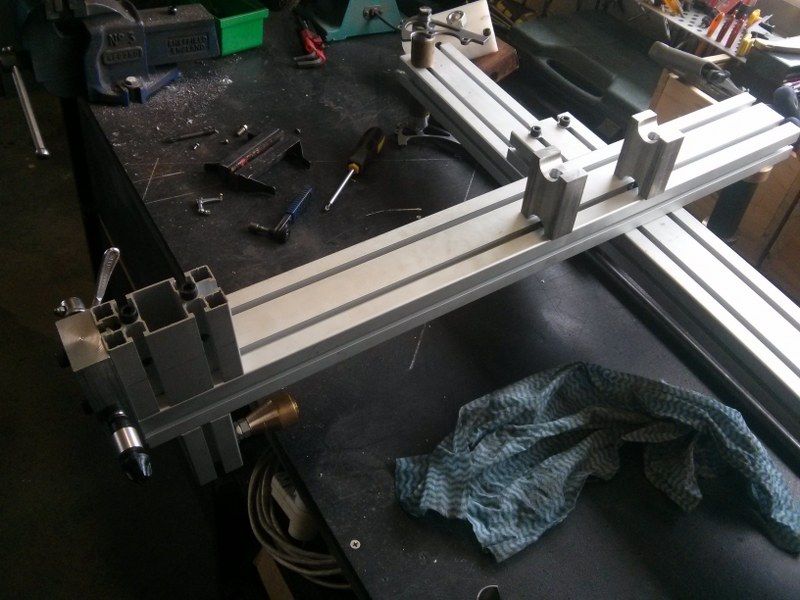
That abortive frame jig channel has finally found some use
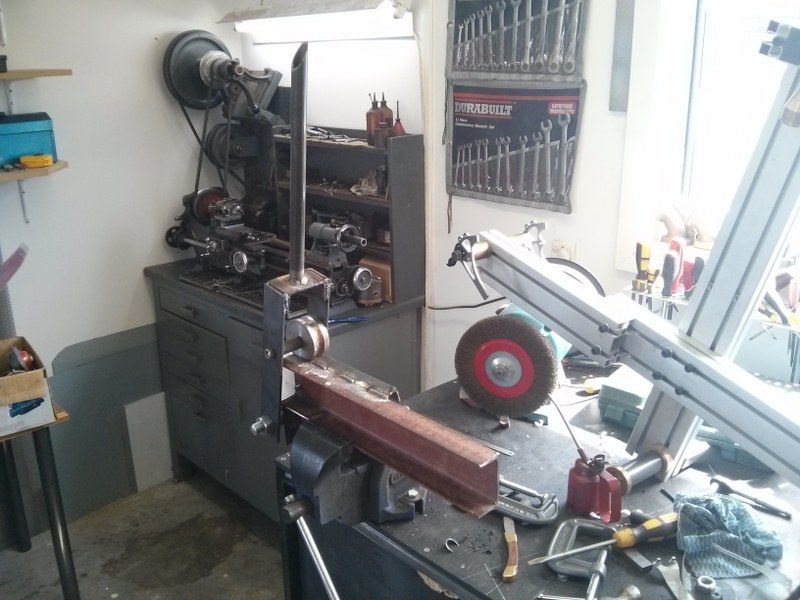
I used my new Mig to slap it together, this is proving to be a sound investment already, it has a beautiful sharp crackling sound when welding. I thought I was being thick when trying it out because I couldn't find the wire speed adjustment - it turns out it adjusts it automatically depending on the amps selected. Technology in action right there, I'm impressed.
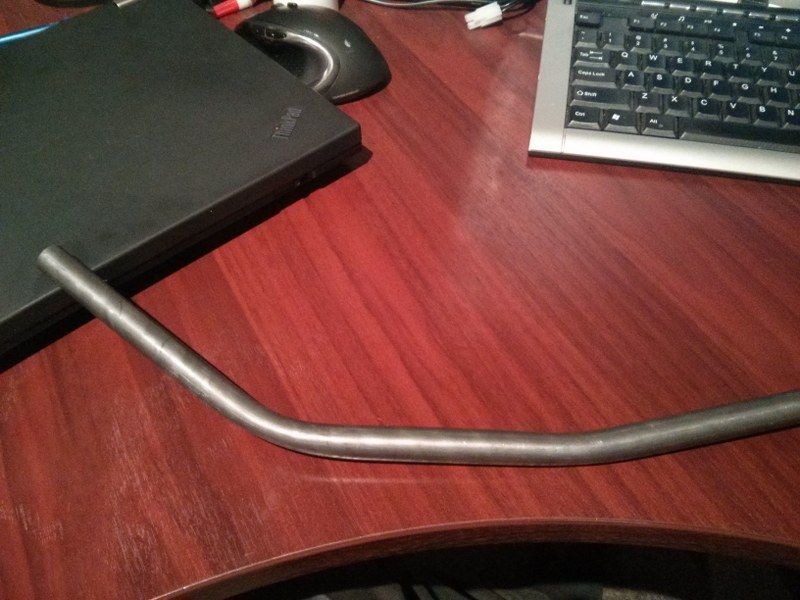
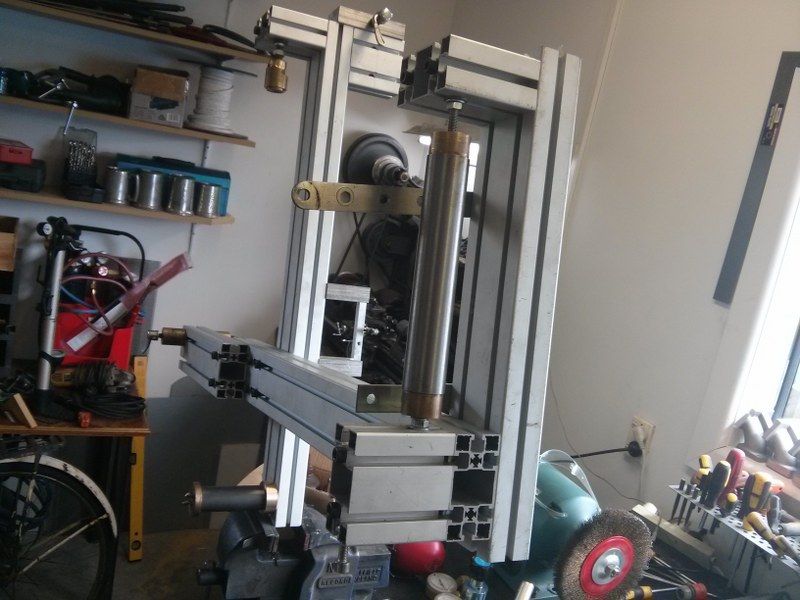
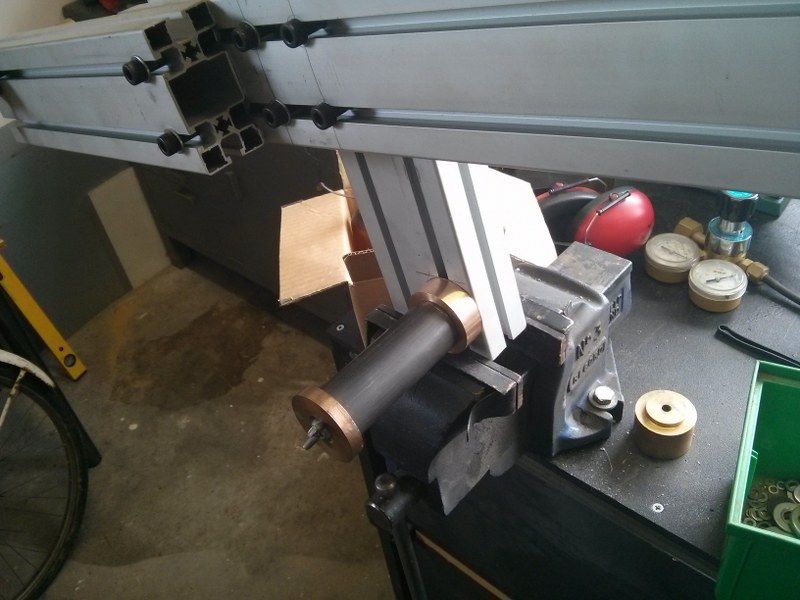
The result.
I bought an extra length of the 5/8ths tube for testing bends etc. It turns out there is a bit more crush than I am happy with on the bigger bend, so I think I will get a spring made up to fit inside. I may have a fiddle with heat as well, although I don't imagine I can get too carried away with that plastic former. This former is made from UHMWPE and sadly I can recall without any serious mental effort that UHMWPE stands for Ultra High Molecular Weight PolyEthylene. That info is a great line for pulling MILFS at parties, I can tell you. No, I cannot recall what MILF stands for sorry.

So this is all good stuff, and I am now pretty much in a position to crack on with the build. I have been boning up on my TIG skills (are you allowed to say 'boning up' these days?), even trying a wee bit of TIG brazing;

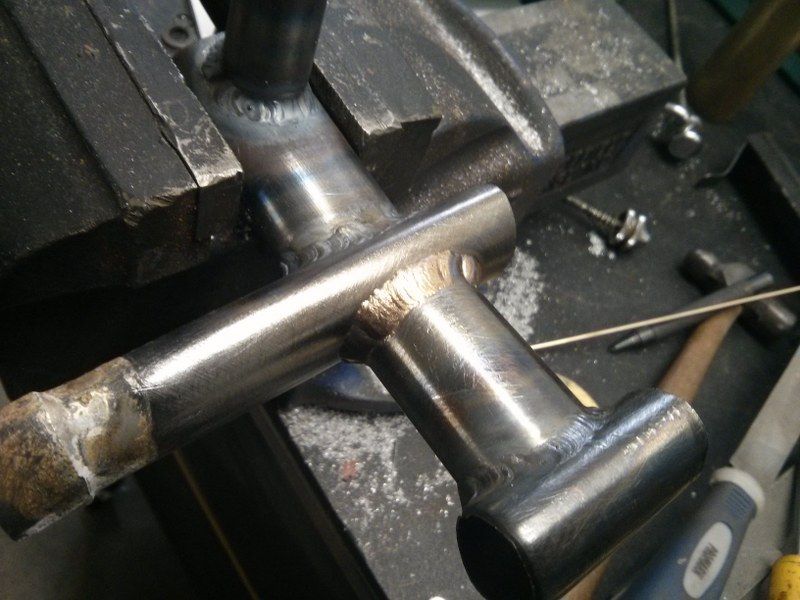
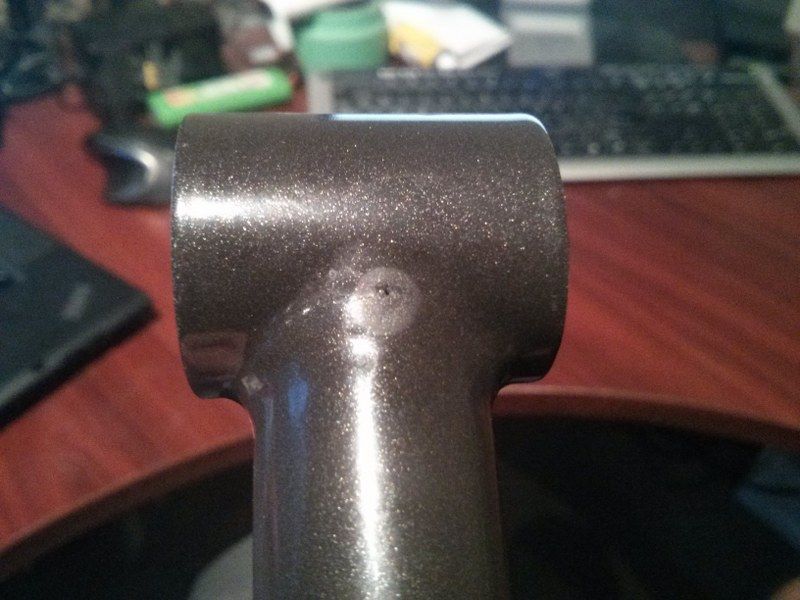
TIG and TIG brazing test pieces. Not bad looking, but then I tried a more complicated joint with the TIG brazing - this was less pretty.
This has pretty much fixed me on fillet brazing the frame, it is just so much more controllable than the TIG, although perhaps if the TIG had more refined controls (or I actually had some retained skill) this would be different.

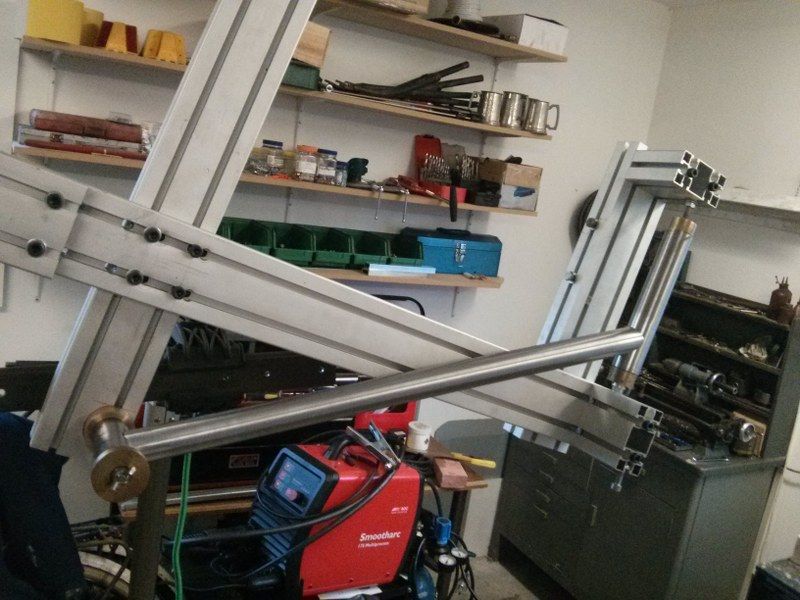
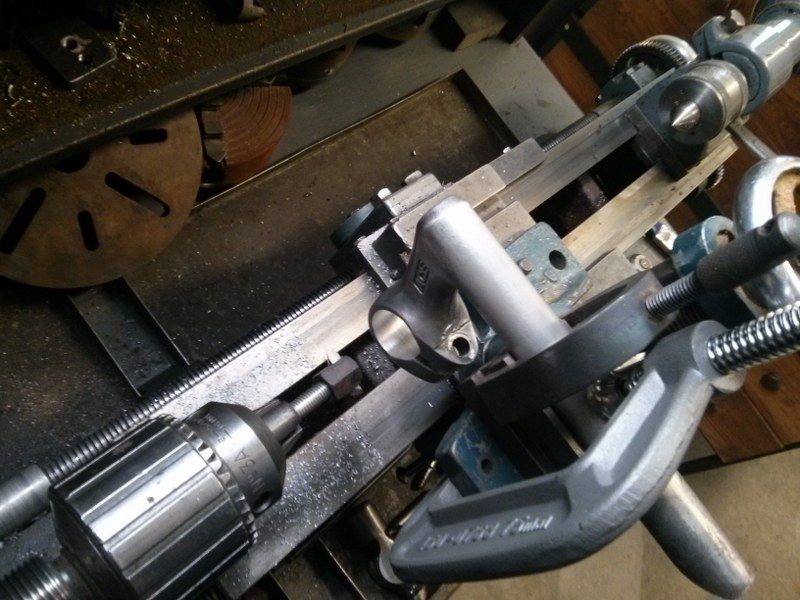
Some manually mitered tubes, today.
 I then did a wee bit of mitering by hand, now that I have proved that the lathe is probably not best suited for this sort of thing, and I am now ready to weld the first two joints....

 While on my tube bender mission I spotted this at Scott Machinery, I have decided it shall be mine.

I may have to sell some bikes or children to get it, but get it I shall. I can simply make more bicycles and children as needed.

Sunday 6 October 2013

Tiny Cracks and Pogward Fatness

So last Sunday I dressed in my best dapper tweed and went along to the Christchurch City Council Open Streets event (apologies to those without twitface, these are the best set of photos I could find and link to). I decided to take the Pogward along, as my normal tweed bike is still in the depths of my garden shed, behind many other large and difficult to move items. I was going for the mid 20th century randonneur look, so I removed the rack and added the handlebar bag from the Surly onto the seat of the Pogward, a move that worked so well it has stayed there all week.

All went well and it was a rather enjoyable outing, I even met someone who had actually been reading this blog which was amusing.... however during the event I noticed a very slight hairline crack on the top brazed joint of the stem. Clearly this needed sorting, as historically my face doesn't deal very well with impacting the ground from nearly 2 meters up, and I have a pretty robust avoidance policy in these situations.

Hard to see the actual crack, but it has obviously propagated from that wee pit

After I gingerly rode home I pulled the stem off and set about finding a temporary replacement until I could sort it further. the only thing I could find in my box of goodies was an old Ace stem with roughly the right geometry, but unfortunately it had a 25.4mm bore, and the VO bars are 26mm. I had a think about how I could sort this out using what kit I had in the garage. Serendipitously I discovered almost immediately that the Grayson has a morse taper in the spindle which means you can mount a drill chuck in there. This meant that I could just possibly pretend that it was a mill not a lathe, and bodge ensued;

Not pretty or particularly rigid, but it did work
I made a special boring tool for the job from a bolt and a double height nut, incredibly hard to adjust but again, it worked well enough
I had some 1" solid bar that had centerdrill holes in each end, I used this to align the stem bore with the lathe centerline. Things wobbled a bit during the machining process, so I took it very gently. I really must buy myself a mill, I have needed one badly so many times over the last year.

This was all good fun and meant I could actually ride the bike to work again, but clearly this was just a distraction from the real excitement of the week;

Shiny things, yesterday
What is that? I hear you asking.... and the answer is; The bits for the next Pogward Frame O' Joy™, which will just possibly look a bit like this;

Mmmm, the fatness of it all.
Yes a Fatbike. I have fancied one of these for a while having ridden a couple previously. The bars are from Tardme, the tubes are from Ceeway and the miscellanea are from Paragon Machine Works. The bars are On-One Midge Offroad Drop Bars, which I got just cos they looked sexy and I thought might look well on a frame such as this. The tubes are oversize mountainbike Columbus Thron tubes, I got those again because I was happy with the robustness vs weight of these tubes on the commuter, stick with what works I say. The Paragon stuff is pretty sweet CNC'd kit and there is the major benefit of having CAD models on the website, which makes modelling a frame in CAD very quick.

The keen eyed amongst you may notice that there are no seat stays or top tube in the parts collection, this because the design harks back to a BMX I had when I was 12 or so which had twin top tubes all the way from the head tube back to the dropouts. This bike was fully chromed and the envy of all who spied it, at least in my mind it was... If I can capture a wee bit of that misty eyed goodness in this frame then I will have succeeded. The tube for that and the forks is currently on order from Lianne, I should see it in the next couple of weeks.

So this weekend was given over to modifying the frame jig to suit the new geometry. This is where noob assumptions have caught me out - I never imagined I would be making a frame with a 100mm wide bottom bracket, a 170mm rear dropout spacing, a 135mm front spacing, a 1-1/8th threadless steerer or even a frame with different head tube/seat tube angles. I spent considerable time drilling and filing things to get the jig to fit the geometry, then started to sort out the mounting points;

The headtube and seat stay just needed the top mounts slipping down a tad
Bottom Bracket mounting needed a new inner mount to get the correct spacing
Next up will be the axle spacing, this will probably be addon bits rather than reworking the whole thing, I just need a couple more taps to do this. After that is the fork jig, a bit more of a serious effort will be needed here unfortunately. Maybe I will make a whole new jig to keep it easier to handle, I am not sure yet.

So the frame will either be Tig welded or fillet brazed, I haven't yet decided that either.... I have just bought a new welder that is a combo Mig/Tig, but the Tig function is pretty unsophisticated compared to some machines I have used in the past, so requiring a wee bit of skill to get a sweet joint. Balancing this is my slightly increased fear of fillet joints cracking, a recent experience of which has tainted things a bit. Fillet brazing is probably going to be the way though, I shall just pay a lot more attention. The forks I definitely will Tig, the many kilograms worth of Chumly they will see has already decided that....

A lot to think about then, and much more to discuss - gears, wheelsets, brakes etc....