Wednesday 27 March 2013

The Fillet Brazed Stem and Campy Goodness

This weekend saw two of the final parts of this particular jigsaw fall into place; I finally received the Campagnolo square taper bottom bracket that I bought off Trademe, and I built a sexy new quill stem for the bike.

Getting the bottom bracket was great because it meant I could heave off the adequate but not really visually suitable FSA cranks and mount my decidedly second hand but still sexy 175mm Campagnolo cranks;


This pleases me quite a lot. The BB is a very narrow one and there is only a couple of mm clearance of the crank to the chainstay, but it means I can run the chainring on the outside of the crank and still get a straight chainline...

The next thing to sort was the stem, as I was unhappy with the visual bulk of the quill stem adaptor and BBB riser stem, I was convinced it would look better with a sleek raw steel number.

More 4130 goodness from Lianne
Some mitered tubes awaiting the balmy warmth of 3500°C
My first legit fillet braze - yay
I took an incredible amount care making sure the handlebar tube miter held the tube straight and true, there is no joy in a droopy bar.
Cutting the hole for the clamp boss - I had made the boss on the Grayson a bit earlier but forgot to take pics
Braze in that bad boy
Then spend much time filing the fillets to look pretty, and also slit the boss and handlebar tube to form the clamping detail
Another view of the results of laborious filing
Finally fitted up to the bike after a slapped on layer of clear coat. I also made a new slightly sexier bracket for the Jtek shifter, but this was not very interesting and I forgot to take a pic of it.
Much more in keeping I reckon, although I again apologise for the blue electrical tape - I actually went to buy some more and they didn't have any black, so it is not my fault. This will be rectified at the first opportunity, I assure you.
The semi finished article
I have probably been convinced that I need to paint those mudguards black, maybe this weekend will see some loving given in this direction. I also need to braze a brake light mount tab on that rack and lay down some clear coat on it, but in reality I think I am pretty much done. This is sad in a way, however it is hopefully the start of many years and miles of service for this trusty steed...

Soon I think I will get someone who is more competent than me with a camera (ie anyone over the age of five) to take some arty shots for me so I can frame them and send them to my family for Christmas.

Wednesday 20 March 2013

Shifting along nicely

The updates are coming thick and fast now, this one is all about this sexy little beast;


Which is a Jtek Bar End Shifter for Alfine 8 Speed Hubs.

It is a pretty nicely made bit of kit, the engineer in me could not resist pulling it apart to see what the gubbins looked like - basically it is all about two hefty sprung detent balls hooking into the correctly spaced detents. Nice and simple.

Now I had already decided that I would try and mount this right by my thumb at the end of the bars, so this meant I needed to make up a bracket to hold it in the right place. I pillaged my parts bin and came up with this quick and dirty beast;

Mmmmm, ugly
Beautified with a coat of MattyB and poorly wrapped bar tape
Rather less intrusive than the original I think

So that was fine, but one issue remained, which was the fact that the shifter has no provision for adjusting the cable length. I looked at the situation on the shifter, and then at the hub, and decided a mod at the hub end would be the least invasive. I then hacked up an old Shimano brake lever which had the adjustment detail I wanted, and after a short while I had it filed to approximately the right shape to fit in the cable stop on the hub;

A poor shadow of Bob's filing skills, but fit for purpose
I removed the wee metal tab and replaced it with my bit of engineering art.
So this all looked like it was going to work pretty well, and in reality it did. My ride this morning was a real pleasure, and while the position of the lever is not quite right, it needs to be slightly lower and further forward, it is a pretty good effort all up. The shifting was easy and surprisingly positive - it actually feels better than the original shifter, certainly easier to bang up 3 gears at a time.

I will soon make a far sexier version of the mount now I have proven the concept... I will try and minimise the amount of space taken up by the bracket as it is slightly too intrusive at the moment, not too bad at all, just not as good as it can be.

Awesomely, my stem tubing has turned up as well, so I can alienate my lovely wife even more now....

Tuesday 19 March 2013

Putting it all together with kittens

A fair bit of movement has been happening, I dropped the frame off to the painters and it was ready by Friday. I thought that I had nailed the finishing of the lugs well enough to look pretty sweet, but expecting a few scratches and things to show up. I was right on the money as the matt clear coat showed up every little sin. I hate to think how much time would be needed to get a finish like this ready for NAHBS. As this is a dirty daily commuter and not a show piece I am happy with the finish level. Interestingly I took these pics with my rather flash work camera, amazing how much better the photos look using this...

From a few feet away it almost looks like grey paint
The Frogmouth MkII singing his little heart out
Here you see the extra brazeons for the rack mounting
A closeup of an averagely finished seat lug
A closeup of an averagely finished head tube lug
Some bottle mount brazons and the lovely scratchy finish
The further away you are the better it looks
The chainstay bridge
I like it, sort of steampunk industrial.

So over the weekend I bolted all the bits back on including the mudguards, and then I rocked into the build of a simple but effective rack. This was made out of some 3/8th 4130 tubes that I got from the lovely Lianne from Aviation and Performance Parts. I have also ordered the tubes for my stem that I am going to make soon.

A fine gentlemanly steed
Can't get much simpler than that, I am pretty happy with it although it probably needs a bit more bracing. I will add that if it breaks

I have ridden it all this week so far, and apart from a lingering fear that the fork will break and I will smash my face into the tarmac, it is totally sweet.

In other news, we have bought two new Burmese kittens to replace one of our cats that died, they are pretty cute/awesome;


The ging runs up to you and flops down on his back so you can scratch his tummy just like a dog, and the brown one likes lying on my shoulders at all times, and purrs like a mad wee chainsaw when he does.

We need some names now, any suggestions welcome..

Tuesday 12 March 2013

The commute, the stripdown and the extra bits

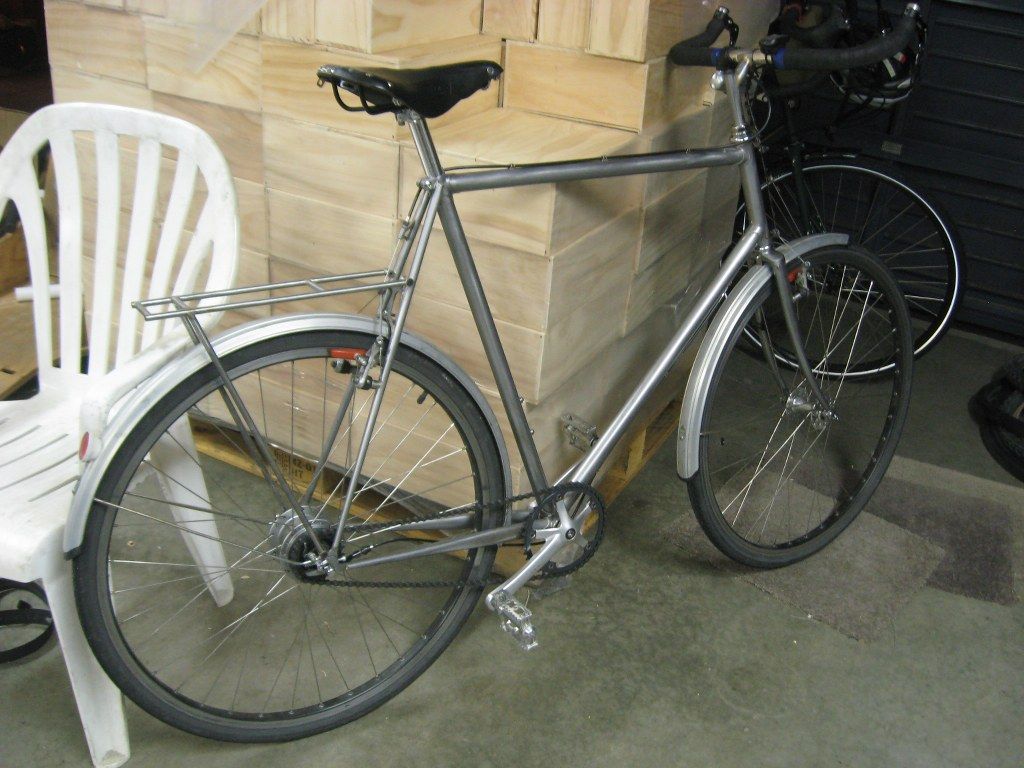
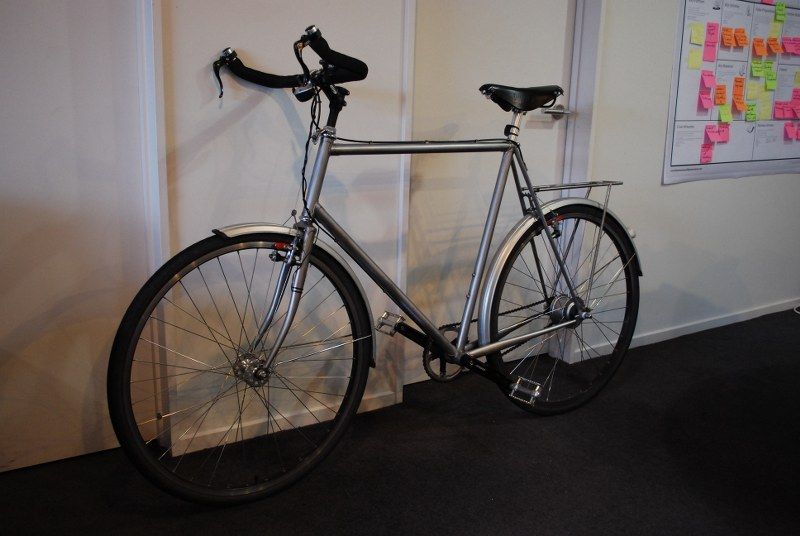
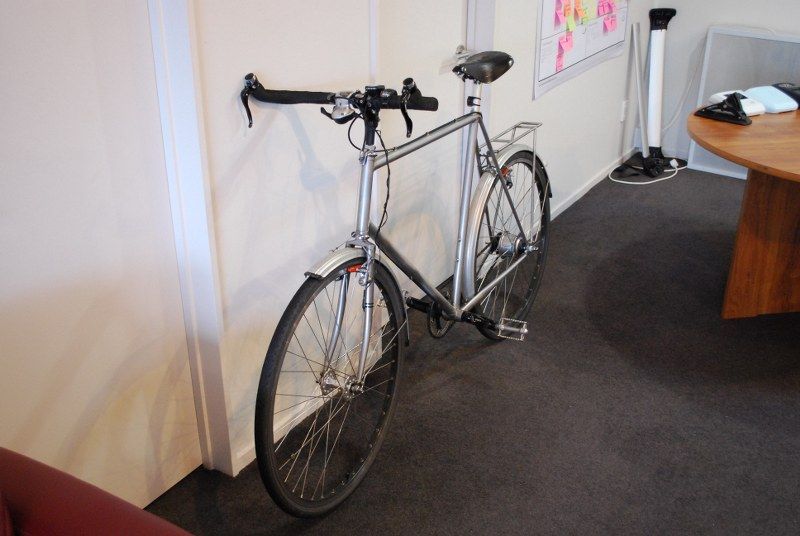
So the commute did not happen that Monday as it was slightly rainy. The bike does not yet have guards and I refuse to sit at work with a gritty strip of wetness up my arse all day, so I waited until Thursday to do the bizzo. It was a beautiful day and the ride went off without a hitch, the bike looking, feeling and performing flawlessly. I had to do some jobs in town at lunchtime and then go to Merivale to get my laser eyes checked, so ended up with around 35kms on the clock for the day.

Not one single person flagged me down in the street to tell me about the clear awesomeness of the bike I was riding, thus giving me the chance to smugly tell them that well I actually made it all myself. This was so disappointing that I had to stop in to people I knew to show it off. This satisfied my ego somewhat...

At approximately this time my eldest asked about the hours I spend in the garage and what exactly it is that I do there. I proudly showed her the bike and said I had been making this. She pointed to the wheels and asked 'Did you make this bit?', 'No'. She then pointed to the seat and seatpost 'Did you make this bit?', 'No, now go away now you horrible little shite'.

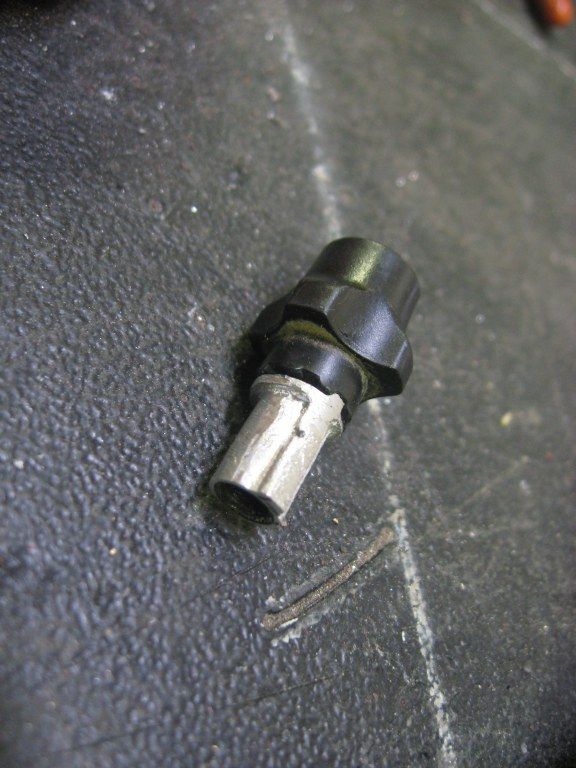
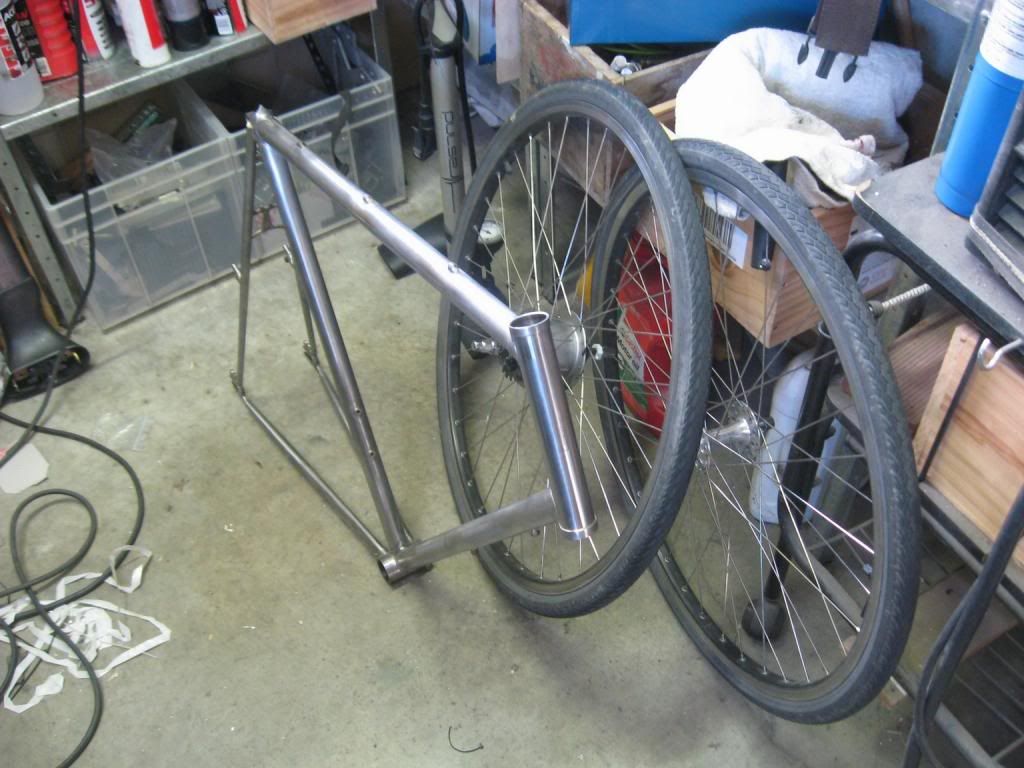
I then decided to strip it down, and shortly I had this pile of bits;

Those rims are Salsa Delgado Cross Rims, the front laced to a very sexy VO Grand Cru High Flange hub.
A pile of bicycle parts yesterday.
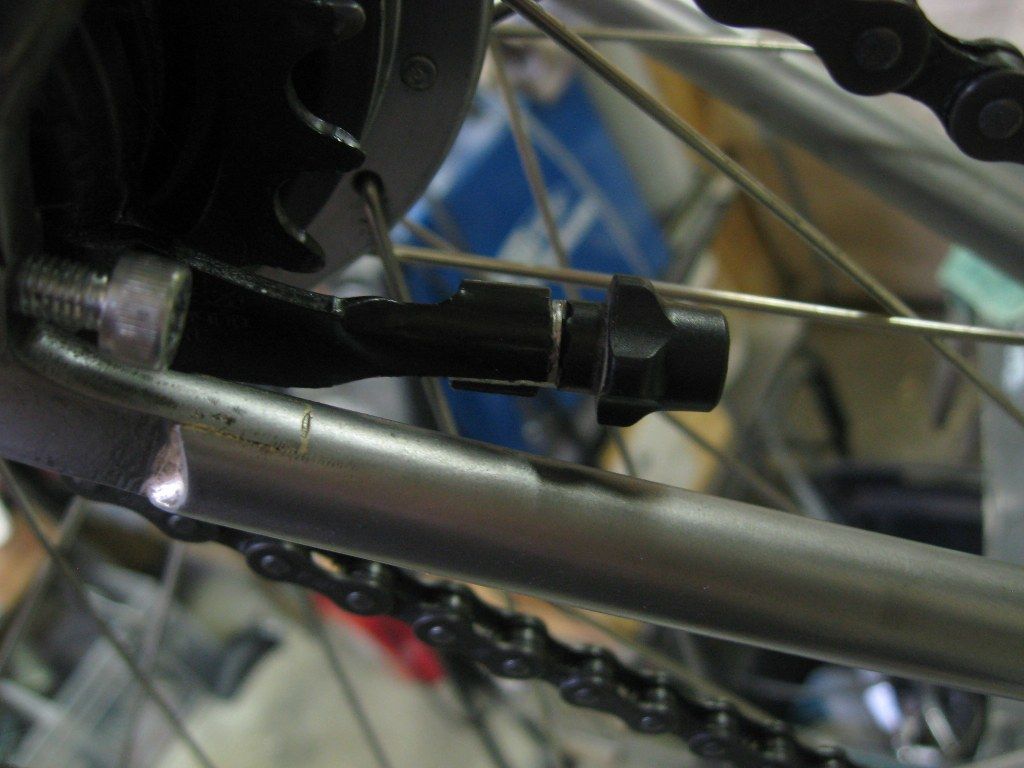
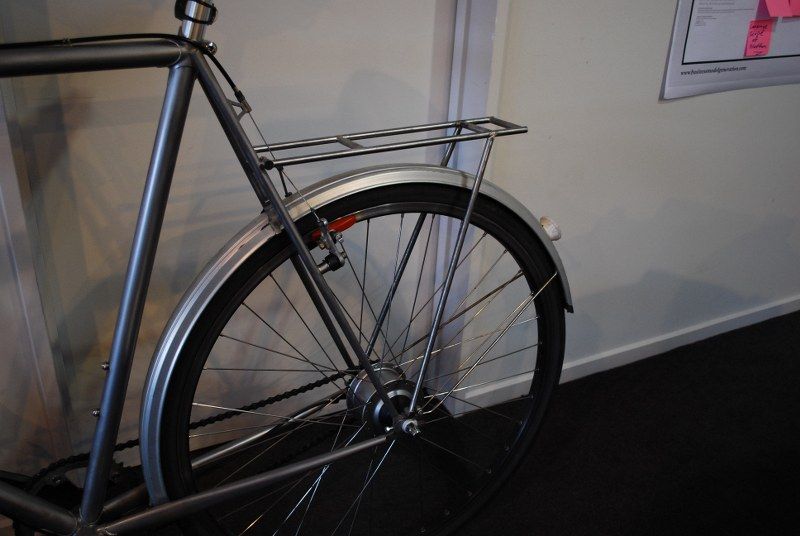
I then drilled and tapped the guard mount on the fork, and added the rack mount eyes and the chainstay bridge. Unfortunately about this time the batteries on my camera gave out so I have little photographic evidence;

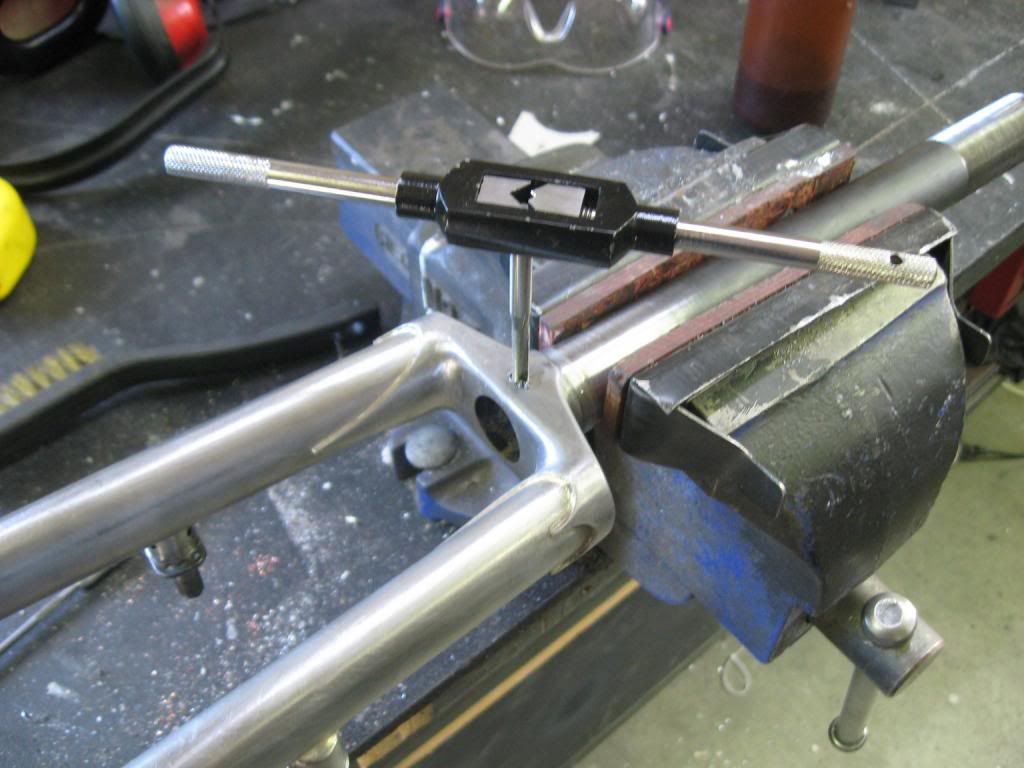
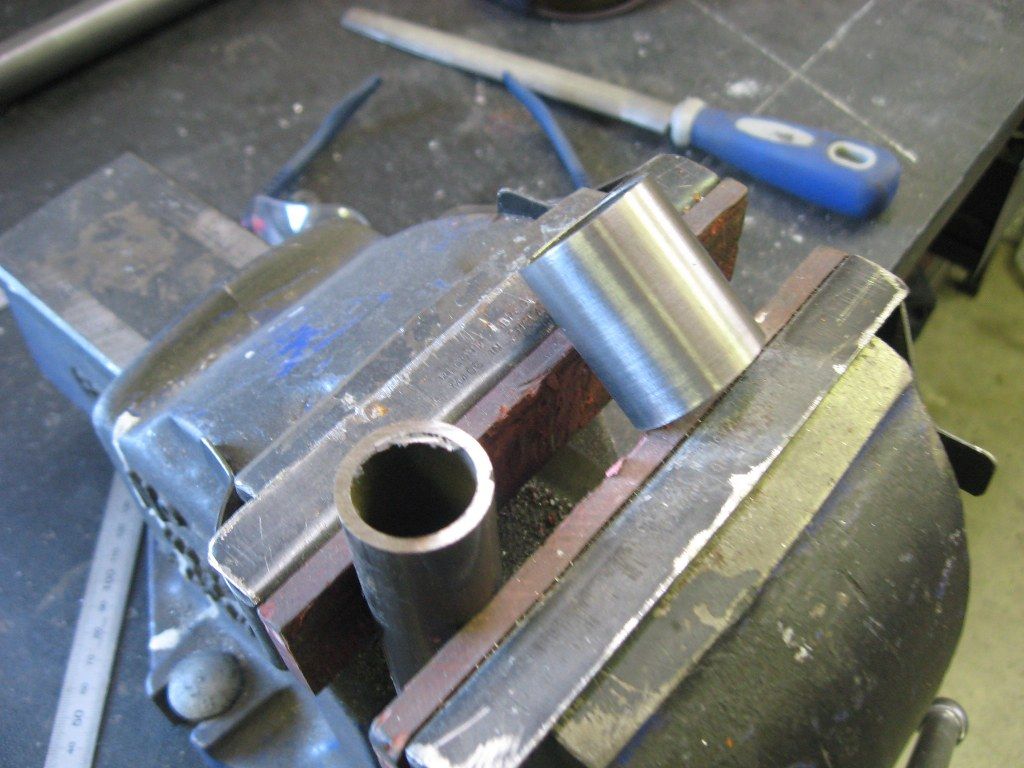
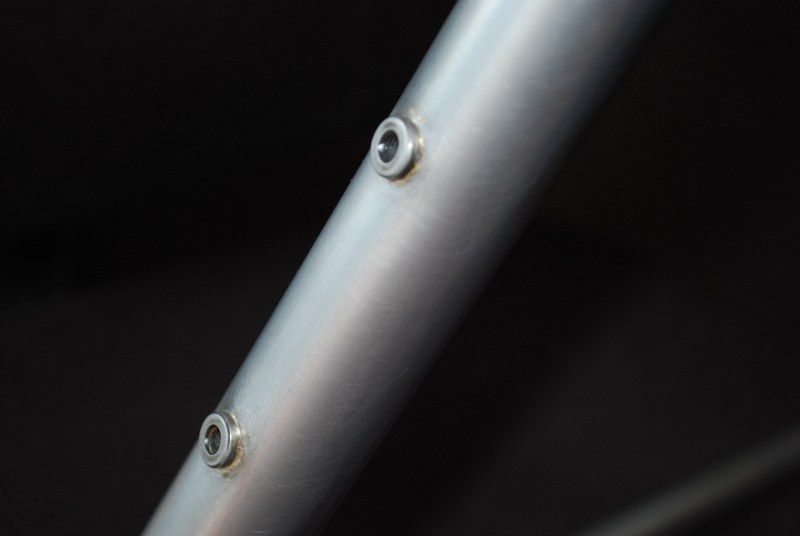
Tapping the M5 Guard mount hole
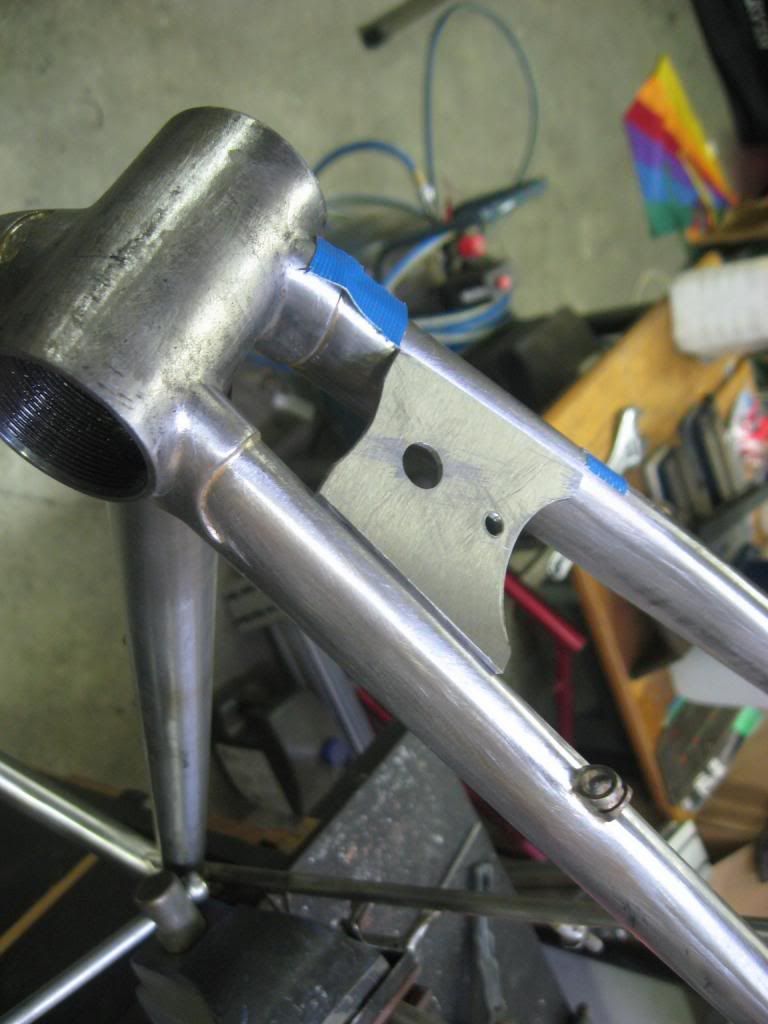
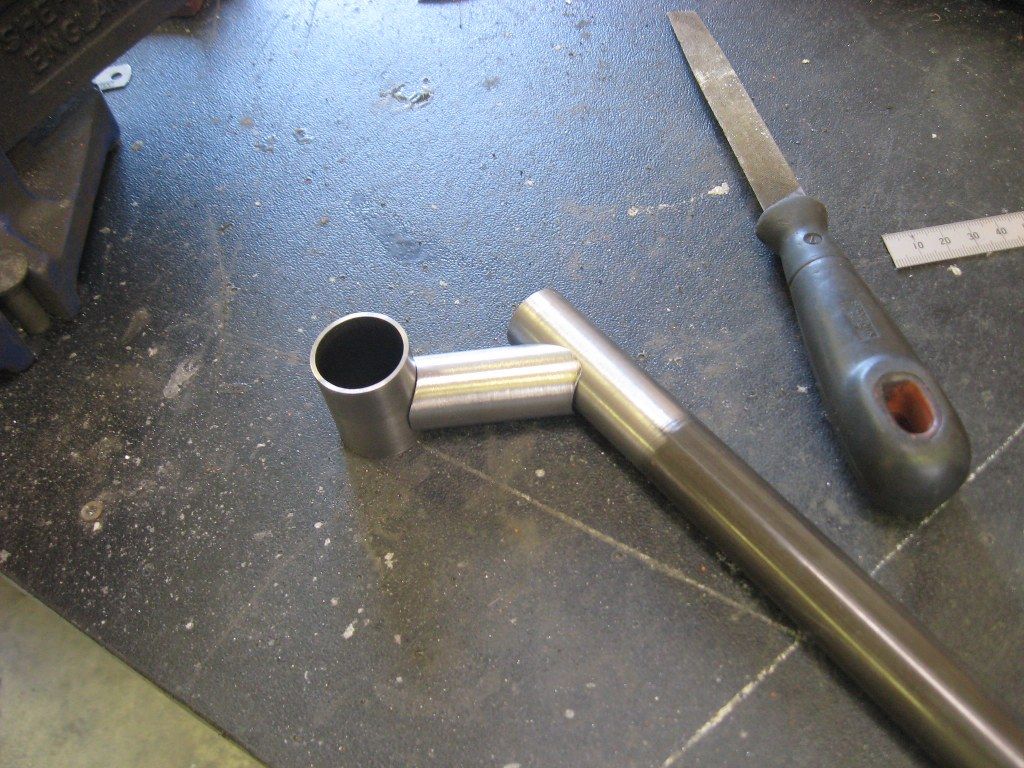
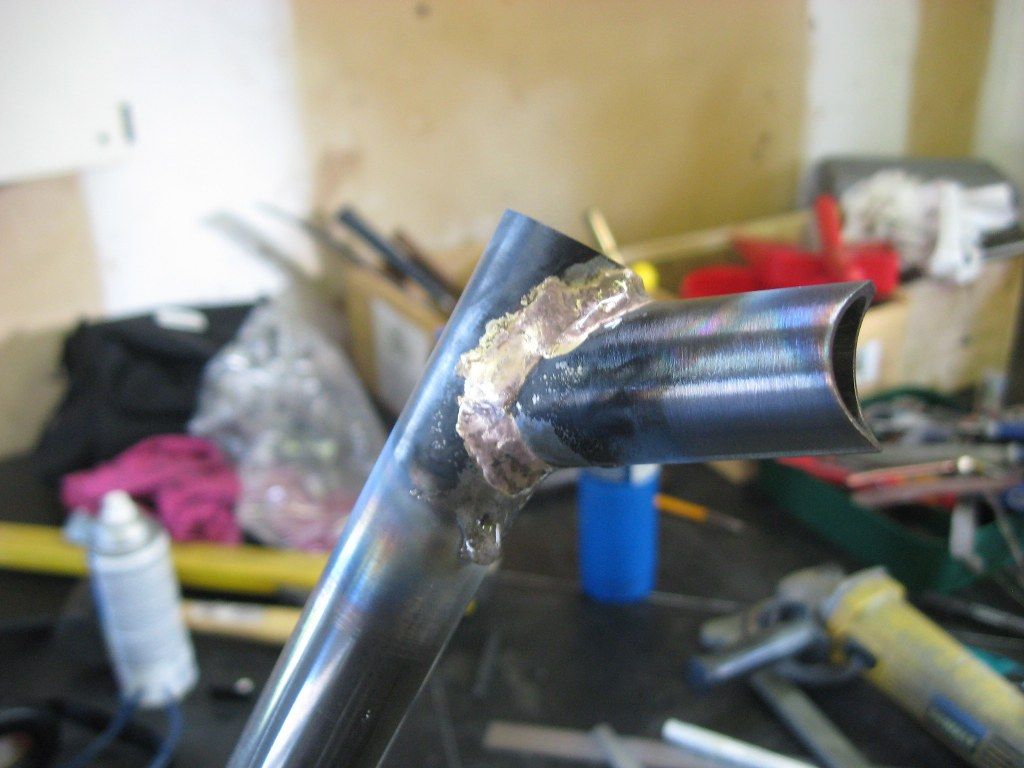
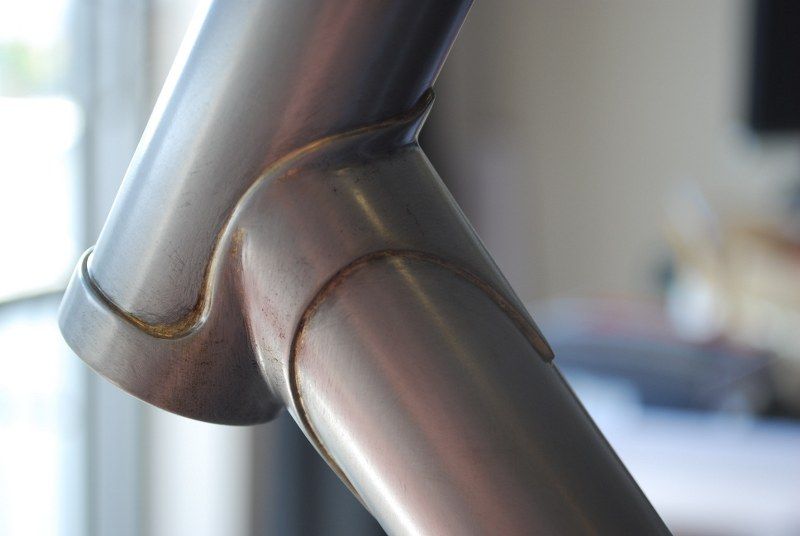
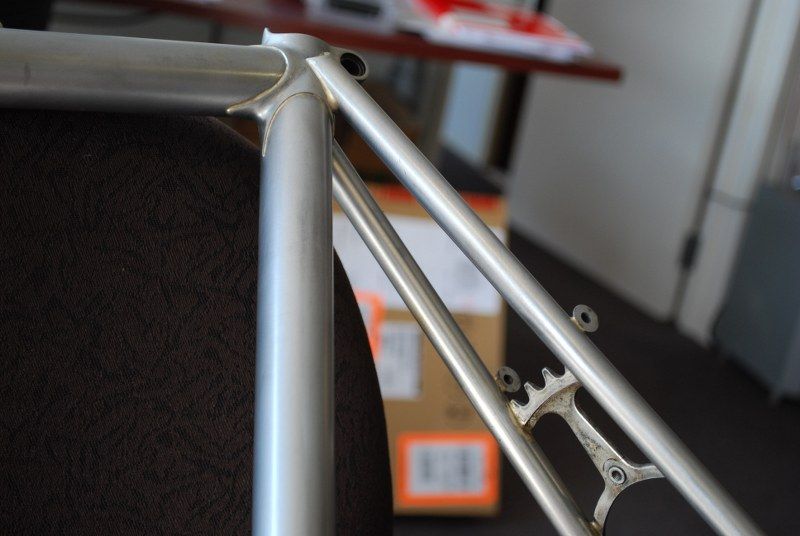
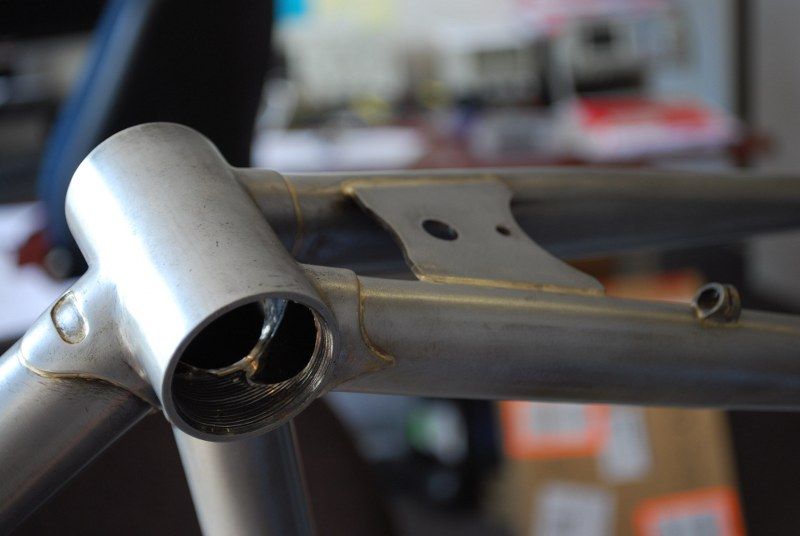
Positioning the chainstay bridge ready for brazing, the big hole is to fit a kickstand if I need one. I may not be able to bring myself to do it though.
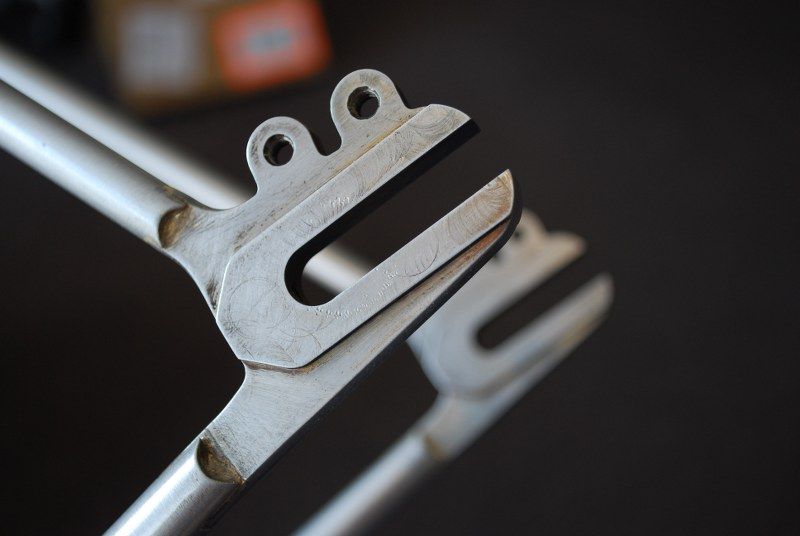
 Once I had all those bits on I then spent a considerable amount of time - about an hour per joint - cleaning up all the lugs and removing filing marks etc. This was actually quite enjoyable in it's own way, and I had an audiobook of Kurt Vonnegut's Slaughterhouse Five to listen to, a very pleasant way to while away the hours...

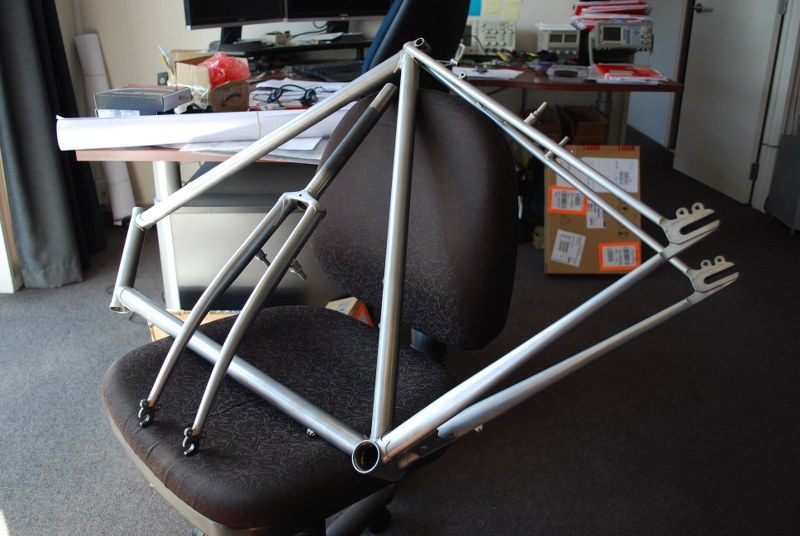
So today I dropped the bare frame off to James Lee Design for coating. I am getting it clear matte 2 pack wet sprayed, this will show off the frame warts and all. I am probably quite far from the norm with this sort of thing, but I really like things being actually what they are, with no pretending whatsoever. If I thought I could get the frame to look like it does with no protection at all then I would, but practicality rules over all.

I should have the frame back for the weekend hopefully....