Much has been happening, with the focus being on jigs and fixtures rather than actual framebuilding, but a wee bit of mitering snuck in regardless.
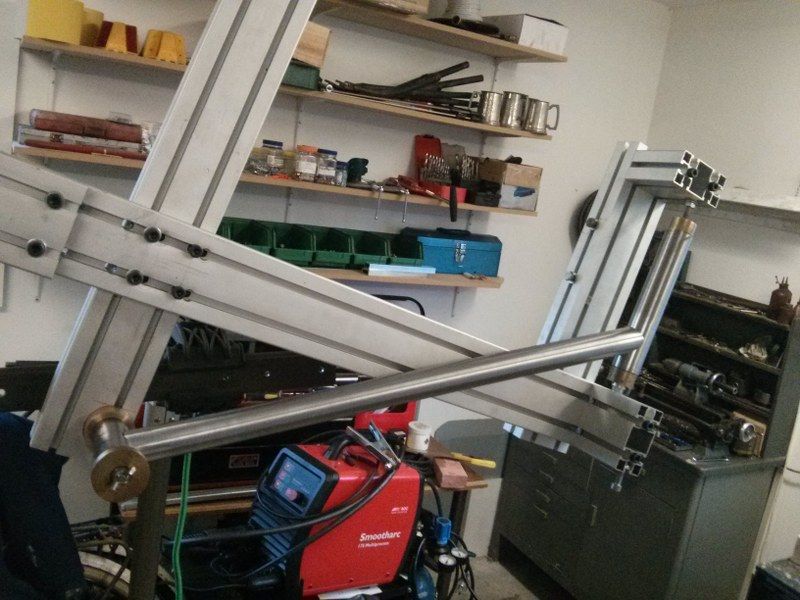
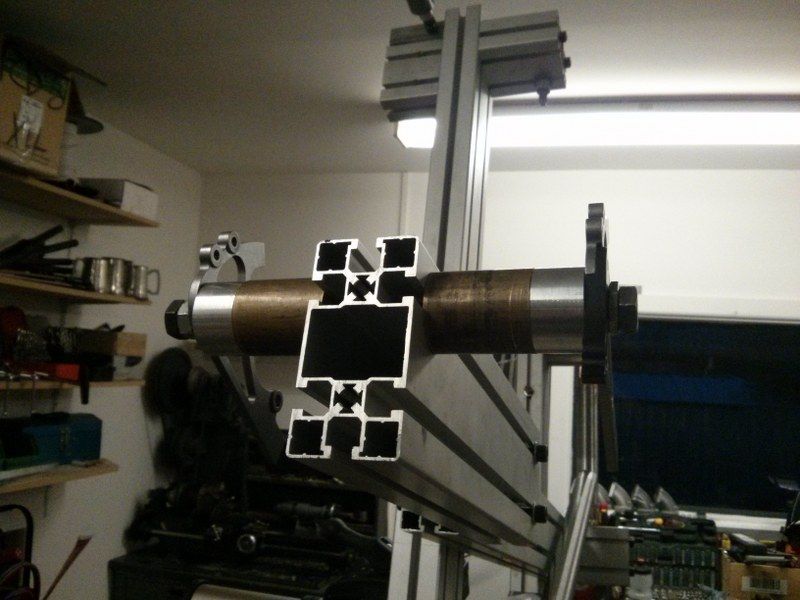
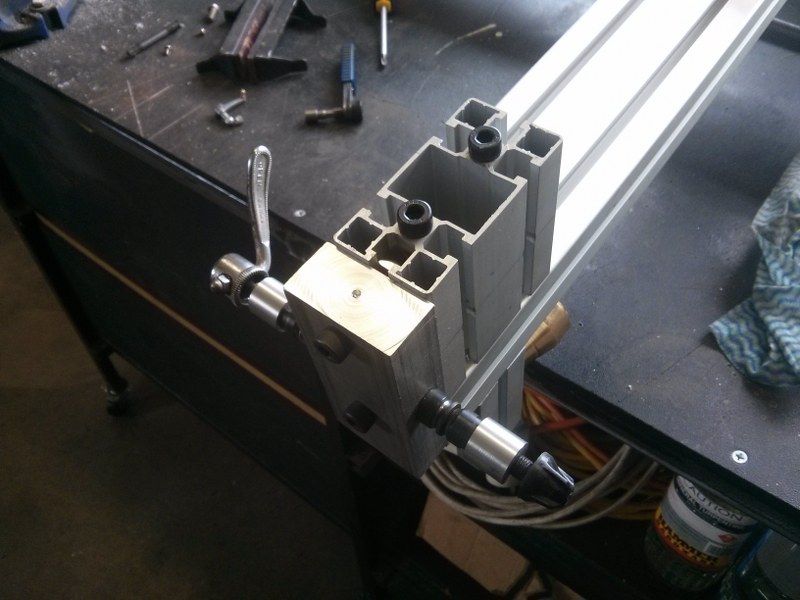
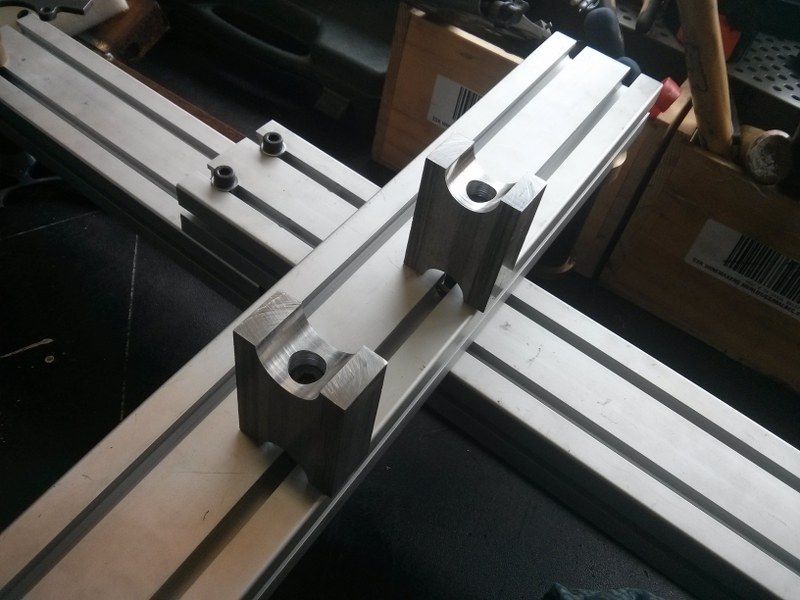
First up; the last frame jig mod...
Next I decided to tweak the fork jig to suit what I wanted as this was going to be cheaper than buying new bits of Minitec to form the backbone of a separate jig;
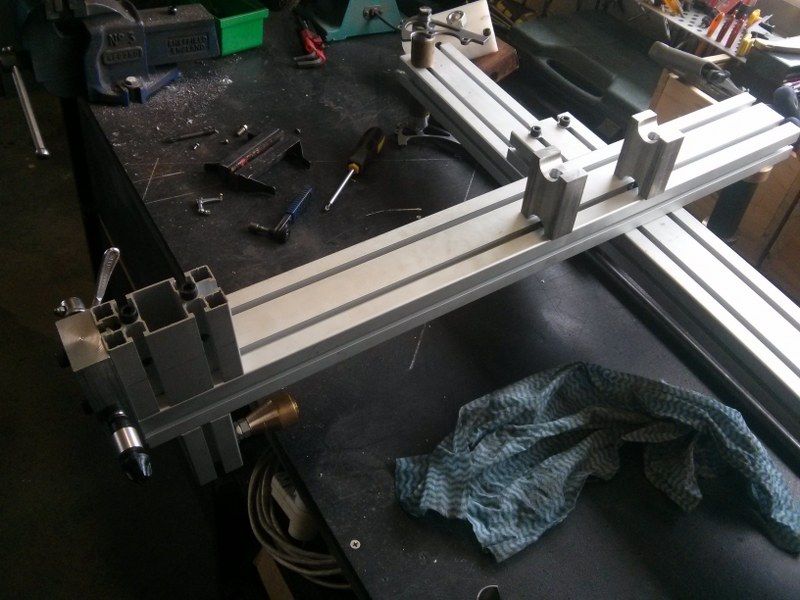 |
| Sorted, give or take a bit of setup time.... |
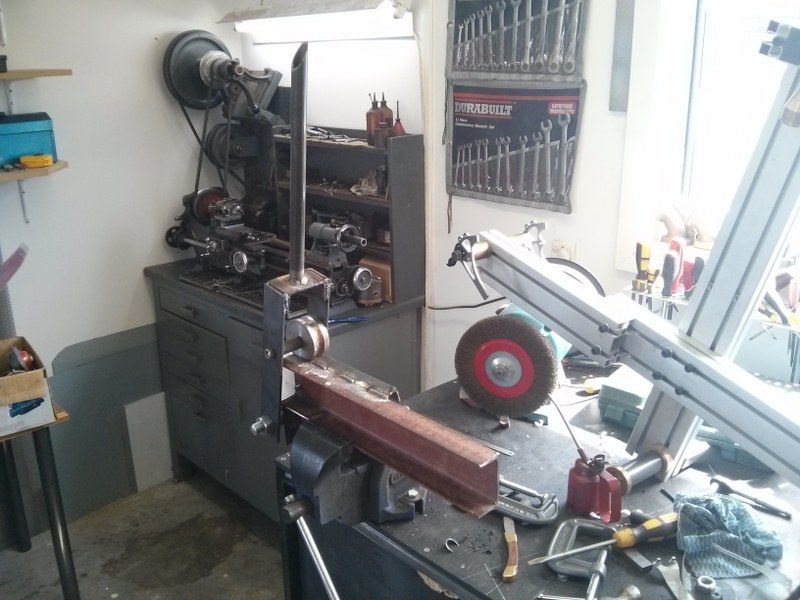
I then turned my attention to bending tubes.... now, I had a day off last Friday, and I spent a fair bit of time avoiding child minding duties by crashing about the place trying to find a good but cheap tube bender. The problem I have is that I have precisely four bends to create, so spending $640 on a tube bender simply wasn't making mathematical sense. I couldn't find anything decent for less than that sort of money so I thought I may as well have a hack and something quick and dirty to do the job. I only need 35 degrees of bend so this cut down the required effort somewhat..
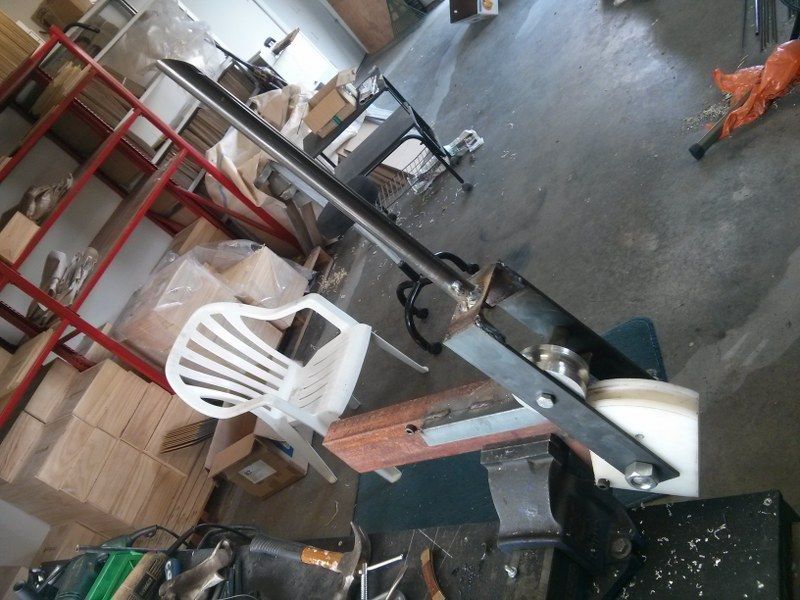 | |
| That abortive frame jig channel has finally found some use |
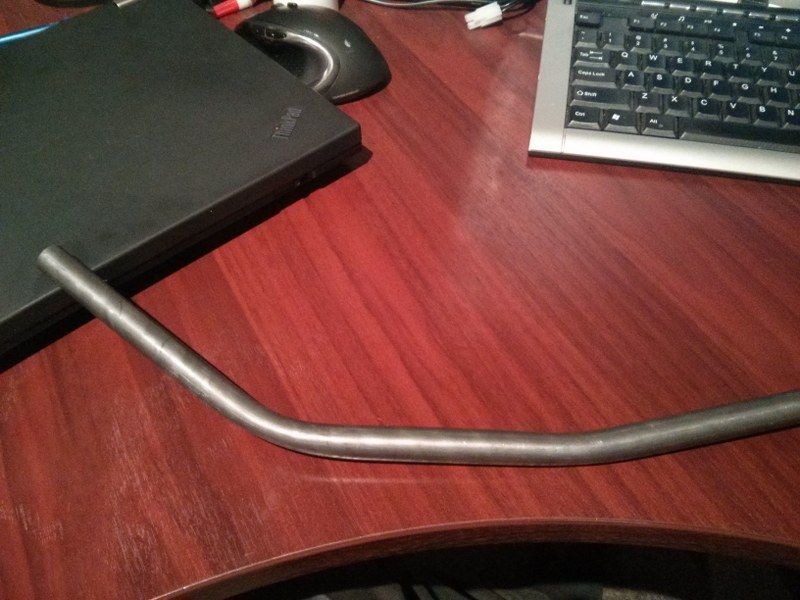 |
| The result. |
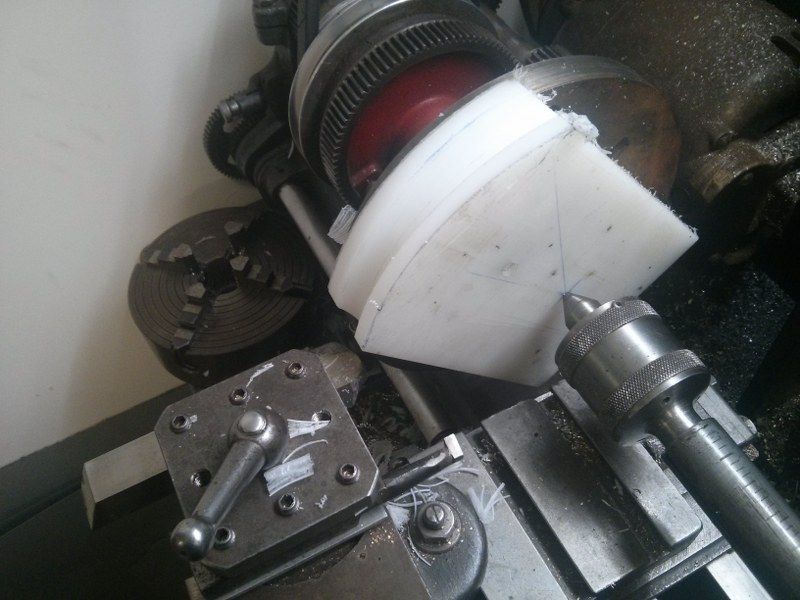
I bought an extra length of the 5/8ths tube for testing bends etc. It turns out there is a bit more crush than I am happy with on the bigger bend, so I think I will get a spring made up to fit inside. I may have a fiddle with heat as well, although I don't imagine I can get too carried away with that plastic former. This former is made from UHMWPE and sadly I can recall without any serious mental effort that UHMWPE stands for Ultra High Molecular Weight PolyEthylene. That info is a great line for pulling MILFS at parties, I can tell you. No, I cannot recall what MILF stands for sorry.
So this is all good stuff, and I am now pretty much in a position to crack on with the build. I have been boning up on my TIG skills (are you allowed to say 'boning up' these days?), even trying a wee bit of TIG brazing;
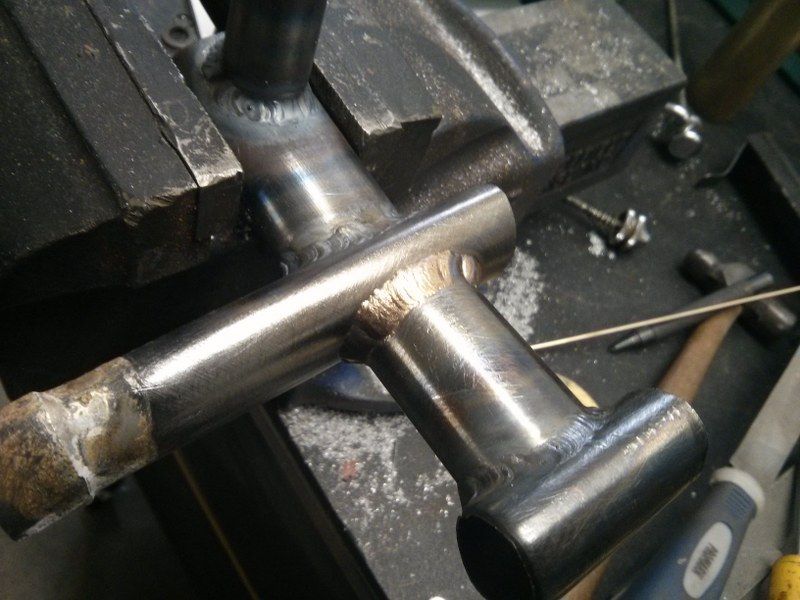 |
| TIG and TIG brazing test pieces. Not bad looking, but then I tried a more complicated joint with the TIG brazing - this was less pretty. |
This has pretty much fixed me on fillet brazing the frame, it is just so much more controllable than the TIG, although perhaps if the TIG had more refined controls (or I actually had some retained skill) this would be different.
 |
| Some manually mitered tubes, today. |
I then did a wee bit of mitering by hand, now that I have proved that the lathe is probably not best suited for this sort of thing, and I am now ready to weld the first two joints....
While on my tube bender mission I spotted this at Scott Machinery, I have decided it shall be mine.
No comments:
Post a Comment