This weekend saw two of the final parts of this particular jigsaw fall into place; I finally received the Campagnolo square taper bottom bracket that I bought off Trademe, and I built a sexy new quill stem for the bike.
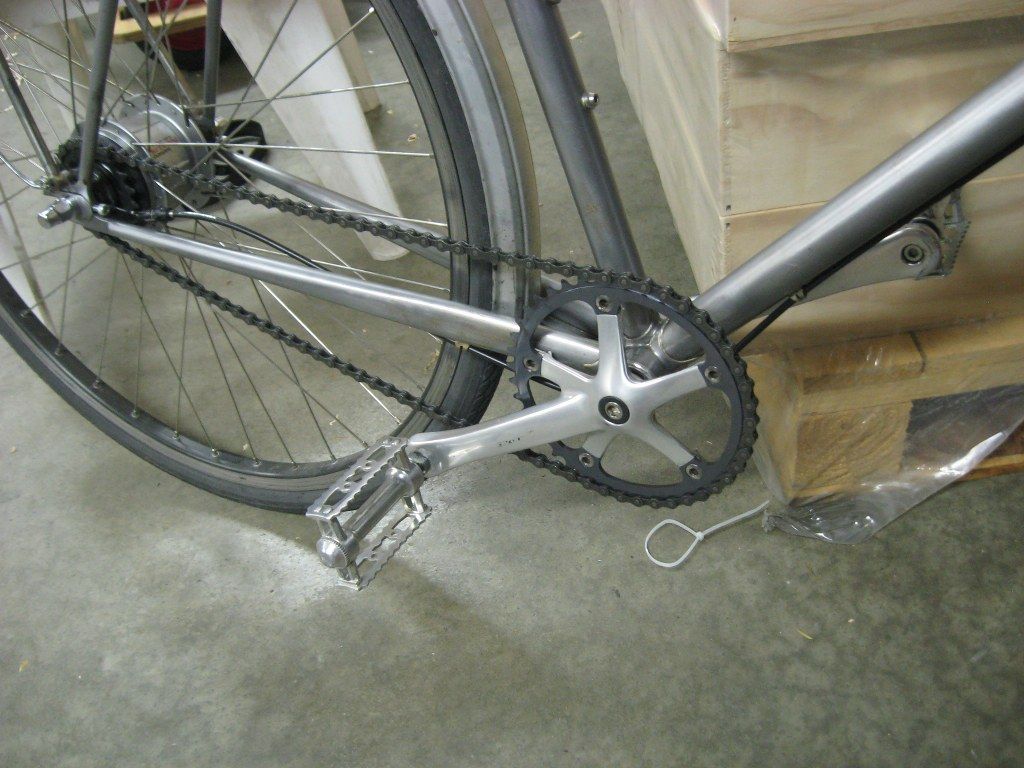
Getting the bottom bracket was great because it meant I could heave off the adequate but not really visually suitable FSA cranks and mount my decidedly second hand but still sexy 175mm Campagnolo cranks;
This pleases me quite a lot. The BB is a very narrow one and there is only a couple of mm clearance of the crank to the chainstay, but it means I can run the chainring on the outside of the crank and still get a straight chainline...
The next thing to sort was the stem, as I was unhappy with the visual bulk of the quill stem adaptor and BBB riser stem, I was convinced it would look better with a sleek raw steel number.
 |
| More 4130 goodness from Lianne |
 |
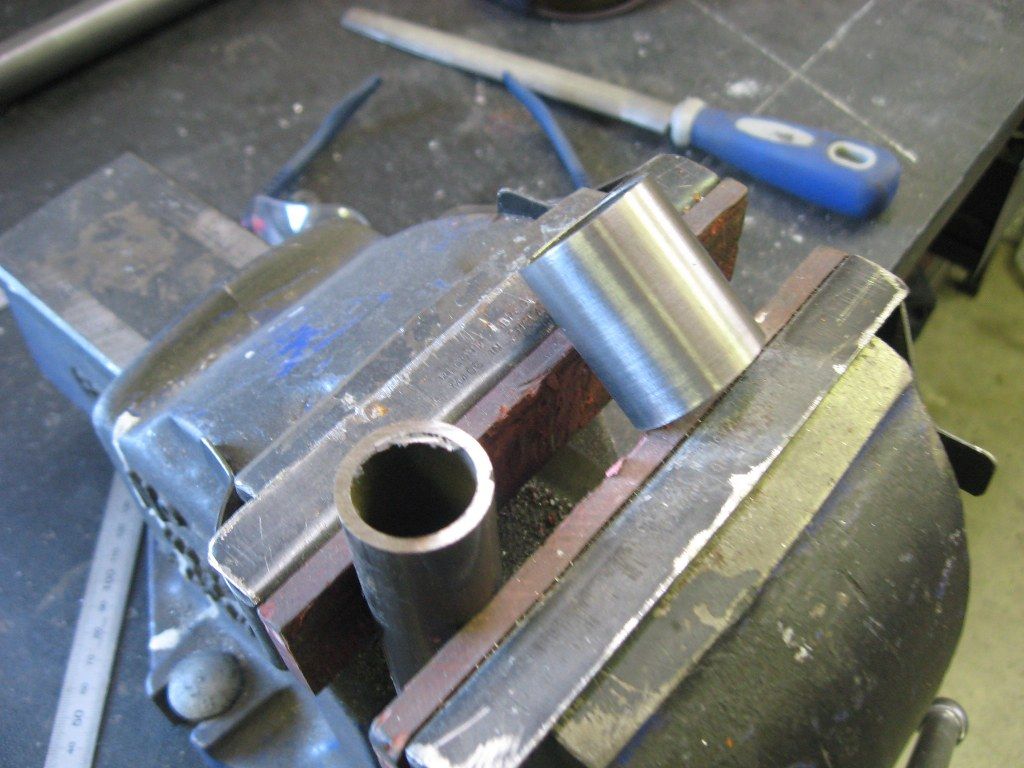
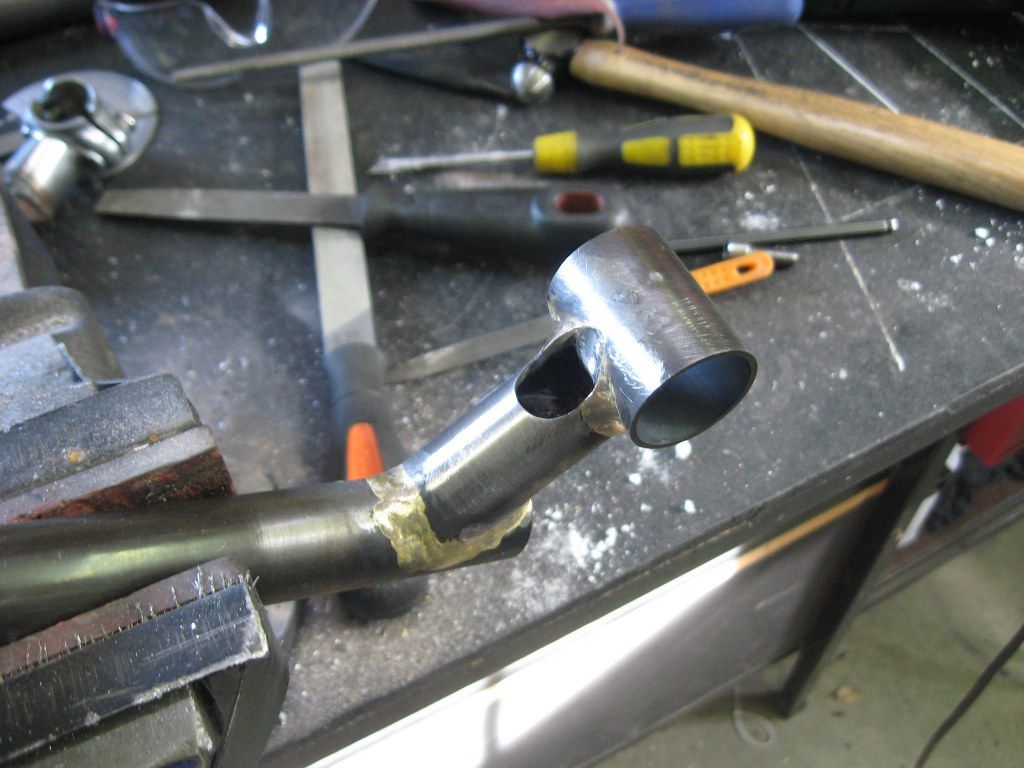
| Some mitered tubes awaiting the balmy warmth of 3500°C |
 |
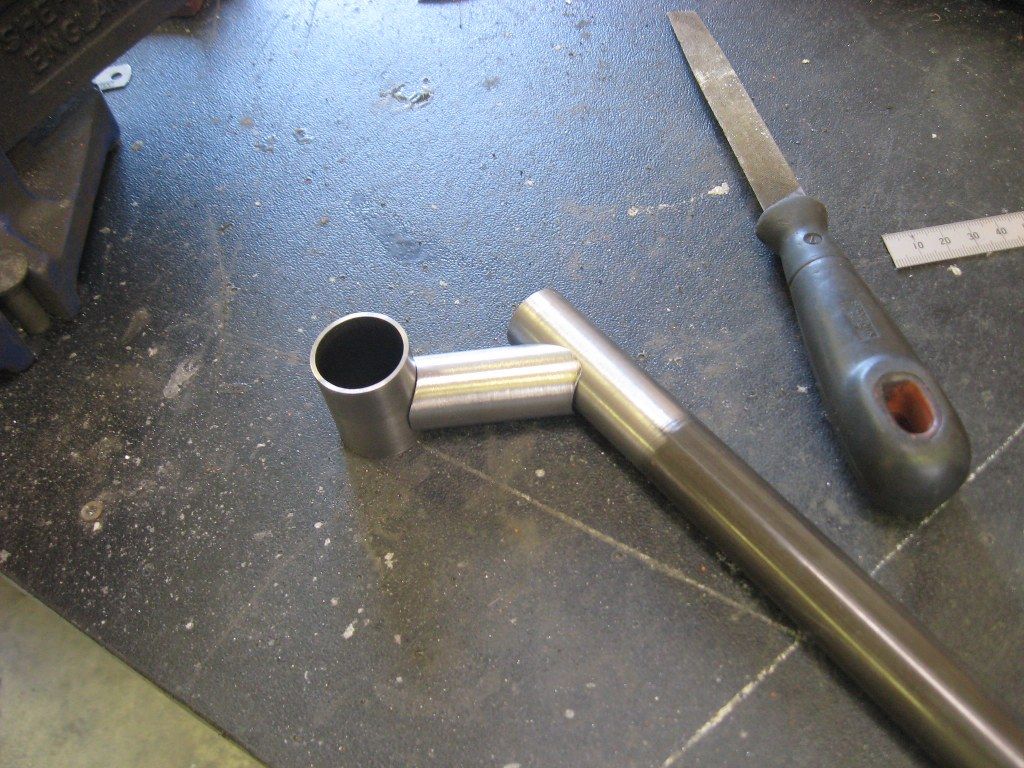
| My first legit fillet braze - yay |
 |
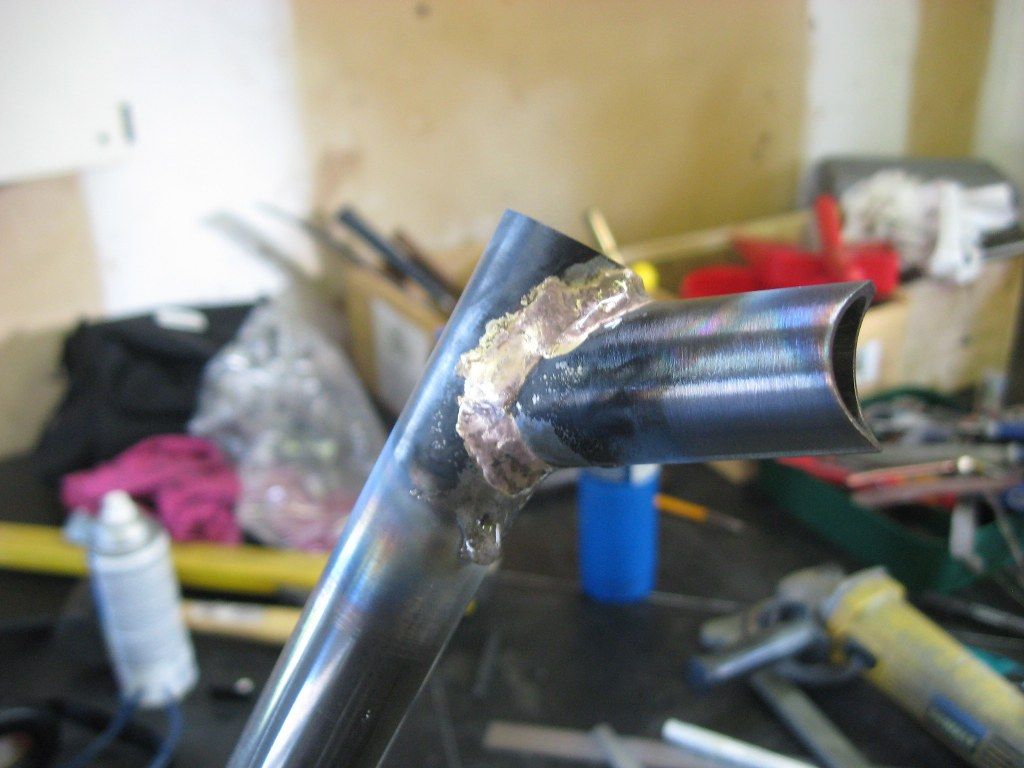
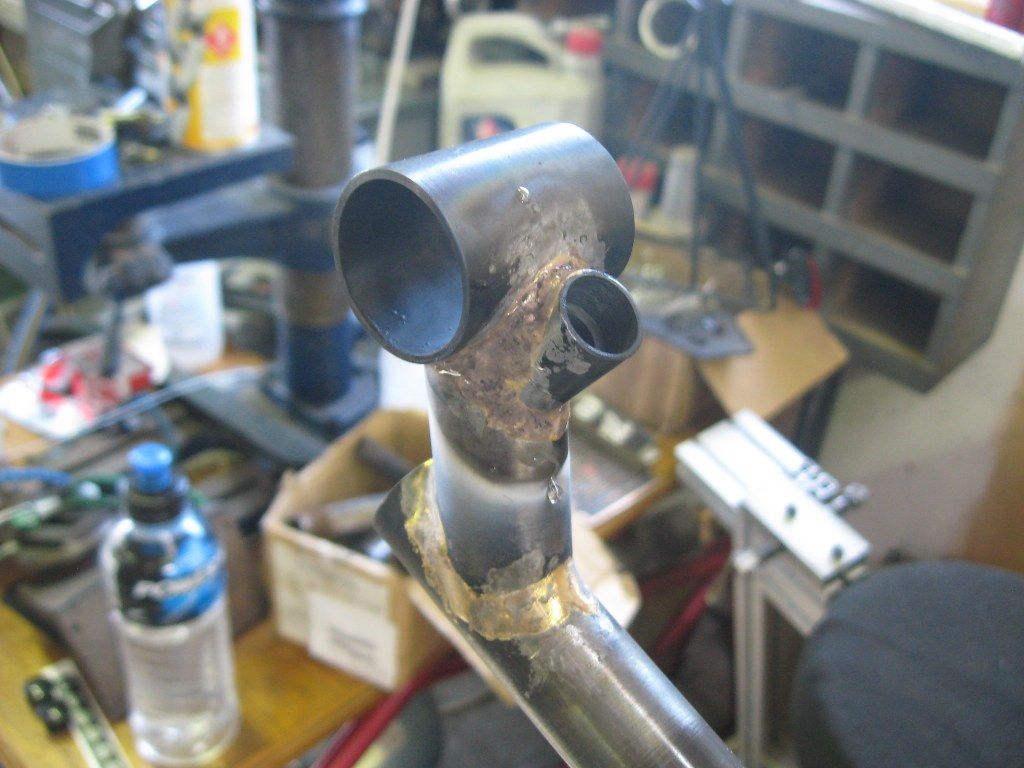
| I took an incredible amount care making sure the handlebar tube miter held the tube straight and true, there is no joy in a droopy bar. |
 |
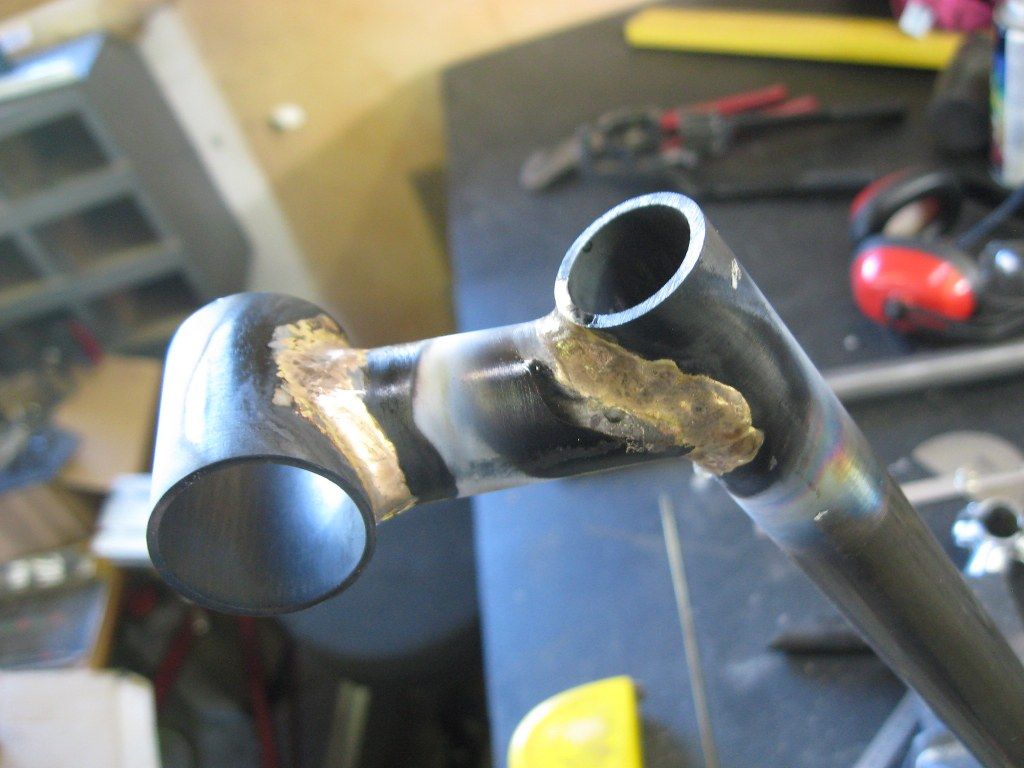
| Cutting the hole for the clamp boss - I had made the boss on the Grayson a bit earlier but forgot to take pics |
 |
| Braze in that bad boy |
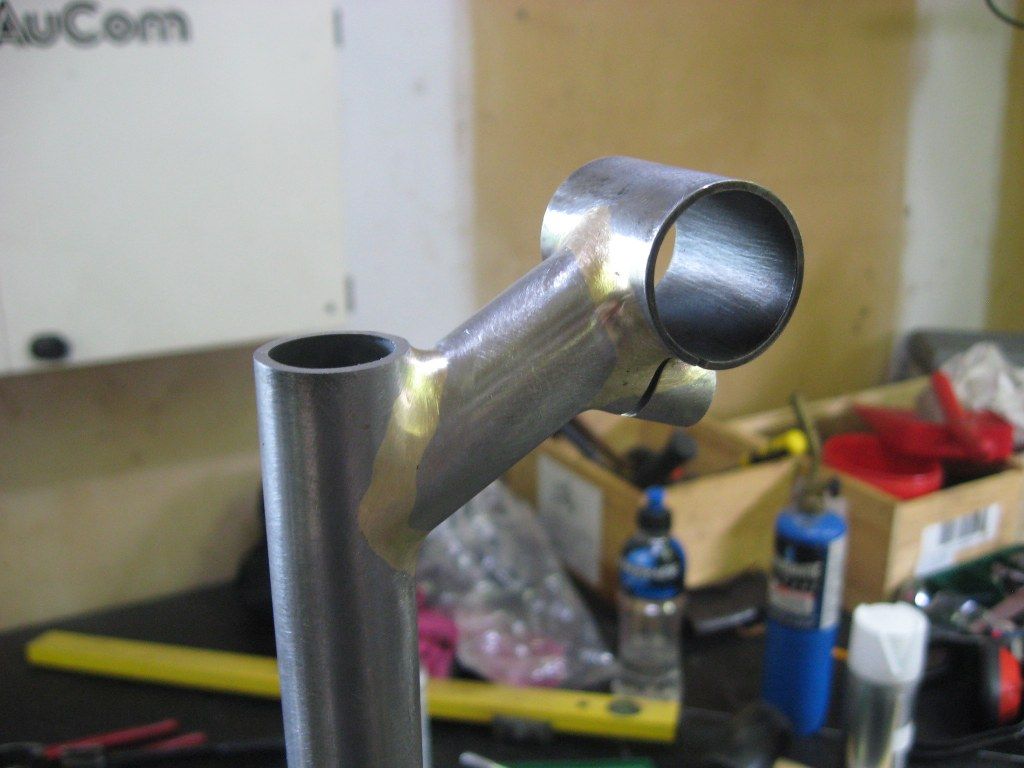 |
| Then spend much time filing the fillets to look pretty, and also slit the boss and handlebar tube to form the clamping detail |
 |
| Another view of the results of laborious filing |
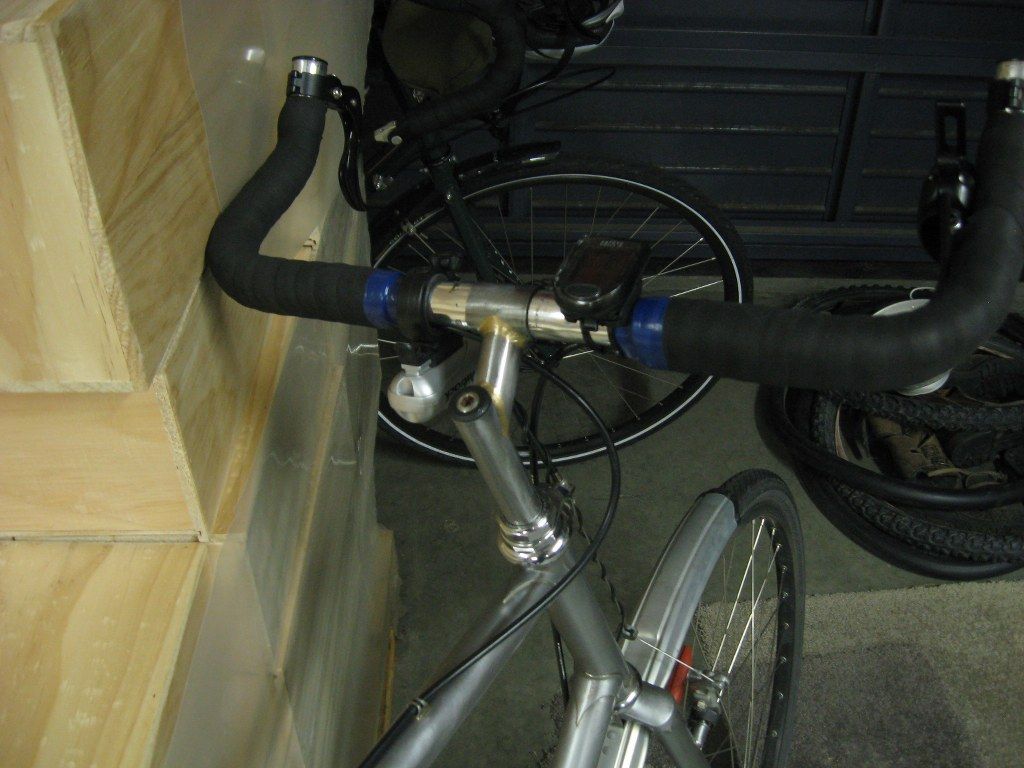 |
| Finally fitted up to the bike after a slapped on layer of clear coat. I also made a new slightly sexier bracket for the Jtek shifter, but this was not very interesting and I forgot to take a pic of it. |
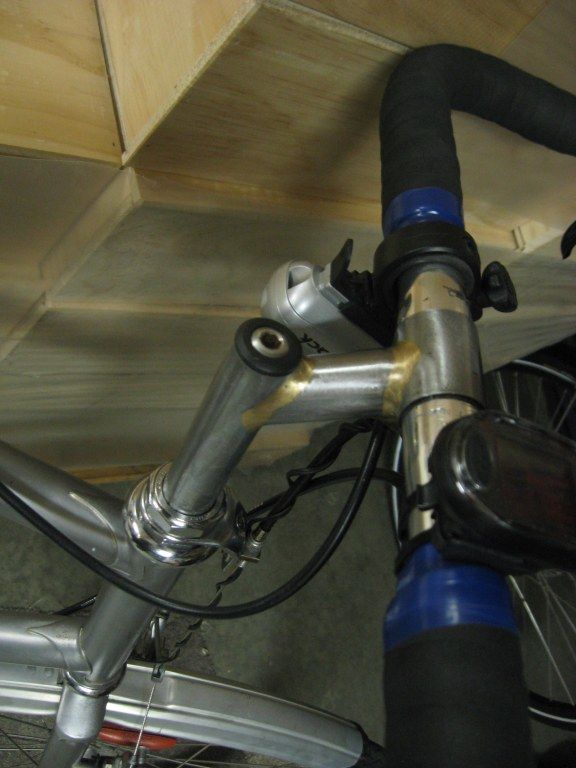 |
| Much more in keeping I reckon, although I again apologise for the blue electrical tape - I actually went to buy some more and they didn't have any black, so it is not my fault. This will be rectified at the first opportunity, I assure you. |
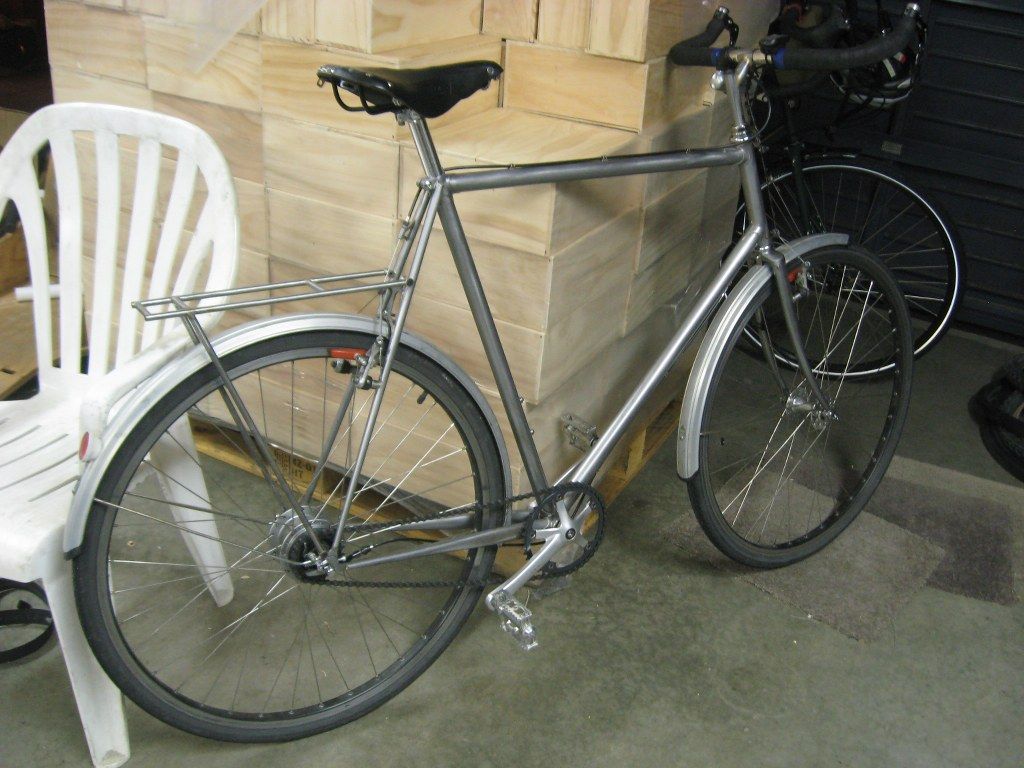 |
| The semi finished article |
I have probably been convinced that I need to paint those mudguards black, maybe this weekend will see some loving given in this direction. I also need to braze a brake light mount tab on that rack and lay down some clear coat on it, but in reality I think I am pretty much done. This is sad in a way, however it is hopefully the start of many years and miles of service for this trusty steed...
Soon I think I will get someone who is more competent than me with a camera (ie anyone over the age of five) to take some arty shots for me so I can frame them and send them to my family for Christmas.
Well done, it's very nice! The stem is a cool touch too. I look forward to the next project...
ReplyDeleteAwesome. I've enjoyed the journey. The stem looks great. I've been very impressed that your efforts on your first frame have resulted in your first bicycle! I see no twisted wreckage or fist marks on the walls either!
ReplyDeleteWhat next?
No it was pretty painless to be honest, it just needed many hours put towards it. I am not sure what is next, there will be an enforced hiatus as we move out in a couple of weeks for the EQC work on our house. I am sure one of the many ideas will take a firm hold.
Delete