One thing I did this week was to check the frame geometry against the Surly, and surprisingly the two frames are almost exactly the same apart from the top tube height, the Surly being 1cm lower. This is quite pleasing, an hopefully means that I made the right decisions when I designed this frame.
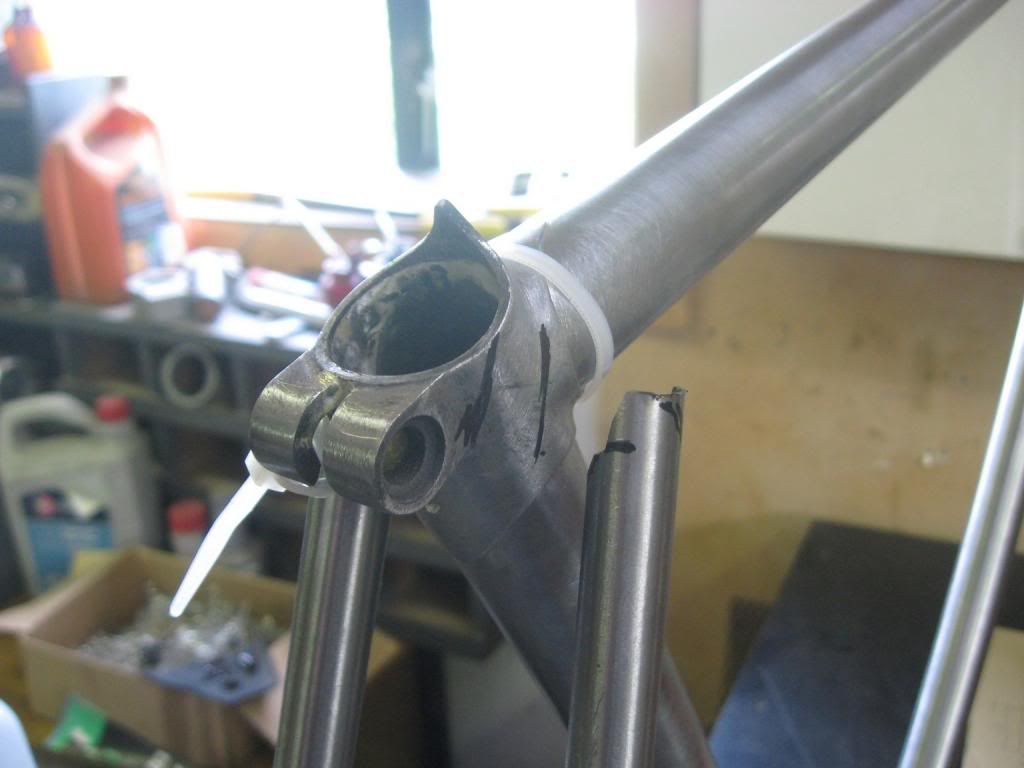 |
| Sorting the seat stays |
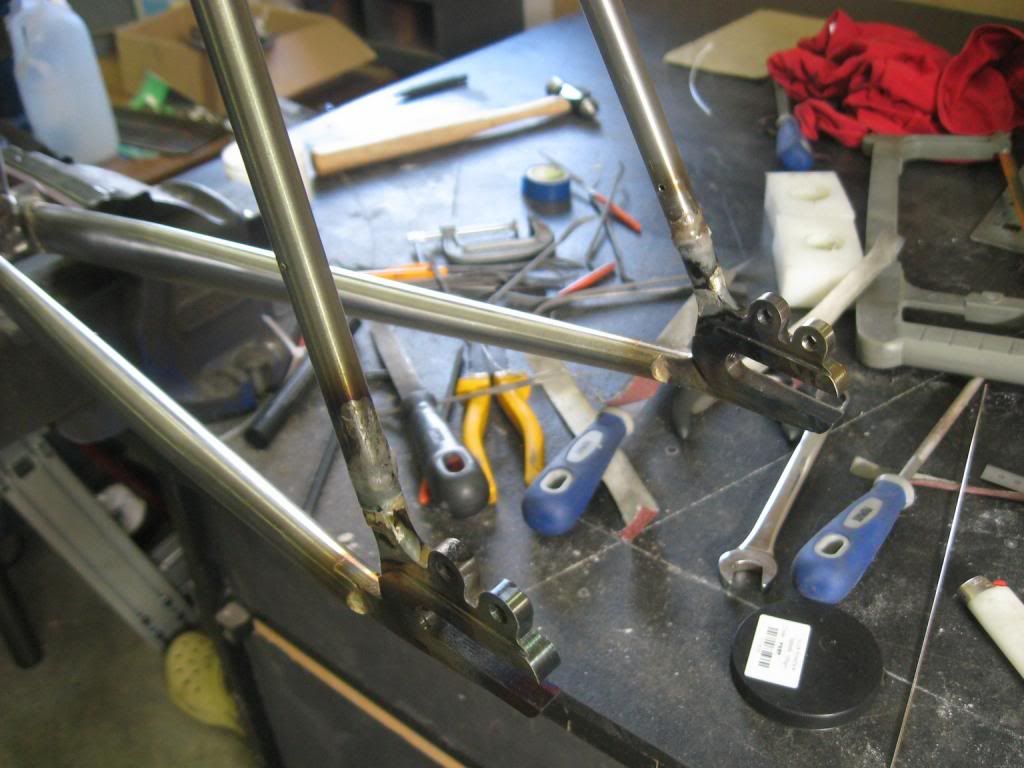 |
| Brazing the bottom of the seat stays |
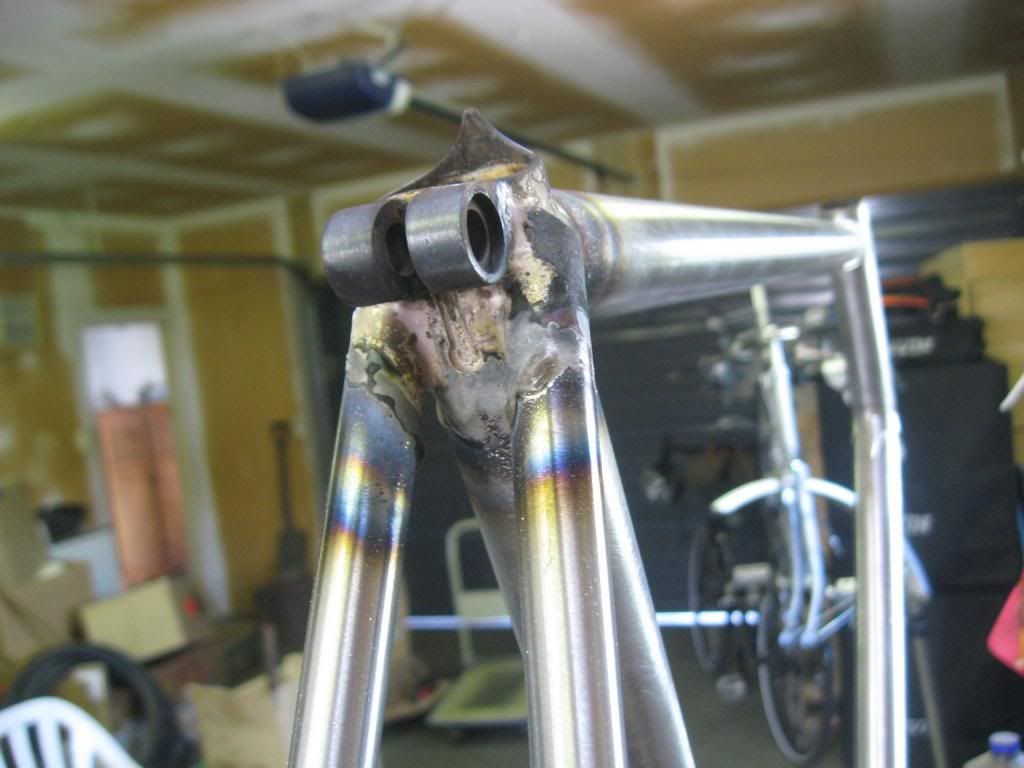 |
| Brazing the top of the seat stays |
 |
| Pretty much done :-) |
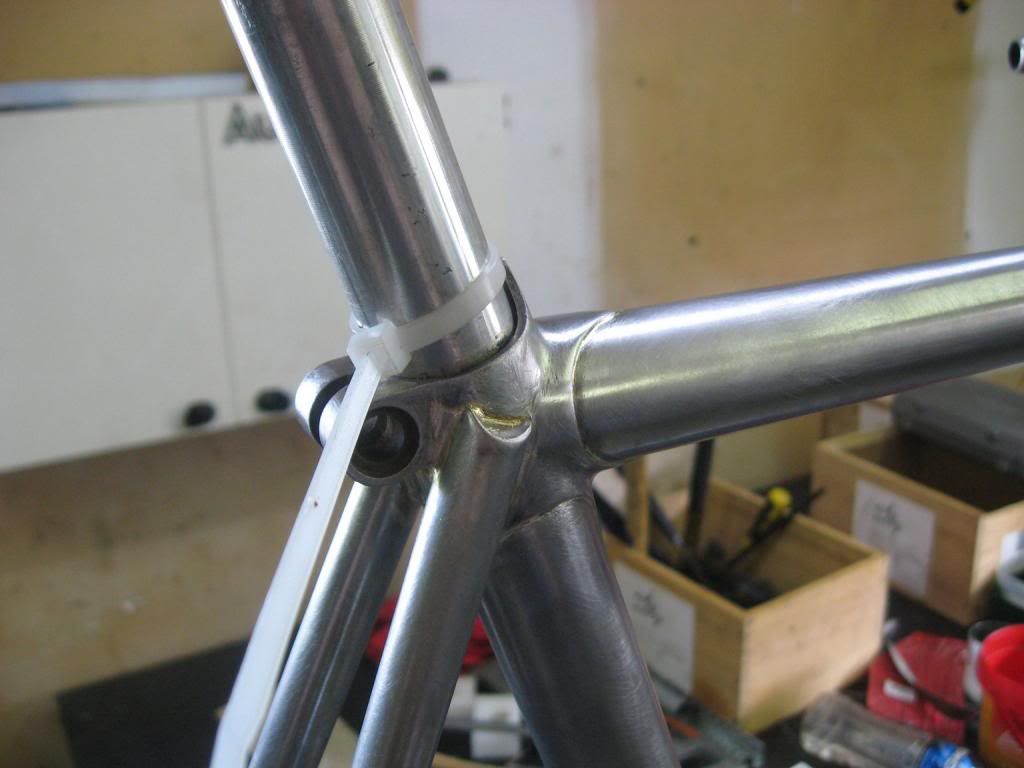 |
| Mostly cleaned up - I decided to just keep things simple with the top of the seat stays and replicate what I have done with the dropout joints. |
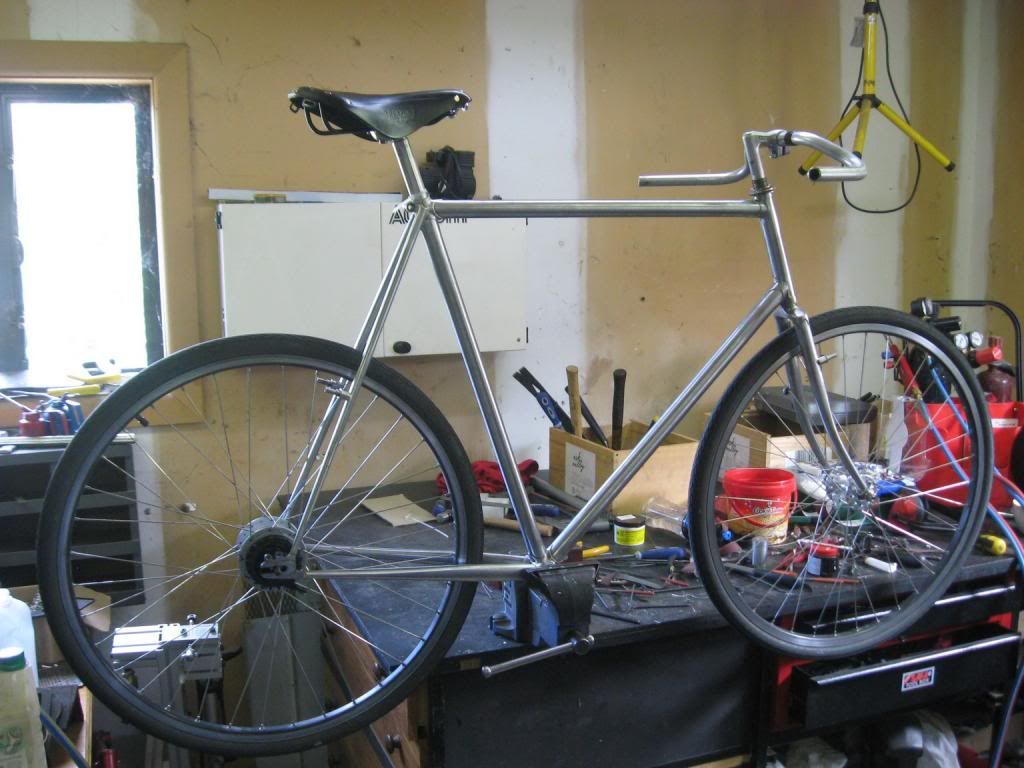 |
| I got so excited I decided to mock it up - OMG a wild bicycle appears! |
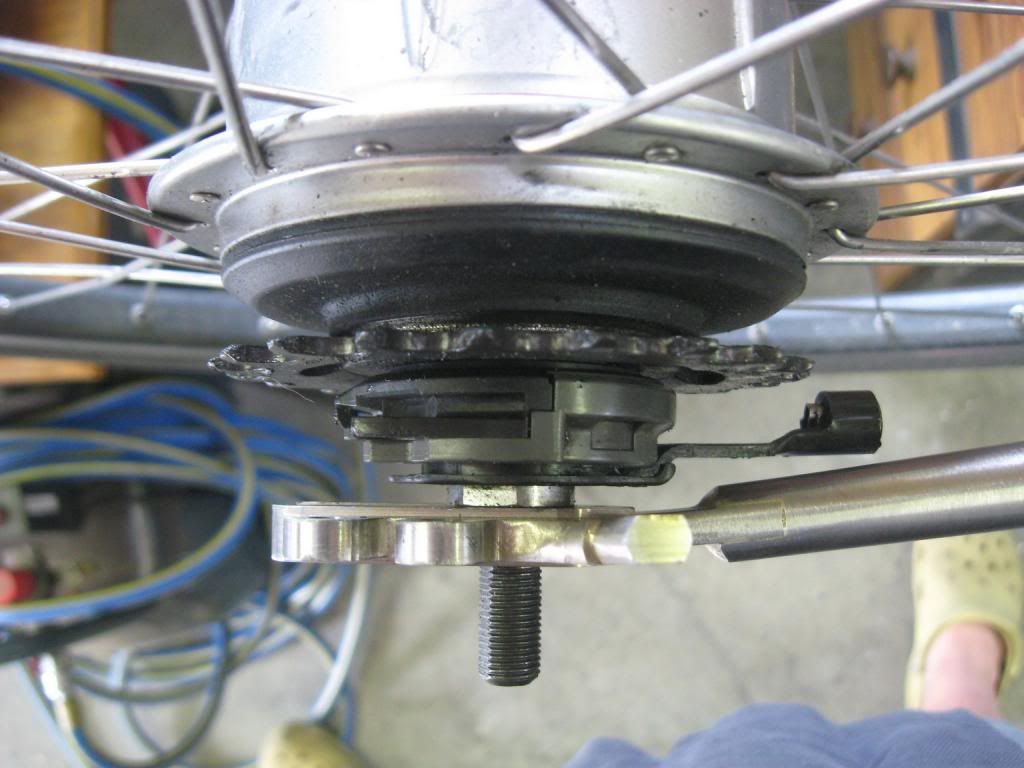 |
| Plenty of room for the Alfine mechanism |
 |
| Still some fine cleanup work to do on all the lugs... |
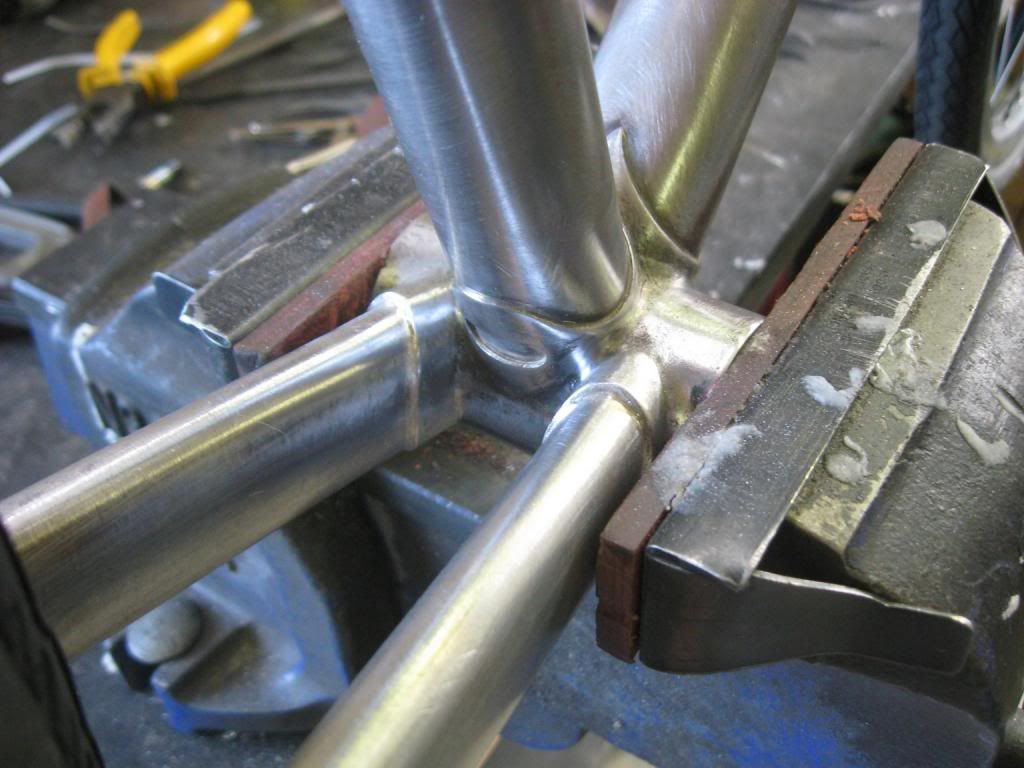 |
| A recently brazed bottom bracket. |
As I was so into the actual making I failed to take a lot of pics and did not document some of the important things that happened. One of these was cold setting the frame. After I did the head tube to down tube joint I pulled it about a bit with a long bit of pipe to make sure the angles were still the same after welding. I also did this once that assembly had been brazed into the seat tube/bottom bracket assembly. This is to make sure there are as few pre-stresses as possible in the finished frame, which would make the chances of it pulling things a bit wonky much greater.
--------------------------------------------------------------------------------
Having done most of the brazing on the frame, it is worth making a few notes on how the jig actually performed. Overall it does the job pretty well, but there are a few things that were less than satisfactory;
- Generally I did the brazing in place on the jig, and one thing I noticed is that the big chunks of brass absorb quite a lot of heat. I kind of expected this to happen, but it made getting enough heat into the joint problematic at times.
- Access to the side of the joint close to the jig was difficult, but because it tended to be the last bit you did things were already up to heat, so were still relatively easy to do. Whether brazing the nearside and then the farside of every joint is a good thing for making a totally straight frame is a question, but I tried to keep the brazing start points balanced where I could.
- Once I had the main triangle and chainstays in place it was virtually impossible to remove the frame from the jig - I removed the fitting that holds the top of the seat tube, but even then it was hard. I will probably change things to improve this for the next frame.
Overall it worked pretty well though; 7 out of 10, should pay more attention in class. Story of my life really.
The lug brazing itself I am not 100% happy with to be honest, maybe I am being too hard on myself, but I felt I was getting things hotter than I really wanted in my efforts to get silver to wick into some of the joints. The simple ones with essentially the same pipe/lug material thicknesses were ok (the head tube joints for instance), the dropout joints were not too bad either, but the ones with complicated geometry and a long wicking path were pretty stressful to achieve; the seat lug, fork crown, chainstays into bottom bracket.
I think I have enough silver in there for it to not be a problem functionally, but the bit of me that wants each joint to be a thing of total beauty created with a zen like sense of competency and completeness is displeased. Still, it is my first frame, and it is all about the learning isn't it?
Anyway, soon I shall pop out soon to the ever helpful Bob, and we shall do the prep type work ie cleaning up the bottom bracket threads, reaming the seat tube, reaming the head tube and seating the fork crown bearing race.
No comments:
Post a Comment