The great ebb and flow of shedweek has turned in my favour this last couple of weeks, the details of which will remain sketchy for fear of reprisals, but in short it involved my loving wife getting her way regarding the outside tiles currently being replaced by the insurance company, and yours truly paying a not inconsiderable amount of money to achieve tile satisfaction. Money well spent, as the look I get as I slink out the garage is significantly less worrying...
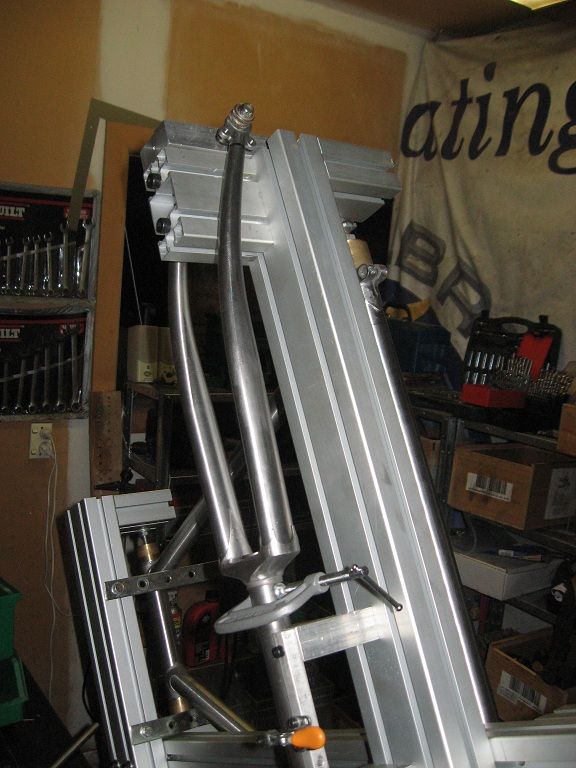
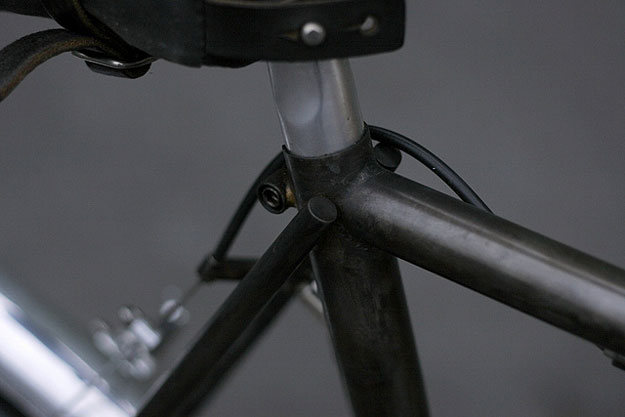
Anyway, this was the state of play a week or so ago, with all of the main tubes mitered in and looking pretty shmick I must say;
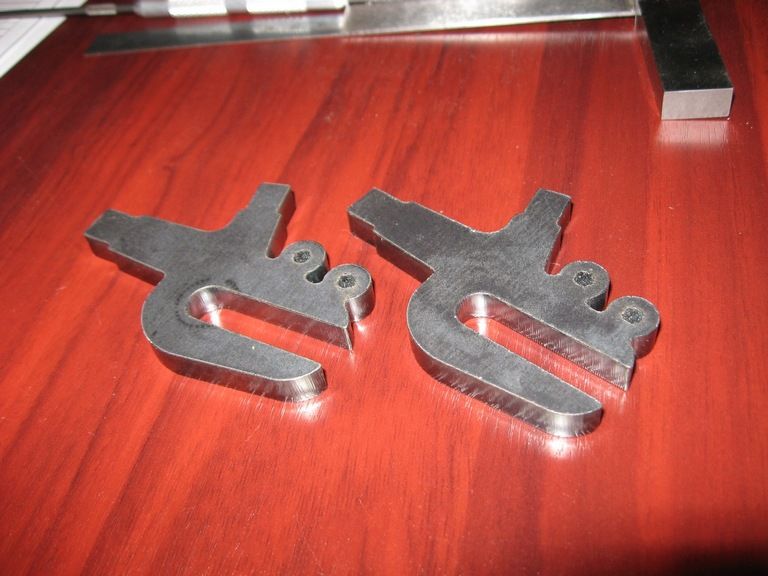
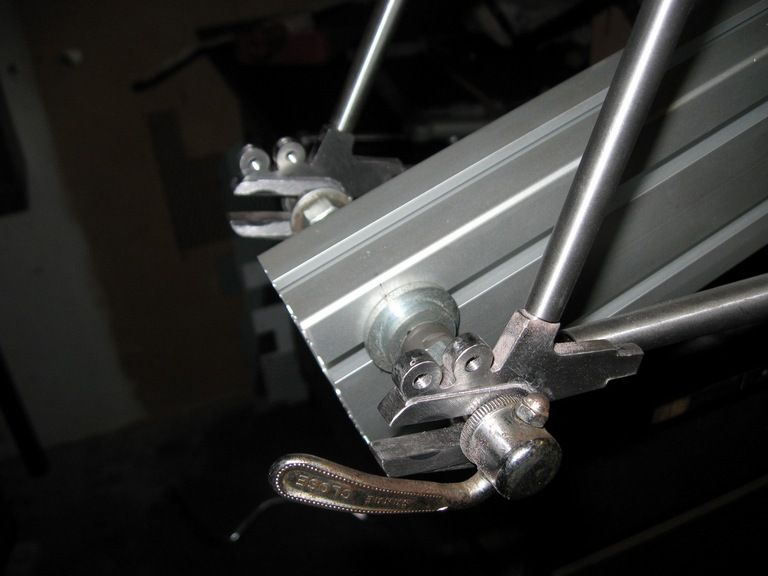
Now a while ago I mentioned some custom dropouts getting laser profiled, and these have mostly been the focus of attention this week - apart from a short evening mitering the chainstays into the bottom bracket.
This is what they looked like when I picked them up;
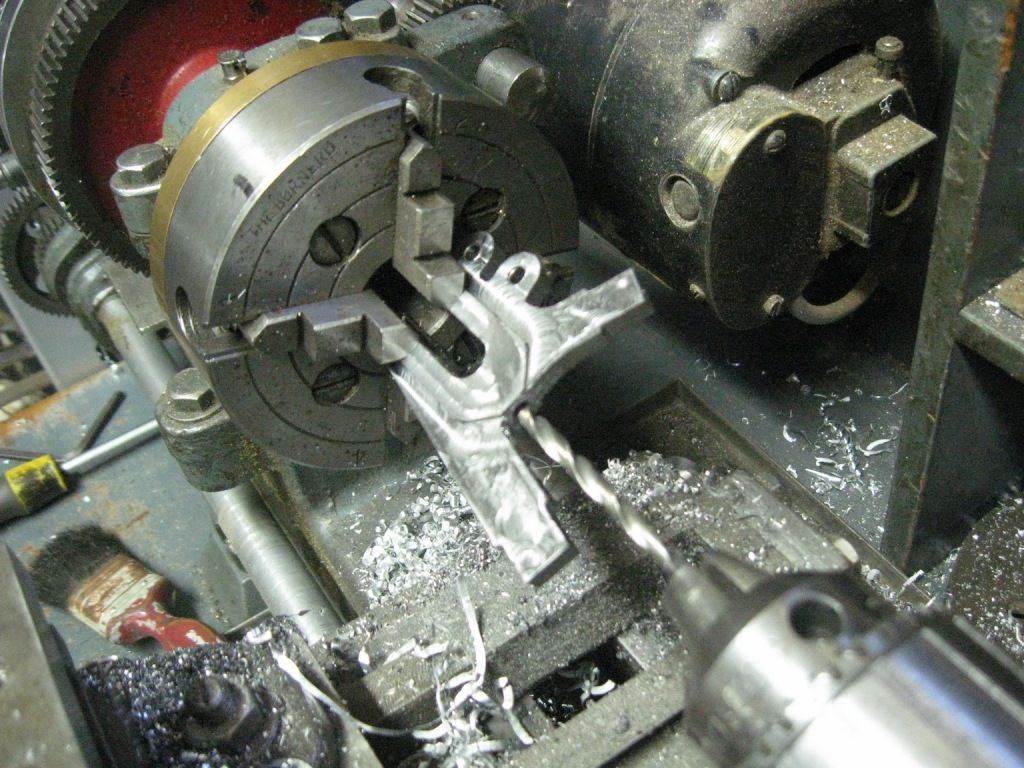
Now at this point I had the brilliant idea of using my lathe as a milling machine to cut away the excess steel on the faces, and that surely some form of compound slide attached to a vise, and then attached to the slide of the lathe would be functional, if a little awkward. The only immediately available thing (ie accessible from the comfort of my computer at 9.23pm on a Sunday night) was
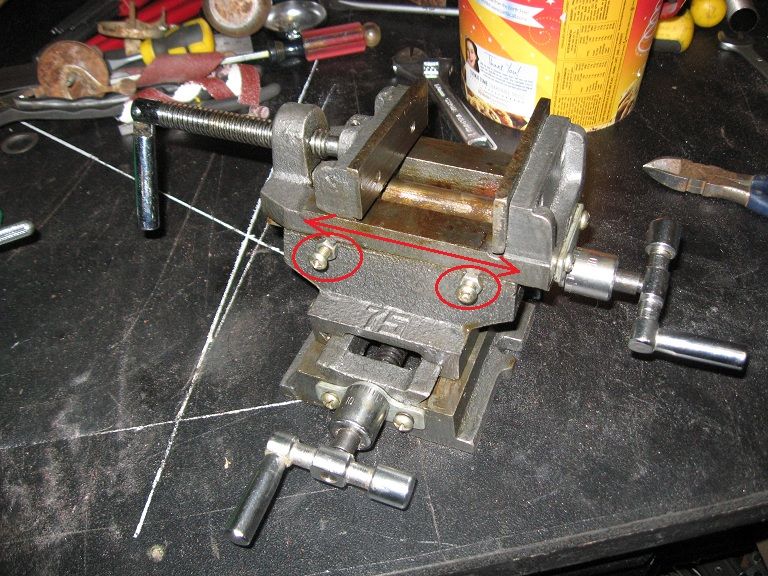
this thing on TM with a online price tag of $60. 'Gosh that is cheap' I thought to myself, 'how bad could it really be?' As it turns out the answer to that question is; 'Really, really bad'. So bad in fact, that it turned out to be not only laughably poorly made, but actually impossible to use...
Now using my crude illustration above as a visual stimulus, imagine the top slide being wound backwards and forwards (and feeling disturbingly
crunchy while this is happening). Then imagine if you will this backwards and forwards movement causing, by way of a pretty significant interference, the two highlighted nuts to rotate. The more astute amongst you will realise that those two nuts are the locknuts for the slide adjustment, and that for these to rotate by way of moving the cross slide is in fact a wrongness that is so fundamentally wrong it is difficult to find expression for it.
I should have known really, I took the punt on a hydraulically adjustable work bench from the same company once for an assembly jig I was making, imagine our surprise when it turned up and the working surface had a built in drainage drop of 50mm across 600mm of table, but only in one corner....obviously the lesson learnt had dulled over the years and the
prime cause had decided to refresh things for me.
So anyway, I then went to a
real engineering supplier to try and find something better. After describing my experiences and what I wanted to achieve to the very helpful man, he stifled his mirth and said I should really talk to Sam. Sam was a small man with a rather impressive grey beard who had just arrived in the shop and was waiting patiently to give me his personal opinion of Topmaq, which was not very complimentary much to my surprise.
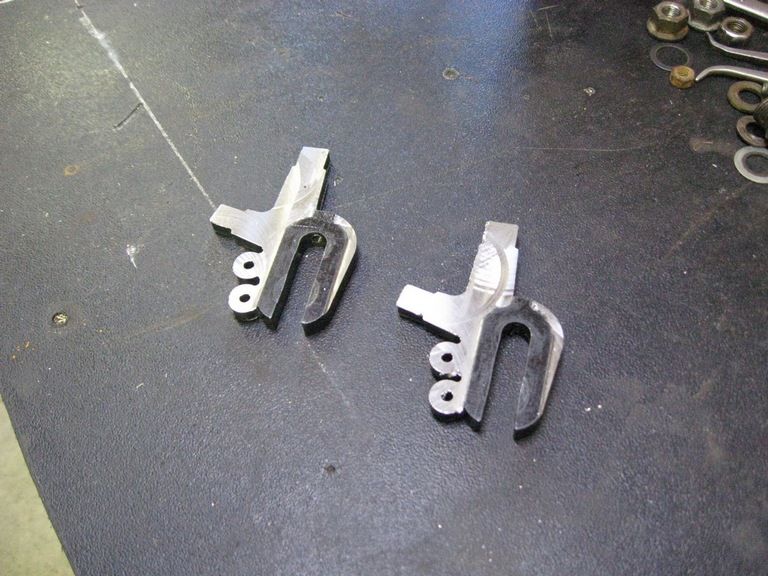
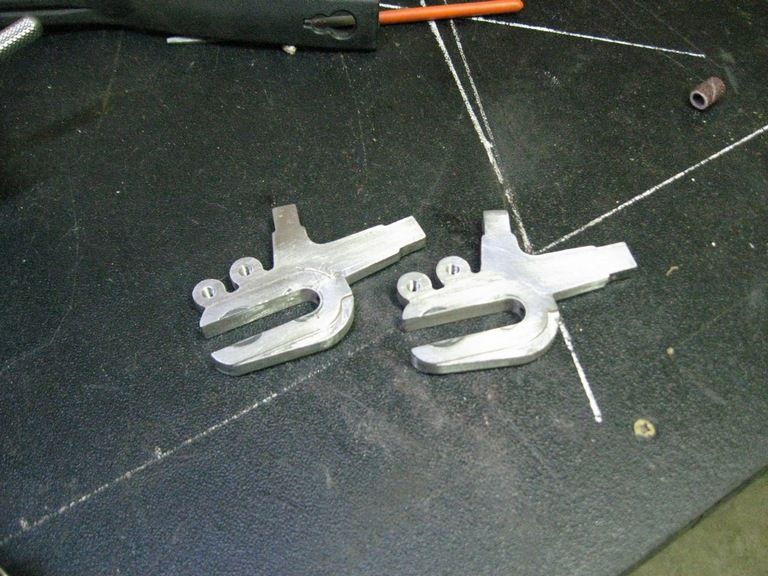
It turns out that Sam has a superbly equipped home workshop plus many interesting things to look at, including sweet vintage AJS and Matchless motorbikes. So for a couple of boxes of bourbon and coke Sam gave me free reign of his machinery, and the milling machine in particular got a fair bit of use, so I ended up with this;
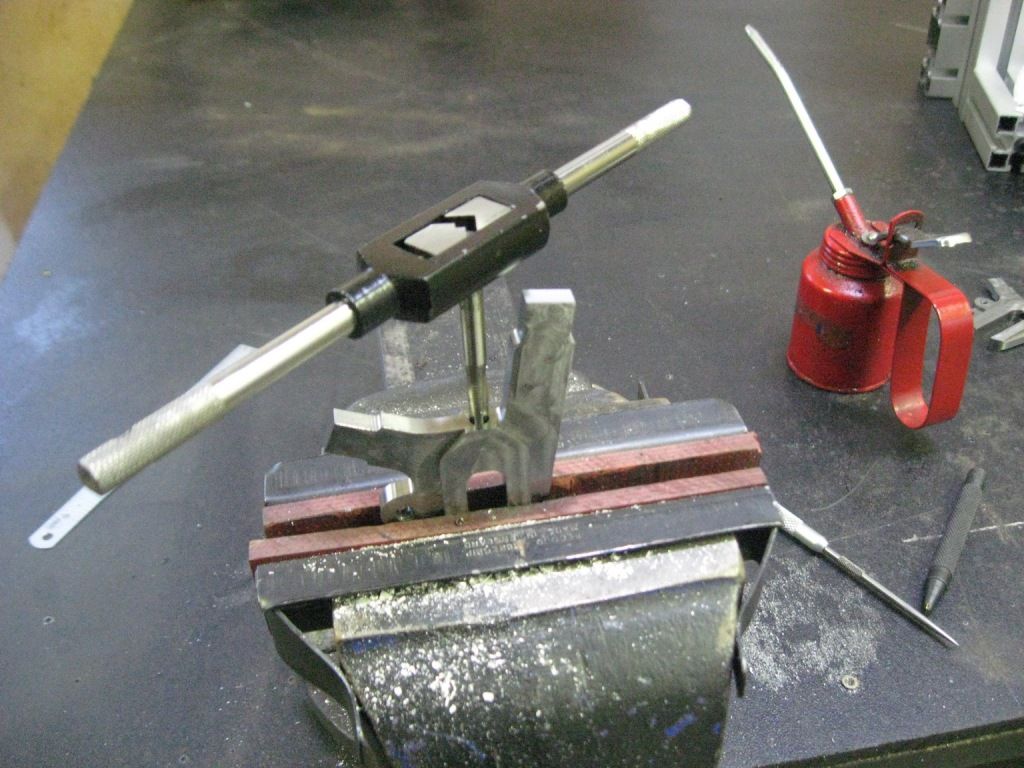
I then spent this afternoon with files and a dremel to get to this state of affairs;
Clearly there is a bit more to do there, but you get the idea...
In other news, I have purchased two new 28" rims from
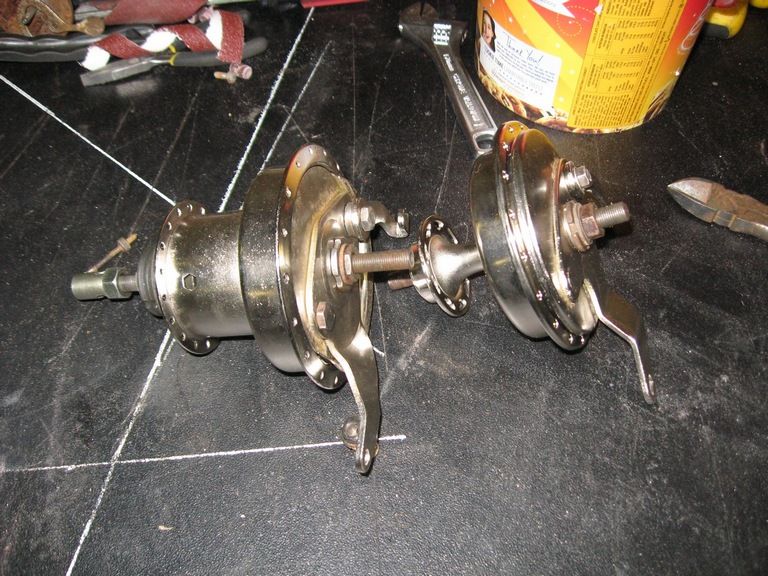
Dave, and have got the Gazelle hubs
nickel plated. I (or Dave) just need to figure the correct spoke lengths and I will build those boys up pronto.
The Gazelle better be bloody grateful is all I can say.