Showing posts with label oxy acetylene. Show all posts

Sunday, 24 November 2013

The Mistake Free Top Tubes MkIV™

I have pretty much been in the garage every night this week and nearly all of the weekend, so things are moving quickly...

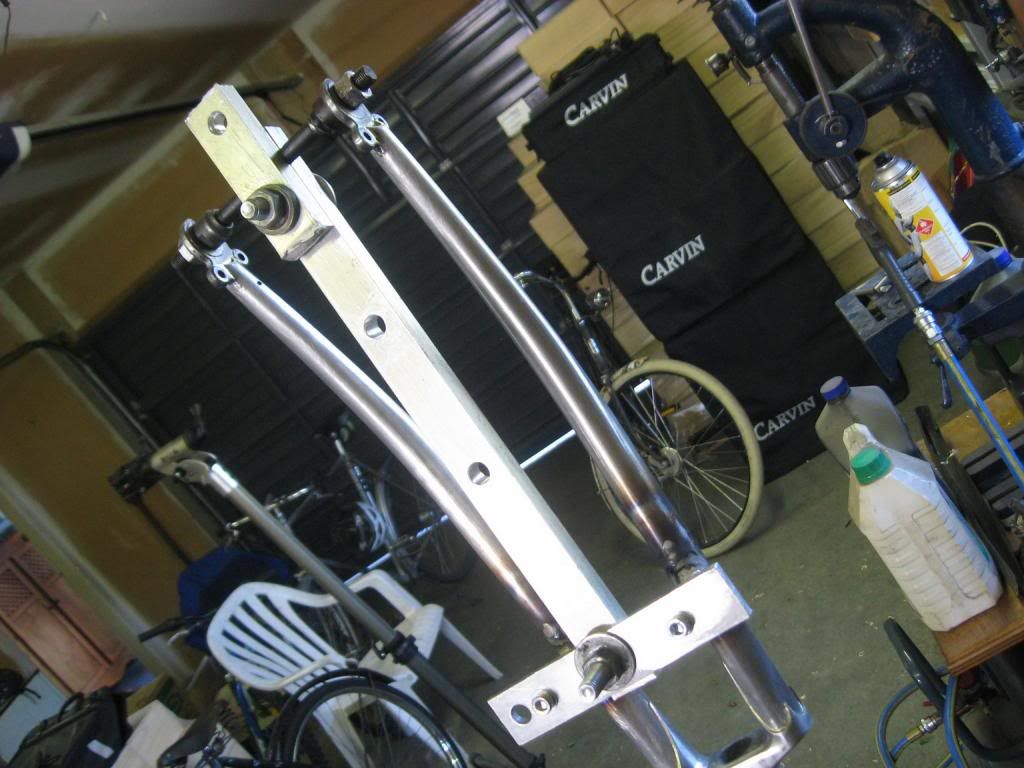
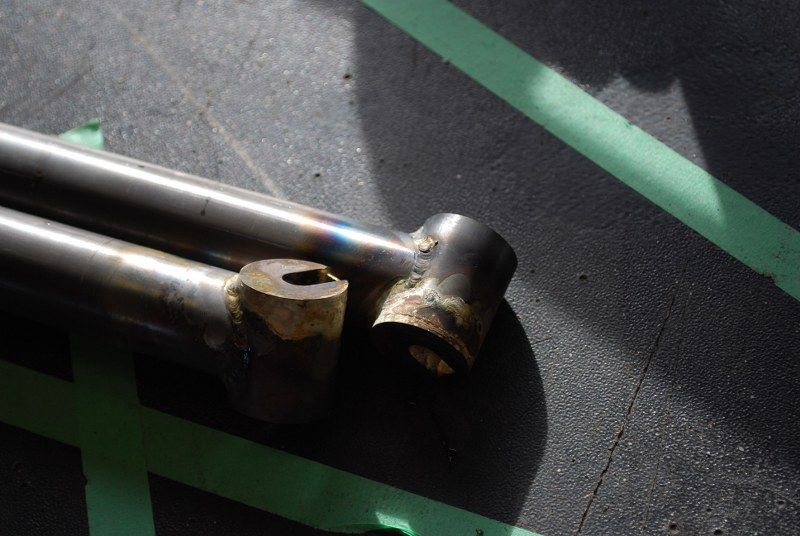
My extra tubing arrived on Tuesday morning, allowing me to utilise lessons learnt from the tube bending learning curve to great effect. In a couple of days the tubes were ready with minimum fuss and no obvious mistakes. But first the forks, which stretched the limits of my TIG skills.

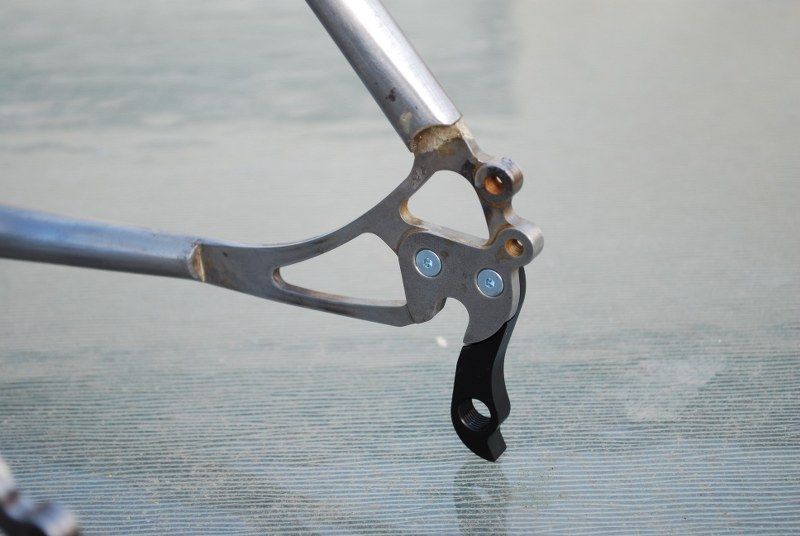
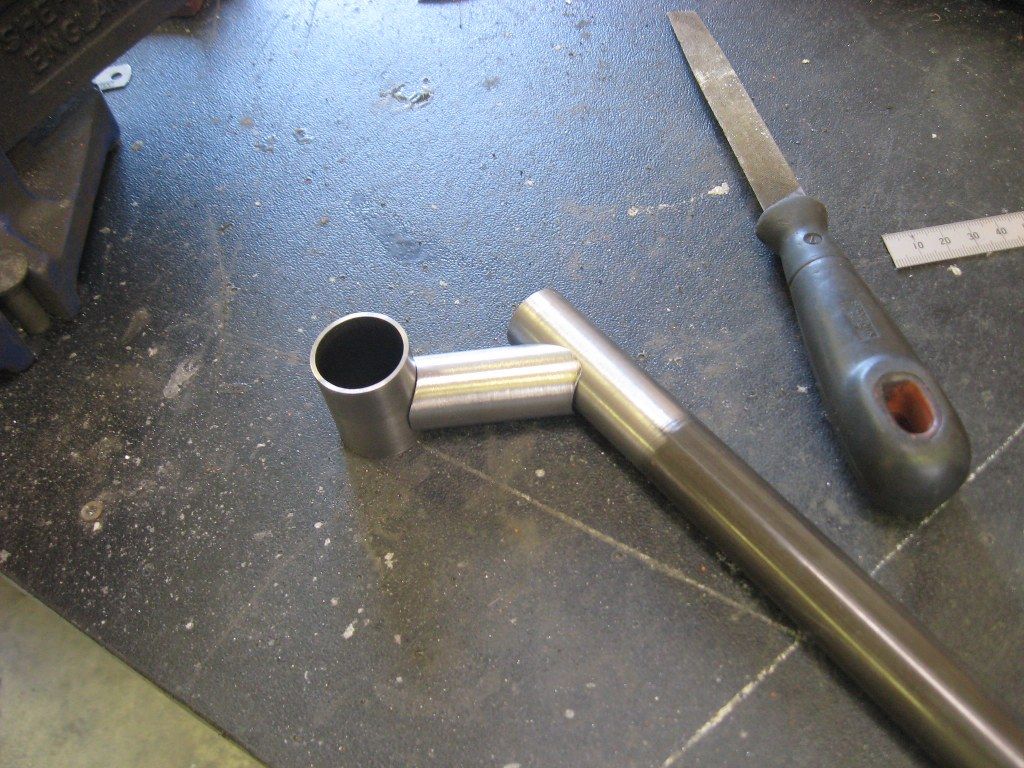
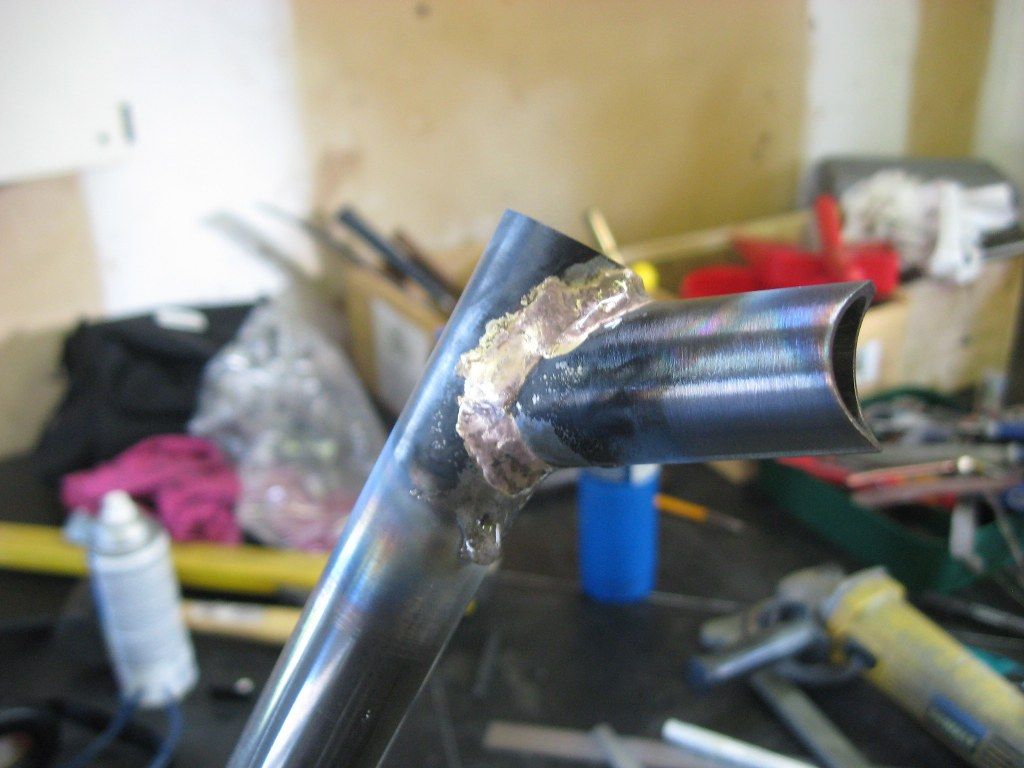
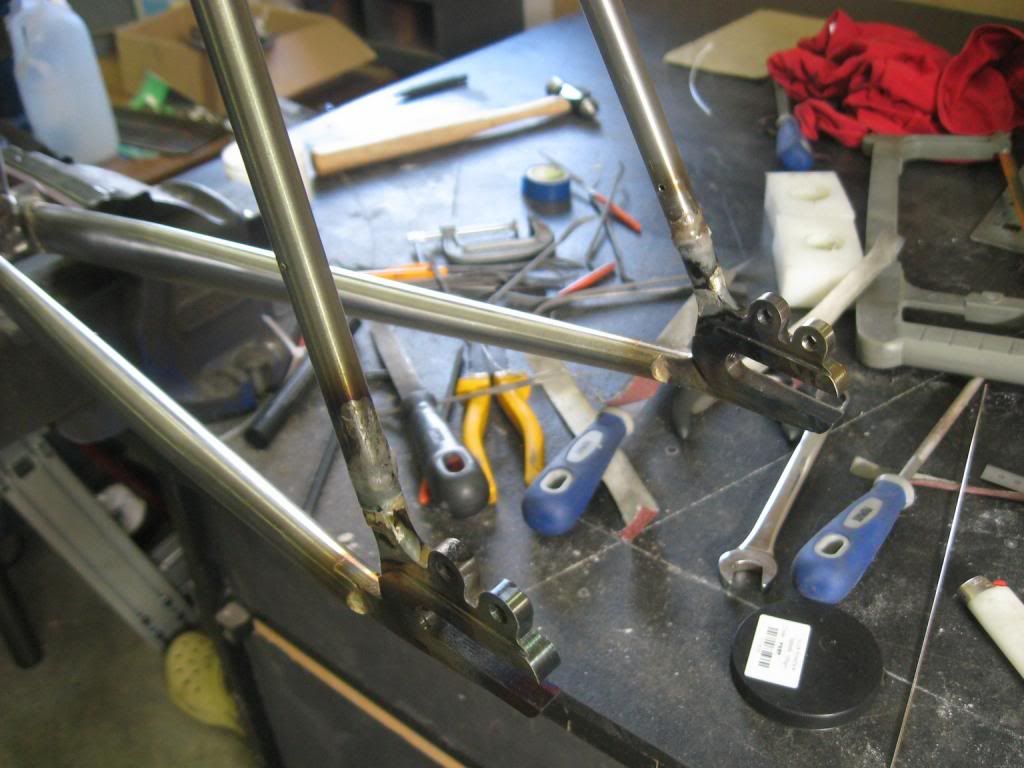
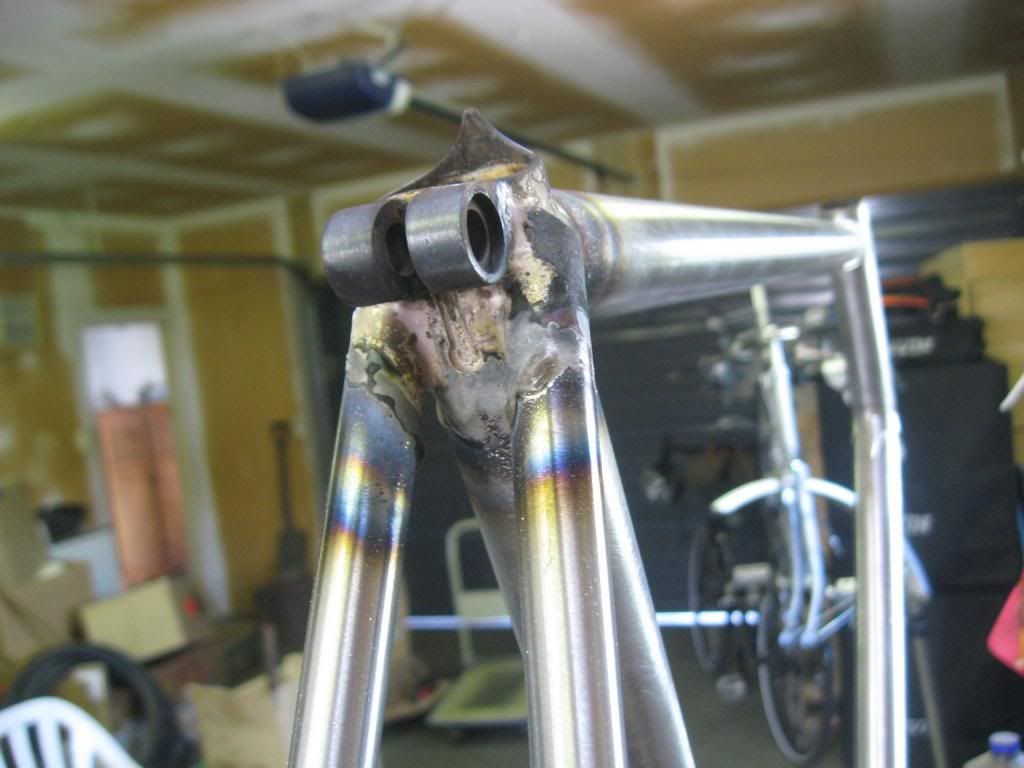
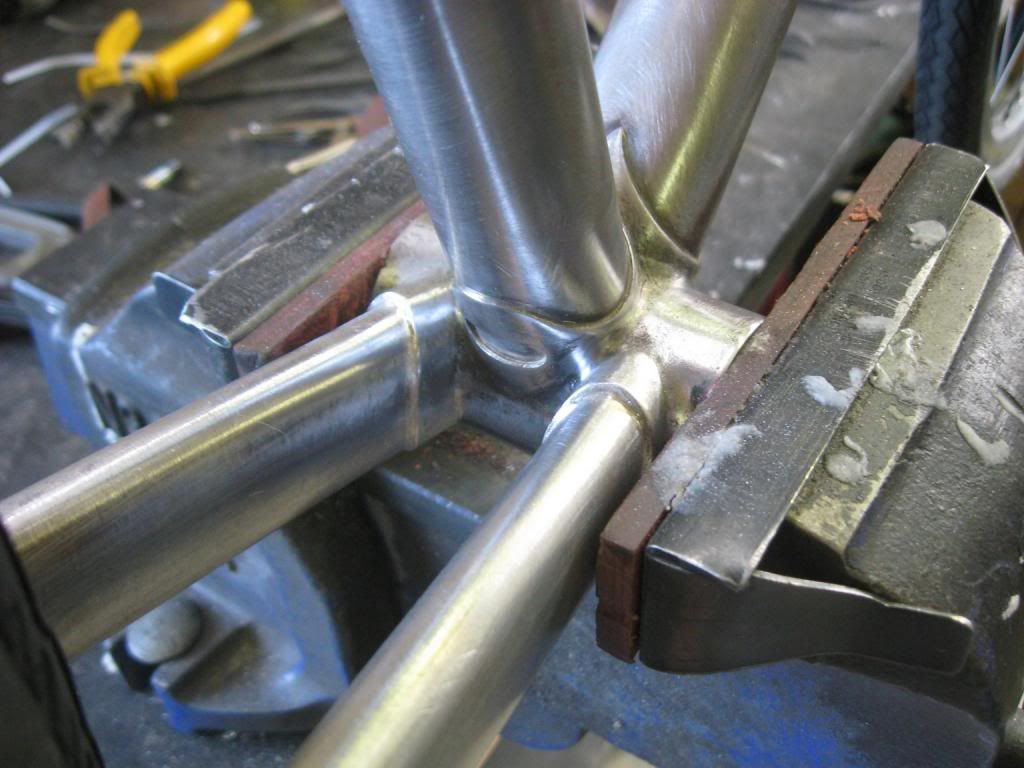
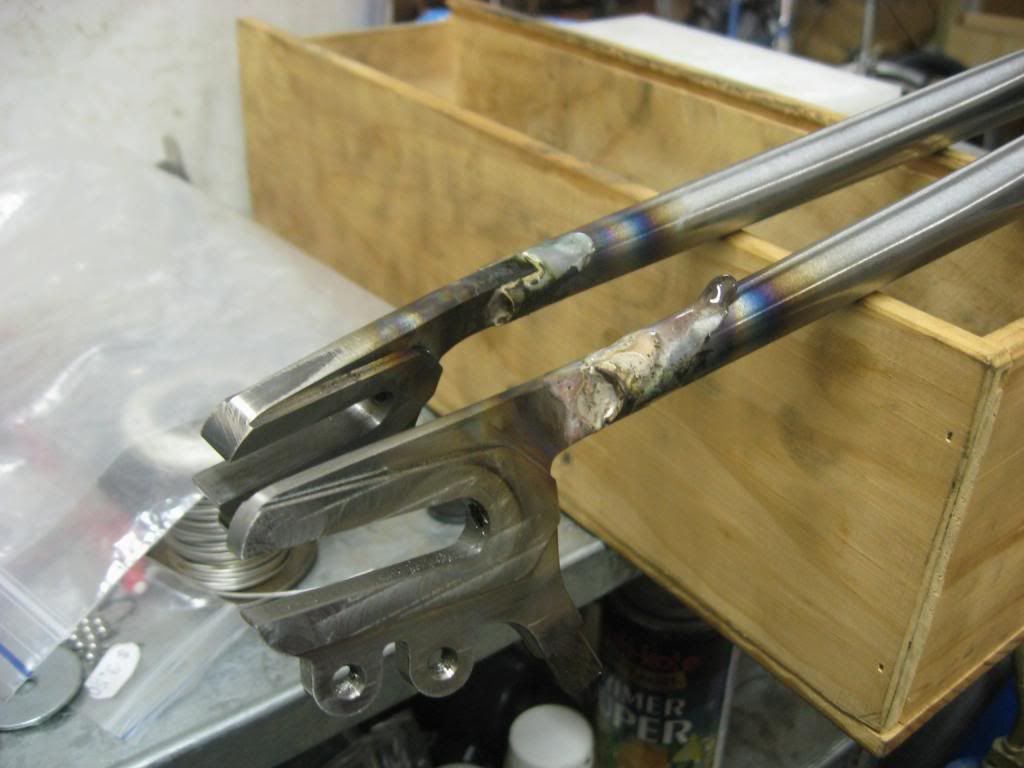
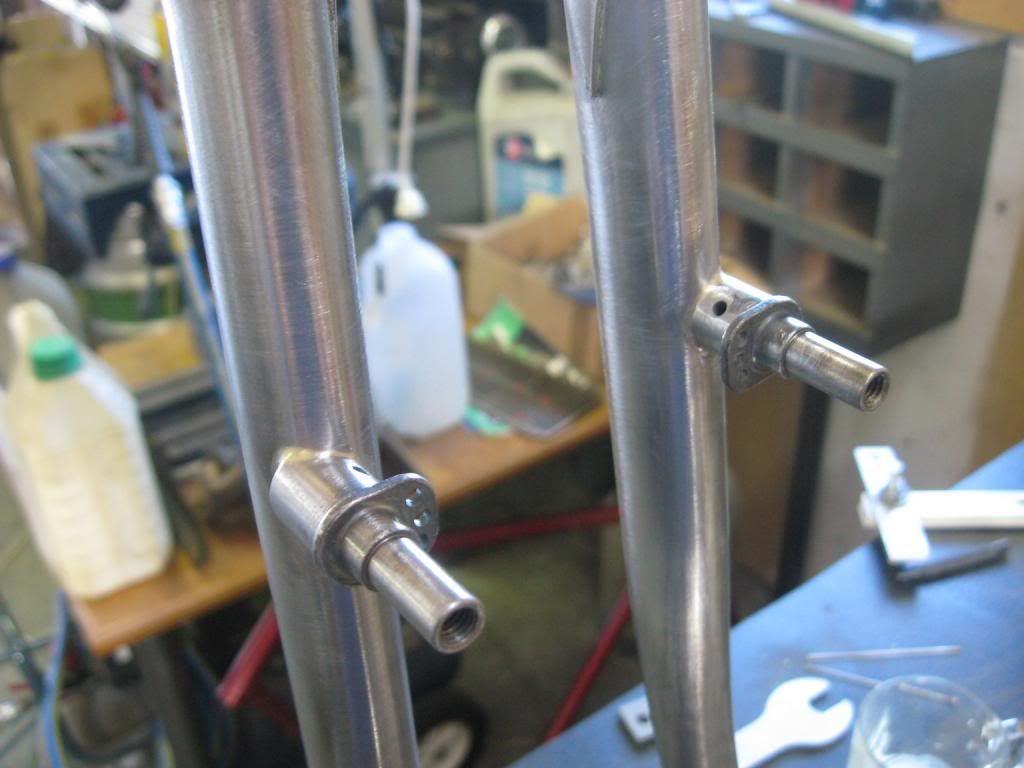
I re-used the actual dropout bits of the Paragon failure, mostly because I didn't have any other suitable material lying around. The dropout holes are not at the same centers as the tubes so turning them down to suit what I had required some thinking and setup on the Grayson. Here they are freshly silver soldered into the leg tubes.
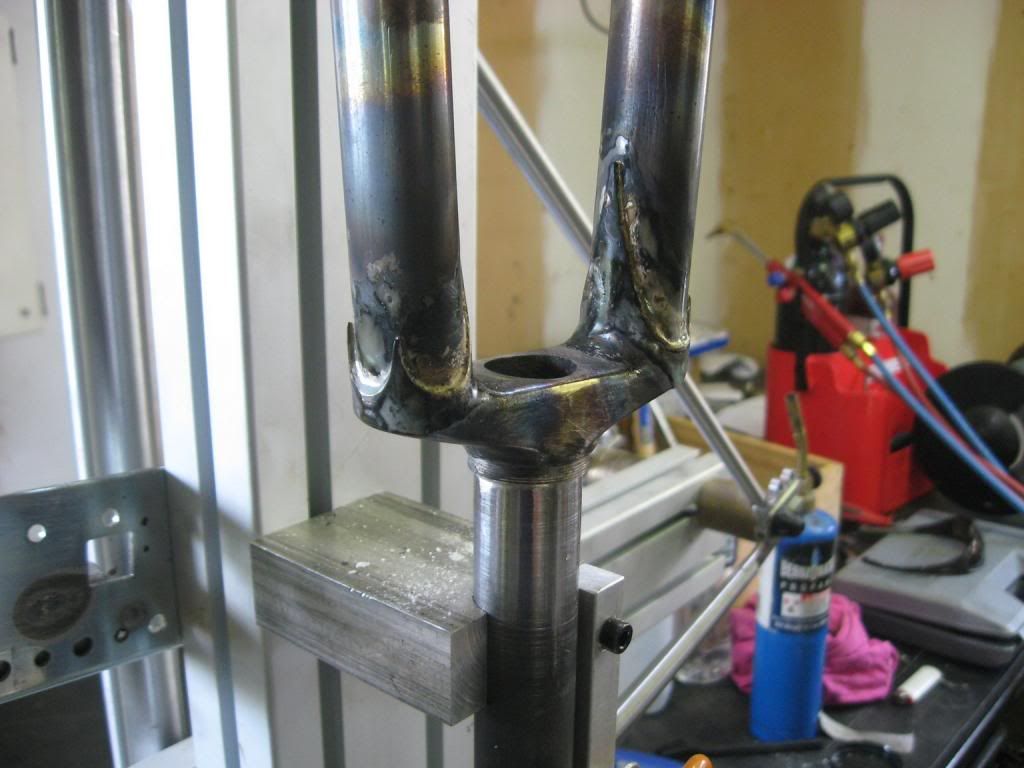
Much time was spent taking microns at a time off the leg tube to crown miters, I have learnt the hard way to take this sort of thing slowly, and I get slower when both bits have required some effort to get to a level of complexity. I then welded it up but forgot to take pics.
Mistake Free Top Tubes MkIV™
The Mistake Free Top Tubes MkIV™ come free with several meters of randomly badly bent tubes, sort of like steak knives but less effective for slicing vegetables. I clearly need to design a frame that utilises many many very short bits of straight pipe.
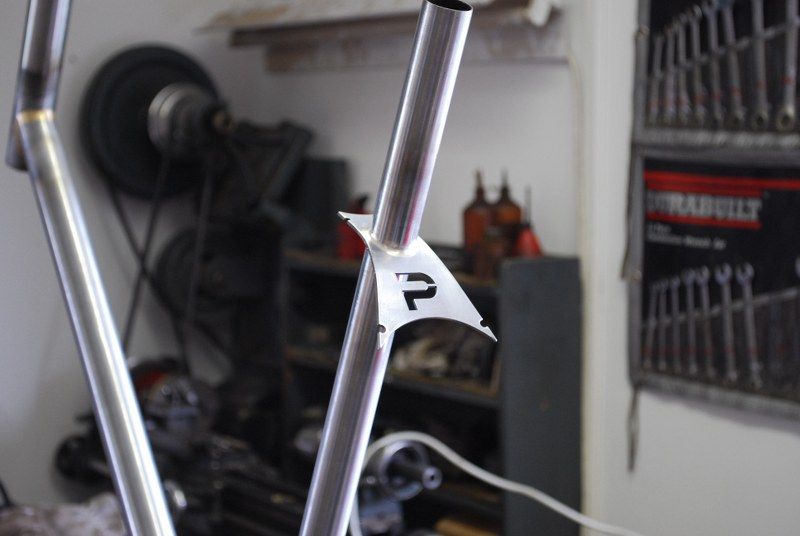
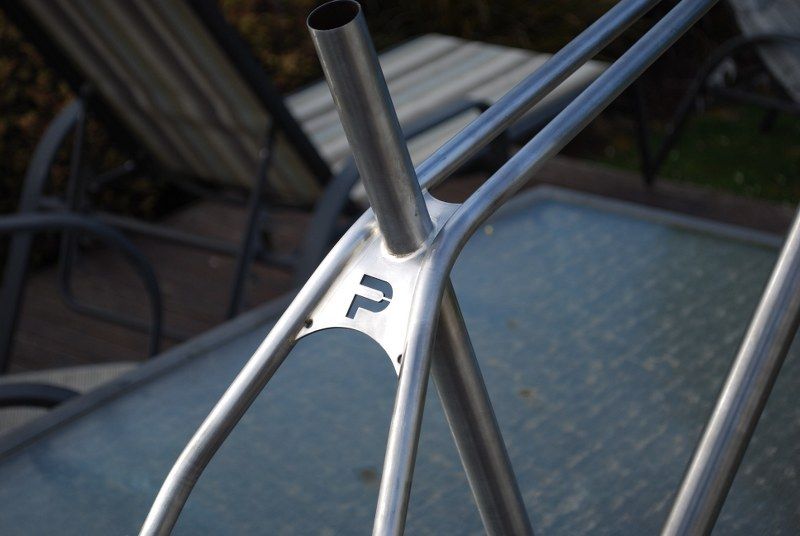
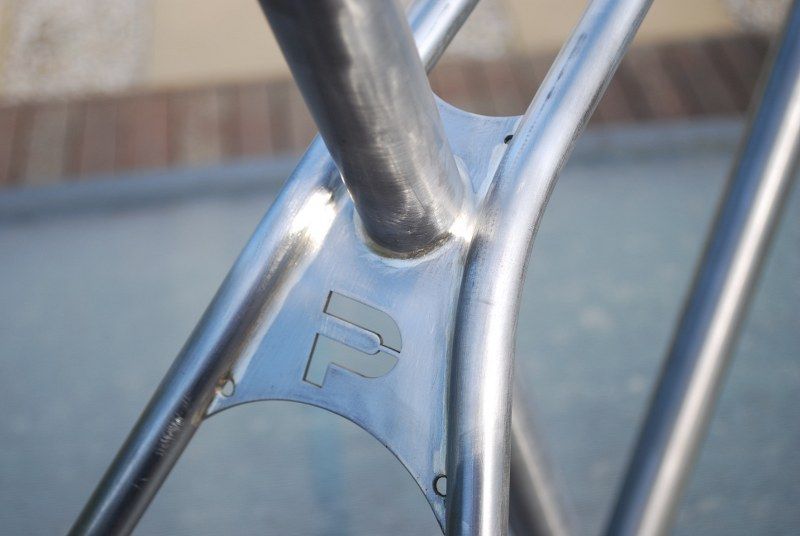
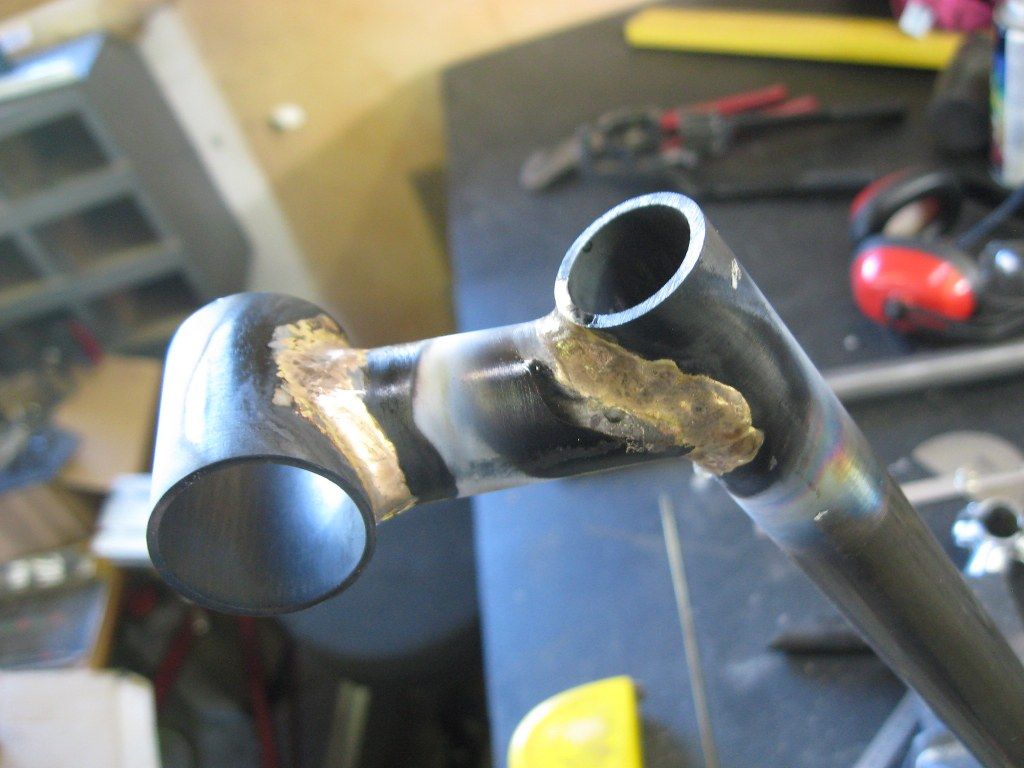
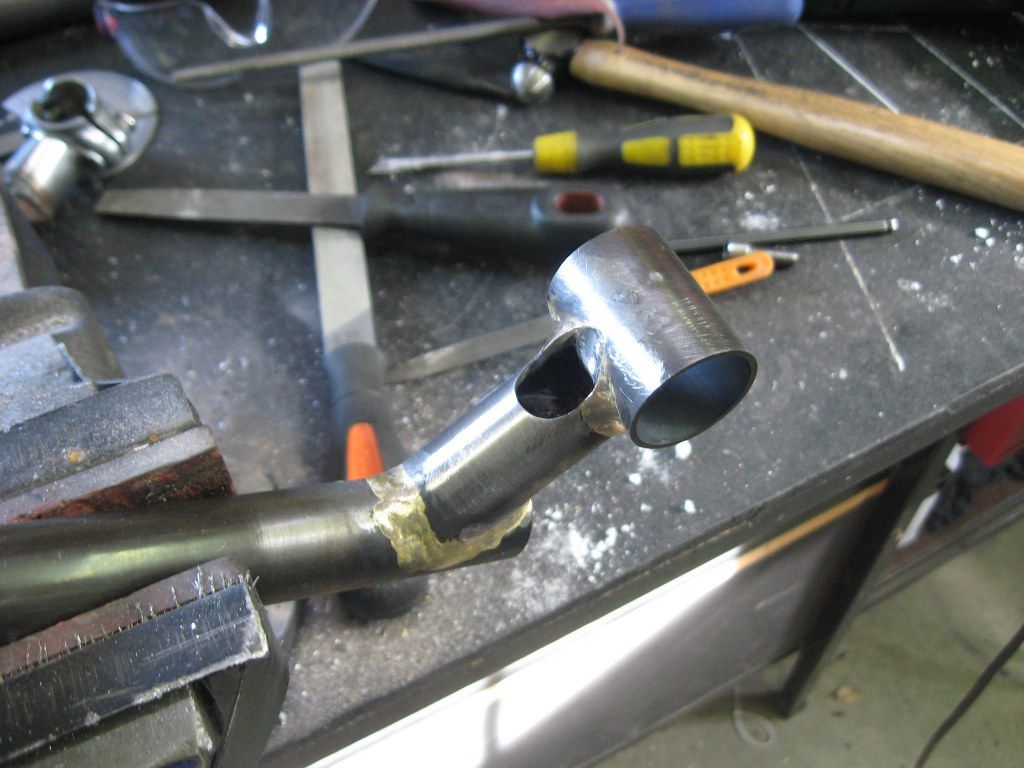
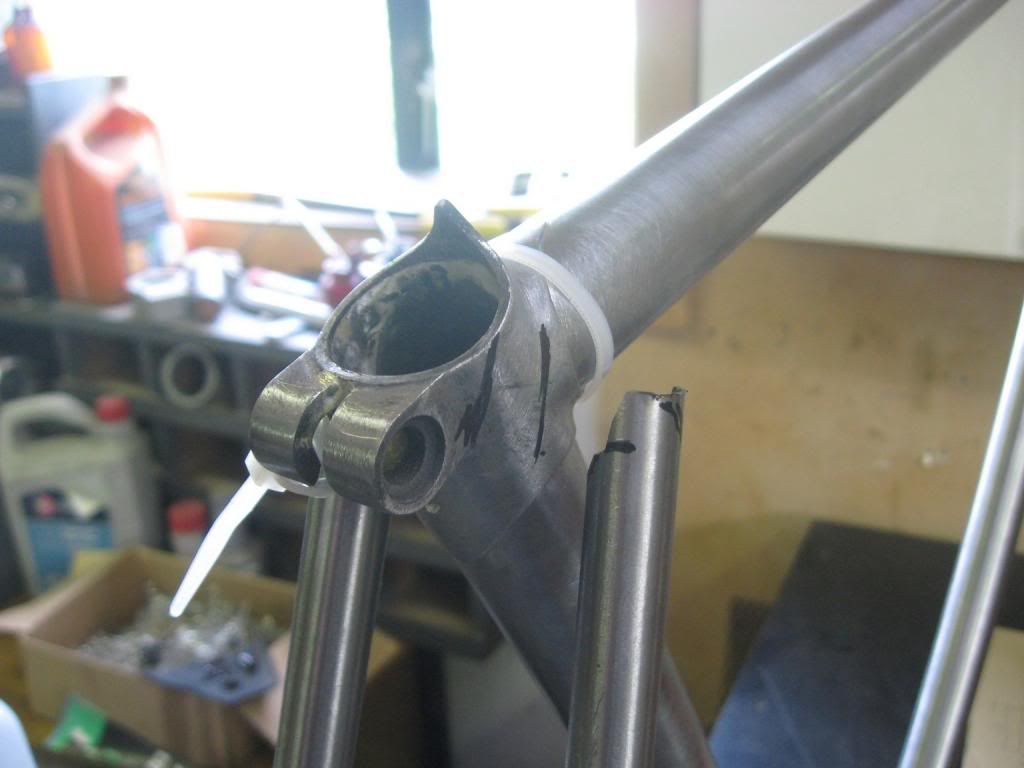
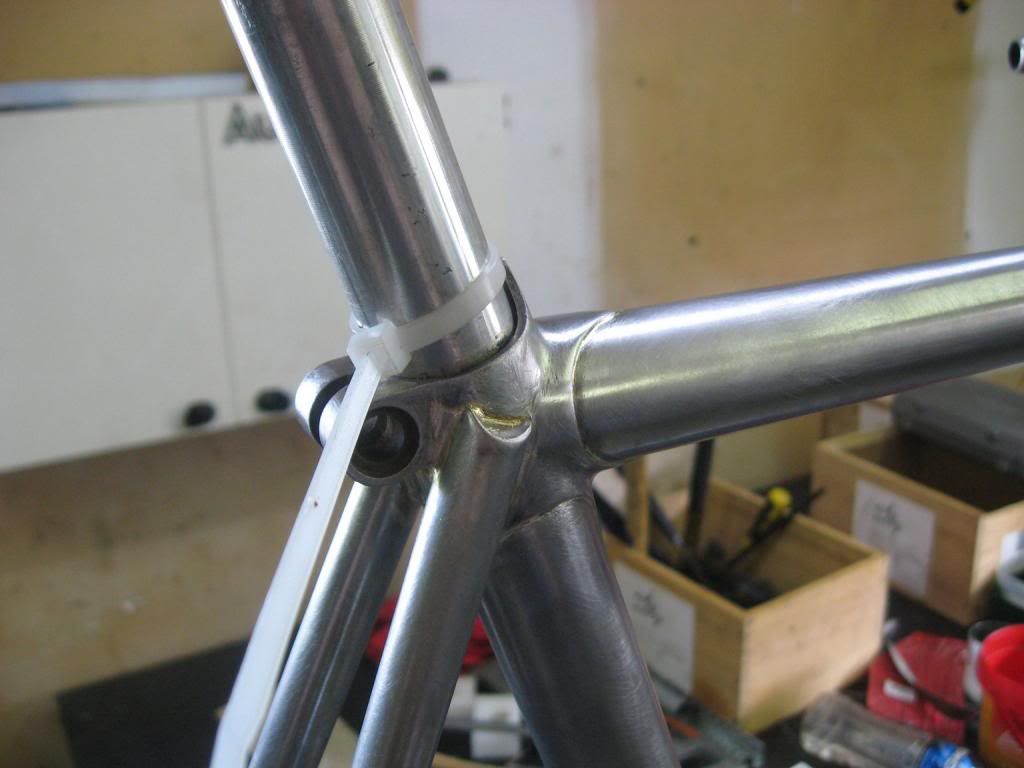
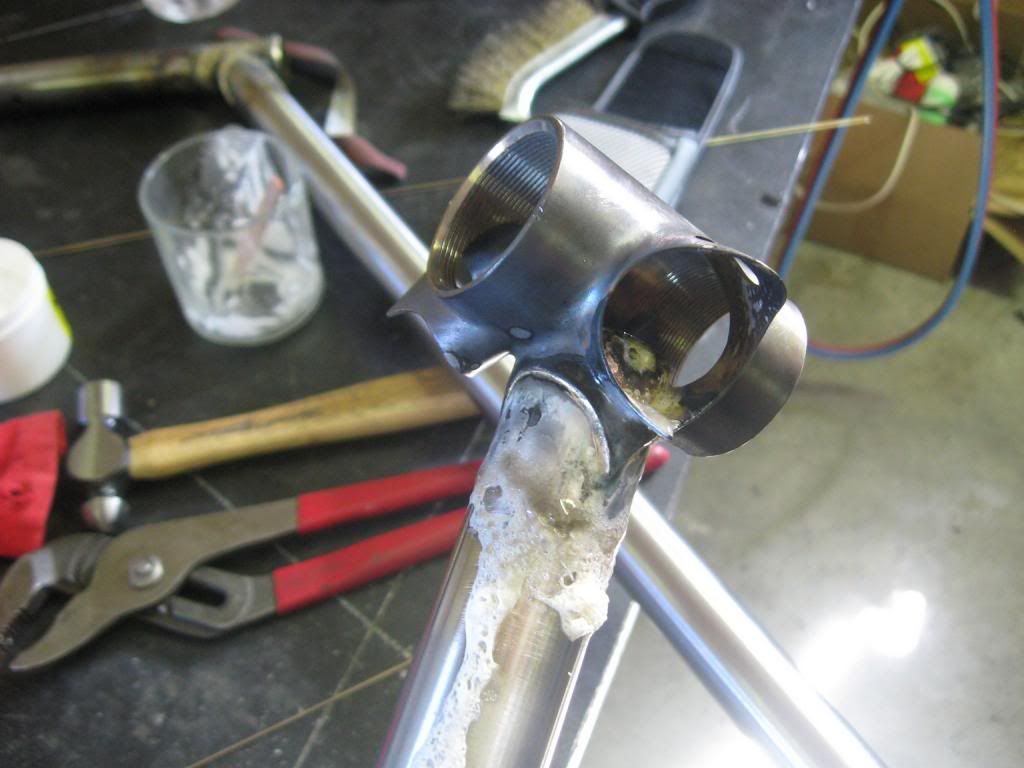
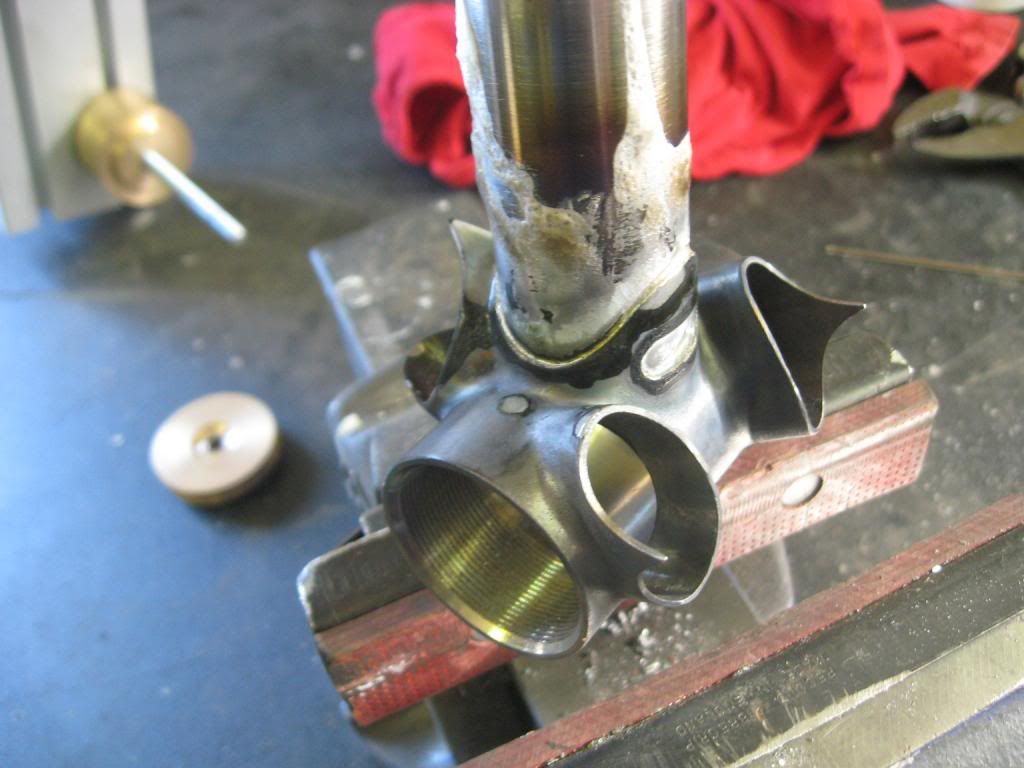
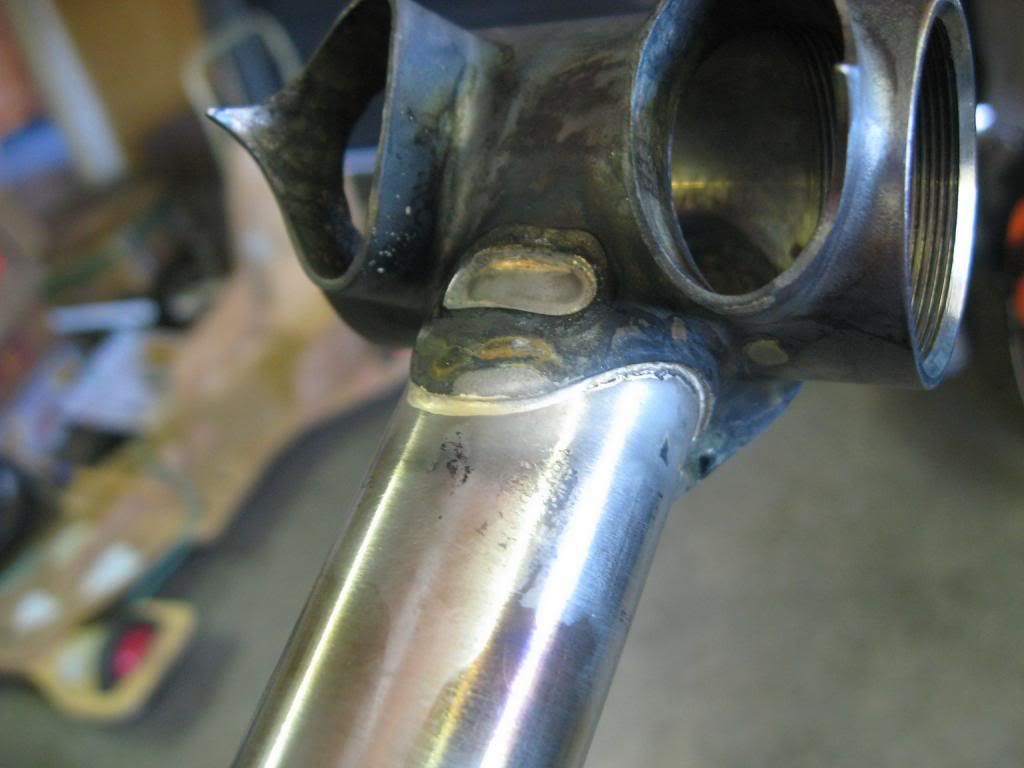
Once I was basically happy with the top tube mitering etc I brazed in the top plate. This was silver soldered actually as it is such a beautifully controllable thing to do and I did not want a big fat braze in there. As things were going to be a tight squeeze in there I cleaned it up nicely before getting too much further down the track.
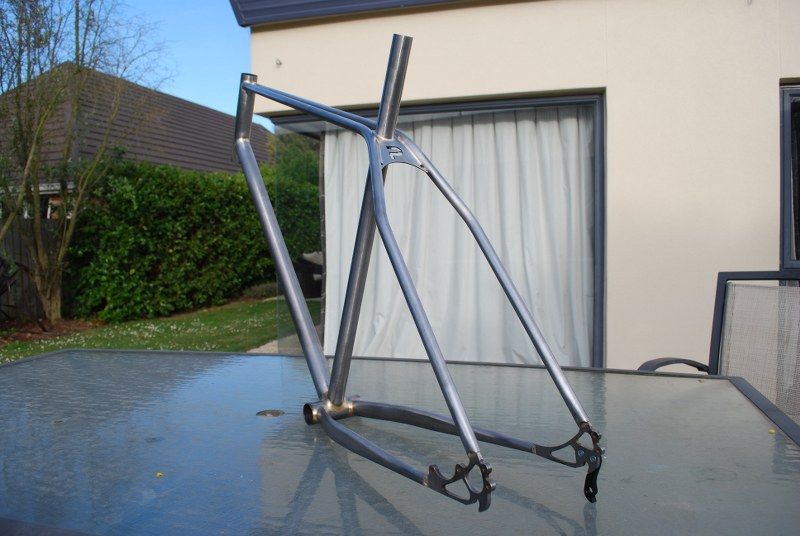
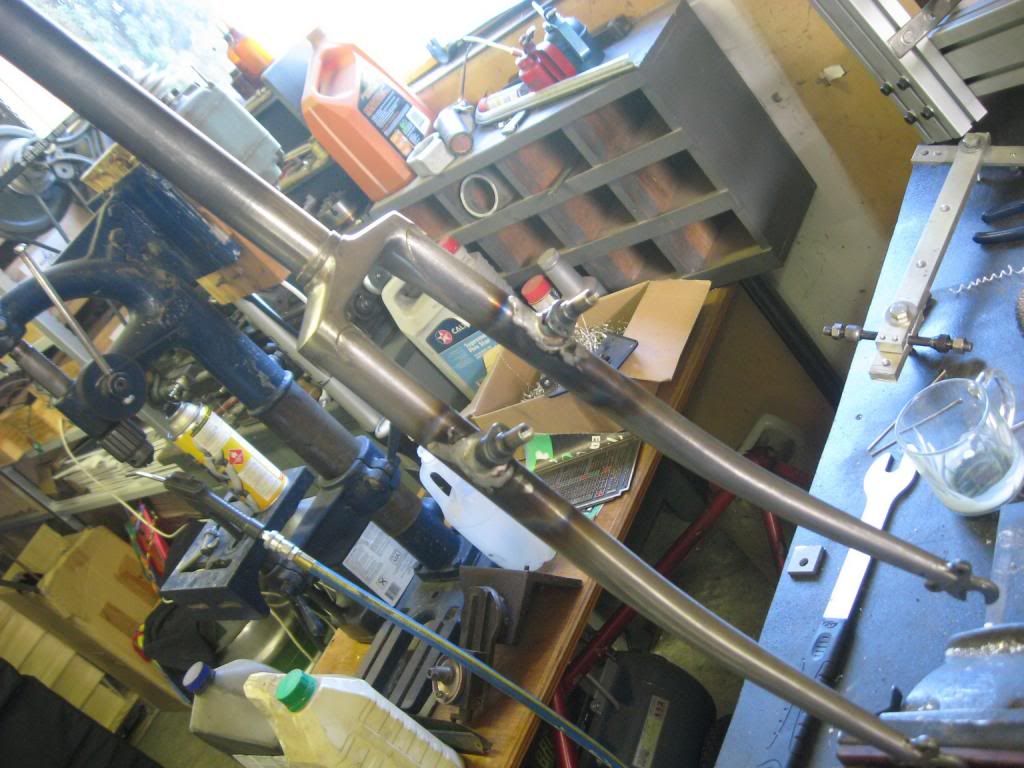
I then fettled the fitment of the The Mistake Free Top Tubes MkIV™ so they slotted into place beautifully. Clearly some things just require you to bollox them up a few times before you can achieve creamy goodness.
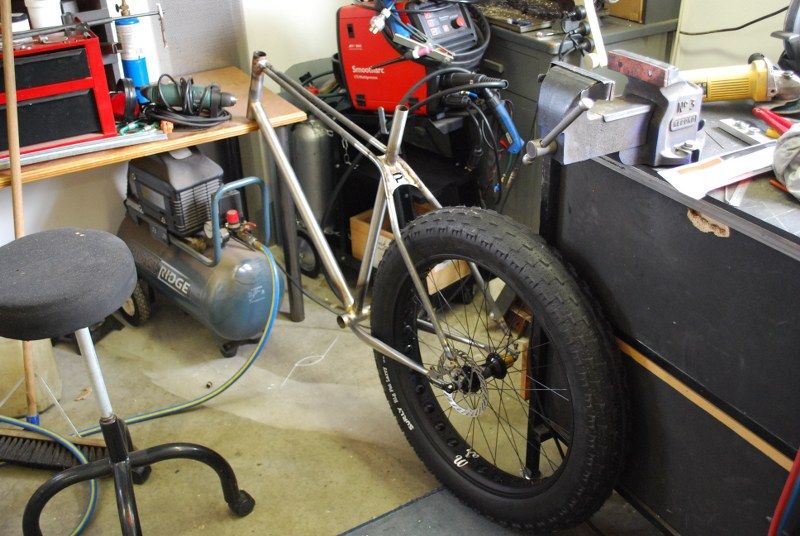
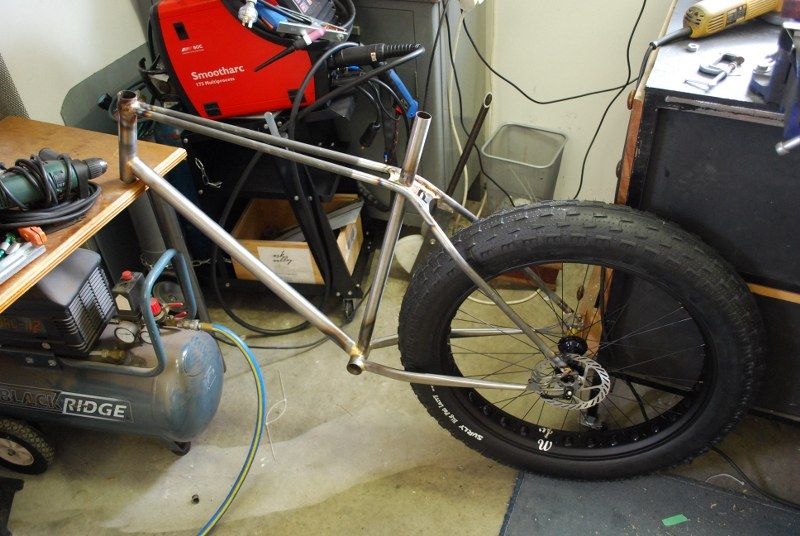
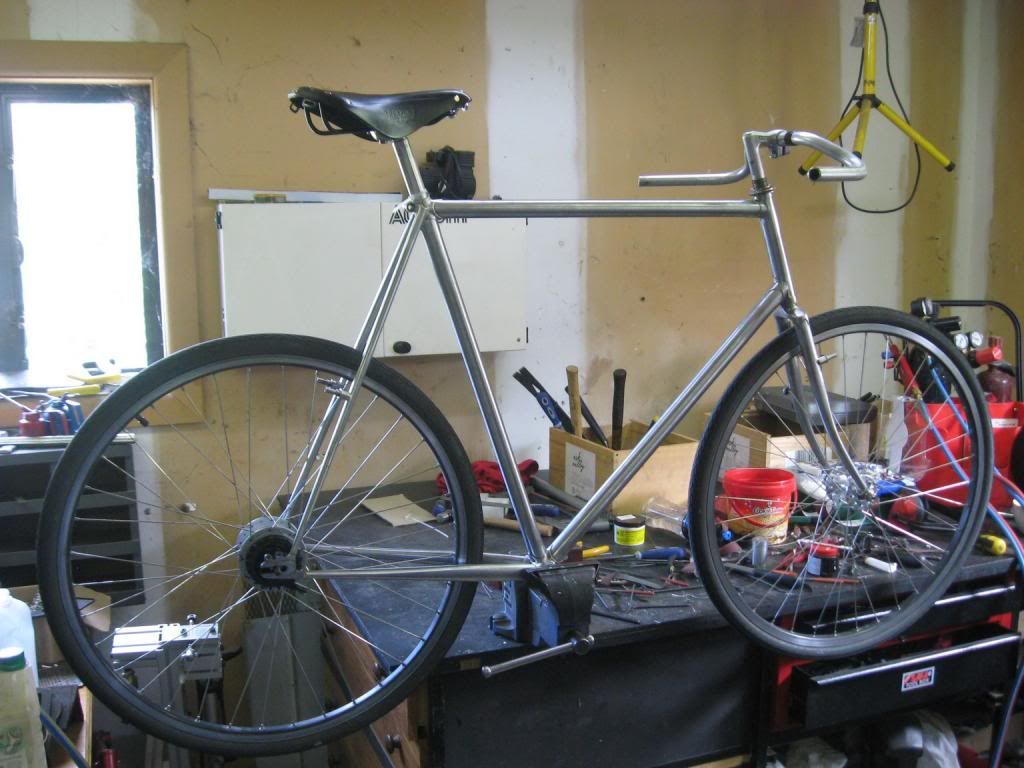
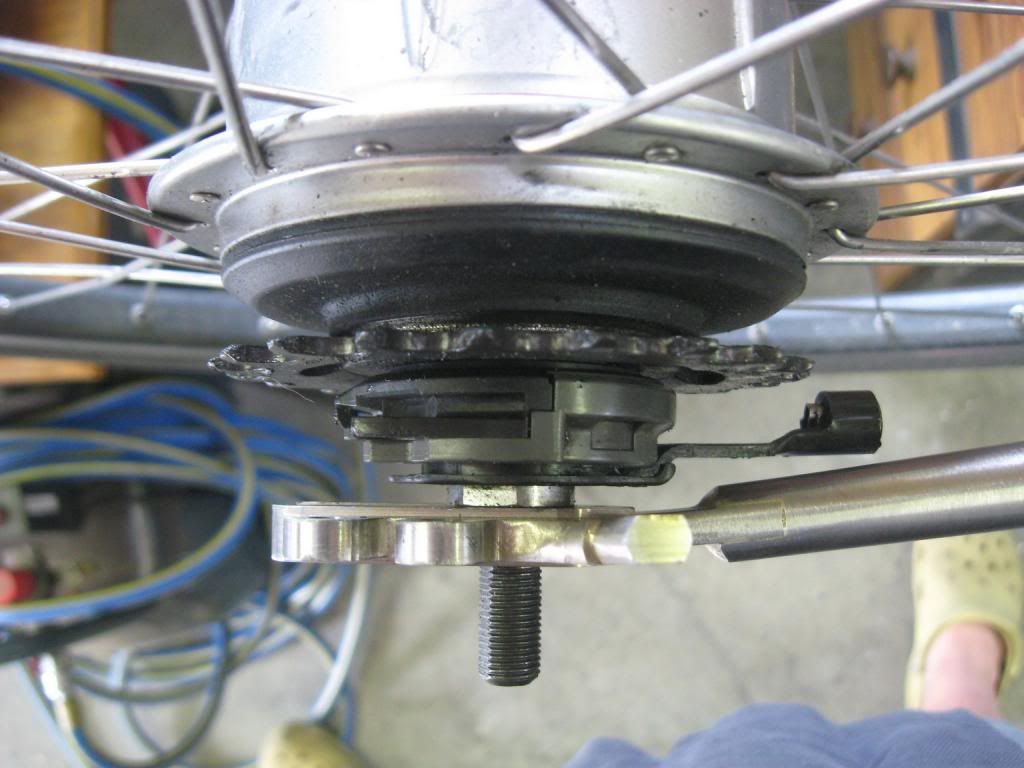
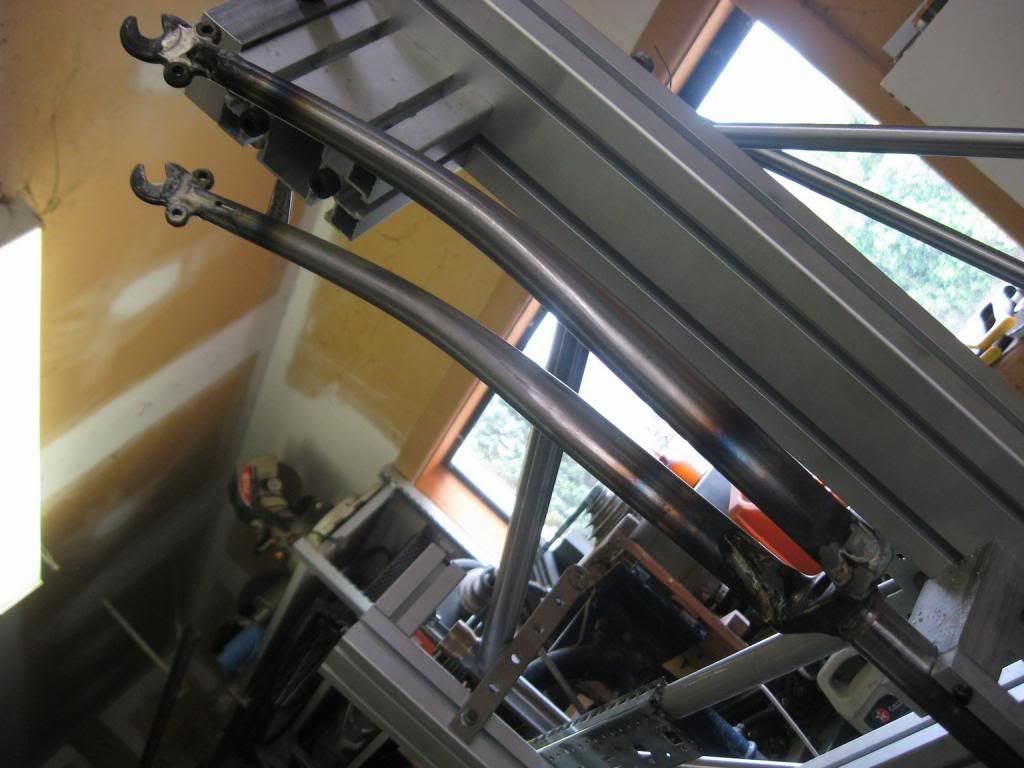
I then plunged into welding the things into place and before it was even cool I had to chuck the wheel in to see if all was well, which it was. The dropout slots will require some very minor loving to get the wheel sitting 100%, but it is looking pretty good as it is.
It looks so much better with those bends tucking around the wheel.
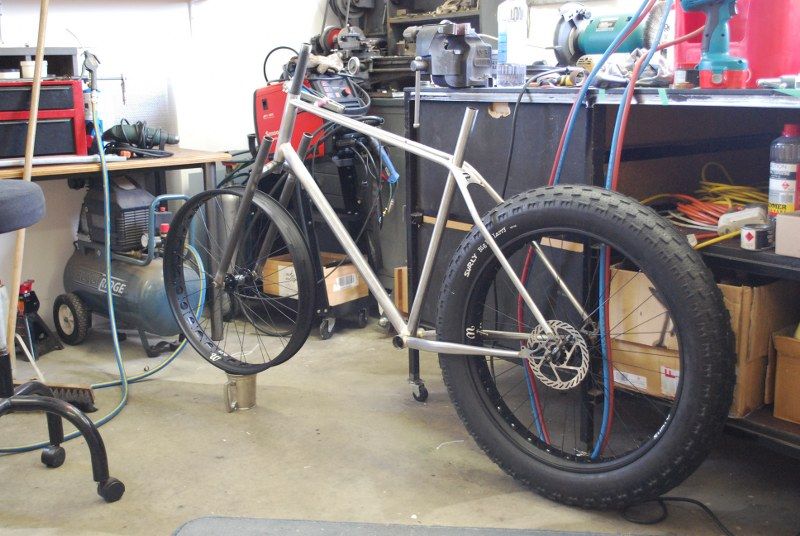
And then I thought I would chuck the half finished forks on to see how things shaped up, unfortunately I only have one tyre at the moment. An upside down pewter tankard is an admirable tyre replacement, but it might make for a slightly bumpy ride.
I spent some time today cleaning things up, there is still a good few hours yet to spend though.
I have made a bridge to fit in here but I need some more silver solder rods before I can do any more.
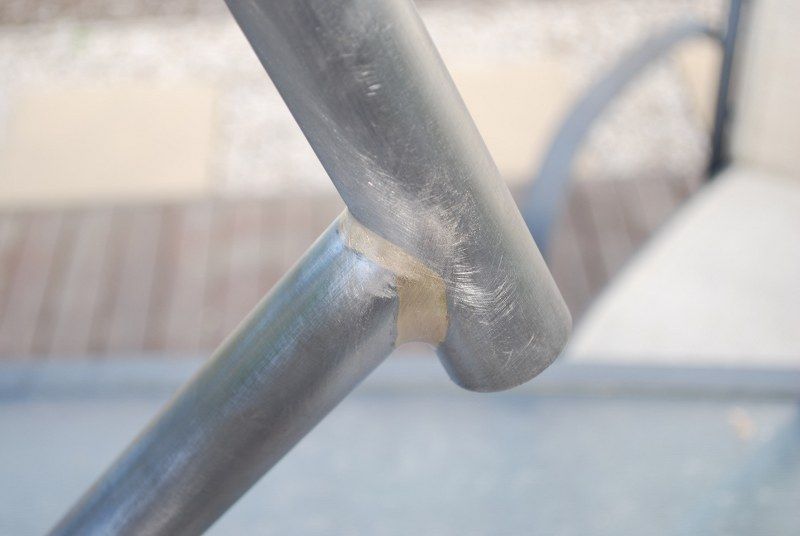
Some nearly finished fillet brazed cleanup.
This plate ended up with a bit of a shave off the sides, I think it still works visually.
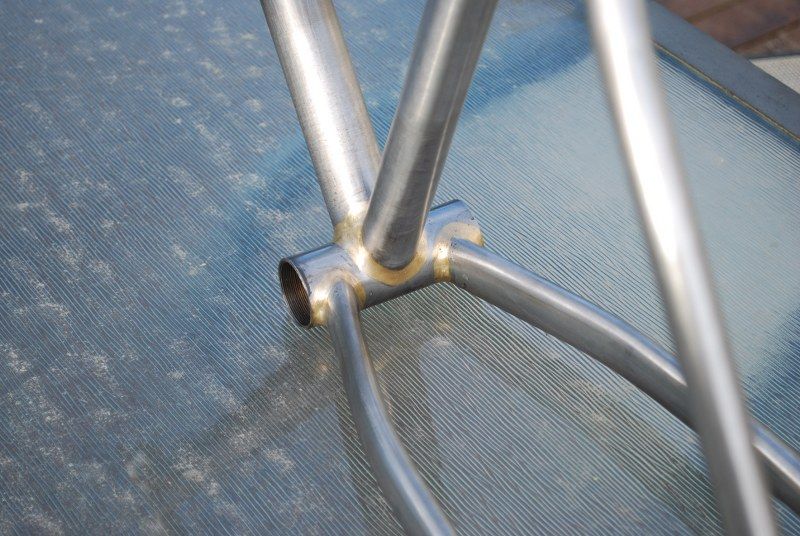
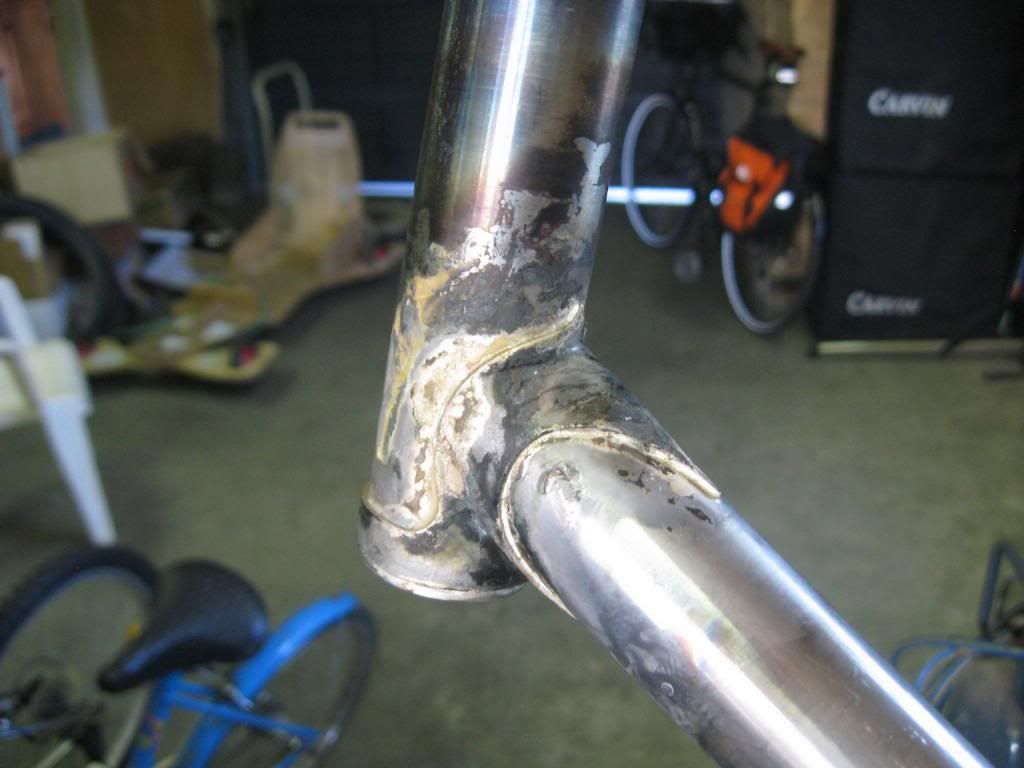
I have silver soldered the seat stay joints and sweated the filler up inside the junctions, I will clean up and cap the open ends a bit later when I have more welding rods.
This pleases me.

I am discovering that at the end of a build session I get a certain feeling depending on how well or badly that particular bit of the build has gone. If it has gone well it means that I have been in the zone and doing things that I am totally comfortable with, without rushing or stressing. Then I get a warm glow of satisfaction...

 If I have rushed or stressed then I am clearly not in the zone and I end up with a knotty feeling centred on my solar plexus, reminding me that I did not do as good a job as I could have when making that particular bit. I am getting much better at stopping or changing what I am doing until I am in a better space.

My current aim in life is to build a frame that is the culmination of build sessions that have all ended in the warm glow of satisfaction. This may take time and a number of frames.

Yay.

Wednesday, 27 March 2013

The Fillet Brazed Stem and Campy Goodness

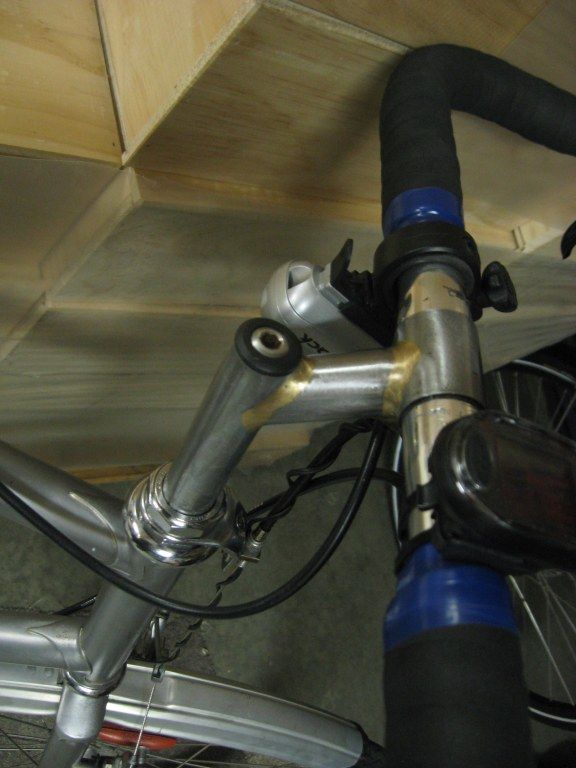
This weekend saw two of the final parts of this particular jigsaw fall into place; I finally received the Campagnolo square taper bottom bracket that I bought off Trademe, and I built a sexy new quill stem for the bike.

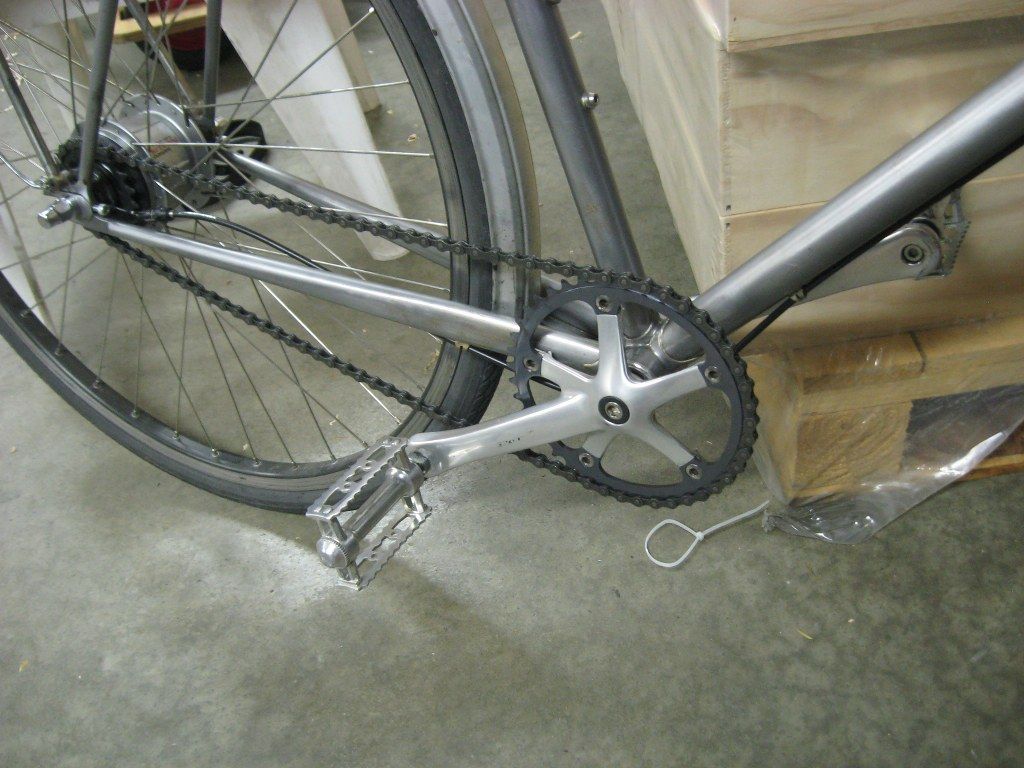
Getting the bottom bracket was great because it meant I could heave off the adequate but not really visually suitable FSA cranks and mount my decidedly second hand but still sexy 175mm Campagnolo cranks;


This pleases me quite a lot. The BB is a very narrow one and there is only a couple of mm clearance of the crank to the chainstay, but it means I can run the chainring on the outside of the crank and still get a straight chainline...

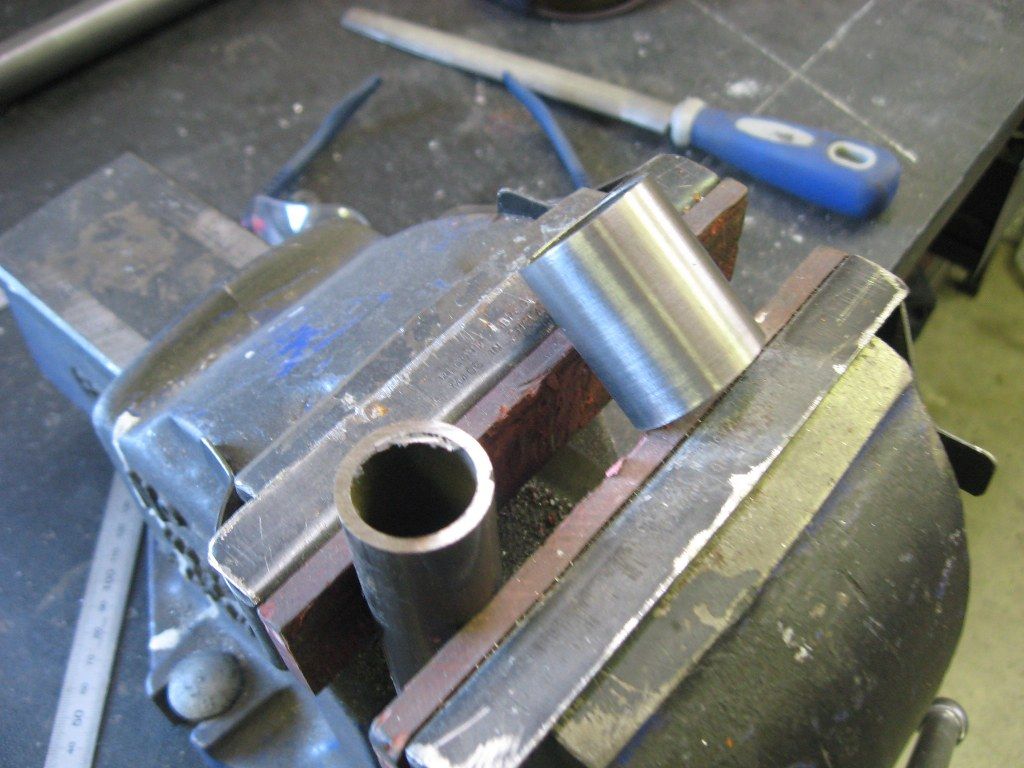
The next thing to sort was the stem, as I was unhappy with the visual bulk of the quill stem adaptor and BBB riser stem, I was convinced it would look better with a sleek raw steel number.

More 4130 goodness from Lianne
Some mitered tubes awaiting the balmy warmth of 3500°C
My first legit fillet braze - yay
I took an incredible amount care making sure the handlebar tube miter held the tube straight and true, there is no joy in a droopy bar.
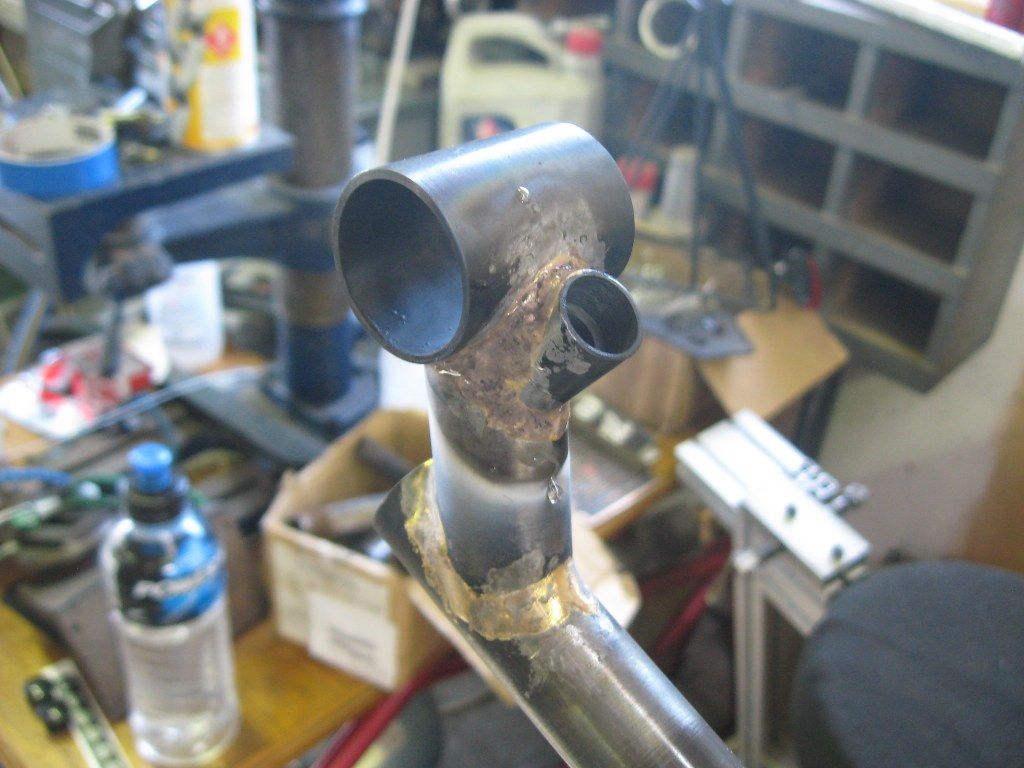
Cutting the hole for the clamp boss - I had made the boss on the Grayson a bit earlier but forgot to take pics
Braze in that bad boy
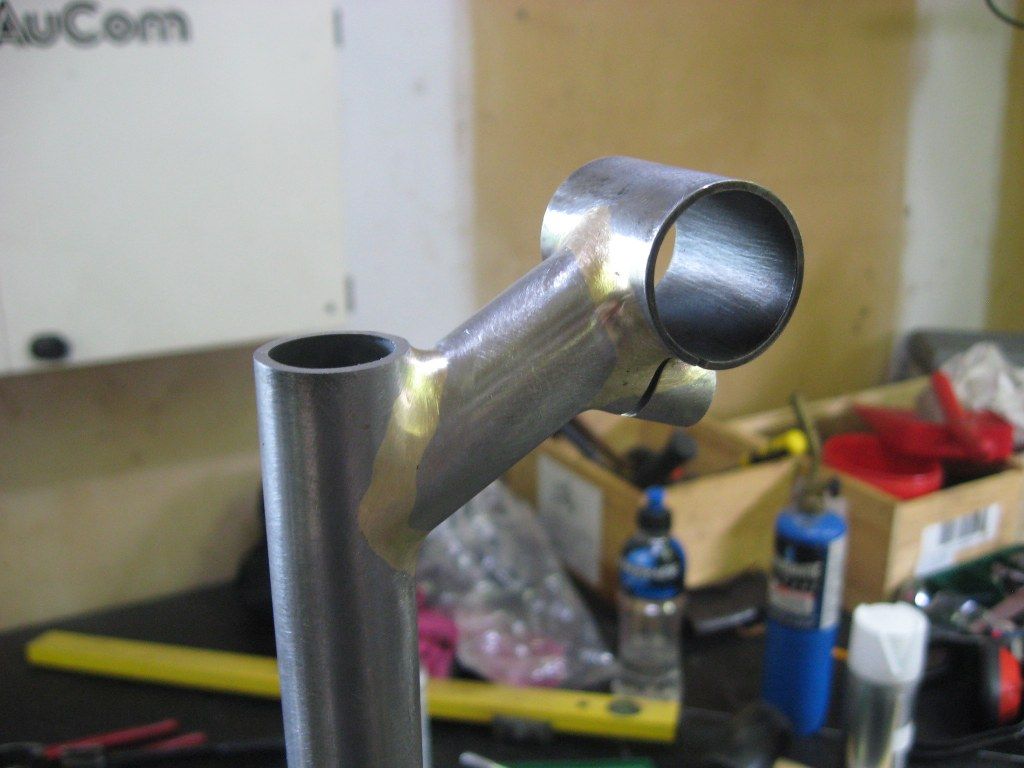
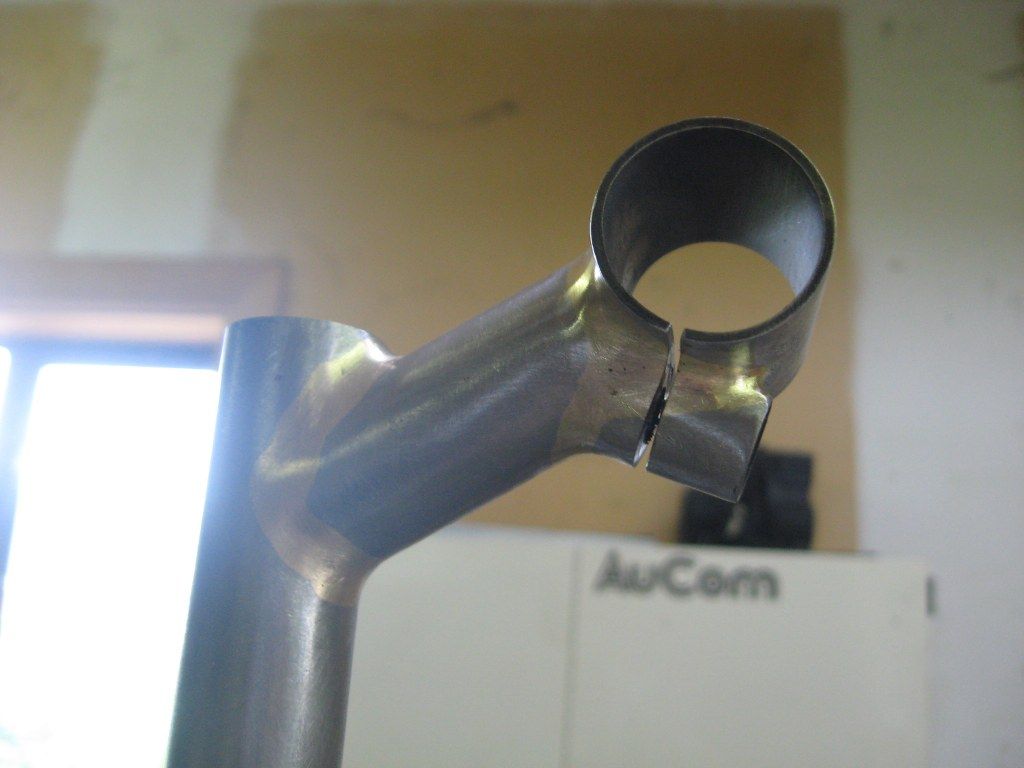
Then spend much time filing the fillets to look pretty, and also slit the boss and handlebar tube to form the clamping detail
Another view of the results of laborious filing
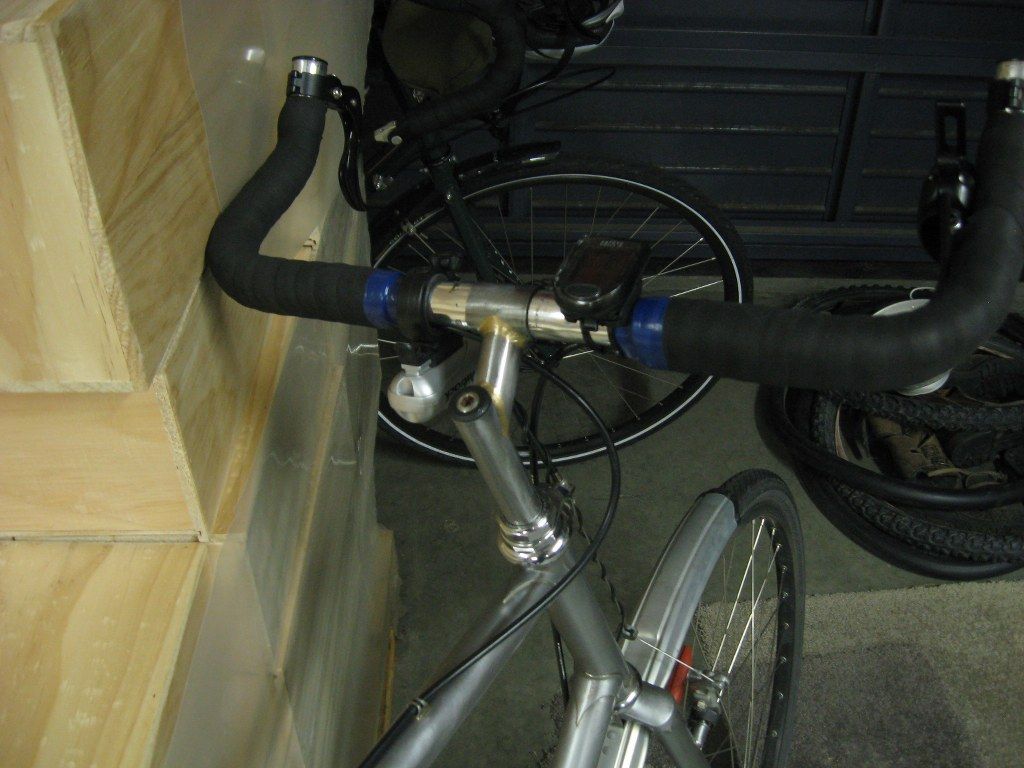
Finally fitted up to the bike after a slapped on layer of clear coat. I also made a new slightly sexier bracket for the Jtek shifter, but this was not very interesting and I forgot to take a pic of it.
Much more in keeping I reckon, although I again apologise for the blue electrical tape - I actually went to buy some more and they didn't have any black, so it is not my fault. This will be rectified at the first opportunity, I assure you.
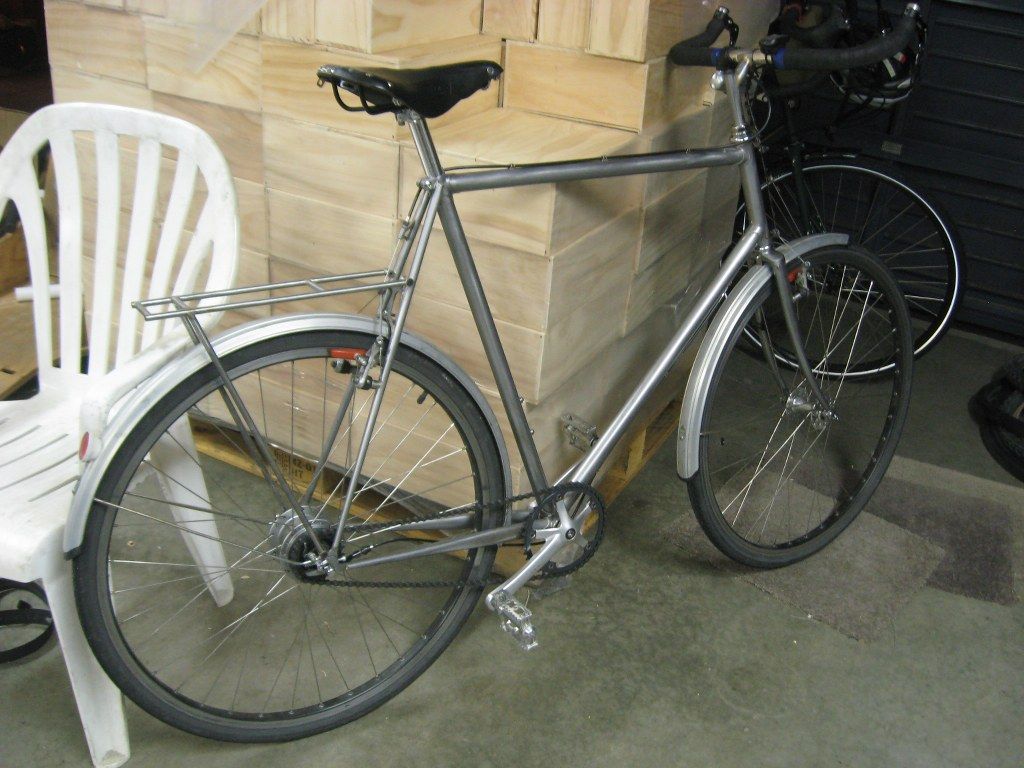
The semi finished article
I have probably been convinced that I need to paint those mudguards black, maybe this weekend will see some loving given in this direction. I also need to braze a brake light mount tab on that rack and lay down some clear coat on it, but in reality I think I am pretty much done. This is sad in a way, however it is hopefully the start of many years and miles of service for this trusty steed...

Soon I think I will get someone who is more competent than me with a camera (ie anyone over the age of five) to take some arty shots for me so I can frame them and send them to my family for Christmas.

Saturday, 16 February 2013

A wild Bicycle appears

Having done nothing for a month, the tables have turned and I am now flying through the work with amazing speed, meaning the frame is basically complete except for the brake bridge, chainstay bridge and the brazons. I have decided not to split the seat stay for the belt drive now for a few reasons, but mostly because it would have stopped the momentum I have built up...

One thing I did this week was to check the frame geometry against the Surly, and surprisingly the two frames are almost exactly the same apart from the top tube height, the Surly being 1cm lower. This is quite pleasing, an hopefully means that I made the right decisions when I designed this frame.


Sorting the seat stays
Brazing the bottom of the seat stays
Brazing the top of the seat stays
Pretty much done :-)
Mostly cleaned up - I decided to just keep things simple with the top of the seat stays and replicate what I have done with the dropout joints.
I got so excited I decided to mock it up - OMG a wild bicycle appears!
Plenty of room for the Alfine mechanism
Still some fine cleanup work to do on all the lugs...
A recently brazed bottom bracket.

As I was so into the actual making I failed to take a lot of pics and did not document some of the important things that happened. One of these was cold setting the frame. After I did the head tube to down tube joint I pulled it about a bit with a long bit of pipe to make sure the angles were still the same after welding. I also did this once that assembly had been brazed into the seat tube/bottom bracket assembly. This is to make sure there are as few pre-stresses as possible in the finished frame, which would make the chances of it pulling things a bit wonky much greater.

--------------------------------------------------------------------------------

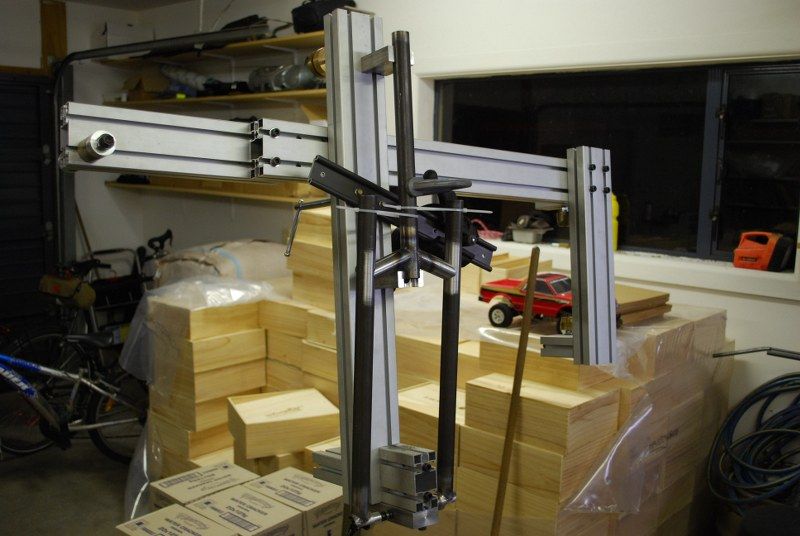
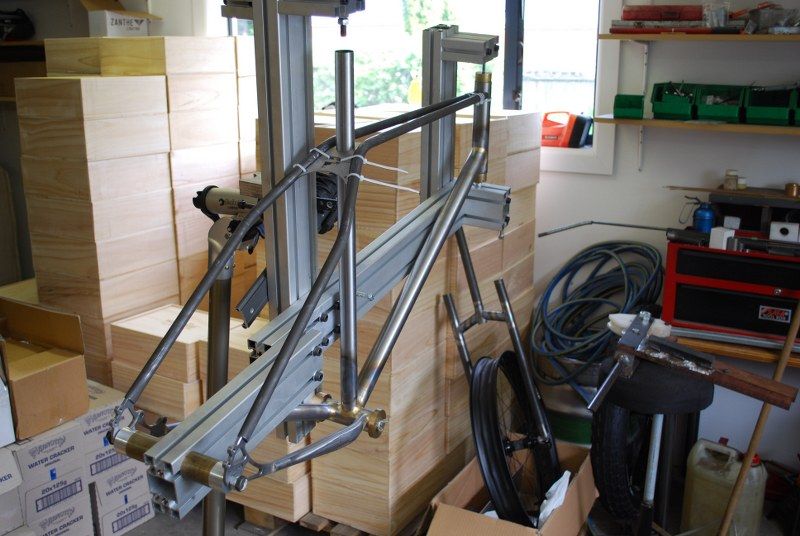
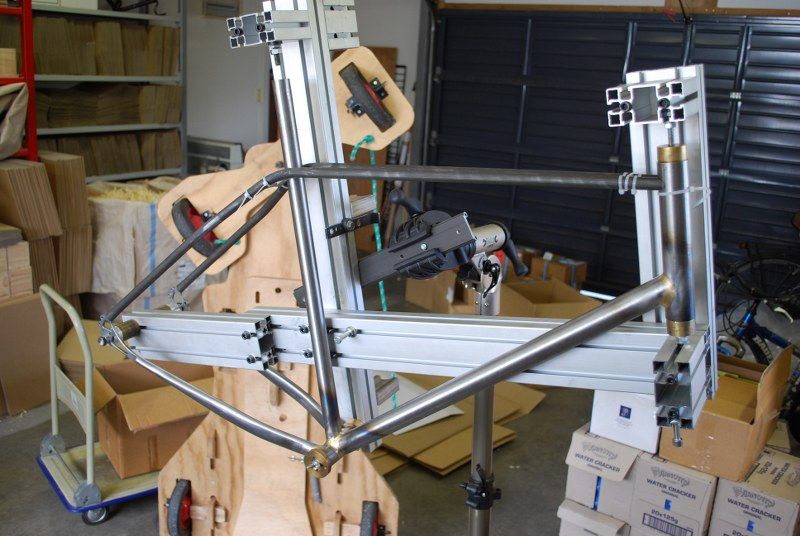
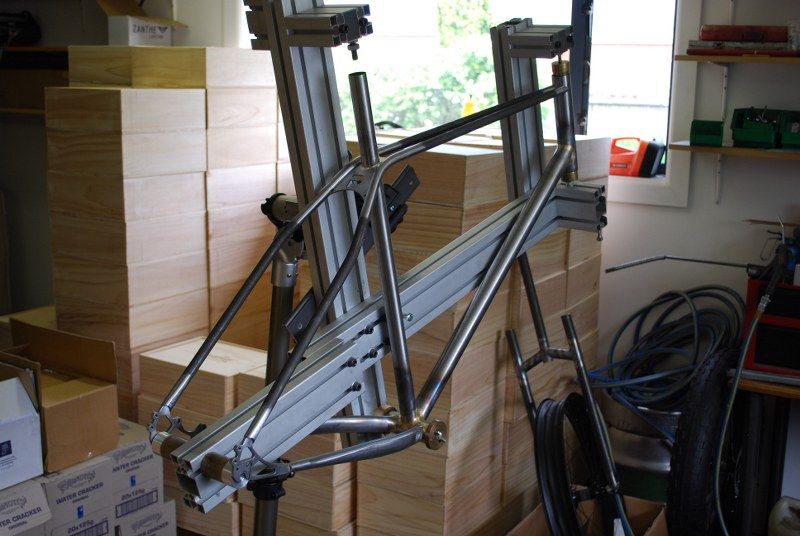
Having done most of the brazing on the frame, it is worth making a few notes on how the jig actually performed. Overall it does the job pretty well, but there are a few things that were less than satisfactory;

 - Generally I did the brazing in place on the jig, and one thing I noticed is that the big chunks of brass absorb quite a lot of heat. I kind of expected this to happen, but it made getting enough heat into the joint problematic at times.

 - Access to the side of the joint close to the jig was difficult, but because it tended to be the last bit you did things were already up to heat, so were still relatively easy to do. Whether brazing the nearside and then the farside of every joint is a good thing for making a totally straight frame is a question, but I tried to keep the brazing start points balanced where I could.

 - Once I had the main triangle and chainstays in place it was virtually impossible to remove the frame from the jig - I removed the fitting that holds the top of the seat tube, but even then it was hard. I will probably change things to improve this for the next frame.

Overall it worked pretty well though; 7 out of 10, should pay more attention in class. Story of my life really.


The lug brazing itself I am not 100% happy with to be honest, maybe I am being too hard on myself, but I felt I was getting things hotter than I really wanted in my efforts to get silver to wick into some of the joints. The simple ones with essentially the same pipe/lug material thicknesses were ok (the head tube joints for instance), the dropout joints were not too bad either, but the ones with complicated geometry and a long wicking path were pretty stressful to achieve; the seat lug, fork crown, chainstays into bottom bracket.

I think I have enough silver in there for it to not be a problem functionally, but the bit of me that wants each joint to be a thing of total beauty created with a zen like sense of competency and completeness is displeased. Still, it is my first frame, and it is all about the learning isn't it?

Anyway, soon I shall pop out soon to the ever helpful Bob, and we shall do the prep type work ie cleaning up the bottom bracket threads, reaming the seat tube, reaming the head tube and seating the fork crown bearing race.

Sunday, 10 February 2013

Lazy Eyes, Real Work Commences, a New Bike

It has been fourish weeks since the last proper work on the frame, and for good reason; I have just  had my eyes lasered. This involved wearing my glasses instead of contact lenses for two weeks prior to the operation, which made it hard to wear dark glasses for brazing, and then two weeks of being careful about my eyes; ie, not brazing and filing and grinding stuff.

The first two weeks wearing the glasses was actually the hardest to deal with as I am (was!) particularly blind; 7 diopters in one eye and 6.75 in the other, which basically means I was so blind I could not really even read a book without holding it millimetres from my face. My vision was ok with contacts but wearing glasses it meant I had virtually no peripheral vision, and the glasses lenses were so thick that I would get a form of light dopplering at the sides of my vision where lines of contrast would either red shift or blue shift. Disturbing to say the least, but at least in idle times I could imagine I was a spaceship.

Anyway this meant that for two weeks I basically could not trust my vision to tell me that things were the way they actually were, and so I thought it best to leave off work on the frame for the duration.

The actual Lasik procedure was pretty quick and painless, the only stressful bits being; 1. Having your eyes speculumed open. 2. Having the front of your corneas cut off. 3. Smelling the bits of your eye being vaporised by the laser. 4. Watching the nice doctor brush the cutoff bit of your eye back on.

For a day it felt like a little gremlin had dried out your eyes with a blowtorch and then liberally sprinkled finely chopped glass fibers in there just for good measure, but I had drugs to deal with this. Overall it wasn't too bad really, and well worth the blood loss from where my fingernails cut into my palms.

So now I am back on track I have fearlessly dived into the actual frame build. This weekend I brazed the head tube to down tube joint, seat tube to bottom bracket and the chainstays to dropouts;

A bit wayward with the quantity of silver, nothing that endless hours with a riffler won't fix.
A better effort.
Another unnecessary view of a better effort.
After I washed the flux off, clearly the skills have not entirely deserted me...
It was hard to get enough heat into the dropouts without toasting the tubes, I think it went ok though...

Now I just need another fill of oxygen to proceed, those little tanks do not hold many hours worth.

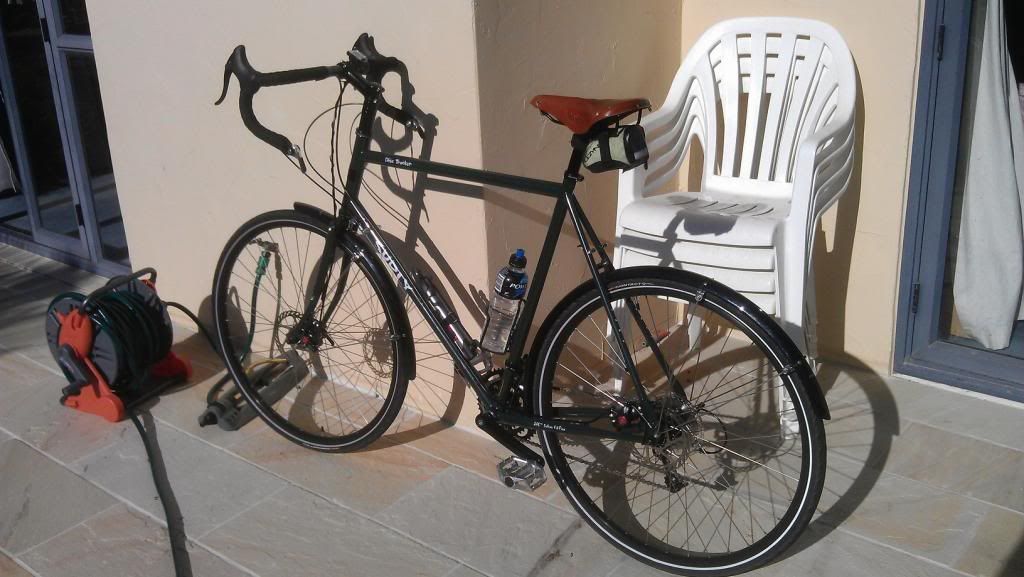
As indicated I have purchased a new bike, which you have probably guessed is a Surly. This is a Disc Trucker, which the disc braked version of the Long Haul Trucker. I bought this because it seemed to be the only steel framed bike in the size and geometry that I wanted.

A Surly Disc Trucker last week.
All I wanted was a decent bike that I would be able to do long rides involving hills, but this thing has far surpassed my expectations. It is so comfortable and responsive that having had it for a day or so I actually braved going up Dyers Pass Road. The first section up to the Sign of the Takehe was frankly rather ugly, it wasn't so much a granny gear I needed but more like a crematorium gear. I made it eventually, with many pitying and slightly worried looks from the walkers passing me, I think because my breathing sounded like someone was felling redwoods with a handsaw.

Thankfully from that point on things got significantly easier, so much so that I also took in as much of the summit road heading towards Sumner as I could, and I was rather disappointed to realise that the road was closed. That was a good ride and bedded in the squeaky front brakes quite nicely.


Since I took that picture I have bought a Topeak rack and some Phillips panniers and handlebar bag, so it looks pretty industrial. I have been using it for commuting for the last two weeks as well because it makes every other bike I own feel floppy and uncomfortable. This does nothing for my FCN but it is so easy to get the power down I am scalping pretty well regardless. When the frame goes together I will be trying to replicate how I sit on this as it is so nice.

I think I am in love.
Saturday, 19 January 2013

A Circumhorizontal arc, Mammatus, and a set of forks

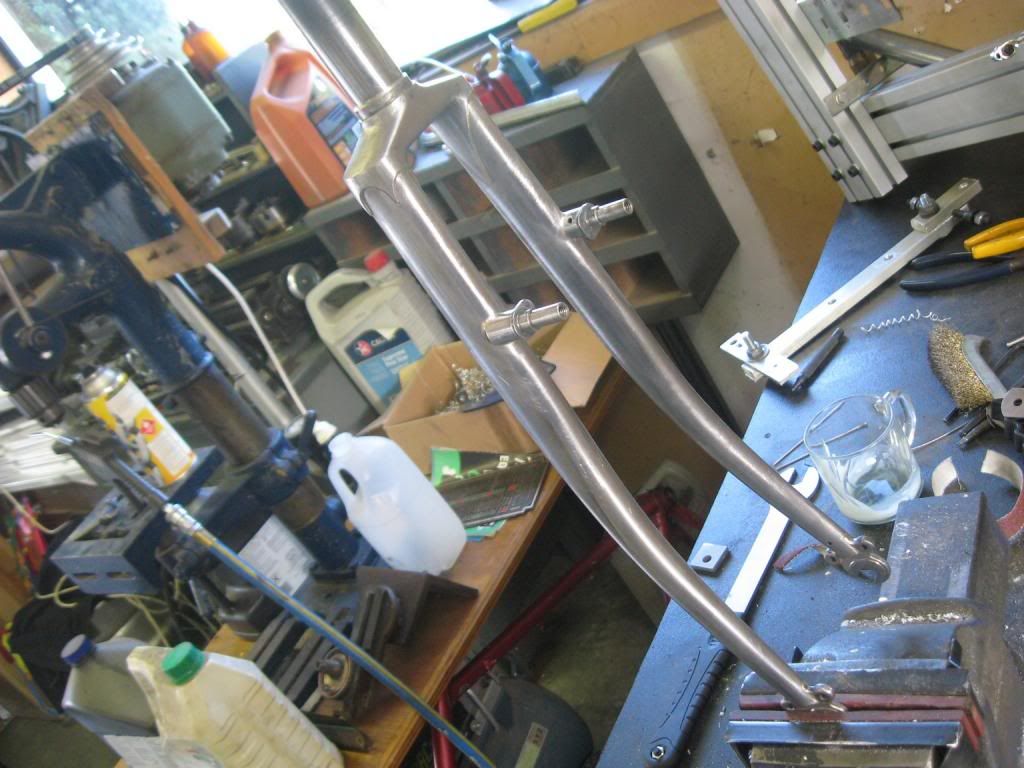
At last the long awaited Himalayan-like pinnacle of frame building has arrived, actual brazing!


Well actually I achieved silver soldering, as I simply could not get what I considered to be a satisfactory joint with brazing, a situation entirely due to a lack of skill on my part no doubt. After the abortive practice joints with the brazing rod I went and purchased some 45% silver rods and some flux (at great expense I will have you know) and after a few significantly more successful practices I set to work with steely determination and not a little cold sweating...


I did the fork crown to steerer tube first, probably the hardest joint to do due to the thickness of the metal parts - and this was extremely stressful as a result. I must have not put enough heat in the flame, or not had the correct joint clearance, or some other obvious bollox up, because it took ages to get the silver to wick through, and I actually thought I had blown it at one stage and pretty much gave up. I then cleaned the joint and saw that in fact the silver had penetrated the joint pretty well - not 100% all the way around, but thoroughly enough so that filling again it from the underside has given what I think will be a strong enough joint. I have already been thinking about the second set of forks with a triplane crown and smaller radius bends, so if it is no good then I will bin them and put it down to experience, but I am pretty confident these will be ok.

I also managed to get silver pretty much everywhere, and spent a fair chunk of time cleaning all that off. This gave me an excuse to buy some more tools, to be exact a set of rifflers.

So all that happened in and around Christmas, so yesterday I decided that having a wee jig for the brake bosses would be a good idea, I threw this together pretty quickly out of random parts that were lying around, and the bosses got attached today;


All through this I spent a lot of time cleaning up the resulting joints, but clearly it is starting to come back to me as the brake bosses required fairly minimal clean up work;


If I didn't know any better, I would say that these look like a fairly convincing set of forks....

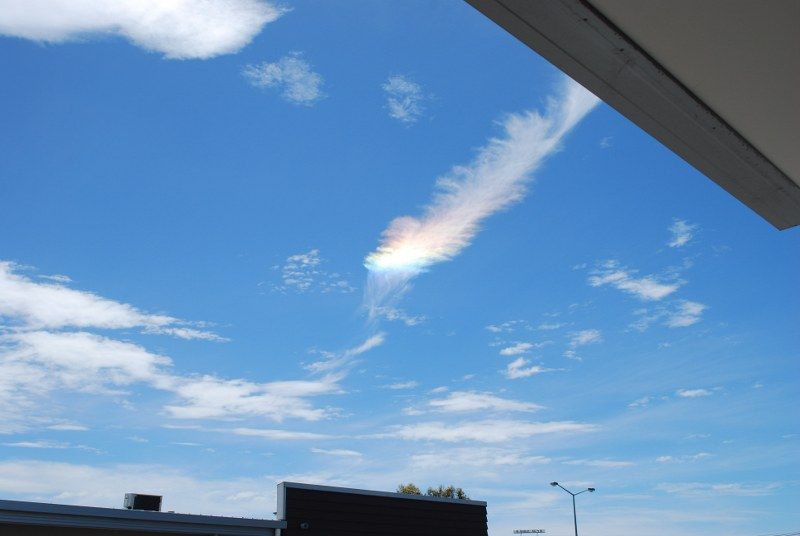
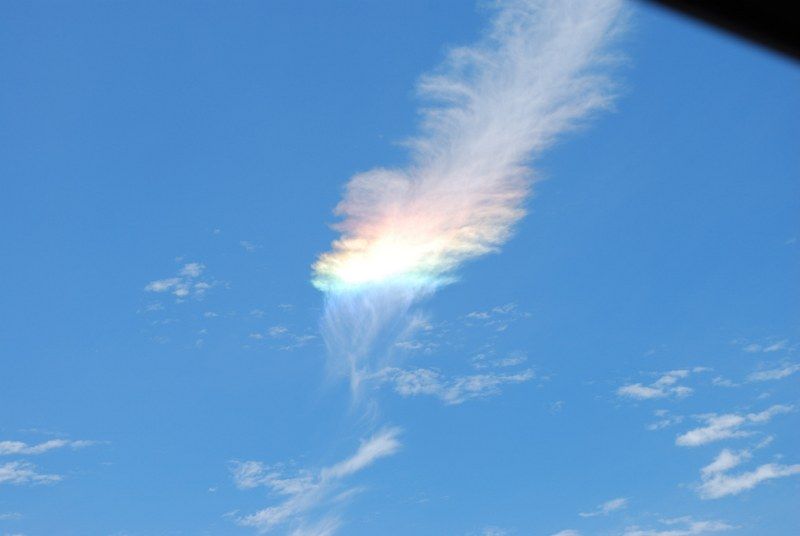
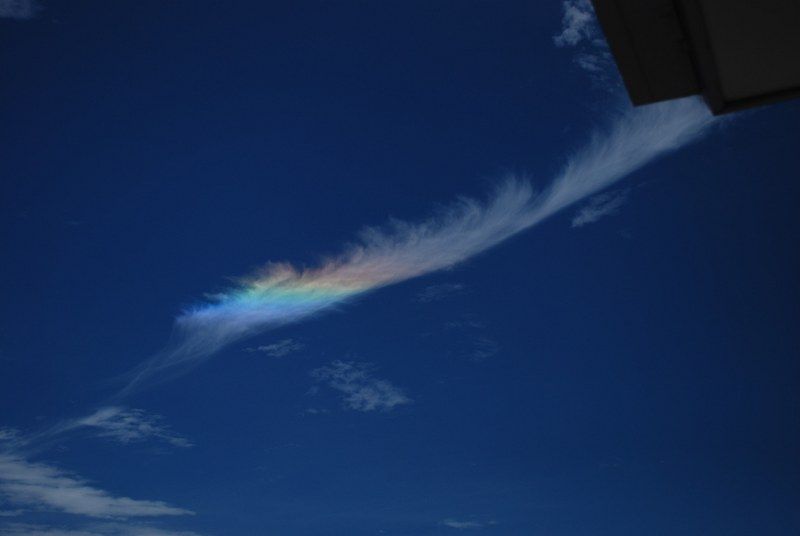
One day just before I went on my Xmas break we had a very rare and unusual cloud formation appear in the skies, and I tried to get a decent picture of it with my non existent photography skills;


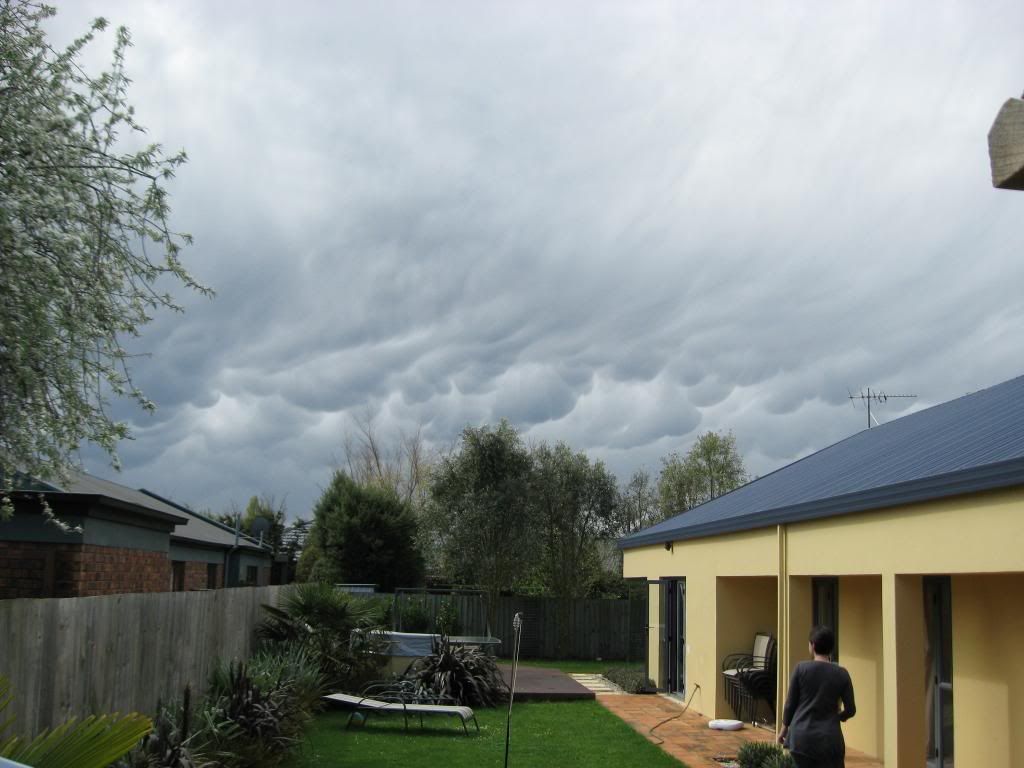
It is Circumhorizontal Arc, or Fire Rainbow, and was really spectacular. We get a few unusual clouds in this area of the world, I took this photo of Mammatus clouds a few years ago;


Next job (apart from my new career as a world famous nephographer) will be actually welding the frame - aaaargh.

I have a few things to get out of the way first, so don't be looking for rapid fire updates, but I promise more progress very soon

In other news I have pretty much decided to sell the copperbike, this comes about because I thought one way to reduce the incredible amount of fat around my belly would be to go up the port hills and therefore use more calories than can be replaced by my regular beer drinking. Needless to say I failed due to me nearly always riding on the flat and the lack of available gears on the bike. There are a few functional issues based around my physical limitations as well, so I will sell it to fund the purchase of a Surly LHT. This has many gears and hopefully a better riding position... we shall see.