Showing posts with label mitre. Show all posts

Sunday, 24 November 2013

The Mistake Free Top Tubes MkIV™

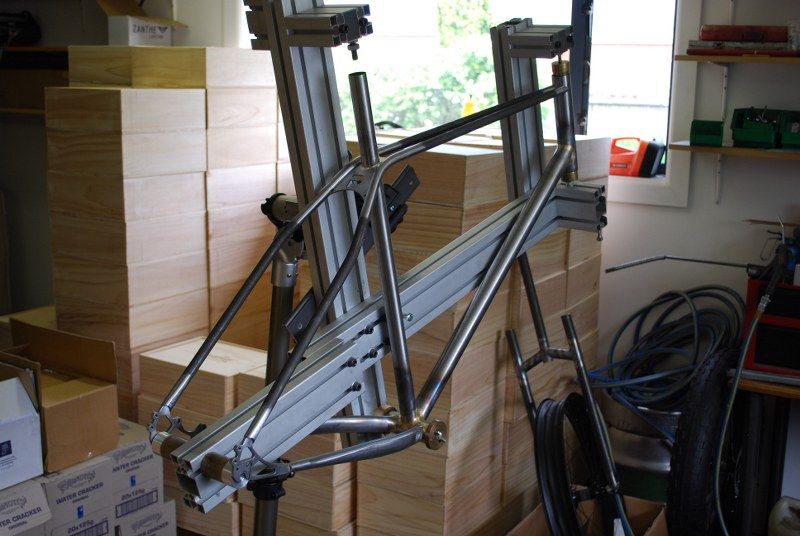
I have pretty much been in the garage every night this week and nearly all of the weekend, so things are moving quickly...

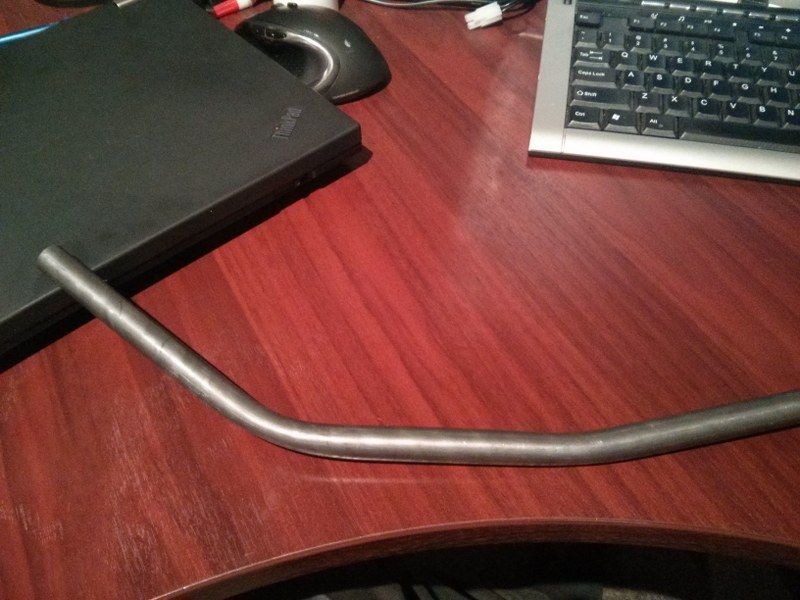
My extra tubing arrived on Tuesday morning, allowing me to utilise lessons learnt from the tube bending learning curve to great effect. In a couple of days the tubes were ready with minimum fuss and no obvious mistakes. But first the forks, which stretched the limits of my TIG skills.

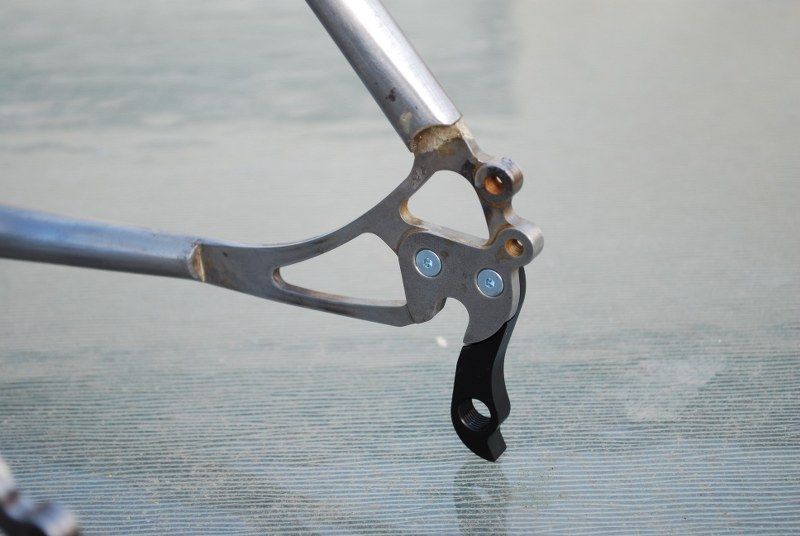
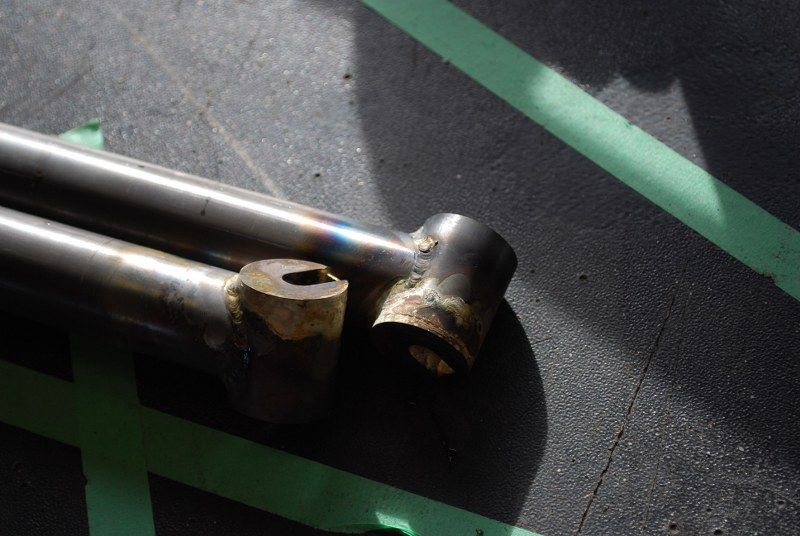
I re-used the actual dropout bits of the Paragon failure, mostly because I didn't have any other suitable material lying around. The dropout holes are not at the same centers as the tubes so turning them down to suit what I had required some thinking and setup on the Grayson. Here they are freshly silver soldered into the leg tubes.
Much time was spent taking microns at a time off the leg tube to crown miters, I have learnt the hard way to take this sort of thing slowly, and I get slower when both bits have required some effort to get to a level of complexity. I then welded it up but forgot to take pics.
Mistake Free Top Tubes MkIV™
The Mistake Free Top Tubes MkIV™ come free with several meters of randomly badly bent tubes, sort of like steak knives but less effective for slicing vegetables. I clearly need to design a frame that utilises many many very short bits of straight pipe.
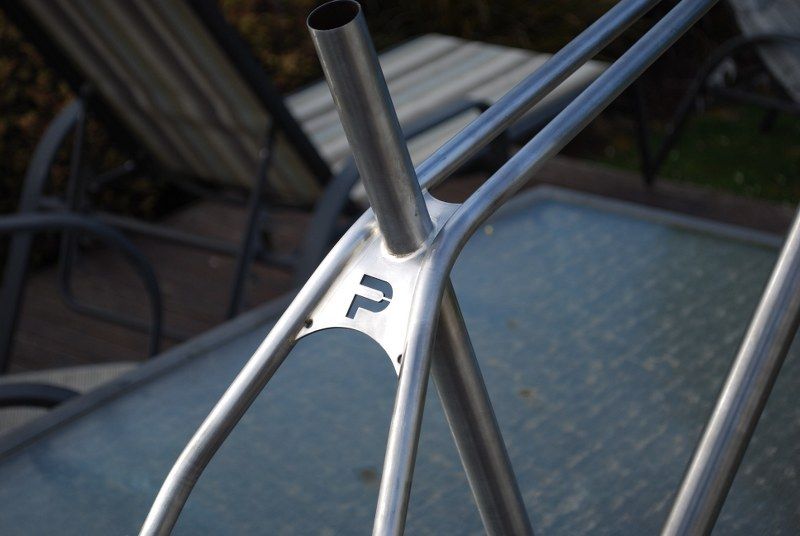
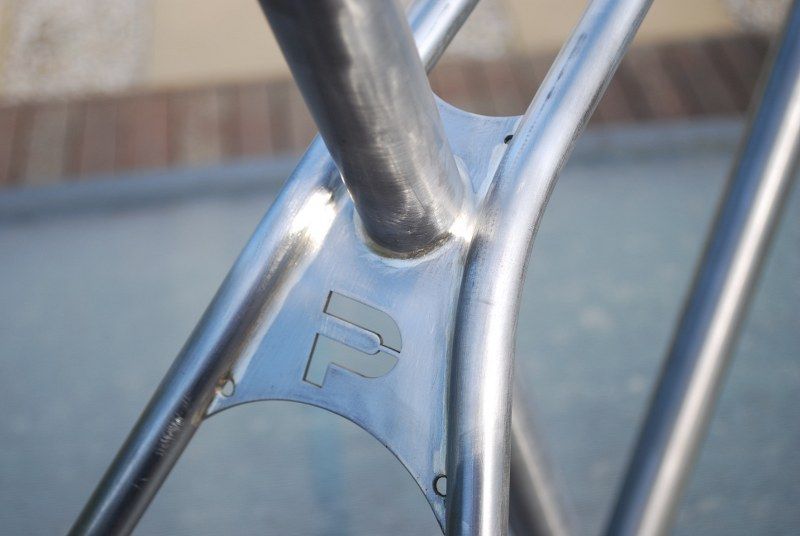
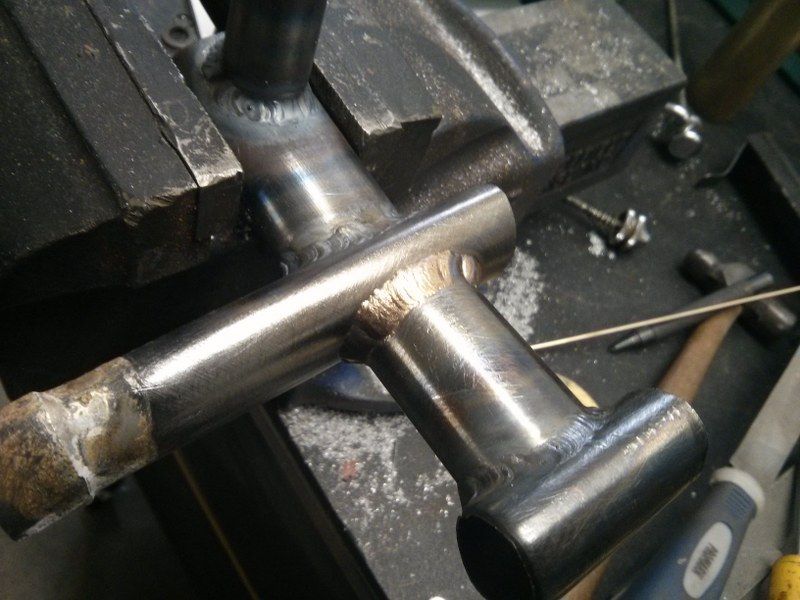
Once I was basically happy with the top tube mitering etc I brazed in the top plate. This was silver soldered actually as it is such a beautifully controllable thing to do and I did not want a big fat braze in there. As things were going to be a tight squeeze in there I cleaned it up nicely before getting too much further down the track.
I then fettled the fitment of the The Mistake Free Top Tubes MkIV™ so they slotted into place beautifully. Clearly some things just require you to bollox them up a few times before you can achieve creamy goodness.
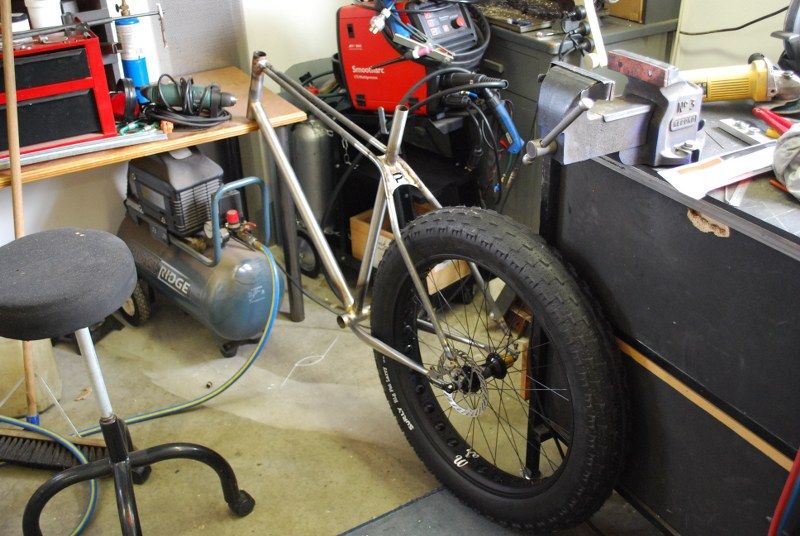
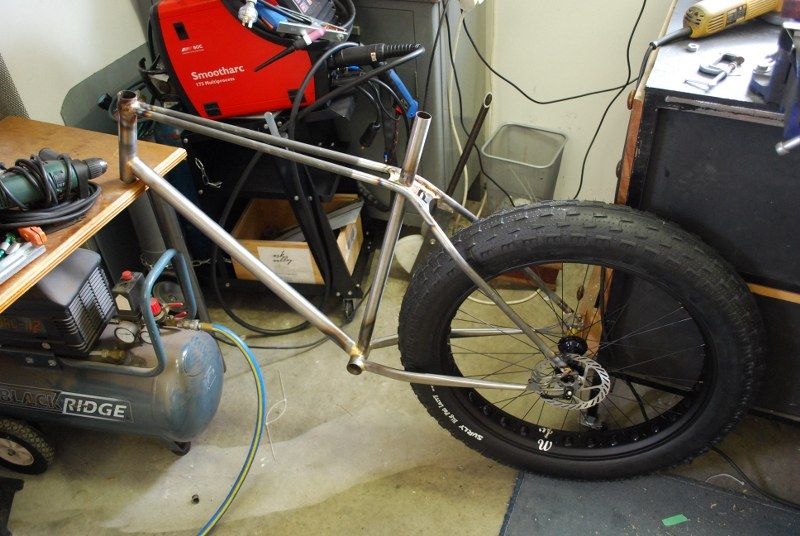
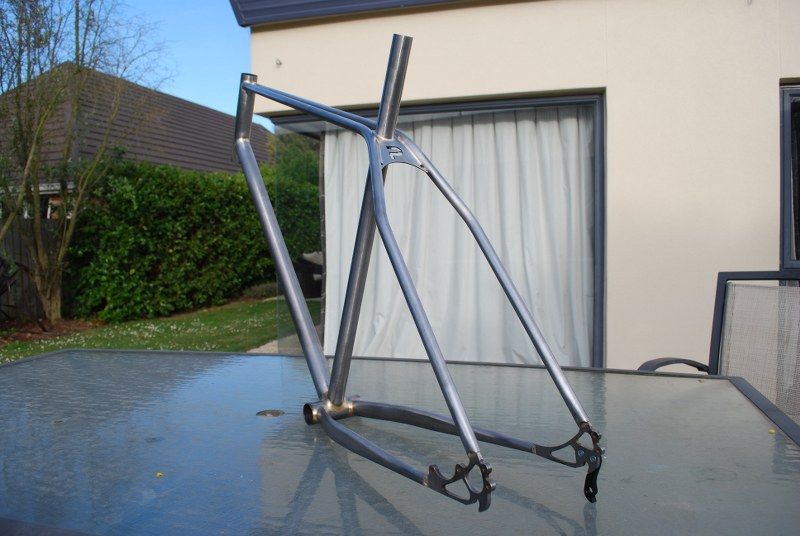
I then plunged into welding the things into place and before it was even cool I had to chuck the wheel in to see if all was well, which it was. The dropout slots will require some very minor loving to get the wheel sitting 100%, but it is looking pretty good as it is.
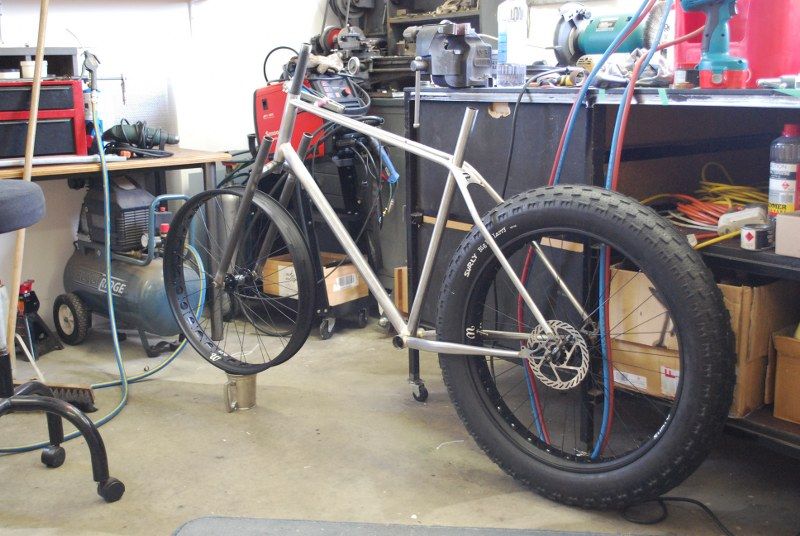
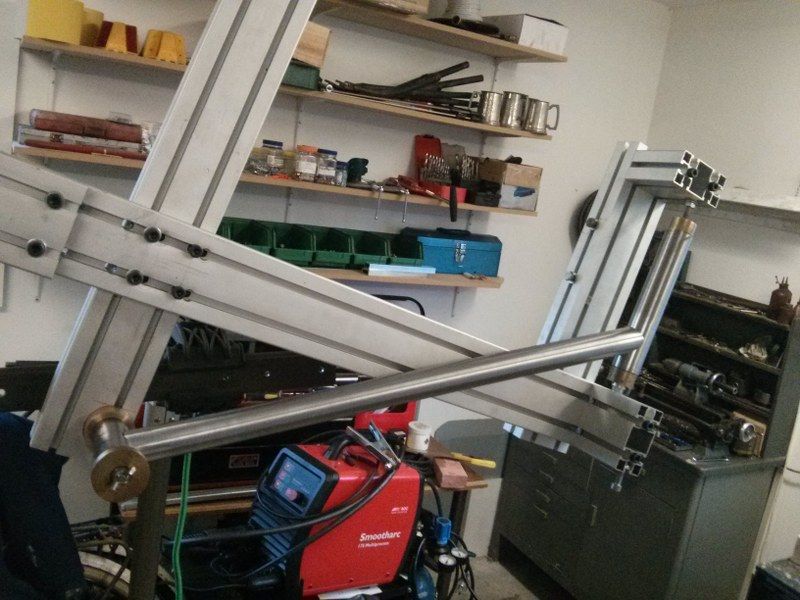
It looks so much better with those bends tucking around the wheel.
And then I thought I would chuck the half finished forks on to see how things shaped up, unfortunately I only have one tyre at the moment. An upside down pewter tankard is an admirable tyre replacement, but it might make for a slightly bumpy ride.
I spent some time today cleaning things up, there is still a good few hours yet to spend though.
I have made a bridge to fit in here but I need some more silver solder rods before I can do any more.
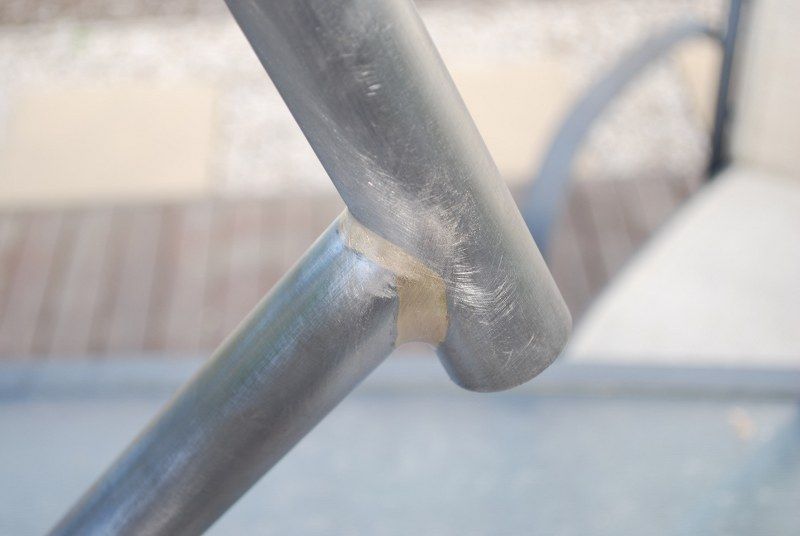
Some nearly finished fillet brazed cleanup.
This plate ended up with a bit of a shave off the sides, I think it still works visually.
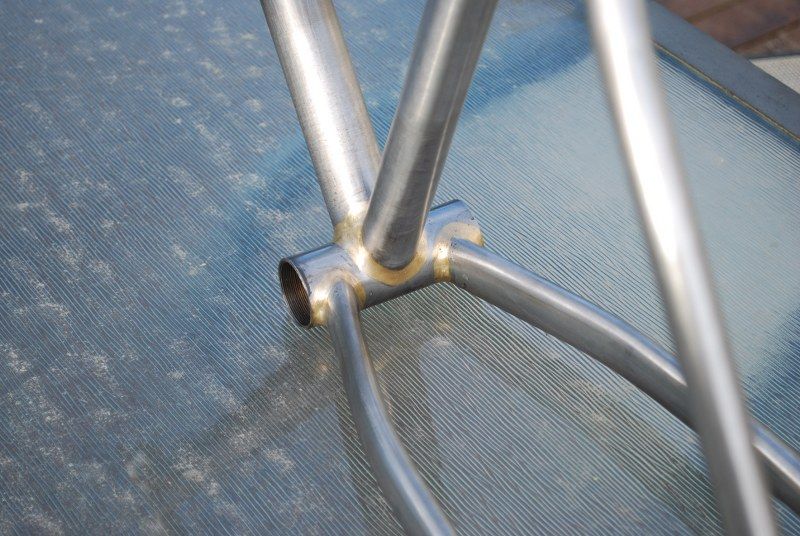
I have silver soldered the seat stay joints and sweated the filler up inside the junctions, I will clean up and cap the open ends a bit later when I have more welding rods.
This pleases me.

I am discovering that at the end of a build session I get a certain feeling depending on how well or badly that particular bit of the build has gone. If it has gone well it means that I have been in the zone and doing things that I am totally comfortable with, without rushing or stressing. Then I get a warm glow of satisfaction...

 If I have rushed or stressed then I am clearly not in the zone and I end up with a knotty feeling centred on my solar plexus, reminding me that I did not do as good a job as I could have when making that particular bit. I am getting much better at stopping or changing what I am doing until I am in a better space.

My current aim in life is to build a frame that is the culmination of build sessions that have all ended in the warm glow of satisfaction. This may take time and a number of frames.

Yay.

Tuesday, 22 October 2013

MIG, TIG, Jig

Update time!

Much has been happening, with the focus being on jigs and fixtures rather than actual framebuilding, but a wee bit of mitering snuck in regardless.

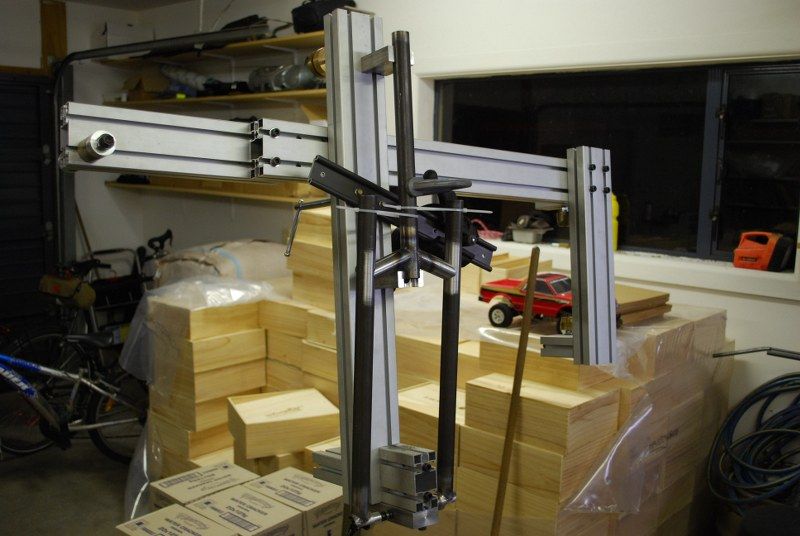
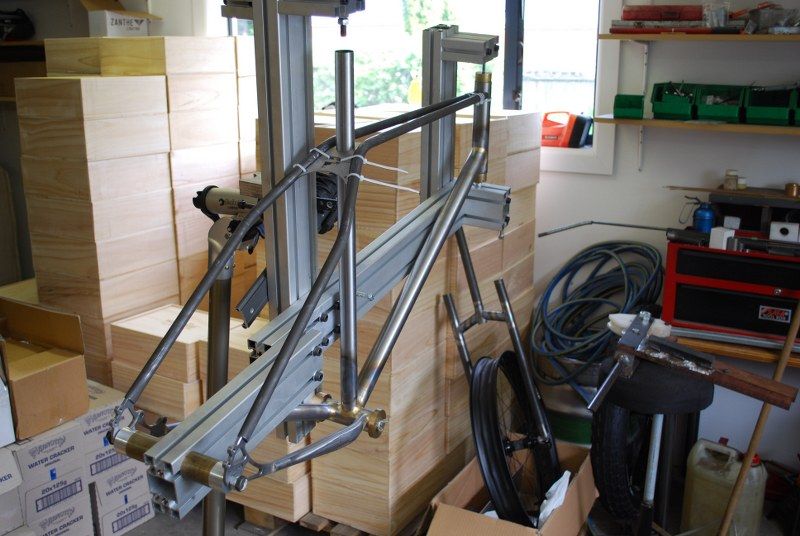
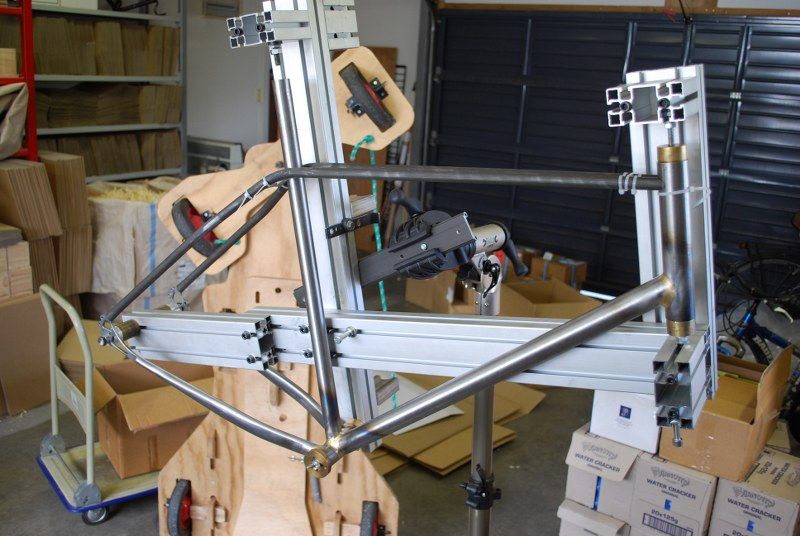
First up; the last frame jig mod...

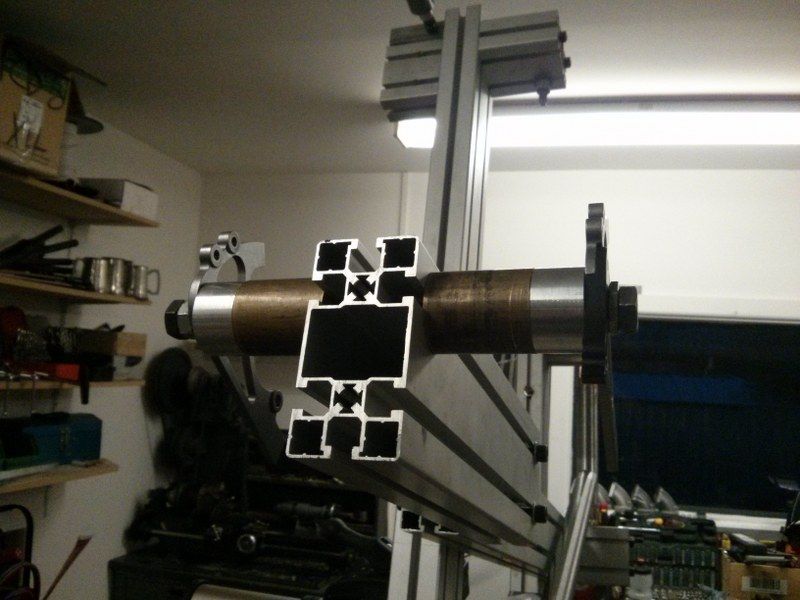
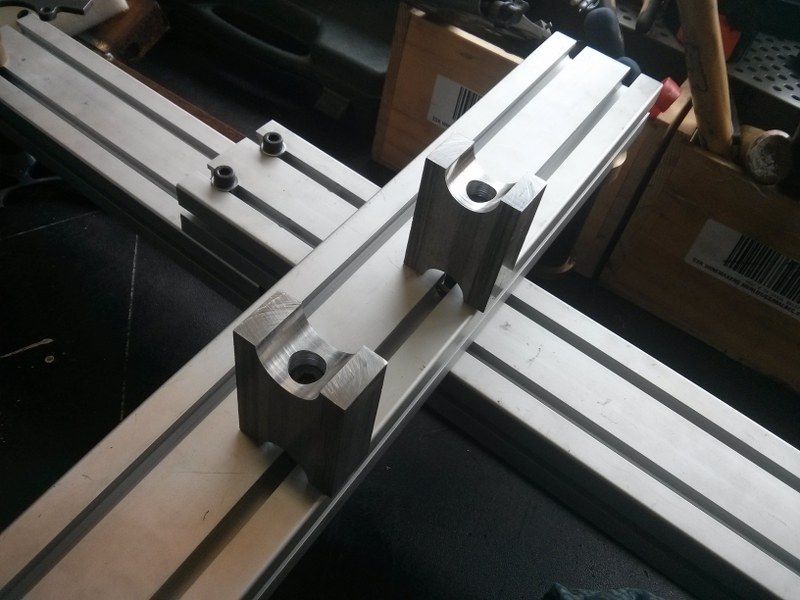
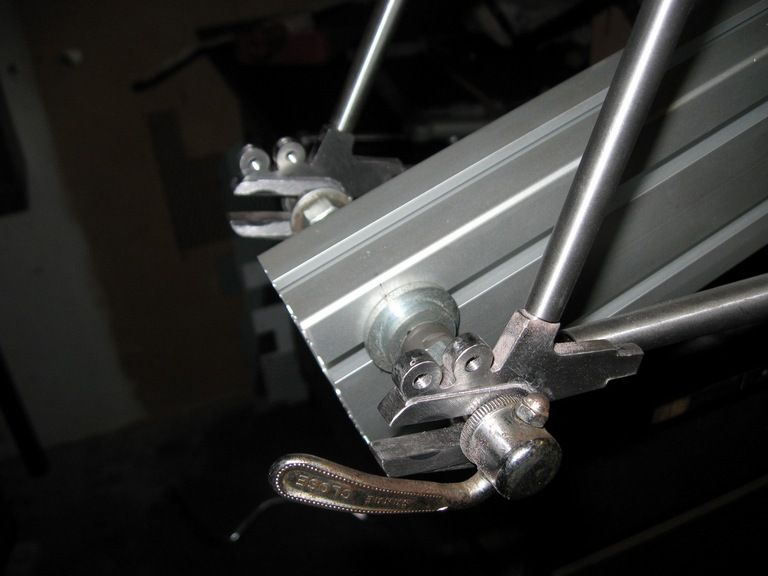
Rear spacers to bring the dropouts to 170mm, awkward little blighters with an M10x1.0 thread on the inside to match the axle, and an M10x1.5 to take a standard bolt on the outside. This is because I do not have a 170mm skewer.

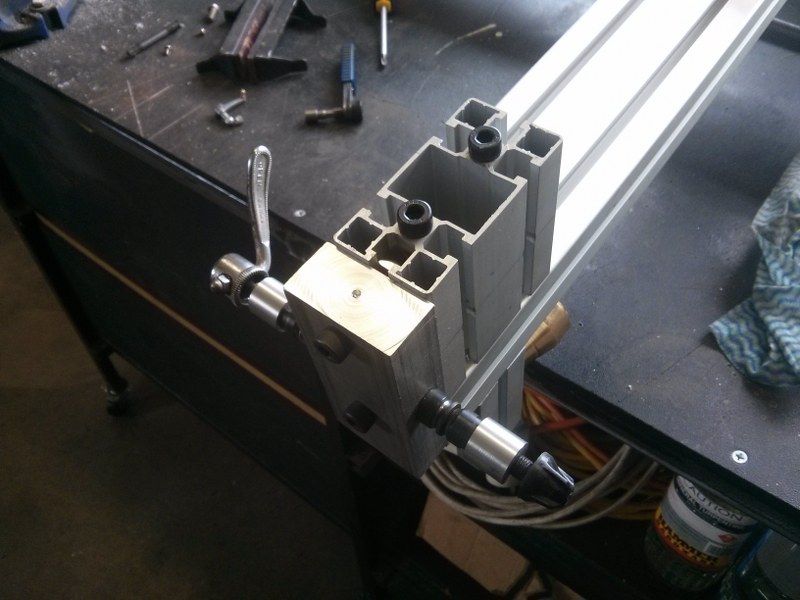
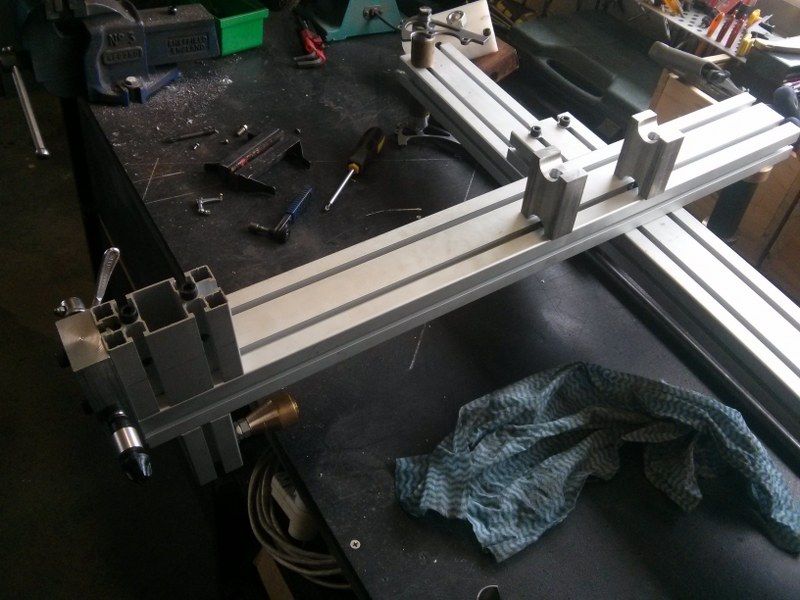
Next I decided to tweak the fork jig to suit what I wanted as this was going to be cheaper than buying new bits of Minitec to form the backbone of a separate jig;

Front dropout spacers as per the rear dropout methodology, but these have an M9x1.0mm thread - try finding that tap in Placemakers on a Saturday morning.... These I tapped all the way through and screwed and loctited in a short cut off section of hollow axle at either end, because I could then use a rear skewer to clamp it all up.
Sorted, give or take a bit of setup time....
I then turned my attention to bending tubes.... now, I had a day off last Friday, and I spent a fair bit of time avoiding child minding duties by crashing about the place trying to find a good but cheap tube bender. The problem I have is that I have precisely four bends to create, so spending $640 on a tube bender simply wasn't making mathematical sense. I couldn't find anything decent for less than that sort of money so I thought I may as well have a hack and something quick and dirty to do the job. I only need 35 degrees of bend so this cut down the required effort somewhat..

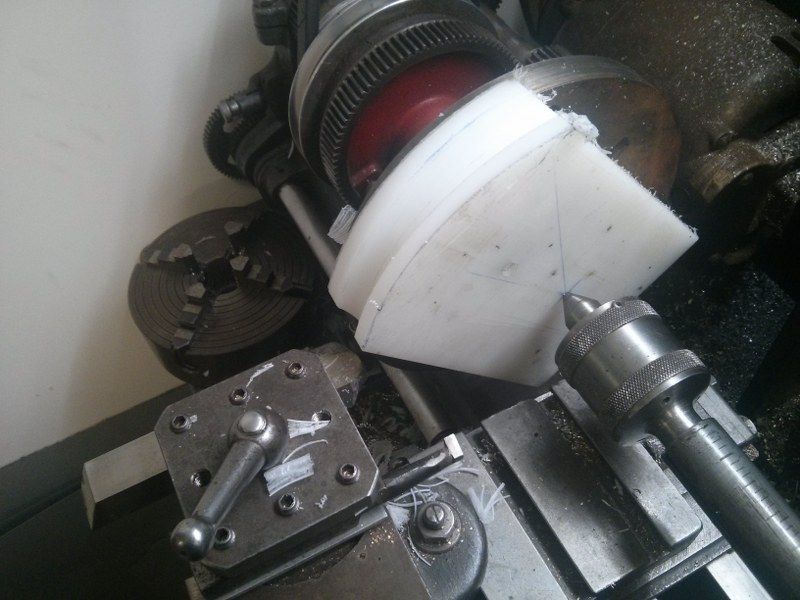
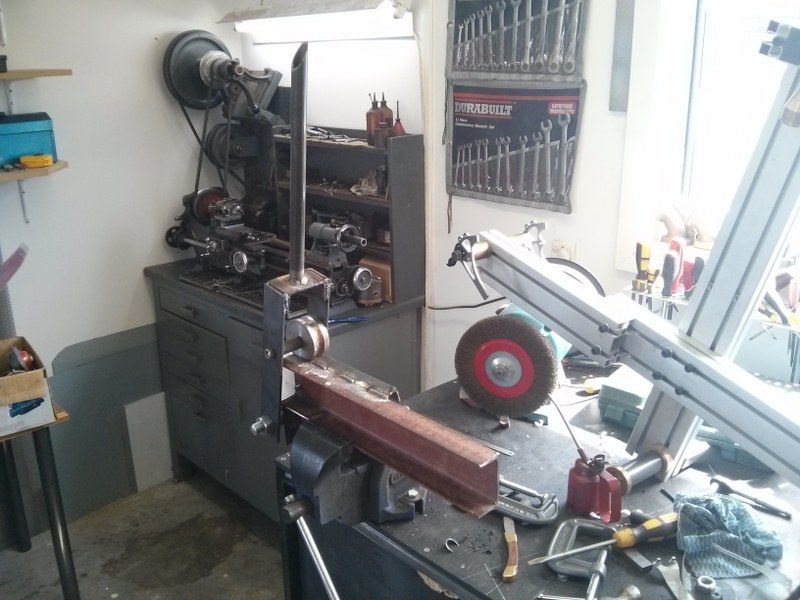
Turning the main former - I found a dirty great chunk of tool steel in the drawers of the Grayson and formed the entire 8mm radius in that with an angle grinder (With many years of experience the use of an angle grinder can be elevated into the realms of art). I used the same tool to cut the form into a block of aluminium for the roller.

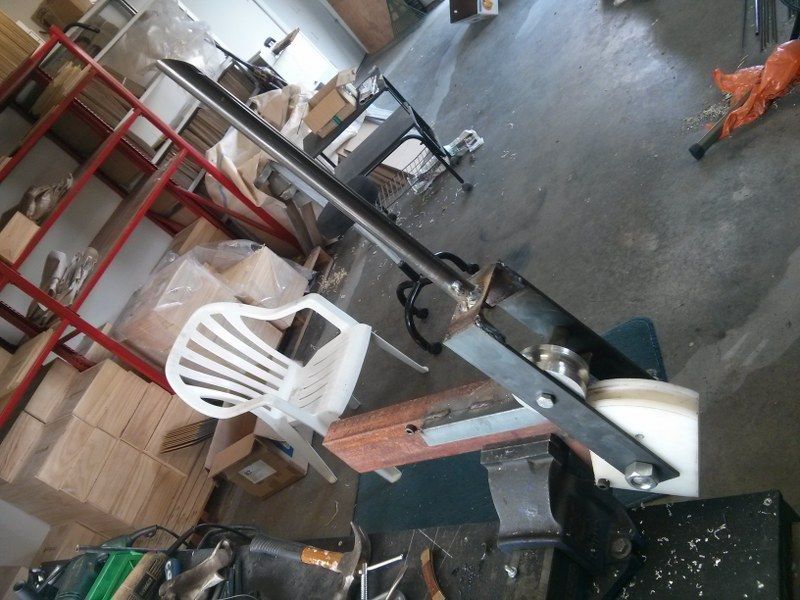
That abortive frame jig channel has finally found some use
I used my new Mig to slap it together, this is proving to be a sound investment already, it has a beautiful sharp crackling sound when welding. I thought I was being thick when trying it out because I couldn't find the wire speed adjustment - it turns out it adjusts it automatically depending on the amps selected. Technology in action right there, I'm impressed.
The result.
I bought an extra length of the 5/8ths tube for testing bends etc. It turns out there is a bit more crush than I am happy with on the bigger bend, so I think I will get a spring made up to fit inside. I may have a fiddle with heat as well, although I don't imagine I can get too carried away with that plastic former. This former is made from UHMWPE and sadly I can recall without any serious mental effort that UHMWPE stands for Ultra High Molecular Weight PolyEthylene. That info is a great line for pulling MILFS at parties, I can tell you. No, I cannot recall what MILF stands for sorry.

So this is all good stuff, and I am now pretty much in a position to crack on with the build. I have been boning up on my TIG skills (are you allowed to say 'boning up' these days?), even trying a wee bit of TIG brazing;

TIG and TIG brazing test pieces. Not bad looking, but then I tried a more complicated joint with the TIG brazing - this was less pretty.
This has pretty much fixed me on fillet brazing the frame, it is just so much more controllable than the TIG, although perhaps if the TIG had more refined controls (or I actually had some retained skill) this would be different.

Some manually mitered tubes, today.
 I then did a wee bit of mitering by hand, now that I have proved that the lathe is probably not best suited for this sort of thing, and I am now ready to weld the first two joints....

 While on my tube bender mission I spotted this at Scott Machinery, I have decided it shall be mine.

I may have to sell some bikes or children to get it, but get it I shall. I can simply make more bicycles and children as needed.

Sunday, 17 June 2012

Dropout fun

The great ebb and flow of shedweek has turned in my favour this last couple of weeks, the details of which will remain sketchy for fear of reprisals, but in short it involved my loving wife getting her way regarding the outside tiles currently being replaced by the insurance company, and yours truly paying a not inconsiderable amount of money to achieve tile satisfaction. Money well spent, as the look I get as I slink out the garage is significantly less worrying...

Anyway, this was the state of play a week or so ago, with all of the main tubes mitered in and looking pretty shmick I must say;


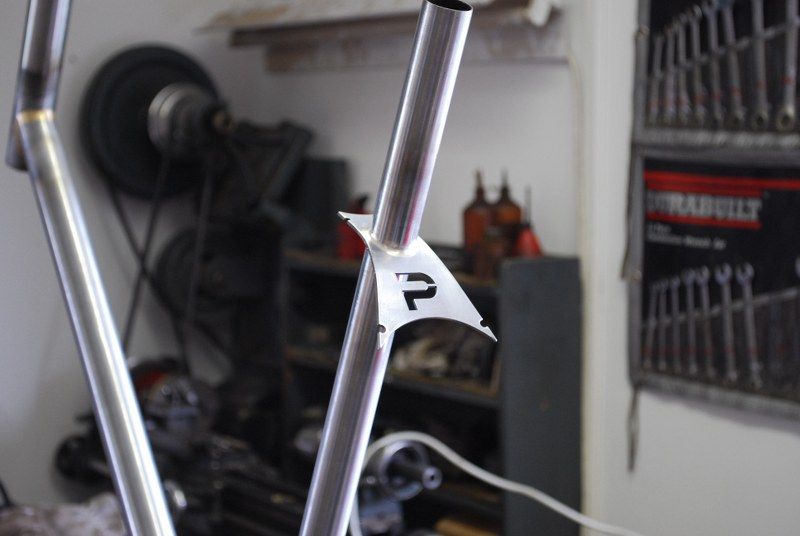
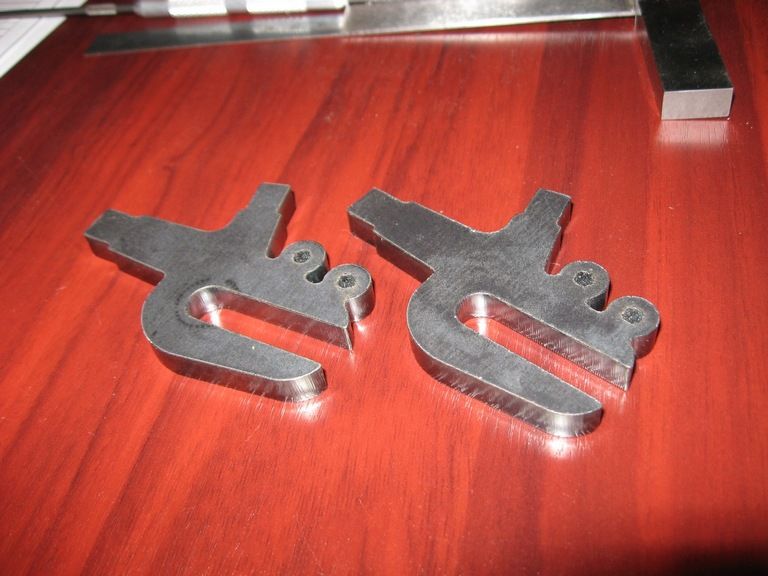
Now a while ago I mentioned some custom dropouts getting laser profiled, and these have mostly been the focus of attention this week - apart from a short evening mitering the chainstays into the bottom bracket.

This is what they looked like when I picked them up;


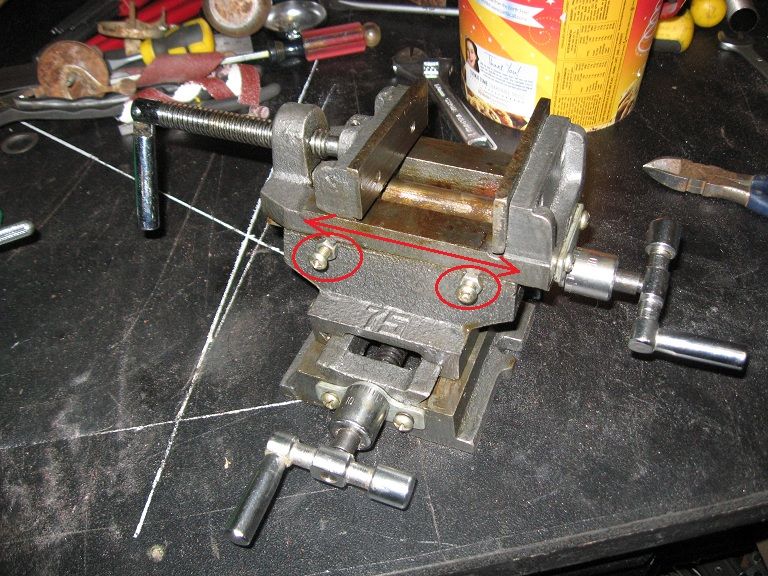
Now at this point I had the brilliant idea of using my lathe as a milling machine to cut away the excess steel on the faces, and that surely some form of compound slide attached to a vise, and then attached to the slide of the lathe would be functional, if a little awkward. The only immediately available thing (ie accessible from the comfort of my computer at 9.23pm on a Sunday night) was this thing on TM with a online price tag of $60. 'Gosh that is cheap' I thought to myself, 'how bad could it really be?' As it turns out the answer to that question is; 'Really, really bad'. So bad in fact, that it turned out to be not only laughably poorly made, but actually impossible to use...


Now using my crude illustration above as a visual stimulus, imagine the top slide being wound backwards and forwards (and feeling disturbingly crunchy while this is happening). Then imagine if you will this backwards and forwards movement causing, by way of a pretty significant interference, the two highlighted nuts to rotate. The more astute amongst you will realise that those two nuts are the locknuts for the slide adjustment, and that for these to rotate by way of moving the cross slide is in fact a wrongness that is so fundamentally wrong it is difficult to find expression for it.

I should have known really, I took the punt on a hydraulically adjustable work bench from the same company once for an assembly jig I was making, imagine our surprise when it turned up and the working surface had a built in drainage drop of 50mm across 600mm of table, but only in one corner....obviously the lesson learnt had dulled over the years and the prime cause had decided to refresh things for me.

So anyway, I then went to a real engineering supplier to try and find something better. After describing my experiences and what I wanted to achieve to the very helpful man, he stifled his mirth and said I should really talk to Sam. Sam was a small man with a rather impressive grey beard who had just arrived in the shop and was waiting patiently to give me his personal opinion of Topmaq, which was not very complimentary much to my surprise.

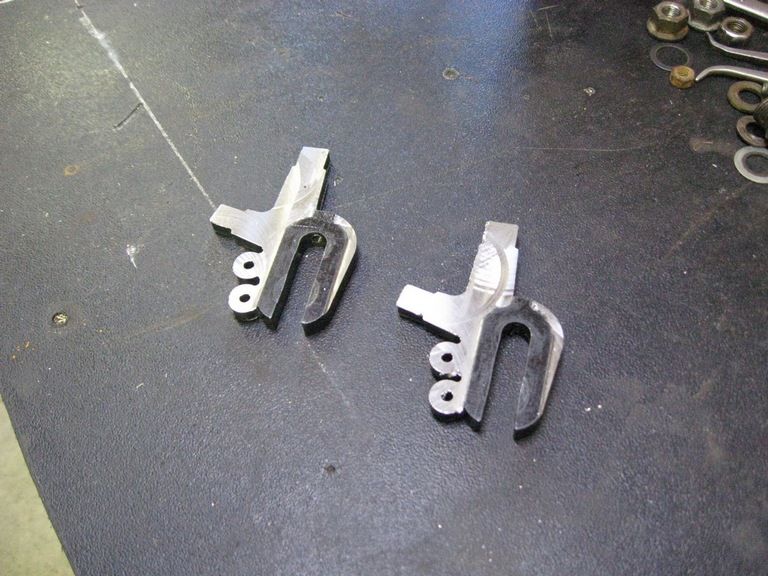
It turns out that Sam has a superbly equipped home workshop plus many interesting things to look at, including sweet vintage AJS and Matchless motorbikes. So for a couple of boxes of bourbon and coke Sam gave me free reign of his machinery, and the milling machine in particular got a fair bit of use, so I ended up with this;


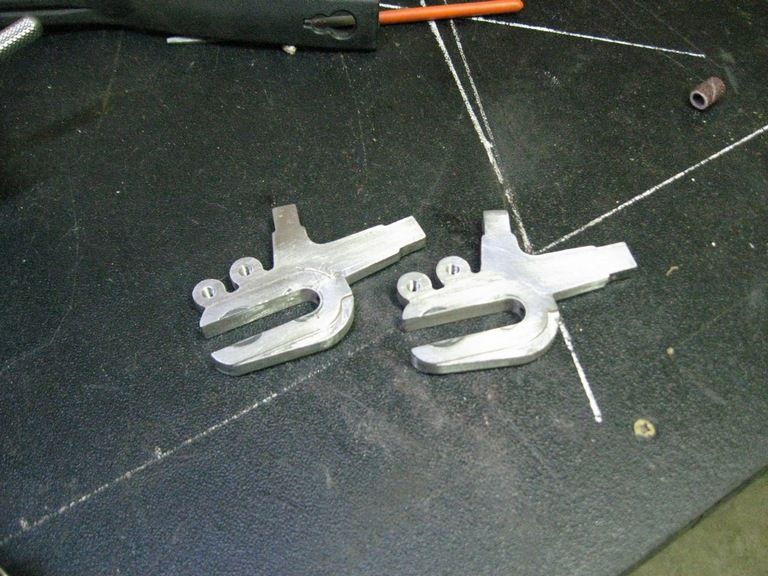
I then spent this afternoon with files and a dremel to get to this state of affairs;


Clearly there is a bit more to do there, but you get the idea...

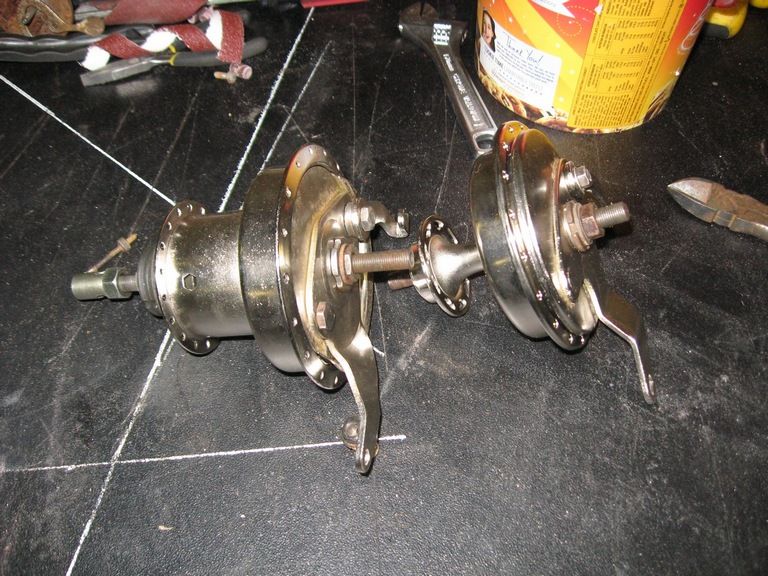
In other news, I have purchased two new 28" rims from Dave, and have got the Gazelle hubs nickel plated. I (or Dave) just need to figure the correct spoke lengths and I will build those boys up pronto.


The Gazelle better be bloody grateful is all I can say.
Saturday, 5 May 2012

Machinery time

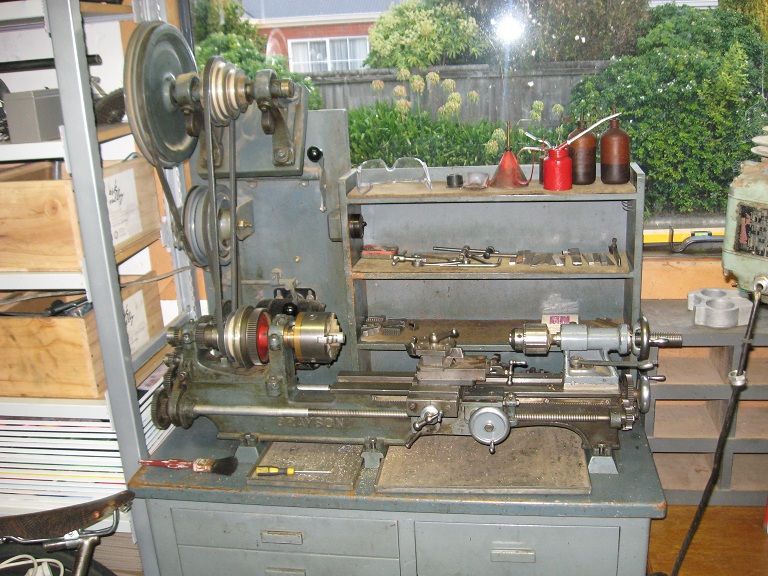
Today I have reached a major milestone in this project, and in fact a major milestone in my life, for I have purchased my very own lathe, and what a beauty she is;


I have wanted a lathe forever, but it is only due to the sale of my beloved Fiat X1/9 that I have had the space and the funds to achieve this.
According to my research the lathe is at least 70 years old and so achieves several of my other goals in life; to be old, grey and shagged. I am pretty sure it would not satisfy the needs of my new hero, but to a man of simple tastes and limited skills (me), it will do just fine. I will use this to make bits for my frame jig, and probably a few actual frame bits as well.

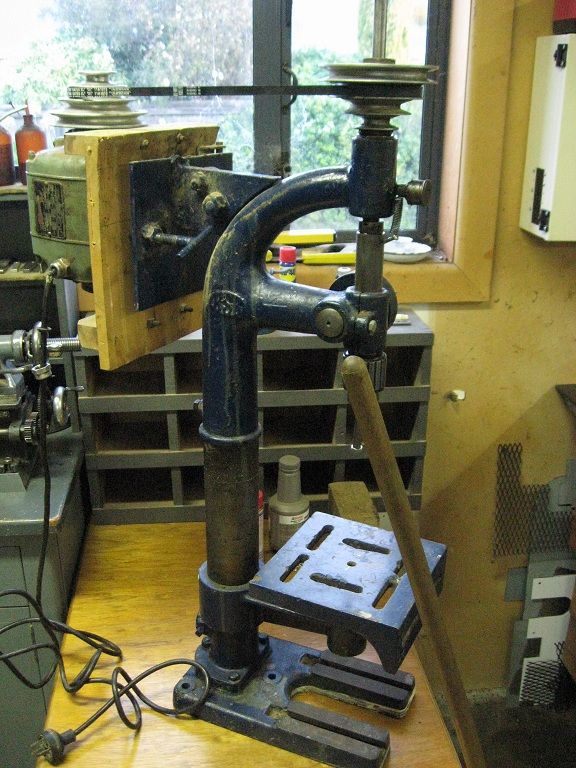
I also bought this massive beast as well;


I can probably start an antipodean branch of the British Science Museum soon at this rate. Actually I have been to the Science Museum a couple of times, and there has been a quite irritating tendency towards whizz bang interactive computer displays, obviously in an effort to allow modern children to utilise their 20 second attention span and still learn something. I cannot abide this nonsense, give me a vintage wool baling machine in a dusty glass case any day, I can drool over that crap for hours. Clearly I am in my element here.

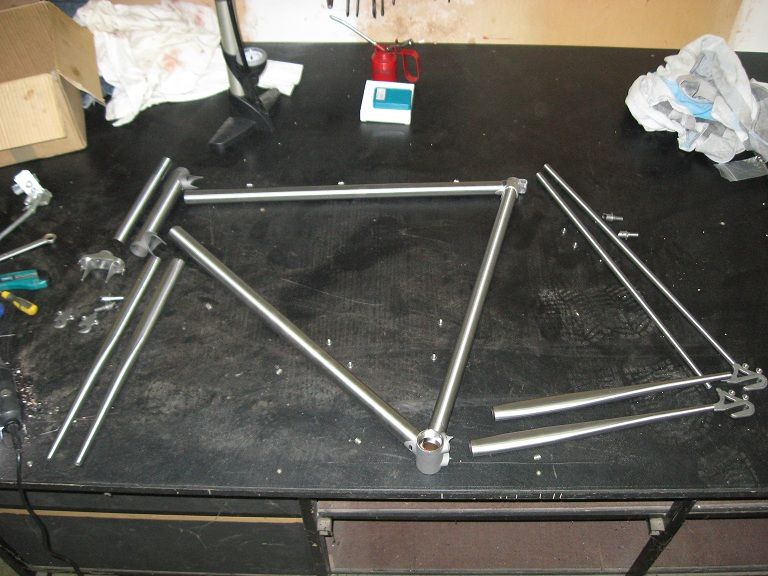
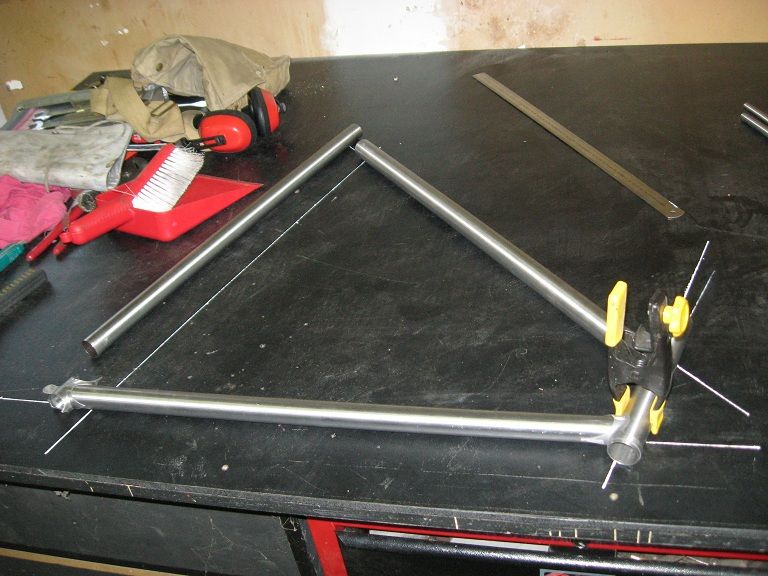
So on the actual frame building front I have laid out the frame geometry on my workbench so I can check the angles, and started mitering the tubes. I have discovered that this is so far a relatively simple task as long as you take your time, although I have yet to miter both ends of one tube so there is plenty of scope and time for me to bollox it up.

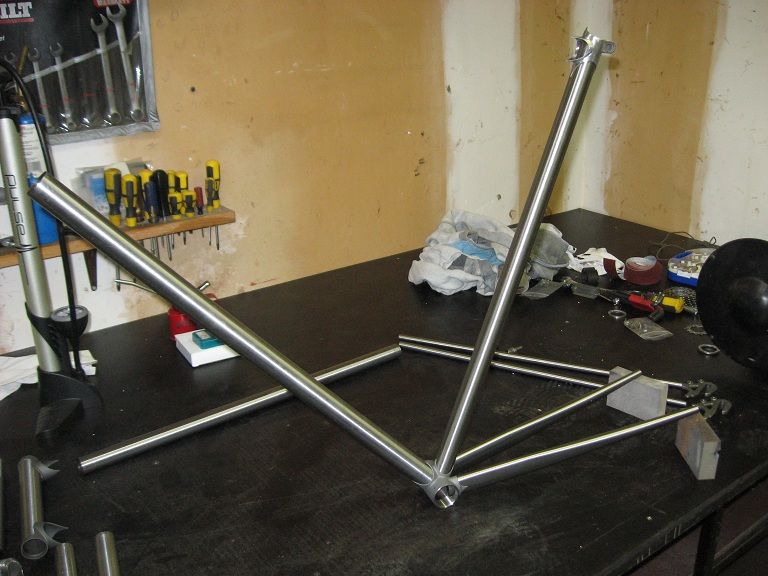
Laid out to check I have all the bits right;


This one was simply a fantasy exercise, so I can make the bicycle equivalent of vroom vroom noises, a quiet hour passed gazing at this, the wide vistas of my imagination taking me effortlessly over high mountain passes... it was only the growing patch of drool on my chest that snapped me out of it;


And finally at the bottom left is my very first mitered joint, exciting stuff I know.


So this week the focus will be on getting jiggy with it, I am gagging let me tell you.