Showing posts with label Brake brazons. Show all posts

Wednesday, 27 February 2013

Preparing for the first commute.

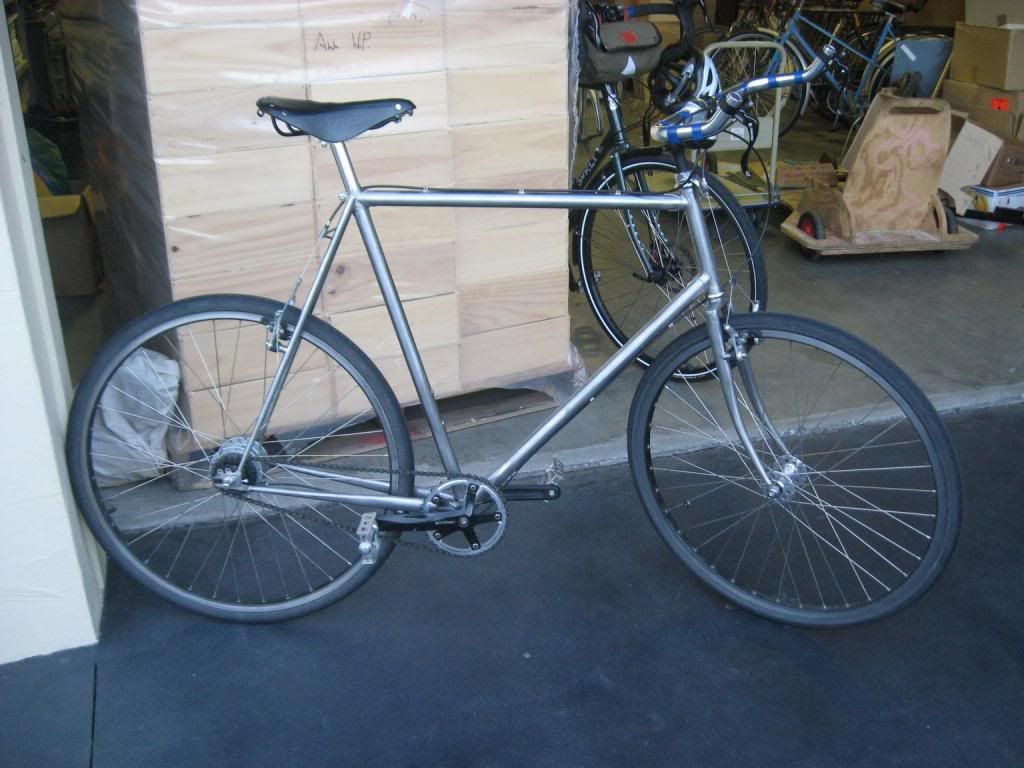
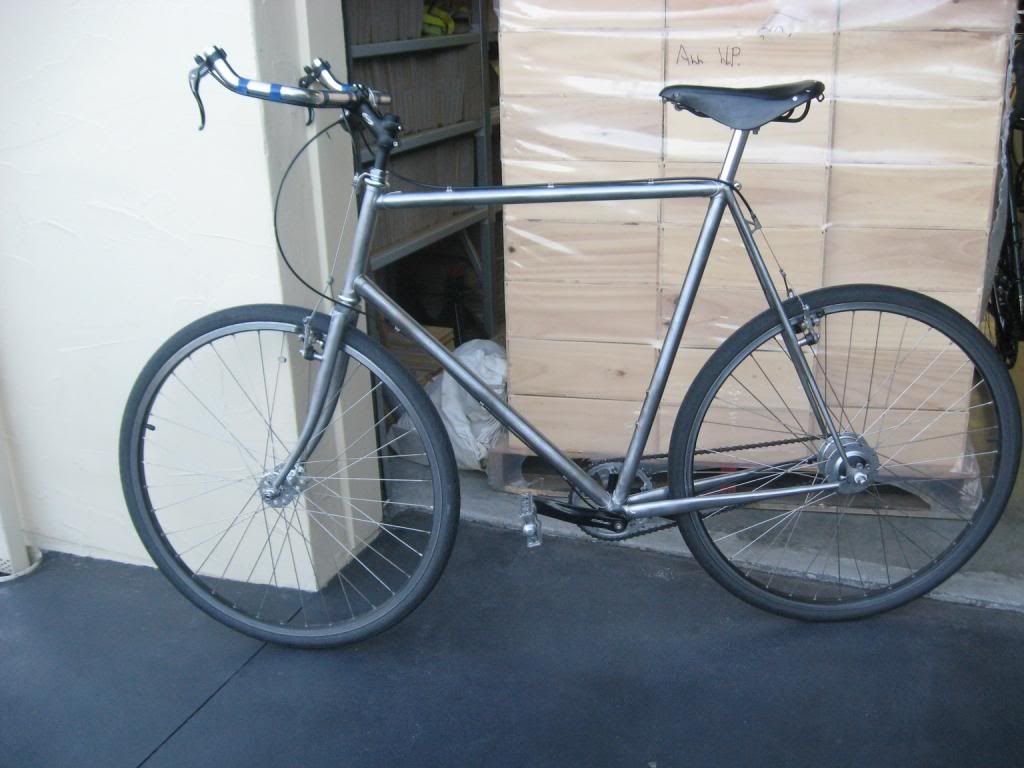
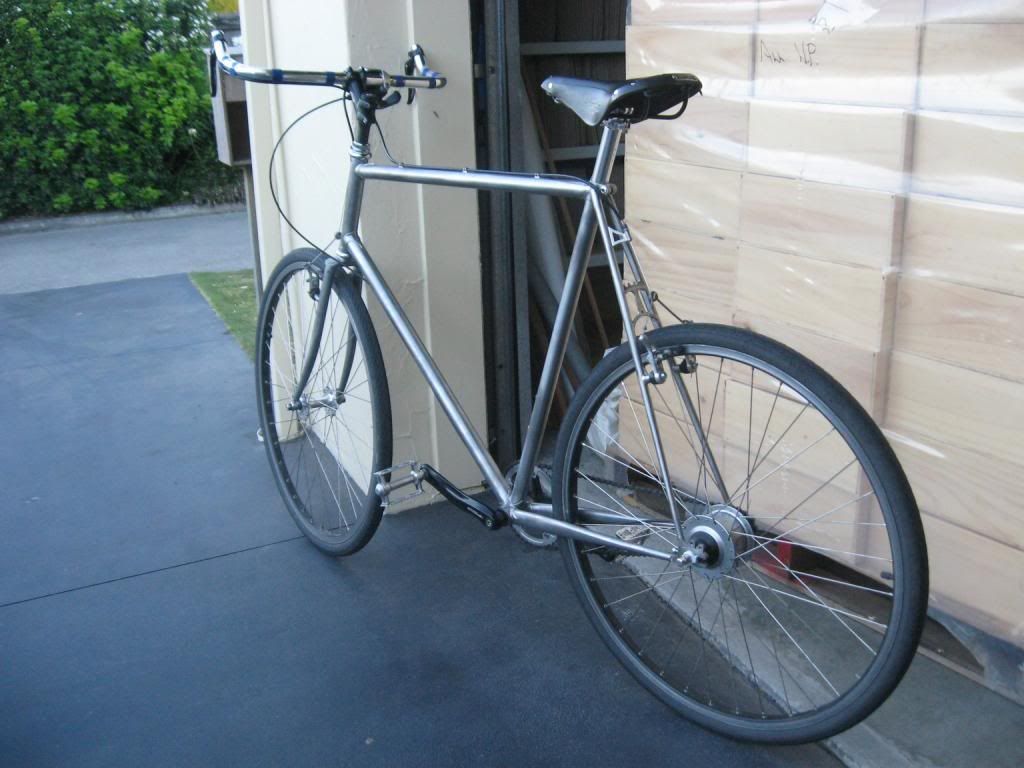
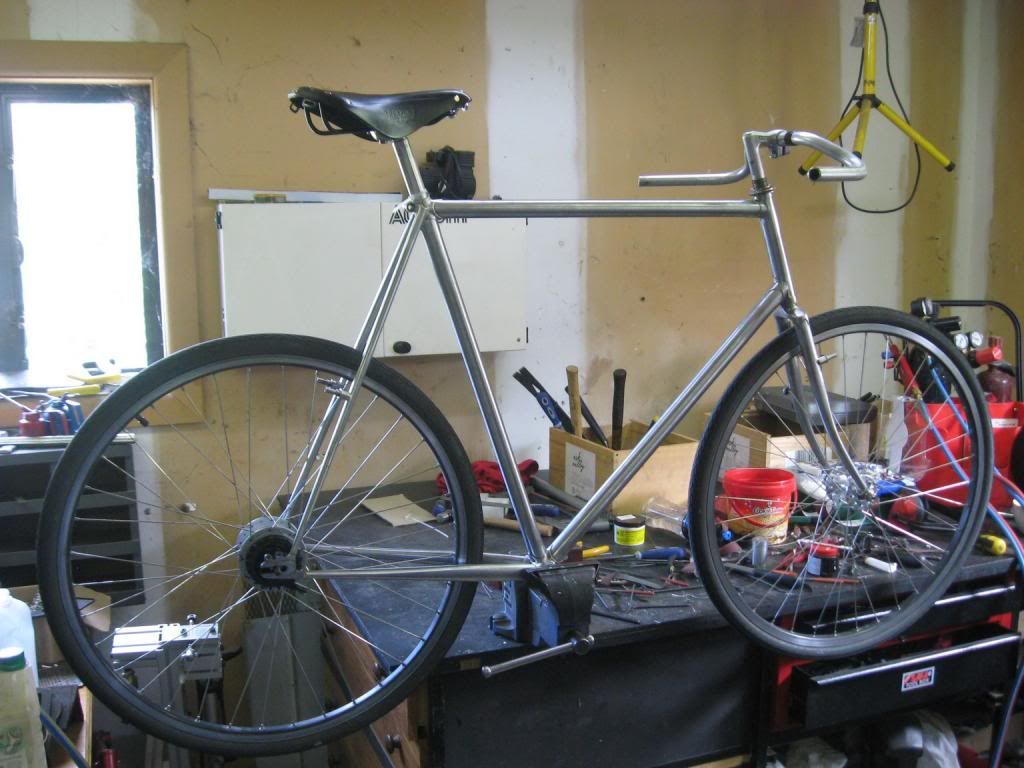
A short update; I have now prepared the bike for it's first commute tomorrow. This is going to be my reality check before I strip it down and add the finishing touches. I took it out for a couple of km's tonight and did some bunny hops to see if it broke, and it didn't - yay. The shifter isn't too bad to use really as the changes are pretty quick and direct anyway, so it is a pretty momentary thing to bump up a gear. It feels seriously good on the road, stiff and stable. No hands are easy as pie. To be honest I am totally stoked with how it rides.

Yet to do list;

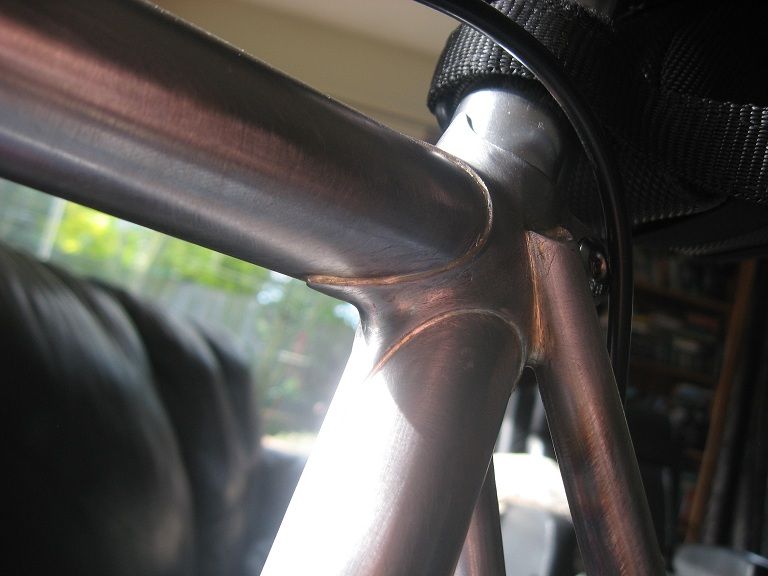
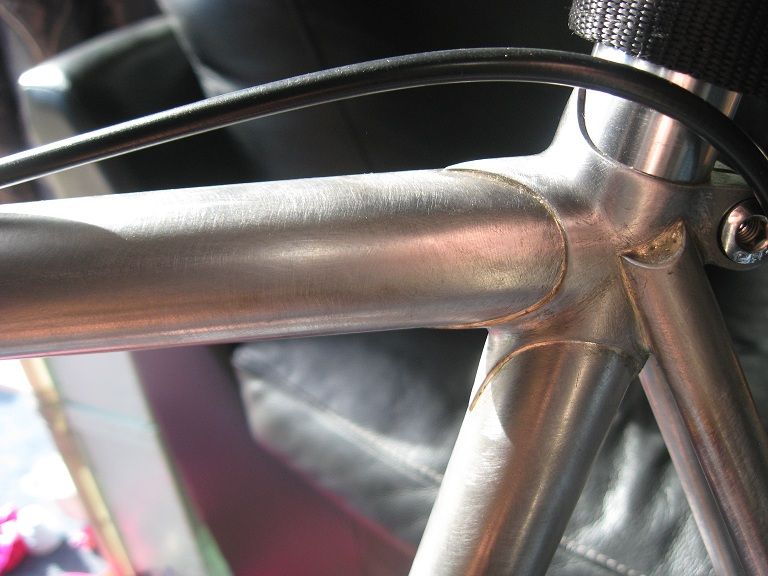
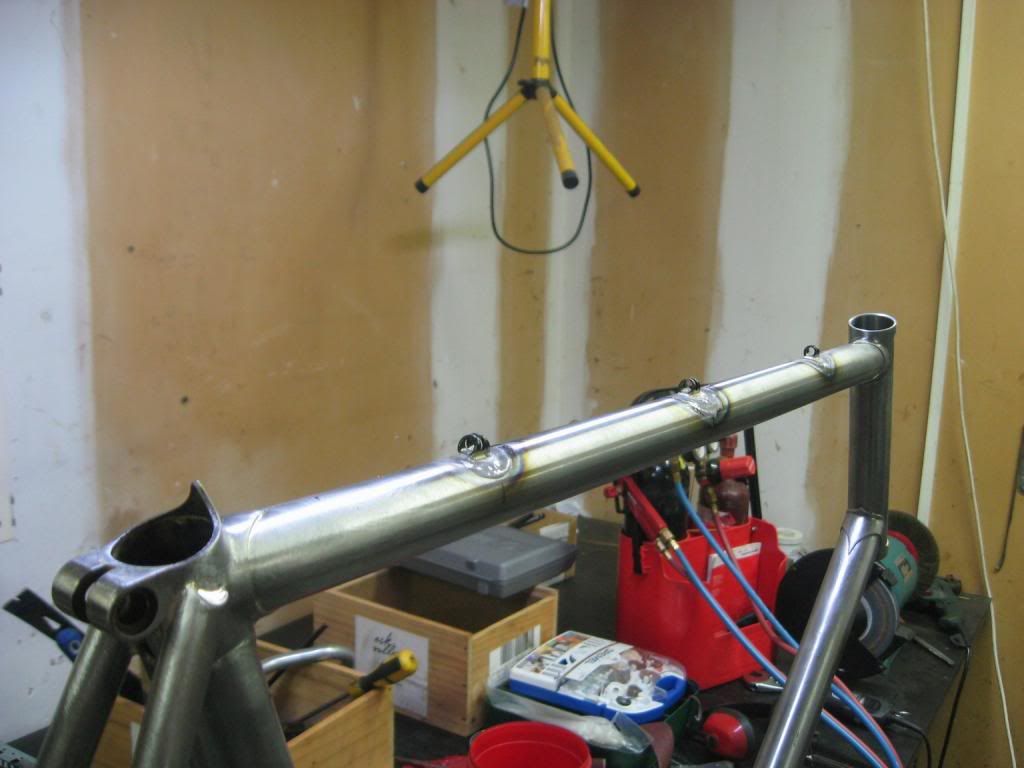
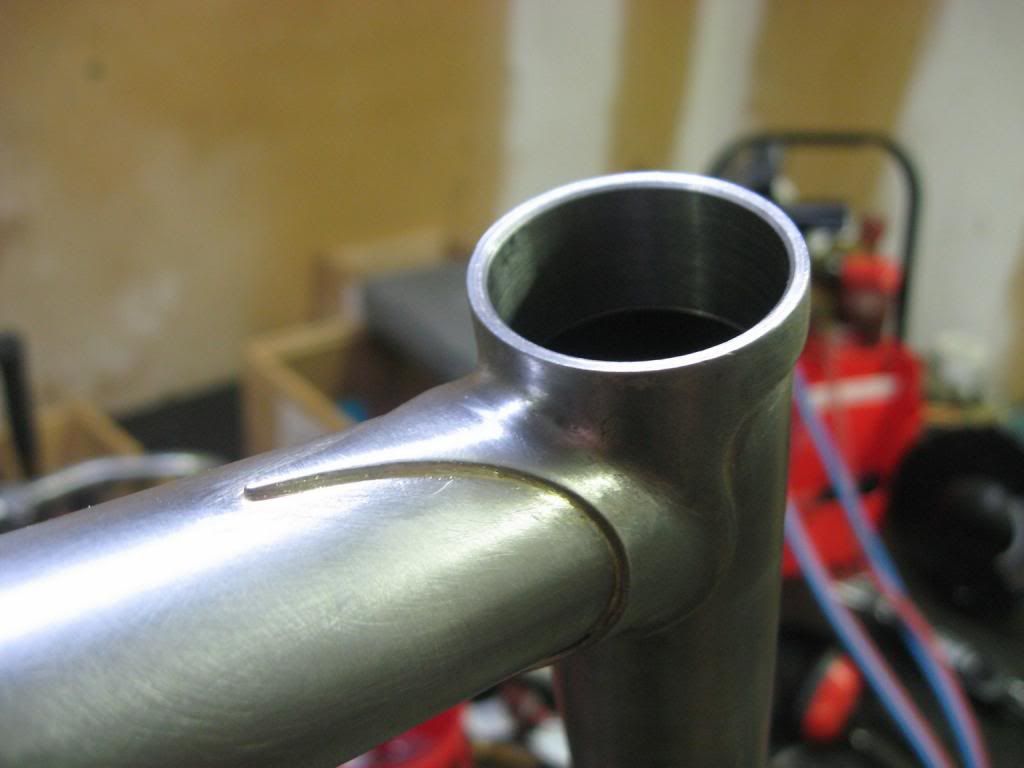
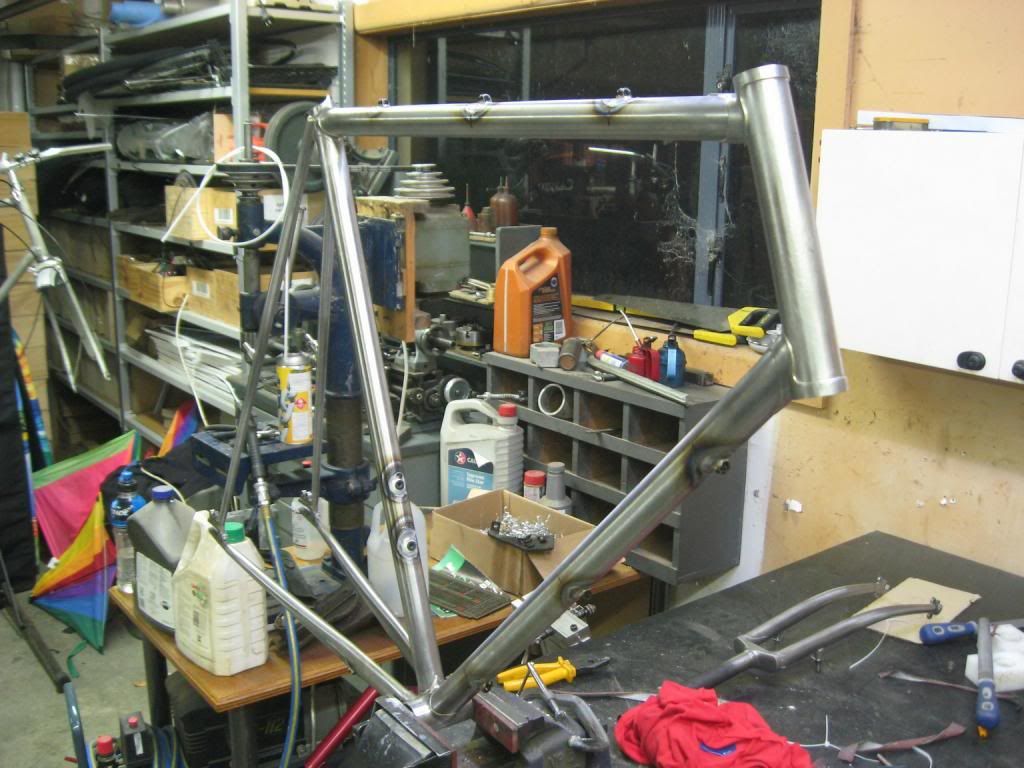
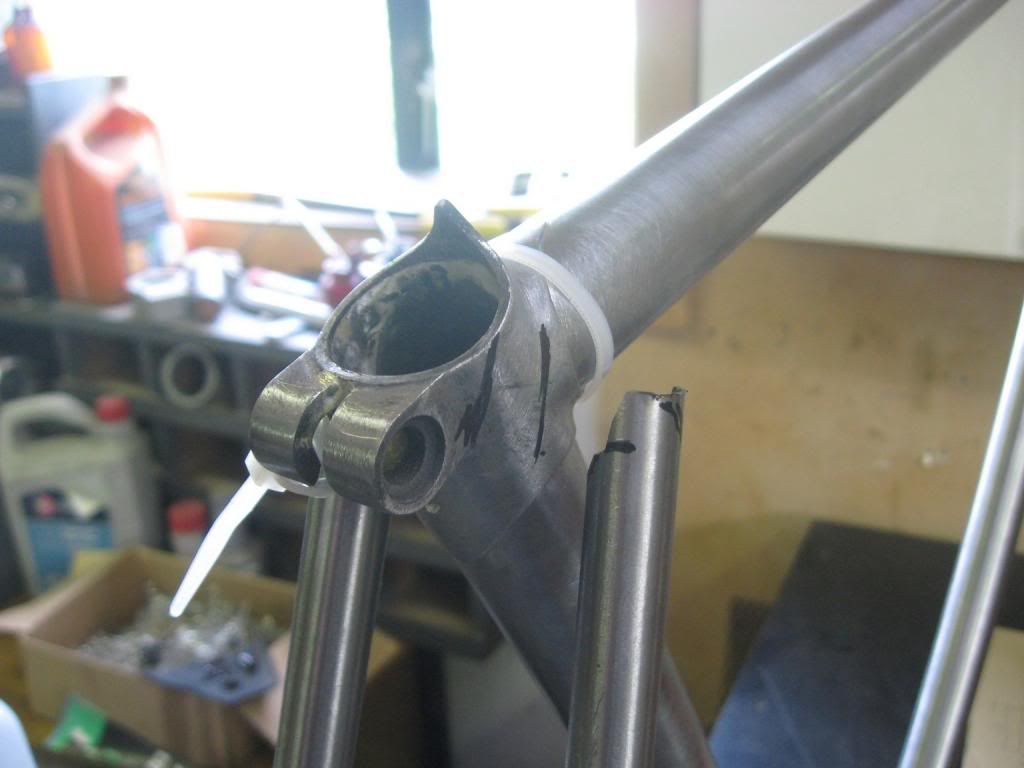
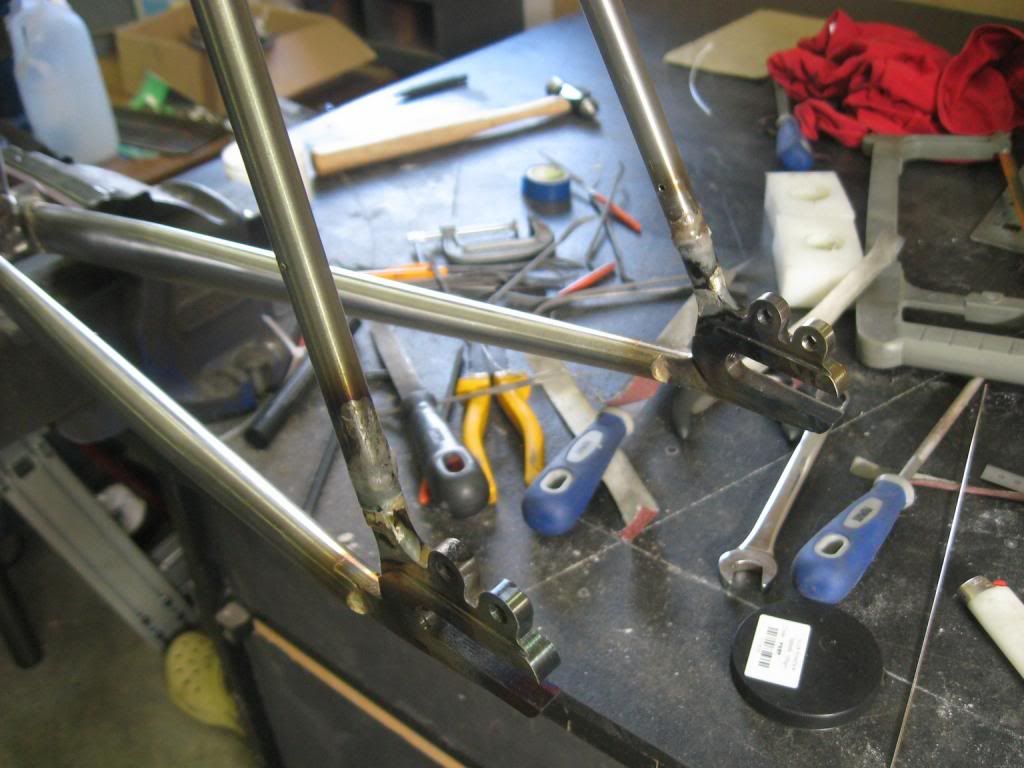
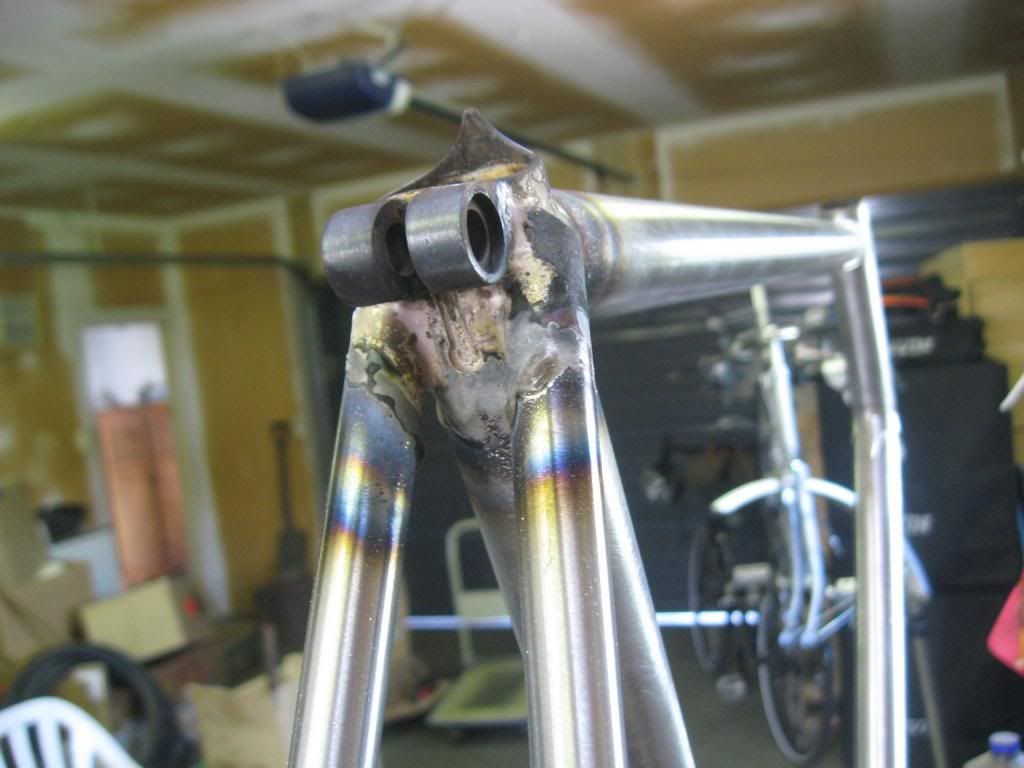
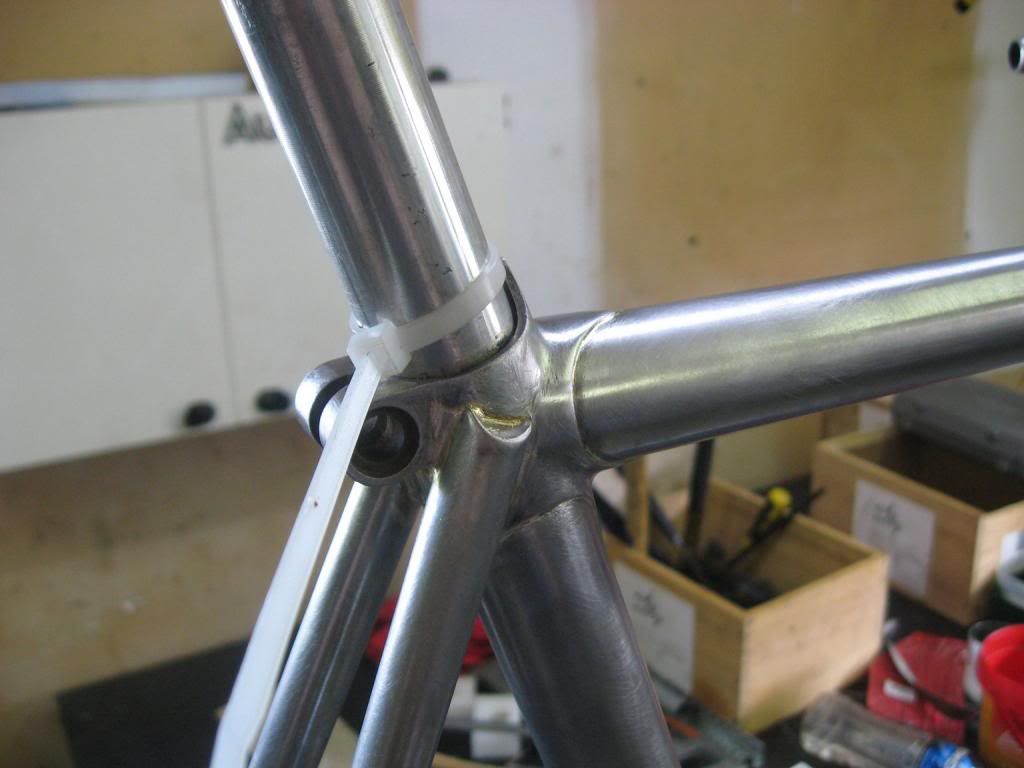
 - Fine finishing of the joints, the pics below tell me a story of how much more is needed...
 - The chainstay bridge, this is only so I have something to fix the mudguards to as I will probably be running these.
 - I reckon I will tweak the position of the rear brake bosses, probably no one else can see it unless it is pointed out, but the funny angle is bothering me.
 - Drill and tap the front fork mudguard mount.
 - Maybe create a couple of extra brazons on the seatstays for the rack fixing.
 - Now I have what feels like a very nice riding position I am thinking of making a custom stem, although I do not have any suitable material at the moment.
 - I was eyeing up the parts for the second set of forks yesterday, that might be the next chunky thing to do... mmm triplane fork crowns.

Anyway, some pics.


Tuesday, 26 February 2013

It lives!

Things happen fast at Pogwards school of wizardry and bike building, so much so that the major effort since the last post has achieved so much that I have actually ridden my bicycle!

Totes awes as my children would say....

Firstly though I had to get through a few niggly details;

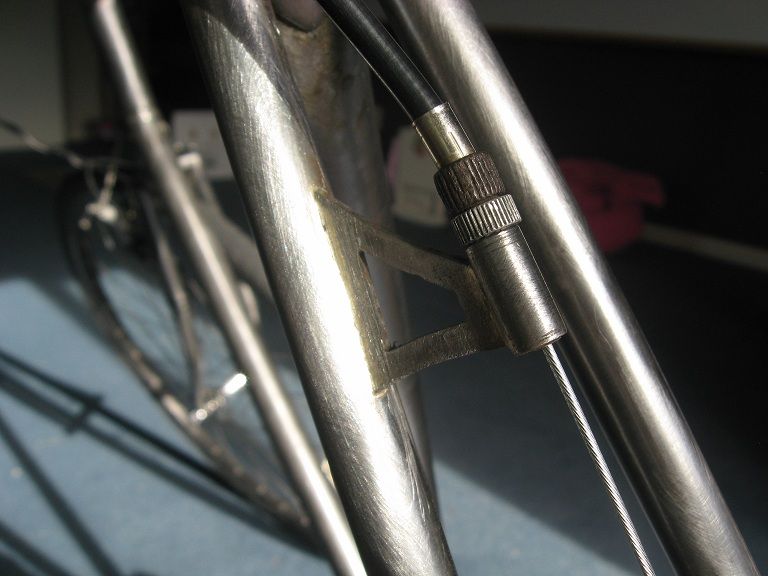
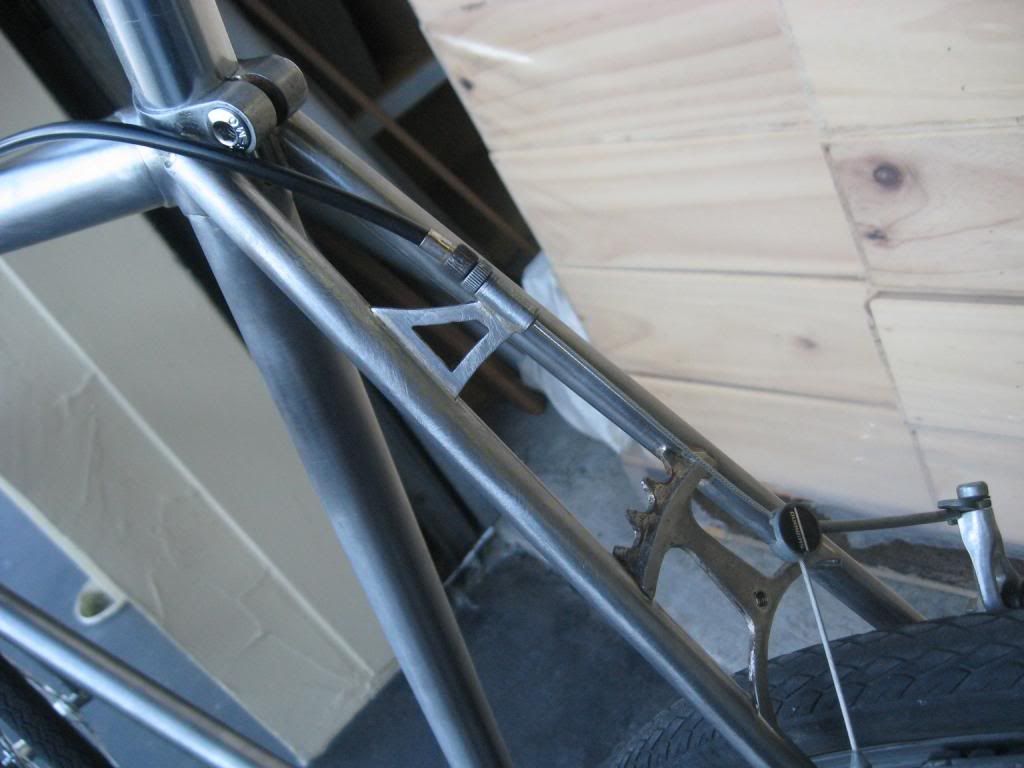
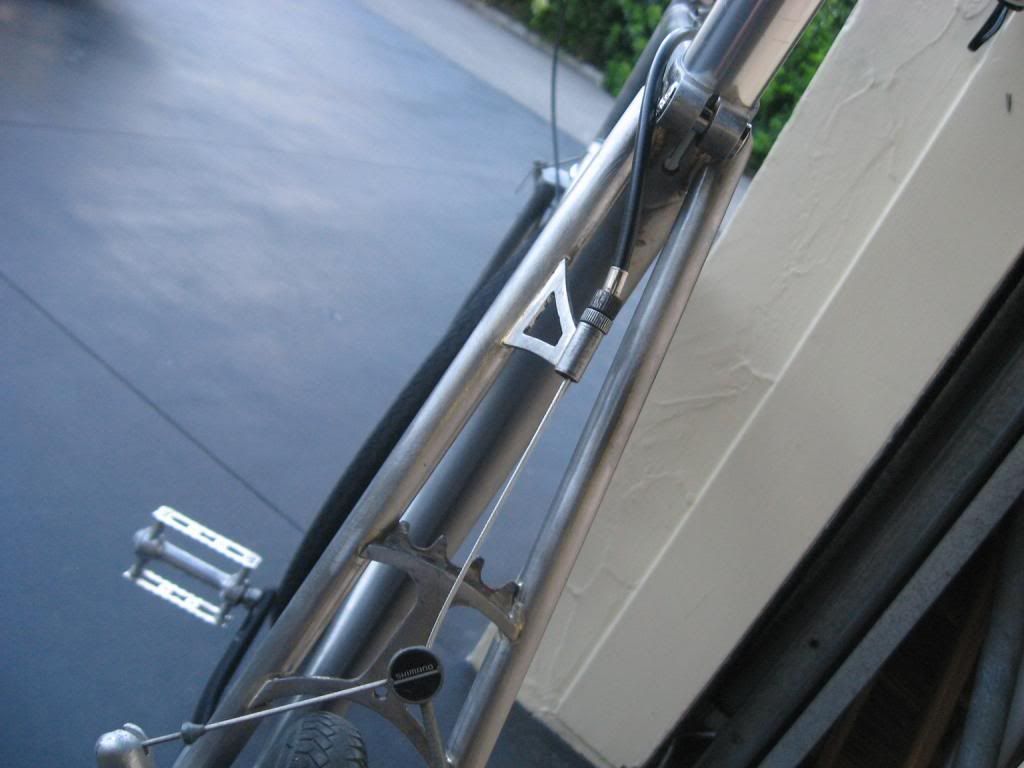
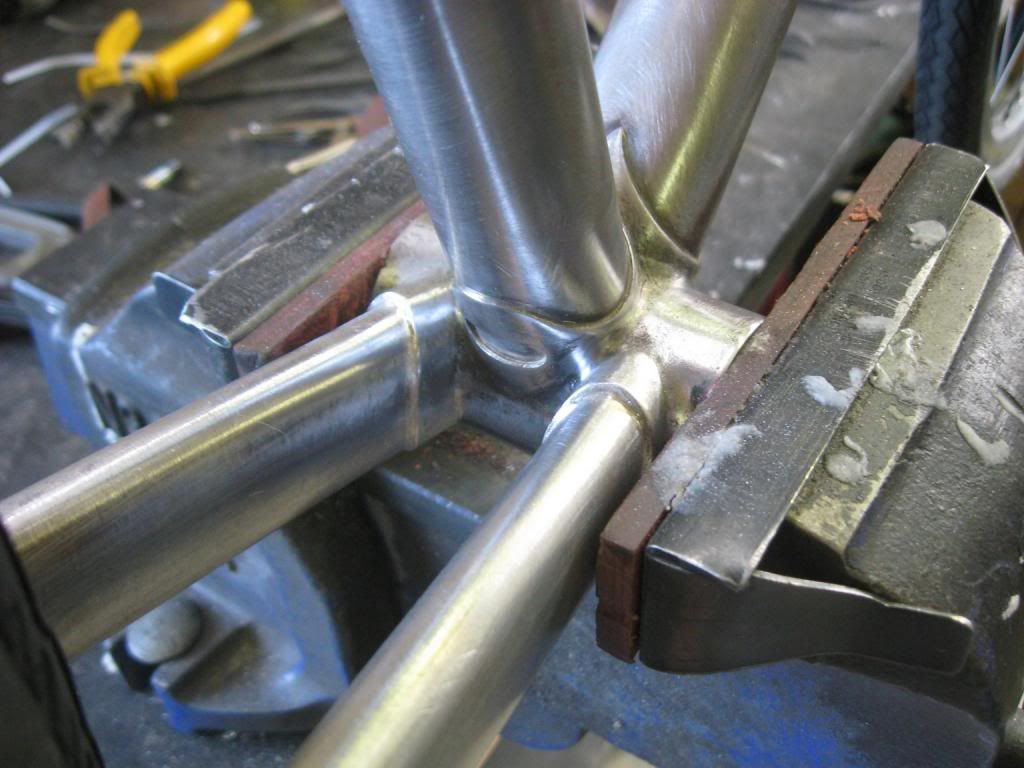
The brake cable brazons
I put the same brazons underneath the downtube (and one under the chainstay) to guide the alfine shift cable - much tidier than the cable ties of yore.

Shortly after my last post I went out to see the lovely Mr Bob, who has most of the tools needed to sort the finicky bits of the frame; cutting the fork bearing seat, cleaning the threads and facing the bottom bracket, cutting the headtube bearing cup seats, and tweaking the fork ends so that they faced each other correctly. Unfortunately Bob does not have a seatpost reamer, which is surprising given the number and completeness of the tools he does have. Knowing the incredible level of engineering that Bob is capable of I suspect he simply hasn't found a suitable source of Magnetite with which to smelt the required parts. Fortunately Dave does have one, so I dropped in there to sort that one out and purchase a couple of bits, ie a 27.2mm seatpost and a seatpost clamp.

A beautifully cut cup surface
Many, many brazons
Then came time to actually build it into a rideable bike...

There were a few issues, mostly around the recently discovered need for the riding position to be exactly like the Surly, as I may have mentioned before it is super comfy, and I wanted some more of that right there.

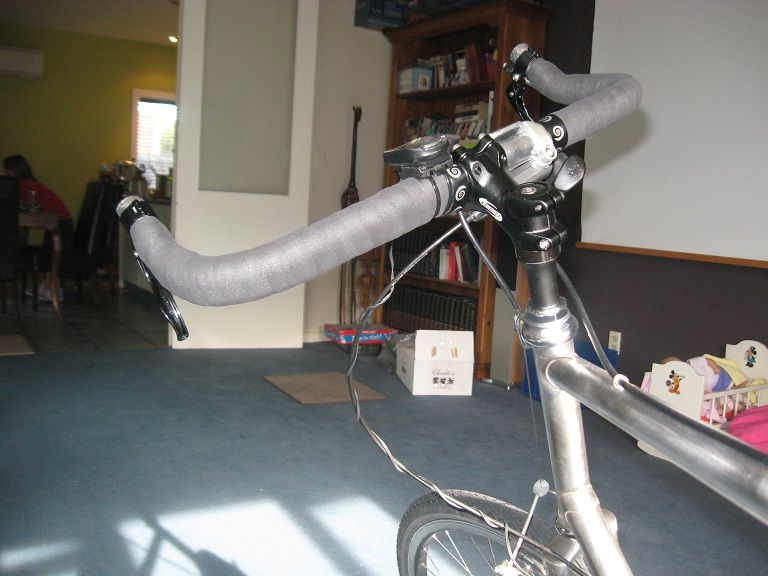
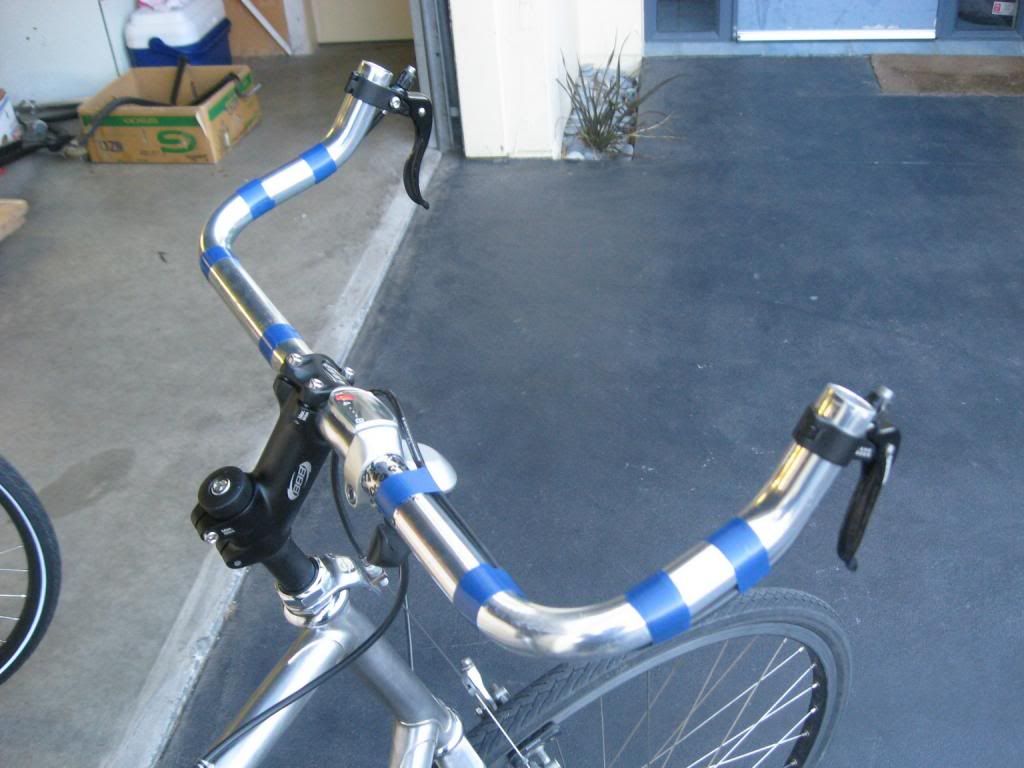
I popped around to a local bike madman's house and grabbed an armful of bars to try out to see what worked the best. Now as I will be using this for the 10km sprint to work every day I have no real need of drop bars and multiple positions, so the set of bullhorns that Stacey had seem to fit the bill, so this is where I am right now;

Mmmm, bicycle. Those cranks will be swapped out for my nice campy ones when I find a new Bottom Bracket. And the brakes will be those nice Paul touring canti's.
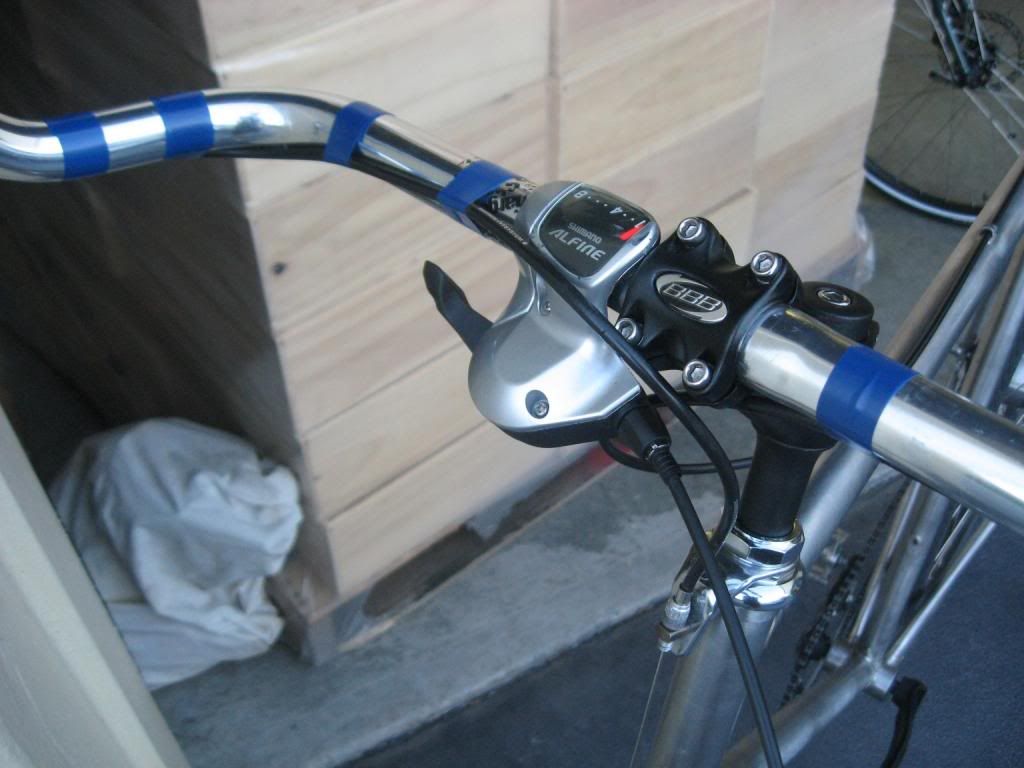
Horrible BBB stem that needs to be 50mm not 80mm, so I will get rid of it. I will probably make a custom stem once the riding position has settled down... Also see the sexy little Cane Creek cyclocross brake levers.
A pretty brake stop thingy.
The brake bridge is the chainwheel off something English and one hundredish years old - I have Jones to thank for that great idea that I had.
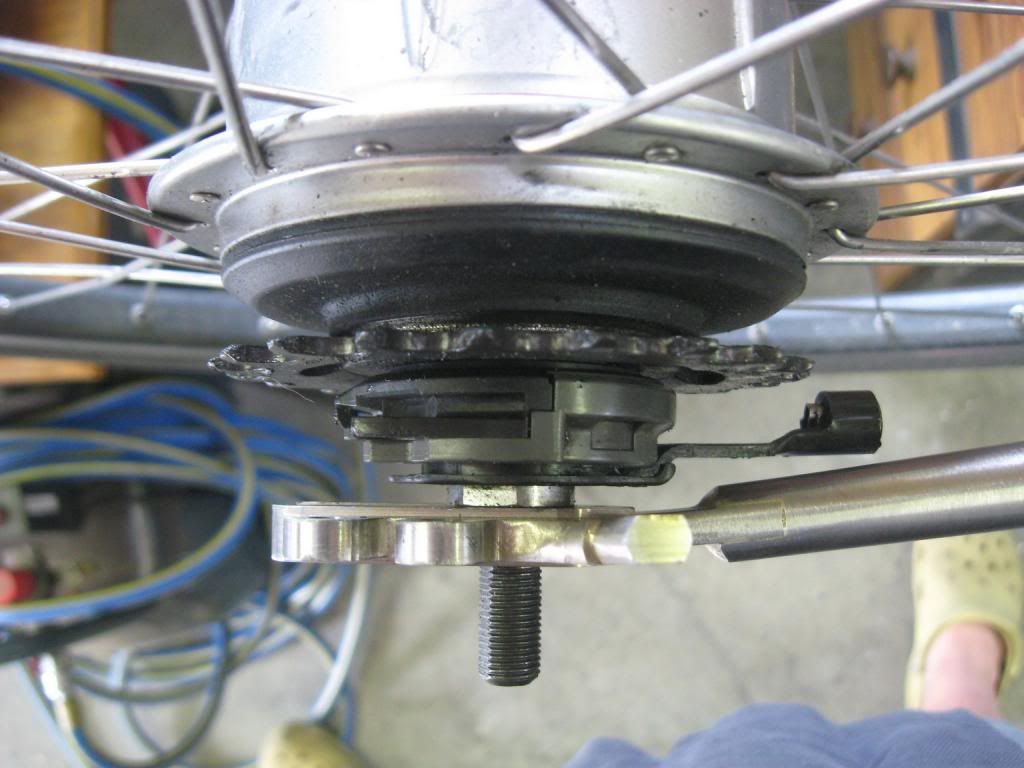
Stupid Alfine shifter that needed some time with the file to fit on 24mm bars and yet is still large and ugly.
The bars are still a little too high and forward, a smaller stem should see to that.
Mudguards will make it look a bit more gentlemanly.

One thing I have slightly bolloxed up is the angle of the brake bosses. I stupidly put these in line with the rim, not the stays, so the brakes angle outwards ever so slightly. It is not too bad, but I wish I had thought that through a bit more.

To get around the stupid position of the Alfine shifter I have ordered one of these puppies;

Which should solve some size and positional issues.

So there will be a gradual swapping out of unsuitable bits for lovely expensive bits, but first I need to strip it down and get it coated. And it needs bar tape, and new pedals, and all sorts of other rubbish.

And that is all, I have yet to take it on a bigger ride than the 500m around the block, but it hasn't broken yet, and feels really nice and solid. It is surprisingly light as well...

Saturday, 16 February 2013

A wild Bicycle appears

Having done nothing for a month, the tables have turned and I am now flying through the work with amazing speed, meaning the frame is basically complete except for the brake bridge, chainstay bridge and the brazons. I have decided not to split the seat stay for the belt drive now for a few reasons, but mostly because it would have stopped the momentum I have built up...

One thing I did this week was to check the frame geometry against the Surly, and surprisingly the two frames are almost exactly the same apart from the top tube height, the Surly being 1cm lower. This is quite pleasing, an hopefully means that I made the right decisions when I designed this frame.


Sorting the seat stays
Brazing the bottom of the seat stays
Brazing the top of the seat stays
Pretty much done :-)
Mostly cleaned up - I decided to just keep things simple with the top of the seat stays and replicate what I have done with the dropout joints.
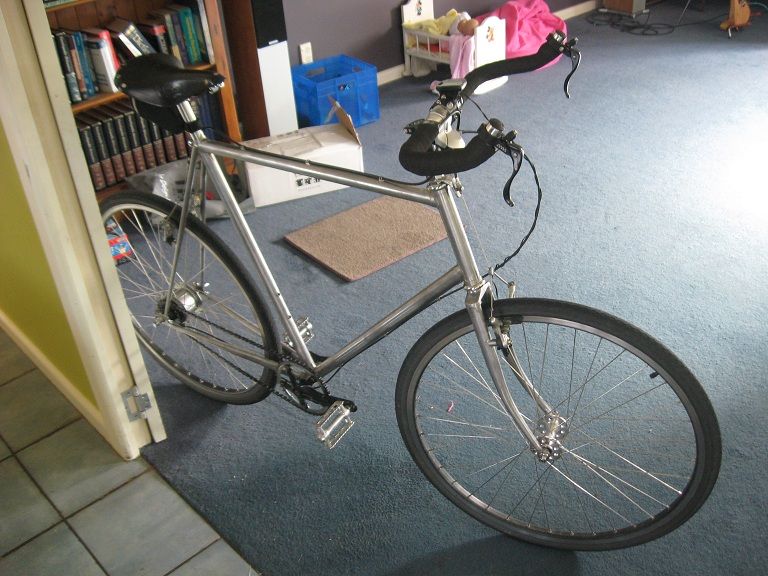
I got so excited I decided to mock it up - OMG a wild bicycle appears!
Plenty of room for the Alfine mechanism
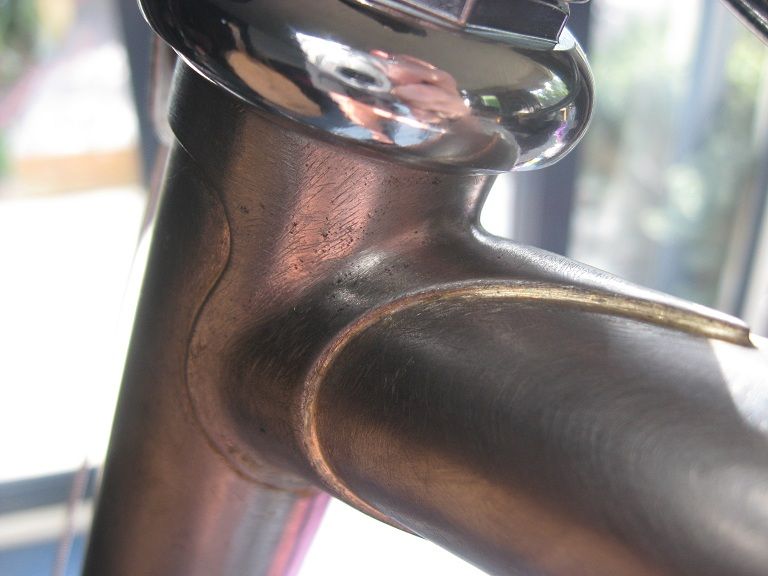
Still some fine cleanup work to do on all the lugs...
A recently brazed bottom bracket.

As I was so into the actual making I failed to take a lot of pics and did not document some of the important things that happened. One of these was cold setting the frame. After I did the head tube to down tube joint I pulled it about a bit with a long bit of pipe to make sure the angles were still the same after welding. I also did this once that assembly had been brazed into the seat tube/bottom bracket assembly. This is to make sure there are as few pre-stresses as possible in the finished frame, which would make the chances of it pulling things a bit wonky much greater.

--------------------------------------------------------------------------------

Having done most of the brazing on the frame, it is worth making a few notes on how the jig actually performed. Overall it does the job pretty well, but there are a few things that were less than satisfactory;

 - Generally I did the brazing in place on the jig, and one thing I noticed is that the big chunks of brass absorb quite a lot of heat. I kind of expected this to happen, but it made getting enough heat into the joint problematic at times.

 - Access to the side of the joint close to the jig was difficult, but because it tended to be the last bit you did things were already up to heat, so were still relatively easy to do. Whether brazing the nearside and then the farside of every joint is a good thing for making a totally straight frame is a question, but I tried to keep the brazing start points balanced where I could.

 - Once I had the main triangle and chainstays in place it was virtually impossible to remove the frame from the jig - I removed the fitting that holds the top of the seat tube, but even then it was hard. I will probably change things to improve this for the next frame.

Overall it worked pretty well though; 7 out of 10, should pay more attention in class. Story of my life really.


The lug brazing itself I am not 100% happy with to be honest, maybe I am being too hard on myself, but I felt I was getting things hotter than I really wanted in my efforts to get silver to wick into some of the joints. The simple ones with essentially the same pipe/lug material thicknesses were ok (the head tube joints for instance), the dropout joints were not too bad either, but the ones with complicated geometry and a long wicking path were pretty stressful to achieve; the seat lug, fork crown, chainstays into bottom bracket.

I think I have enough silver in there for it to not be a problem functionally, but the bit of me that wants each joint to be a thing of total beauty created with a zen like sense of competency and completeness is displeased. Still, it is my first frame, and it is all about the learning isn't it?

Anyway, soon I shall pop out soon to the ever helpful Bob, and we shall do the prep type work ie cleaning up the bottom bracket threads, reaming the seat tube, reaming the head tube and seating the fork crown bearing race.
Saturday, 19 January 2013

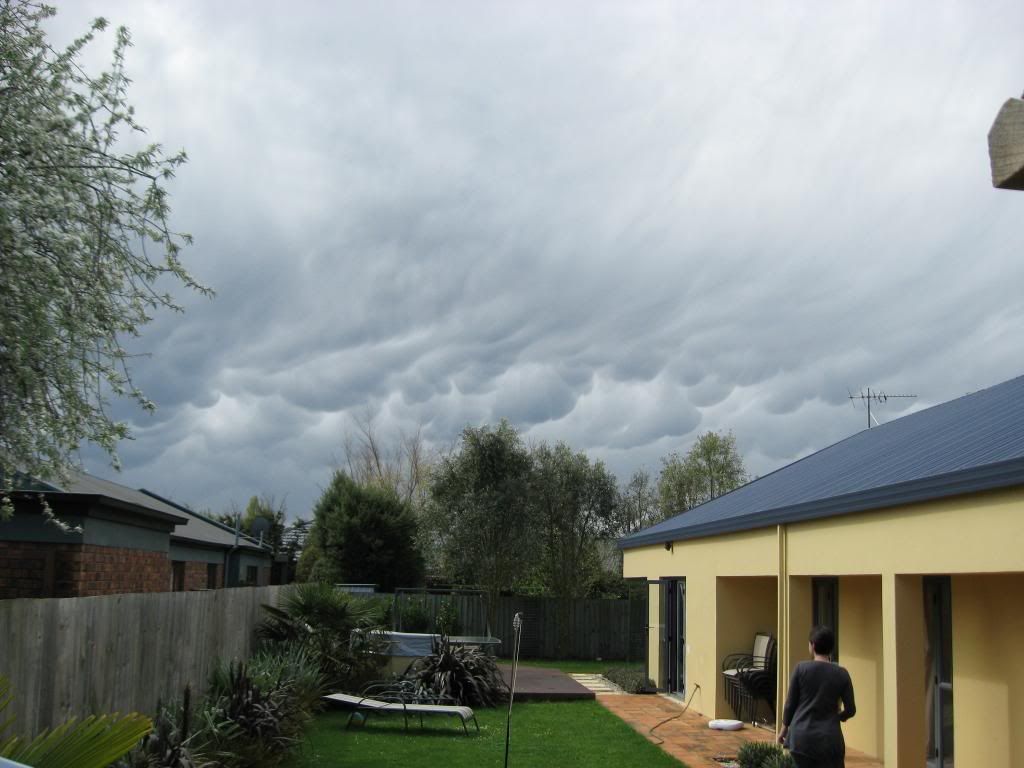
A Circumhorizontal arc, Mammatus, and a set of forks

At last the long awaited Himalayan-like pinnacle of frame building has arrived, actual brazing!


Well actually I achieved silver soldering, as I simply could not get what I considered to be a satisfactory joint with brazing, a situation entirely due to a lack of skill on my part no doubt. After the abortive practice joints with the brazing rod I went and purchased some 45% silver rods and some flux (at great expense I will have you know) and after a few significantly more successful practices I set to work with steely determination and not a little cold sweating...


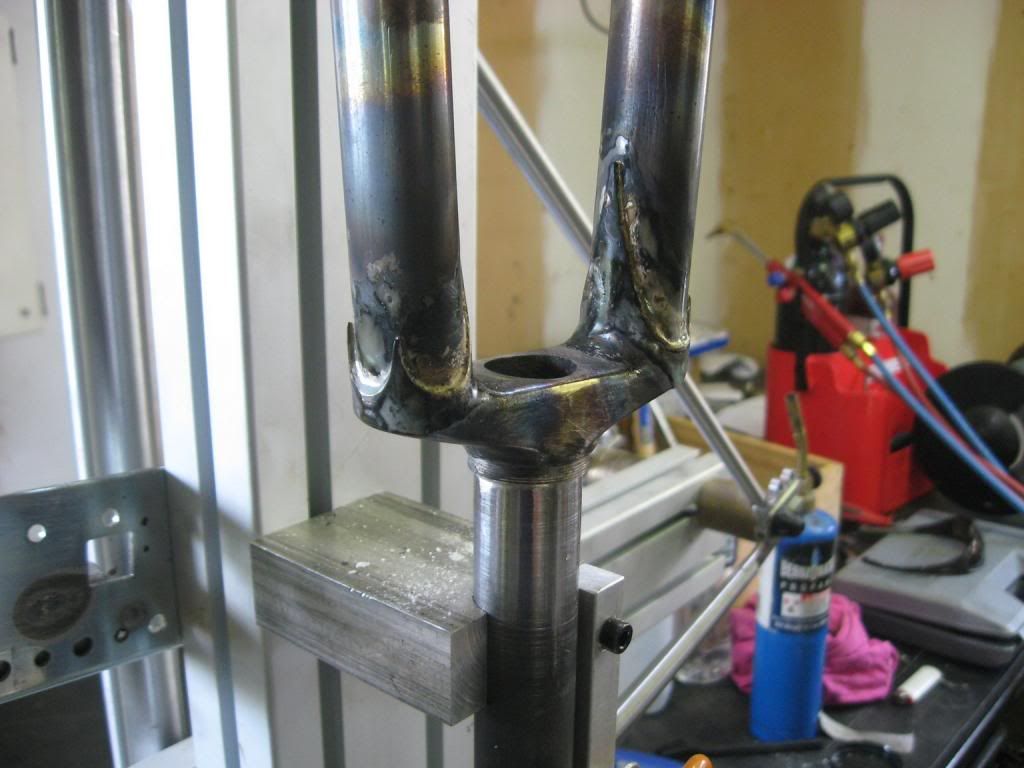
I did the fork crown to steerer tube first, probably the hardest joint to do due to the thickness of the metal parts - and this was extremely stressful as a result. I must have not put enough heat in the flame, or not had the correct joint clearance, or some other obvious bollox up, because it took ages to get the silver to wick through, and I actually thought I had blown it at one stage and pretty much gave up. I then cleaned the joint and saw that in fact the silver had penetrated the joint pretty well - not 100% all the way around, but thoroughly enough so that filling again it from the underside has given what I think will be a strong enough joint. I have already been thinking about the second set of forks with a triplane crown and smaller radius bends, so if it is no good then I will bin them and put it down to experience, but I am pretty confident these will be ok.

I also managed to get silver pretty much everywhere, and spent a fair chunk of time cleaning all that off. This gave me an excuse to buy some more tools, to be exact a set of rifflers.

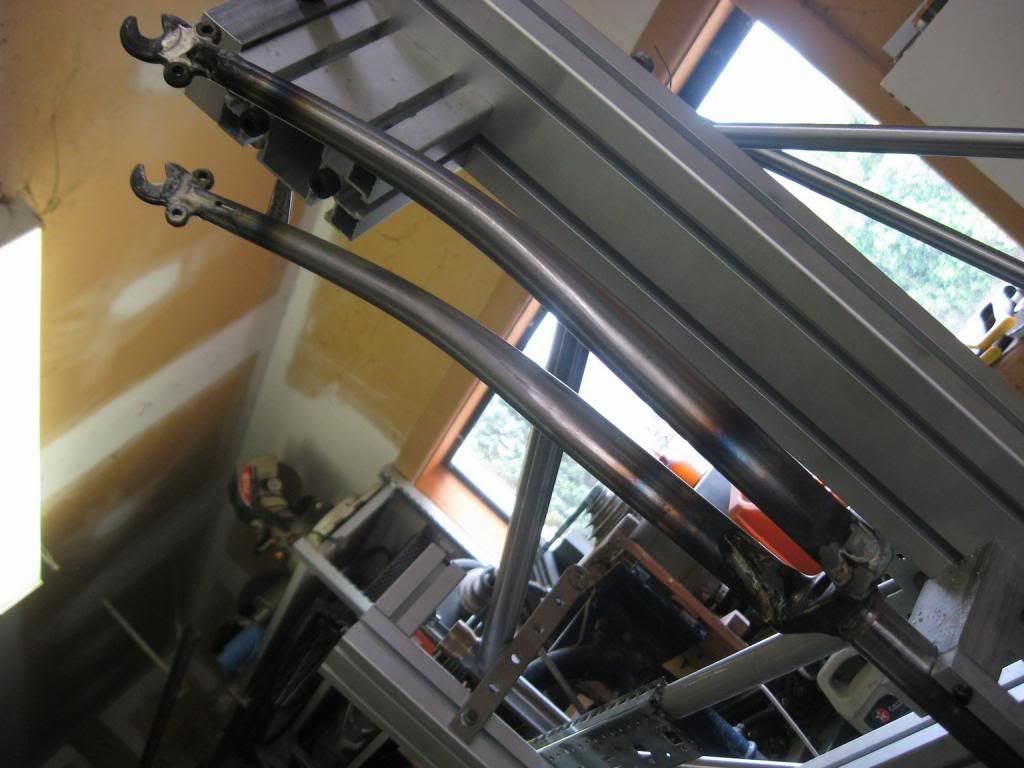
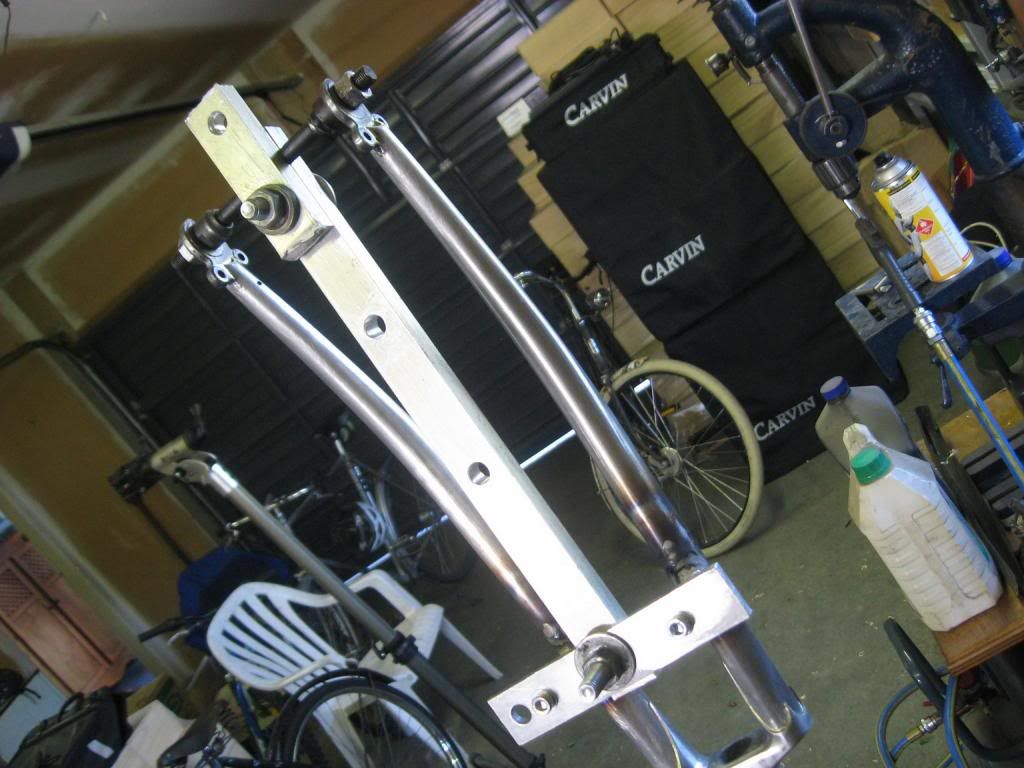
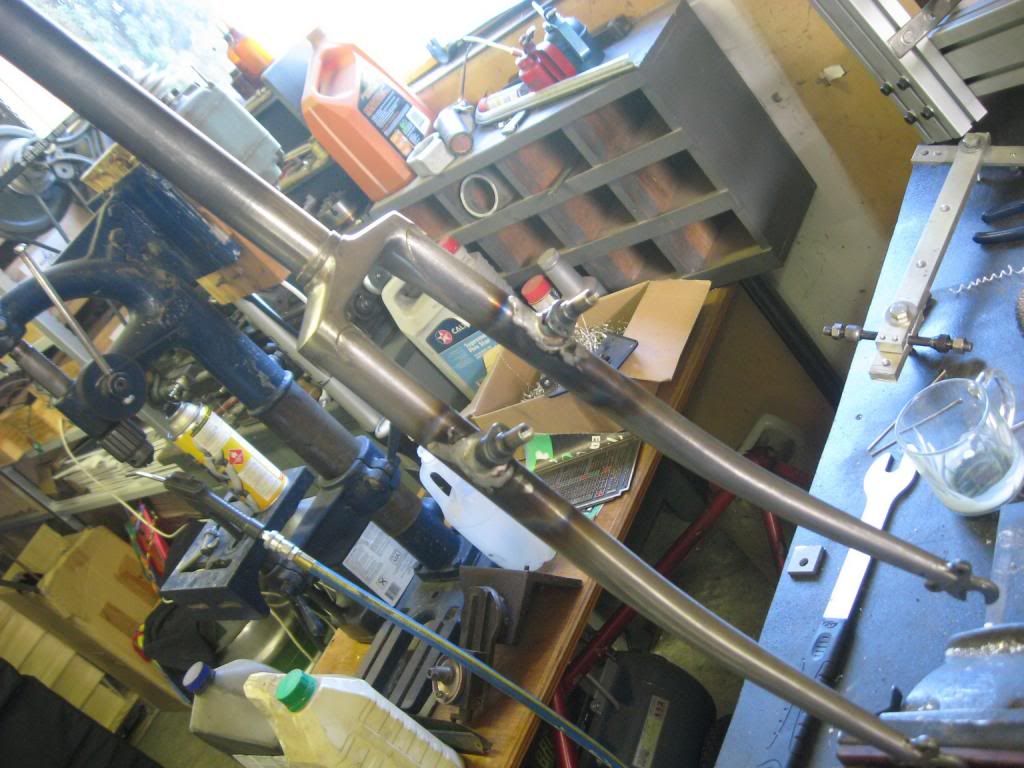
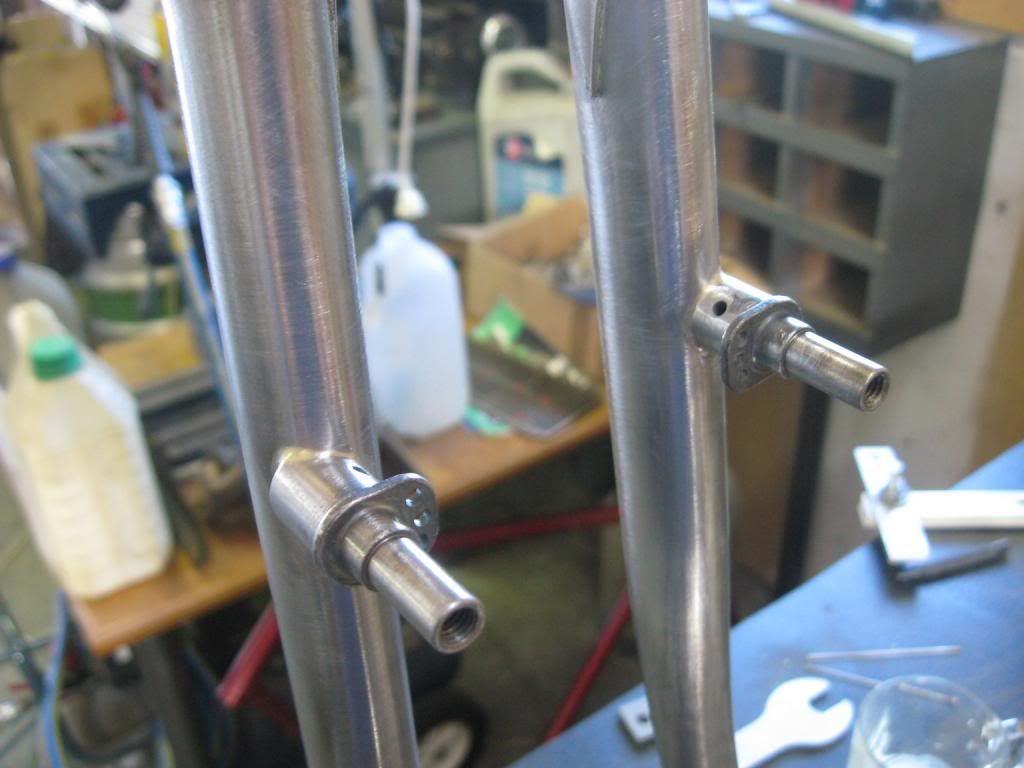
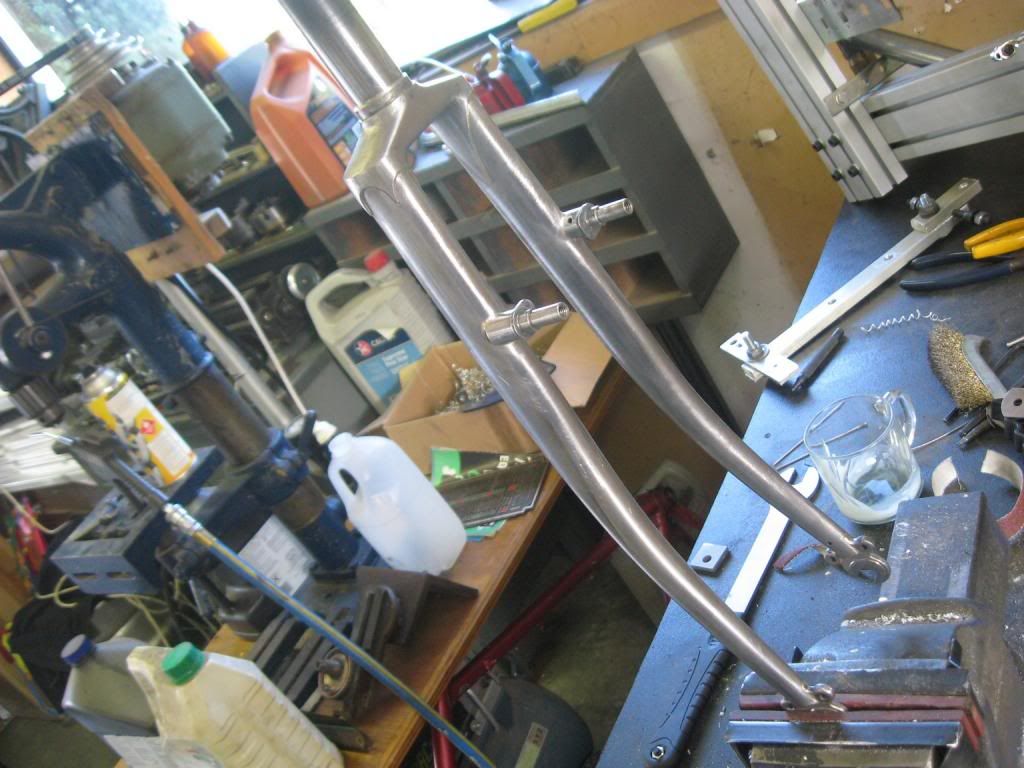
So all that happened in and around Christmas, so yesterday I decided that having a wee jig for the brake bosses would be a good idea, I threw this together pretty quickly out of random parts that were lying around, and the bosses got attached today;


All through this I spent a lot of time cleaning up the resulting joints, but clearly it is starting to come back to me as the brake bosses required fairly minimal clean up work;


If I didn't know any better, I would say that these look like a fairly convincing set of forks....

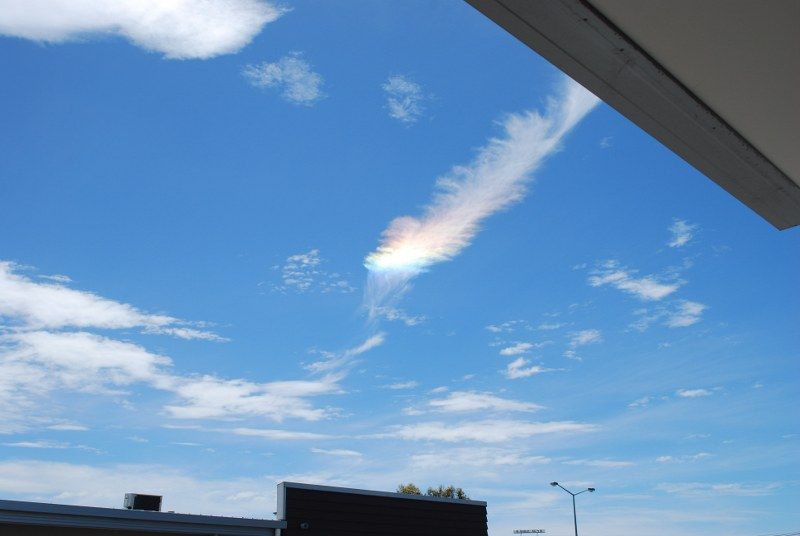
One day just before I went on my Xmas break we had a very rare and unusual cloud formation appear in the skies, and I tried to get a decent picture of it with my non existent photography skills;


It is Circumhorizontal Arc, or Fire Rainbow, and was really spectacular. We get a few unusual clouds in this area of the world, I took this photo of Mammatus clouds a few years ago;


Next job (apart from my new career as a world famous nephographer) will be actually welding the frame - aaaargh.

I have a few things to get out of the way first, so don't be looking for rapid fire updates, but I promise more progress very soon

In other news I have pretty much decided to sell the copperbike, this comes about because I thought one way to reduce the incredible amount of fat around my belly would be to go up the port hills and therefore use more calories than can be replaced by my regular beer drinking. Needless to say I failed due to me nearly always riding on the flat and the lack of available gears on the bike. There are a few functional issues based around my physical limitations as well, so I will sell it to fund the purchase of a Surly LHT. This has many gears and hopefully a better riding position... we shall see.