Showing posts with label Big Fat Larry. Show all posts

Tuesday, 3 December 2013

The Fatness

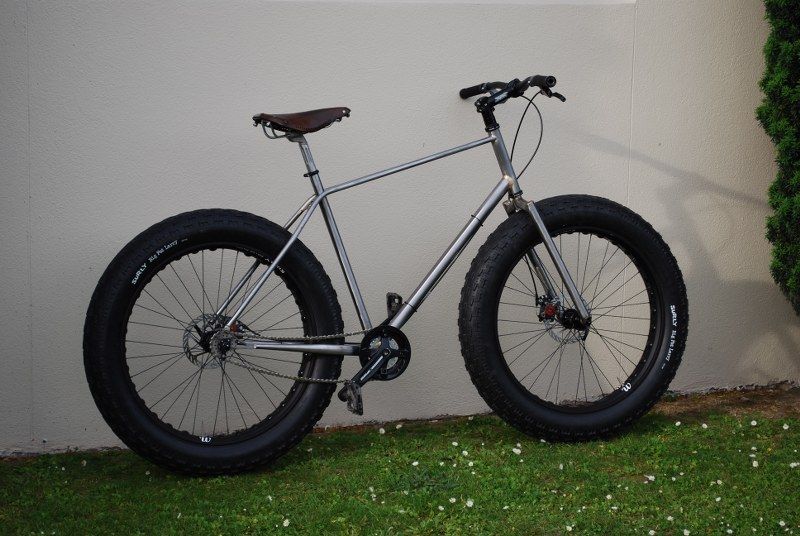
I have been cranking through the work on this as fast as I can in preparation for World Fatbike Day on December the 7th. Young Dave mentioned this when I went in to pick up the bits for the 2x9 drivetrain I intended to fit to the beast. I took this on board as I figured what better way to celebrate than with the birth of a new fatbike. Not a finished fatbike mind, but hopefully a functional one.

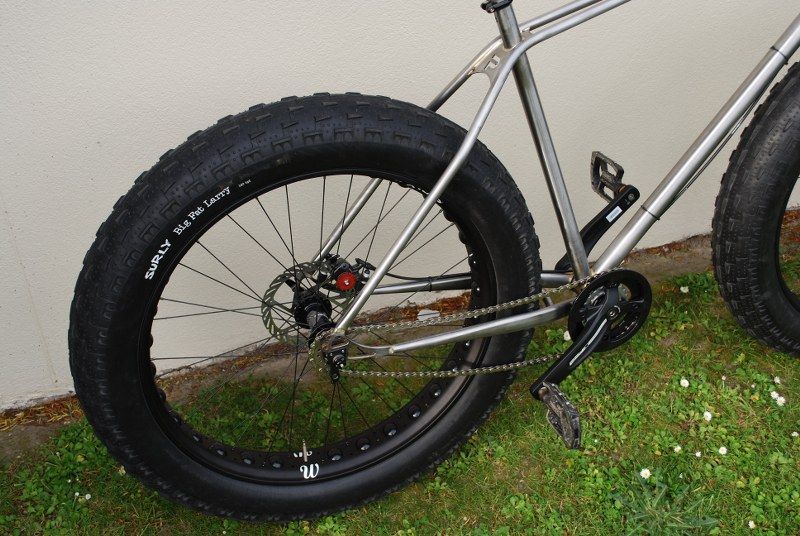
I have hit a couple of snags though..  mostly involving my utter noobness when it comes to dérailleur setups. Initially I had thought I would just fit the standardish 3.8" tyres, but fairly early on in the build when I saw just how awesomely fat the Big Fat Larry's are, I decided I needed to have them. Unfortunately the last time I paid any real attention to trivial things like chainlines was before this decision, so when it came time to attach the driving bits it was immediately apparent that the tyre was going to hit the chain for nearly every useful gear when in the small front sprocket.

I was a bit put out by this failure of Shimano to accommodate my requirements, but after a modicum of thought and calculation of ratios I decided that a 1x10 setup could be made to work, and as long as I didn't use the bike for land speed record attempts I would be pretty much ok. I then ordered a 32T downhill front ring, a 11-36 cassette and a nice dérailleur-shifter combo. This gives me a lowest gear pretty much equivalent to the Disc Truckers second lowest gear, which should be enough for getting up hills. These bits may take a week or 3 to arrive and I wanted to be mobile for the 7th, so I bought a single speed Kit off a very pleasant TradeMe chap called Dan. I suspect I could have talked to Dan a lot longer that would be appropriate for a supposed work day I was bunking off from, plus I was scared he would show me other bike parts and I would be powerless to resist, so I made my escape. I am now waiting on a single speed tensioner to make the thing actually rideable. Fingers crossed for this week.

The seatpost was another wee snag, I assumed that the ID of the seatpost was going to be 27mm according to the specification, which meant a simple job of reaming it out to 27.2 was going to be the go. Upon inspection the seatpost tube actually measured 26.6mm and it seemed a shame to thin things out too much, especially as Canyon flips will soon be part of my repertoire no doubt. I could only find a second hand Thompson Elite Inline seatpost on Trademe that was smallish enough at 26.8, so I grabbed it figuring it would do for now, and if it is too rough I would find something else later. In the mean time Dave leant me a vintage MTB post that at least allows me to get a seat on the thing.

I also had a wee beg on Vorb and borrowed some useful bits from a chap called Gumby - I can't tell you how useful that stuff has been - I owe that man a beer. I also did the same from an old workmate called Mike, and between the two suppliers I have sorted an acceptable cockpit sizing.

So anyway, today I decided I was going to ride it no matter what, even though I had a droopy chain, so I chucked the seat from my single speed onto it, checked everything over and rode it up the road. It was hilarious fun even though the chain meant I couldn't put any real power down. It feels pretty good, with no obviously bad handling characteristics or waywardness. It is a bit hard to say though so I shall wait till I have used it in anger. The main thing I notice is the incredible thrumming noise from those tyres...

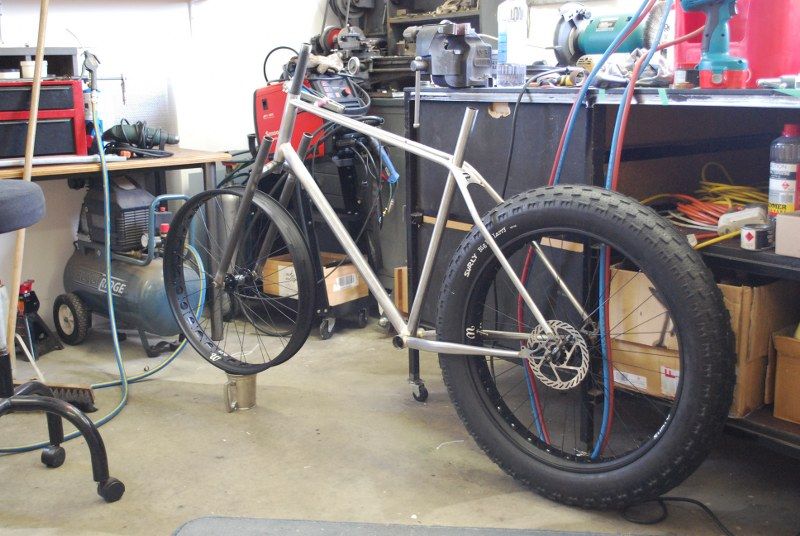
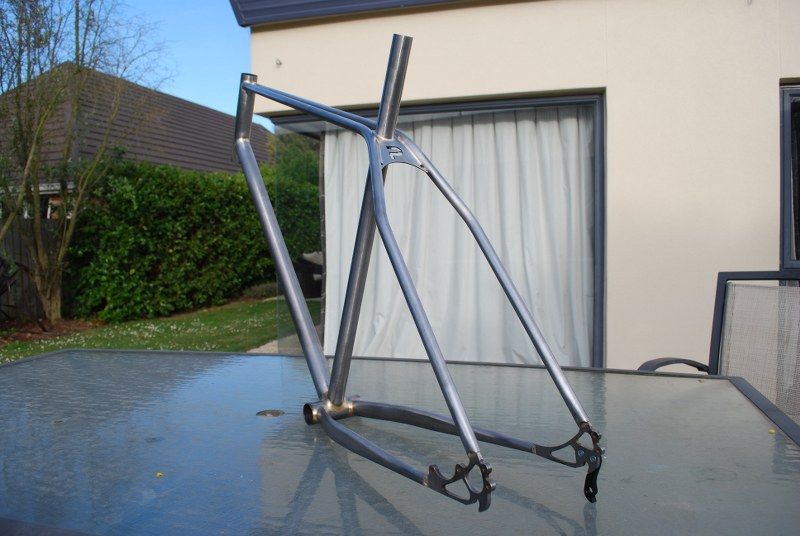
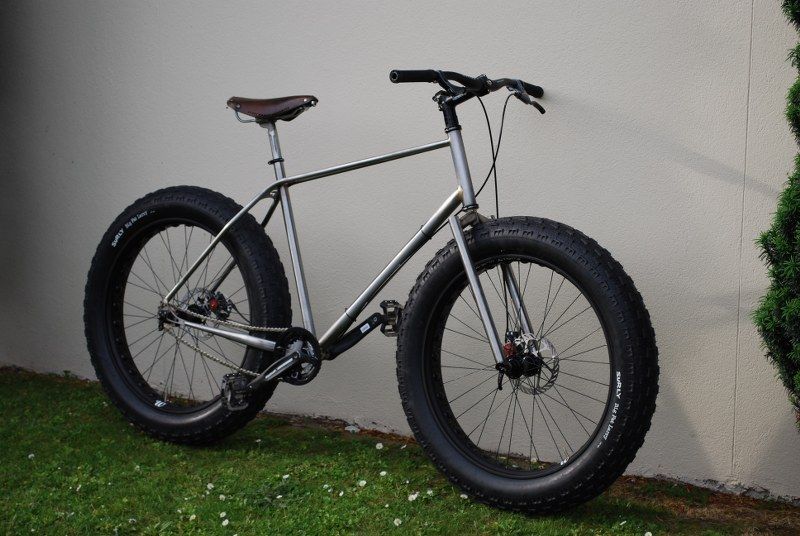
I dub thee 'The Fatness'
I am sure I could ride across the Cook Strait without pontoons on those tyres
I am gagging for that chain tensioner to arrive
The offending drivechain area
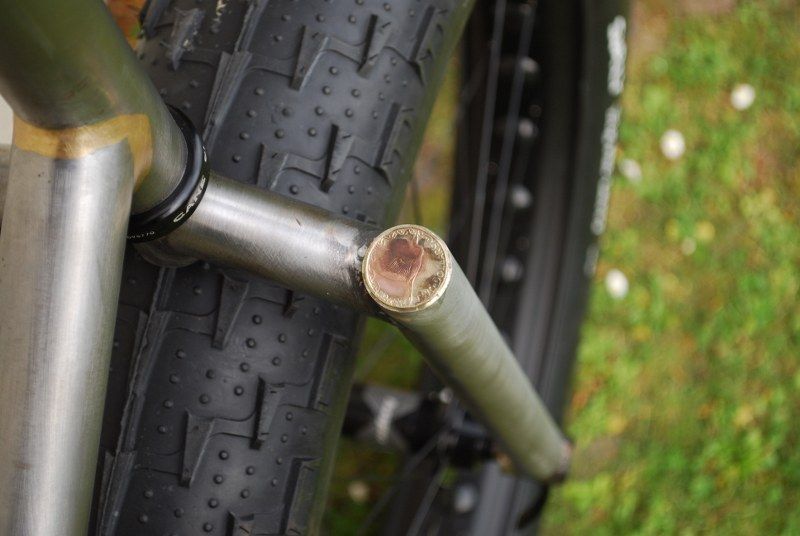
A probably illegal use of the local currency
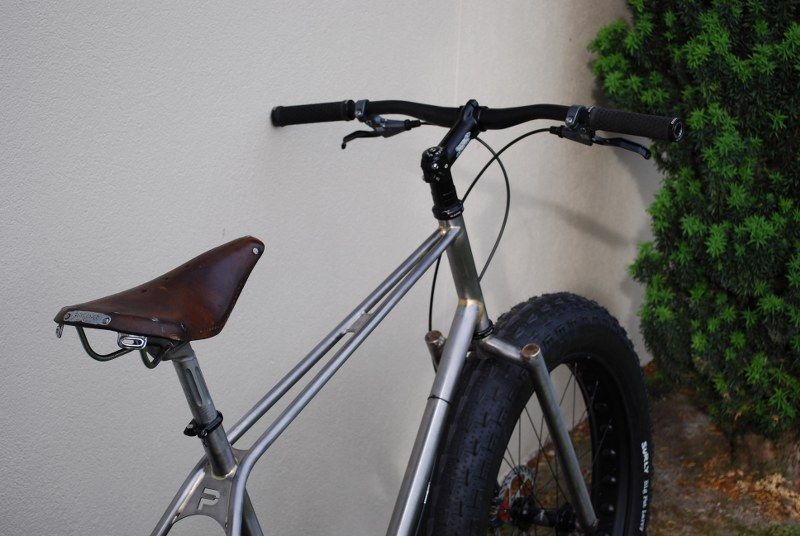
That vintage Brooks actually looks pretty good on The Fatness
So there is still quite a lot to do, I have ordered many many brazons from Ceeway that will allow me to tidily zip tie the cables to the frame. This system is on the disc trucker, and as I am using full length cable sheathing it makes a lot of sense. Then sorting the drivetrain and after that some testing is in order, and then many hours of cleanup before I get it coated. I am not sure exactly what this will be yet, but a decision is getting closer...
Sunday, 24 November 2013

The Mistake Free Top Tubes MkIV™

I have pretty much been in the garage every night this week and nearly all of the weekend, so things are moving quickly...
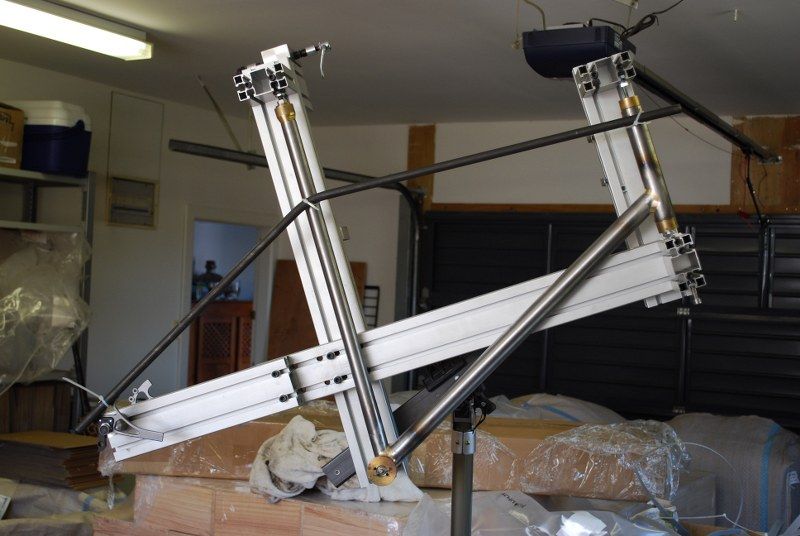
My extra tubing arrived on Tuesday morning, allowing me to utilise lessons learnt from the tube bending learning curve to great effect. In a couple of days the tubes were ready with minimum fuss and no obvious mistakes. But first the forks, which stretched the limits of my TIG skills.

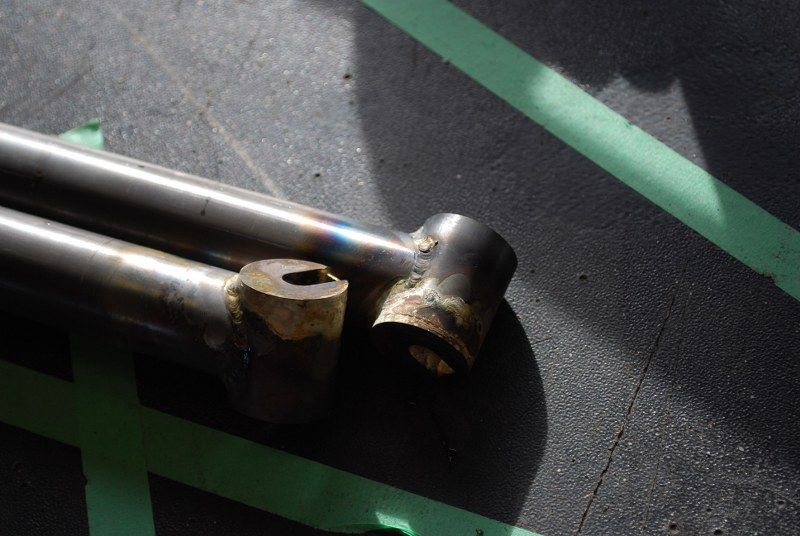
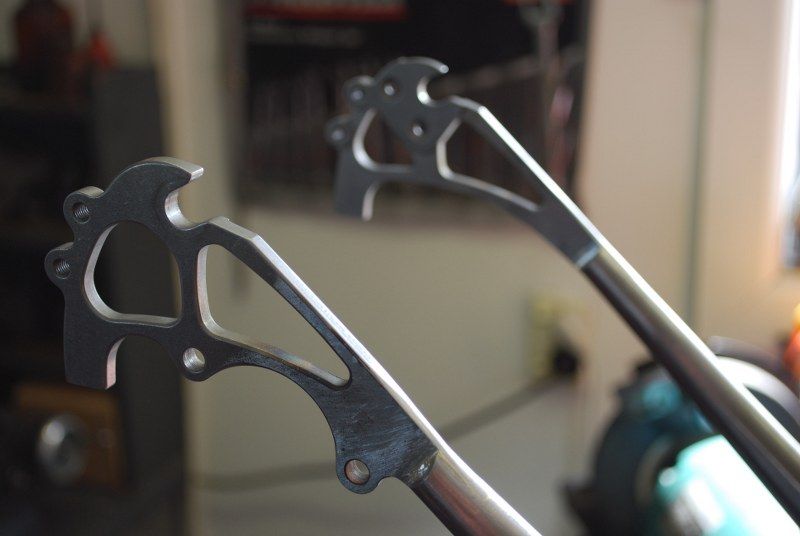
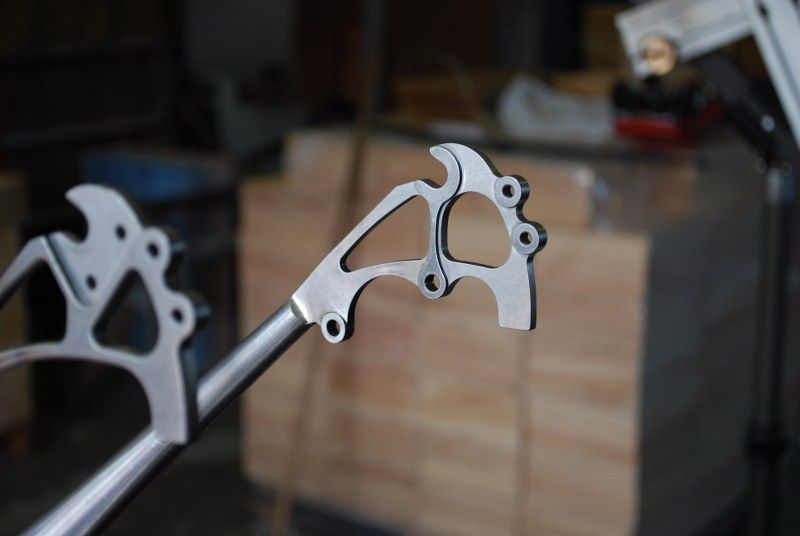
I re-used the actual dropout bits of the Paragon failure, mostly because I didn't have any other suitable material lying around. The dropout holes are not at the same centers as the tubes so turning them down to suit what I had required some thinking and setup on the Grayson. Here they are freshly silver soldered into the leg tubes.
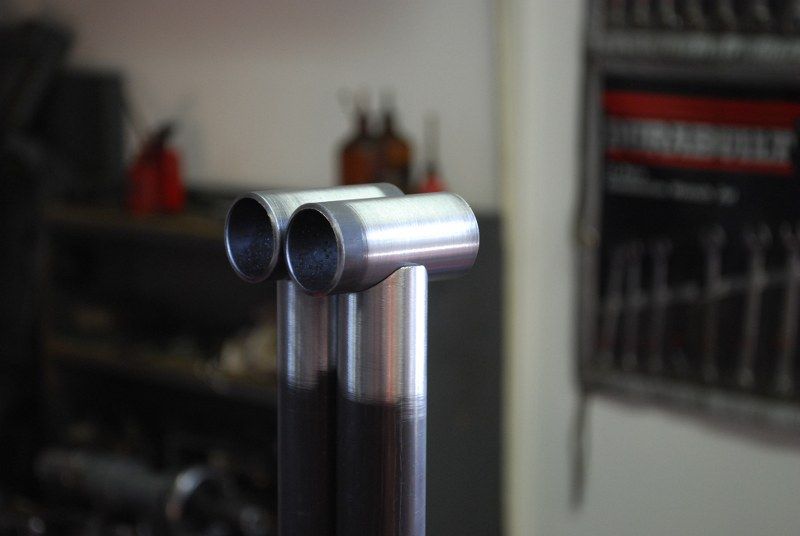
Much time was spent taking microns at a time off the leg tube to crown miters, I have learnt the hard way to take this sort of thing slowly, and I get slower when both bits have required some effort to get to a level of complexity. I then welded it up but forgot to take pics.
Mistake Free Top Tubes MkIV™
The Mistake Free Top Tubes MkIV™ come free with several meters of randomly badly bent tubes, sort of like steak knives but less effective for slicing vegetables. I clearly need to design a frame that utilises many many very short bits of straight pipe.
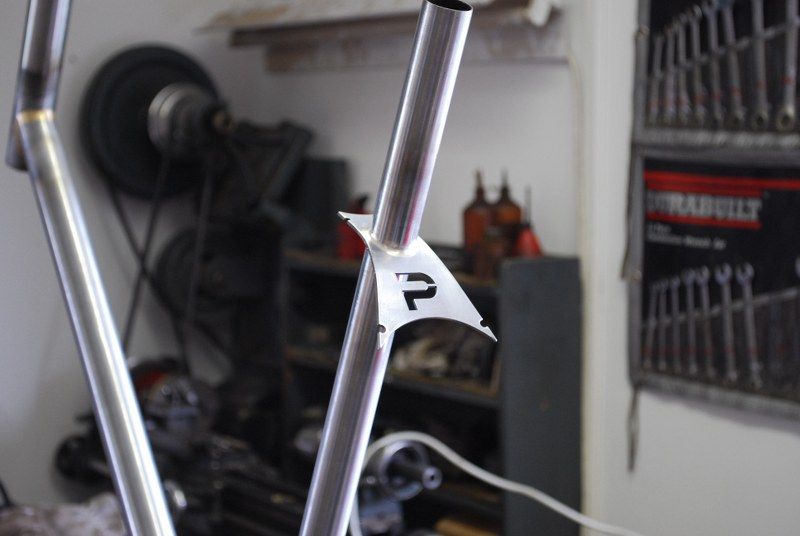
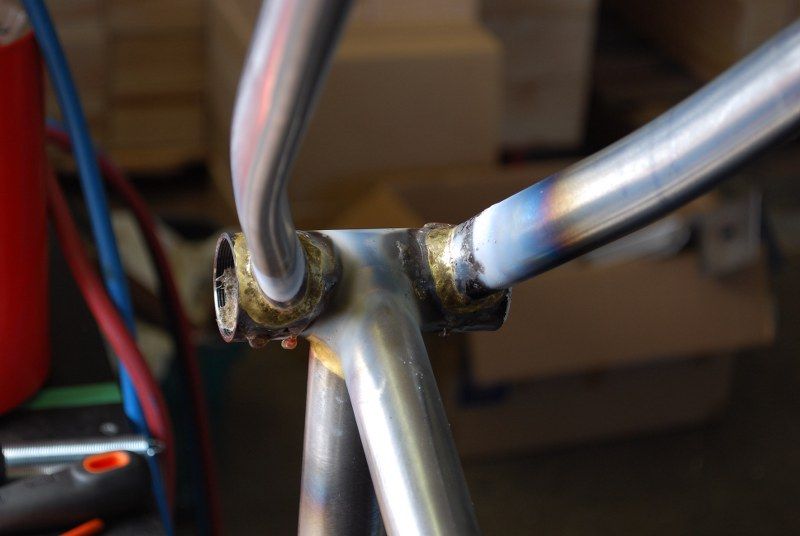
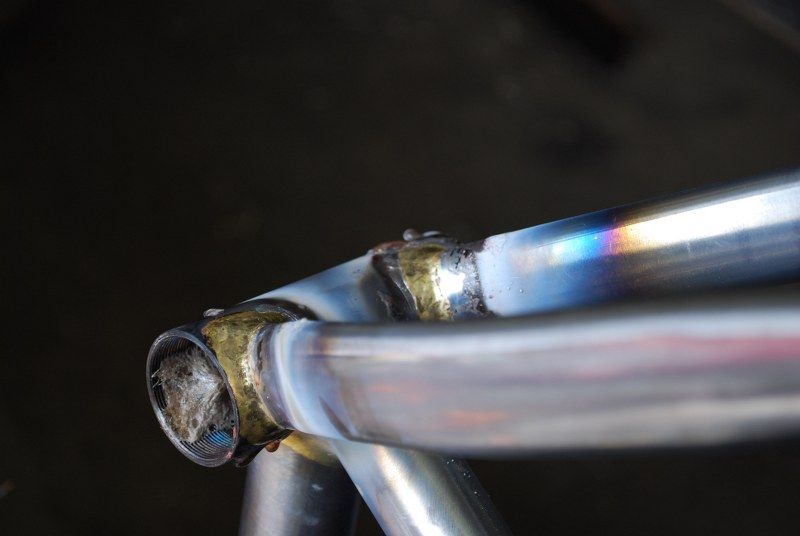
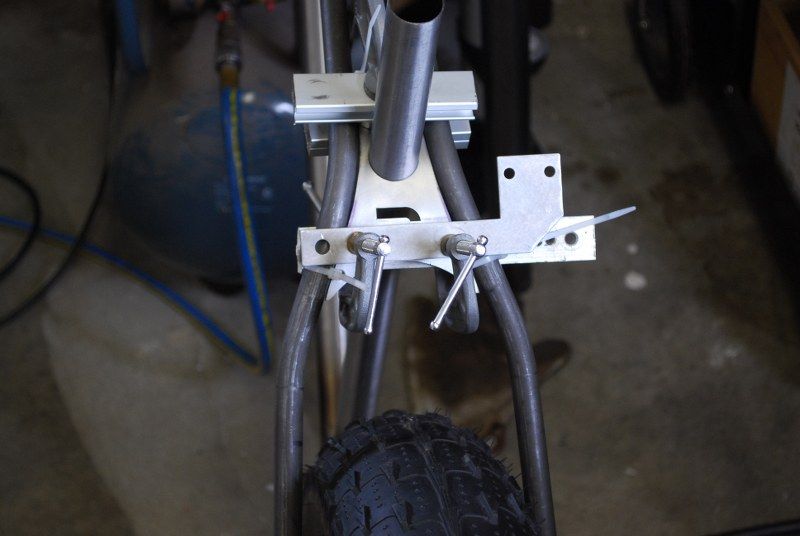
Once I was basically happy with the top tube mitering etc I brazed in the top plate. This was silver soldered actually as it is such a beautifully controllable thing to do and I did not want a big fat braze in there. As things were going to be a tight squeeze in there I cleaned it up nicely before getting too much further down the track.
I then fettled the fitment of the The Mistake Free Top Tubes MkIV™ so they slotted into place beautifully. Clearly some things just require you to bollox them up a few times before you can achieve creamy goodness.
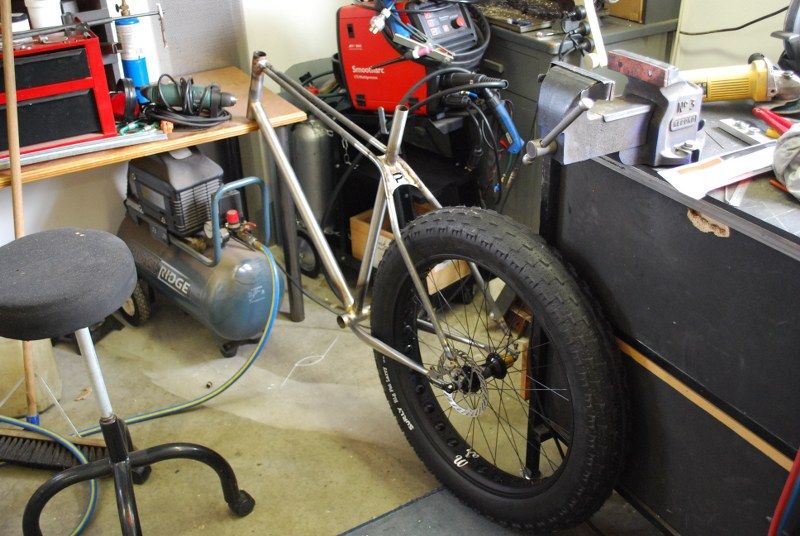
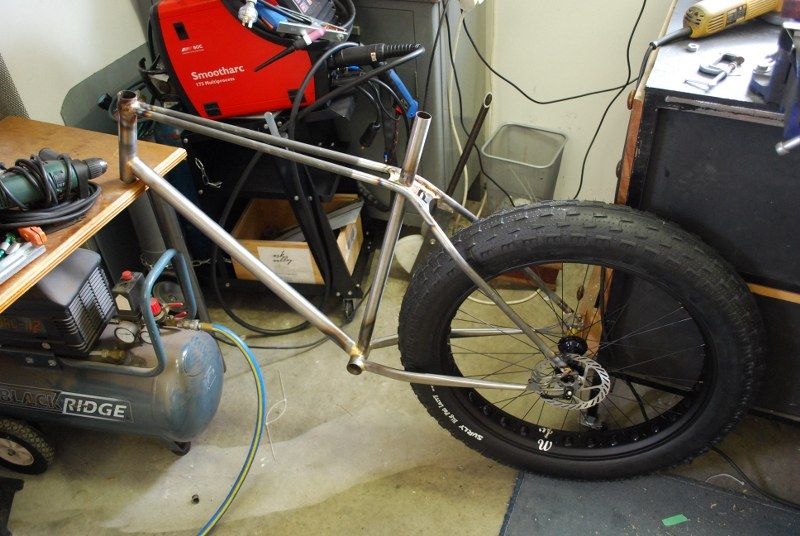
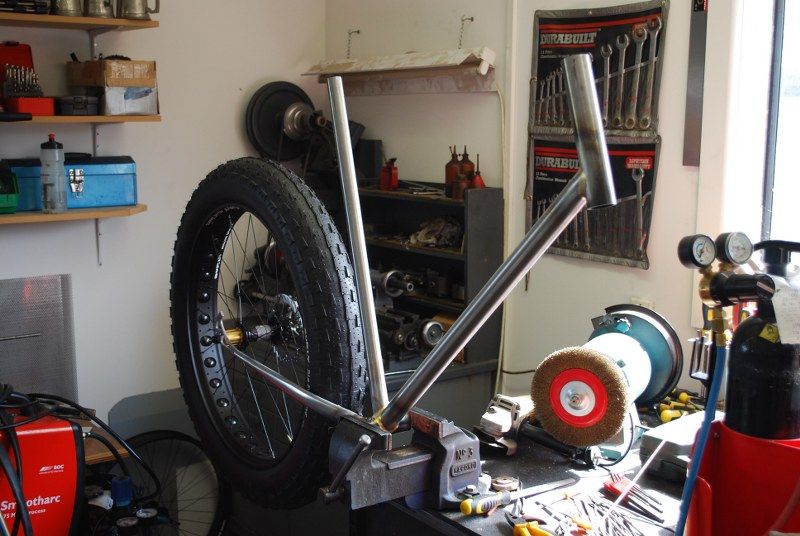
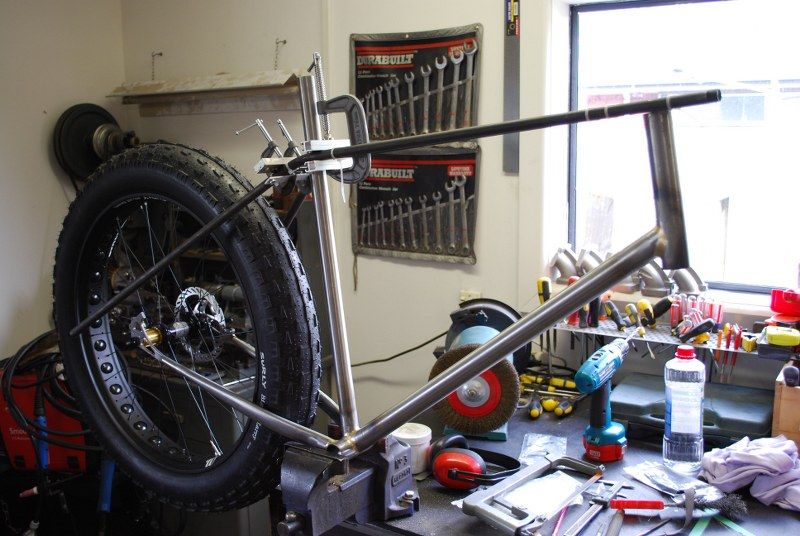
I then plunged into welding the things into place and before it was even cool I had to chuck the wheel in to see if all was well, which it was. The dropout slots will require some very minor loving to get the wheel sitting 100%, but it is looking pretty good as it is.
It looks so much better with those bends tucking around the wheel.
And then I thought I would chuck the half finished forks on to see how things shaped up, unfortunately I only have one tyre at the moment. An upside down pewter tankard is an admirable tyre replacement, but it might make for a slightly bumpy ride.
I spent some time today cleaning things up, there is still a good few hours yet to spend though.
I have made a bridge to fit in here but I need some more silver solder rods before I can do any more.
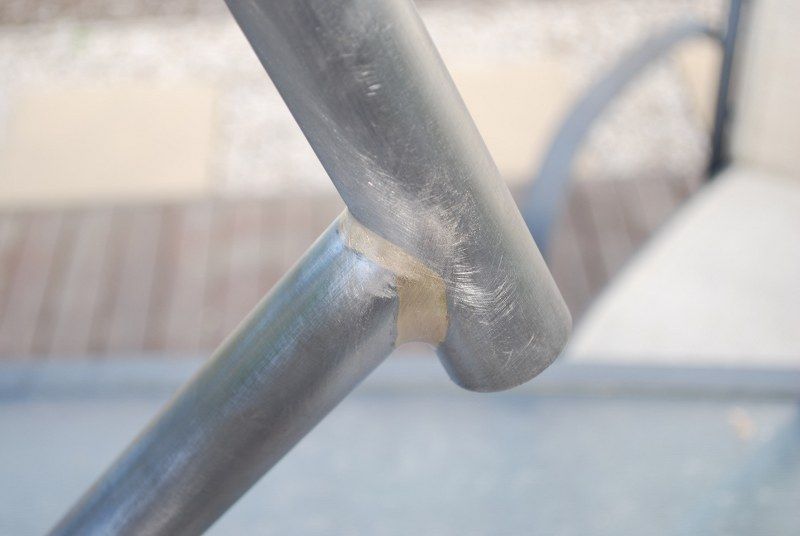
Some nearly finished fillet brazed cleanup.
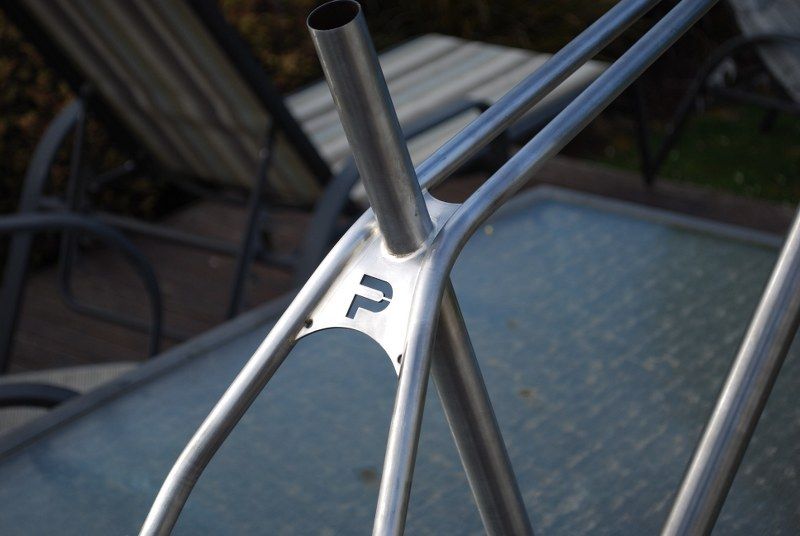
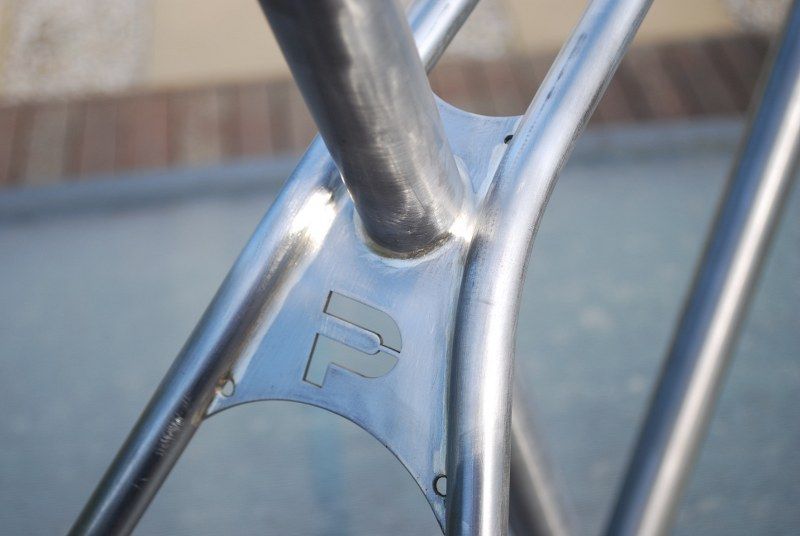
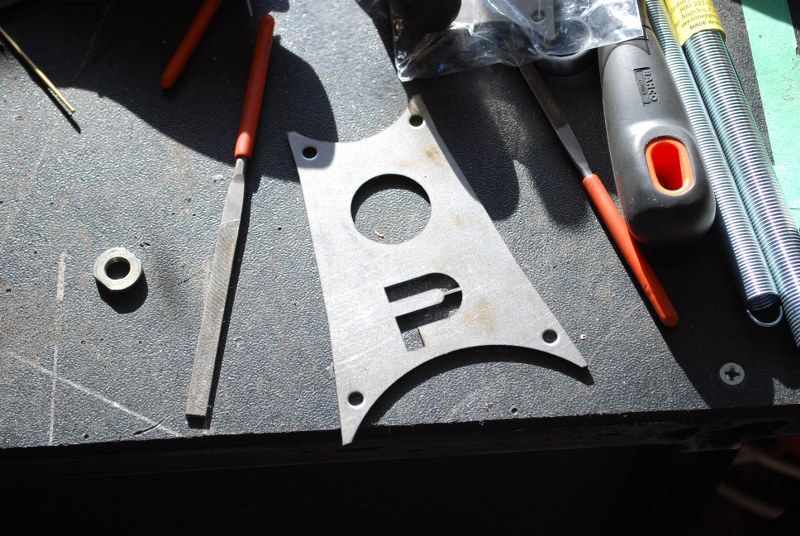
This plate ended up with a bit of a shave off the sides, I think it still works visually.
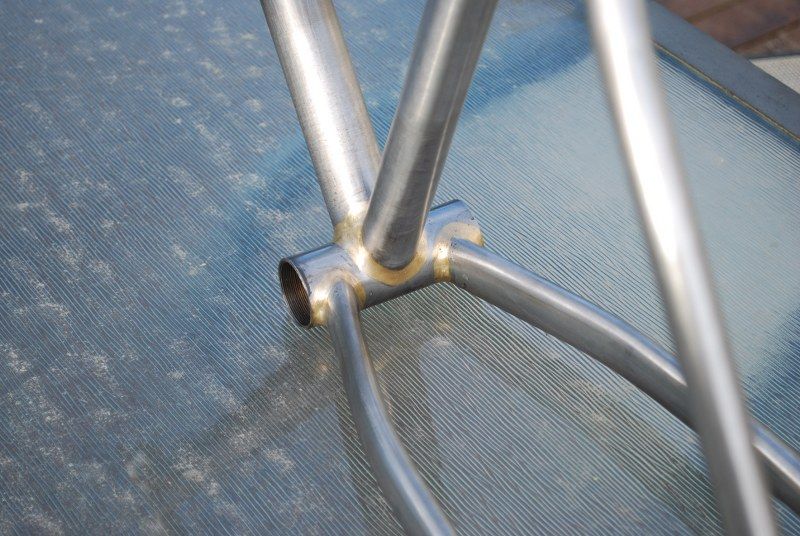
I have silver soldered the seat stay joints and sweated the filler up inside the junctions, I will clean up and cap the open ends a bit later when I have more welding rods.
This pleases me.

I am discovering that at the end of a build session I get a certain feeling depending on how well or badly that particular bit of the build has gone. If it has gone well it means that I have been in the zone and doing things that I am totally comfortable with, without rushing or stressing. Then I get a warm glow of satisfaction...
 If I have rushed or stressed then I am clearly not in the zone and I end up with a knotty feeling centred on my solar plexus, reminding me that I did not do as good a job as I could have when making that particular bit. I am getting much better at stopping or changing what I am doing until I am in a better space.
My current aim in life is to build a frame that is the culmination of build sessions that have all ended in the warm glow of satisfaction. This may take time and a number of frames.

Yay.

Saturday, 16 November 2013

Frame Rate

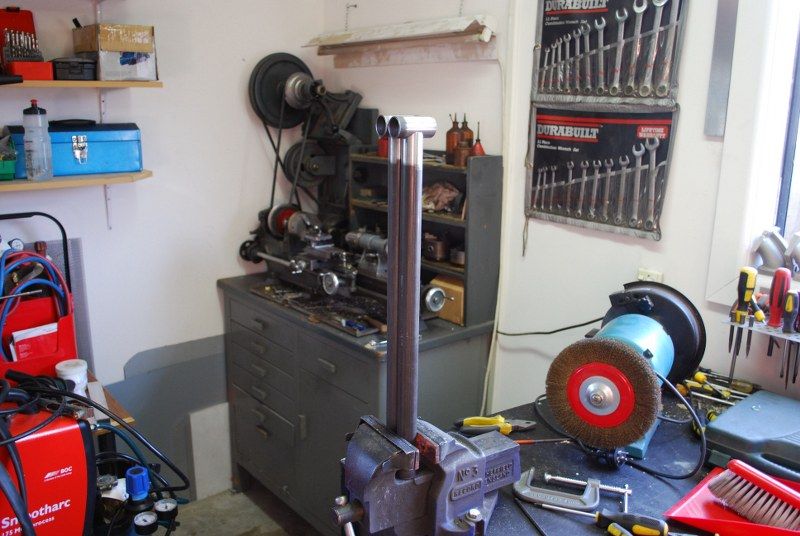
I must say that fillet brazed frames go together a lot faster than lugged frames. I have spent a good few nights and weekends working away at this, and apart from the twin top tubes which have proven to be a bit of a pig, this have moved well. I have also decided that I should care more about photography so have been using my fairly nice Nikon rather than my cellphone. This means I have taken far too many photos, many of which are in focus;

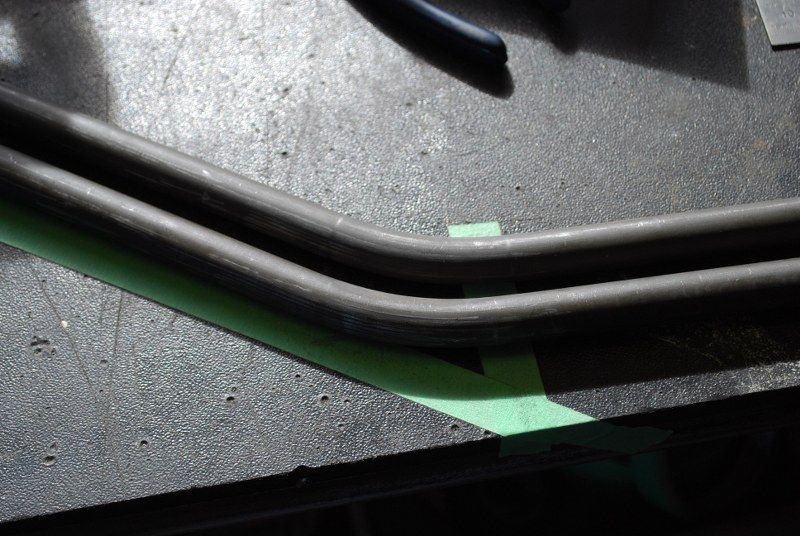
Two lovely tubes, I have finally nailed the bending process probably

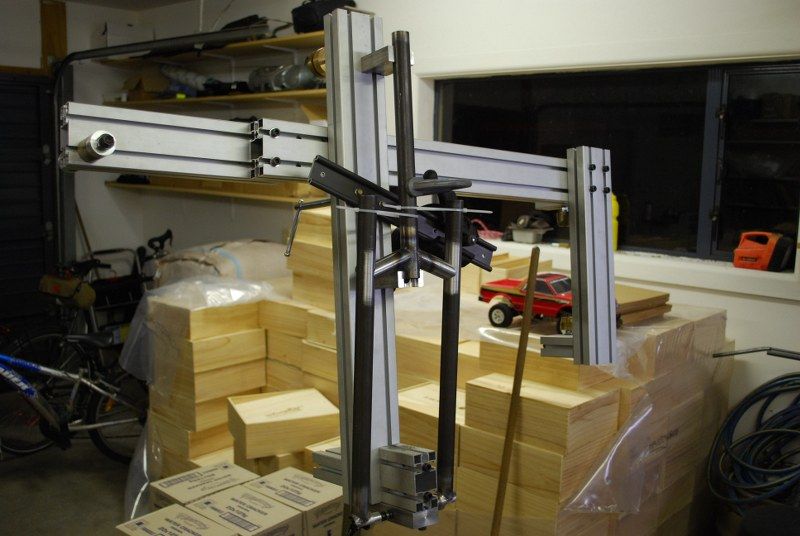
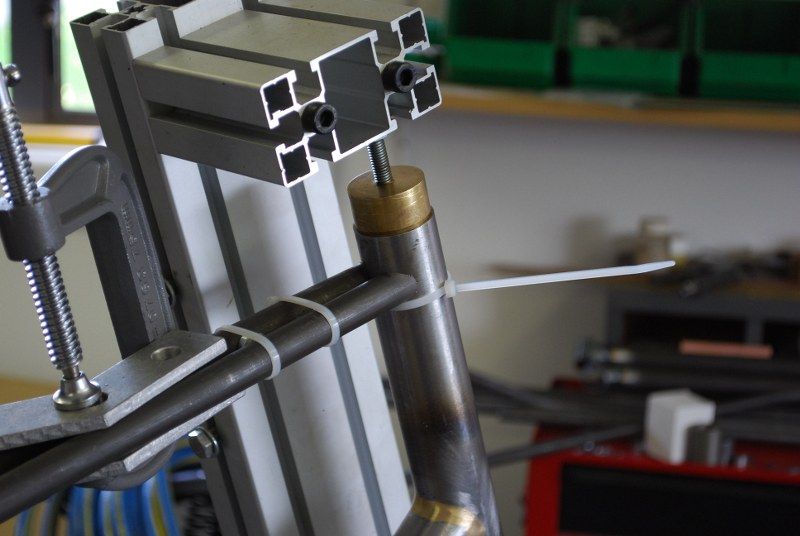
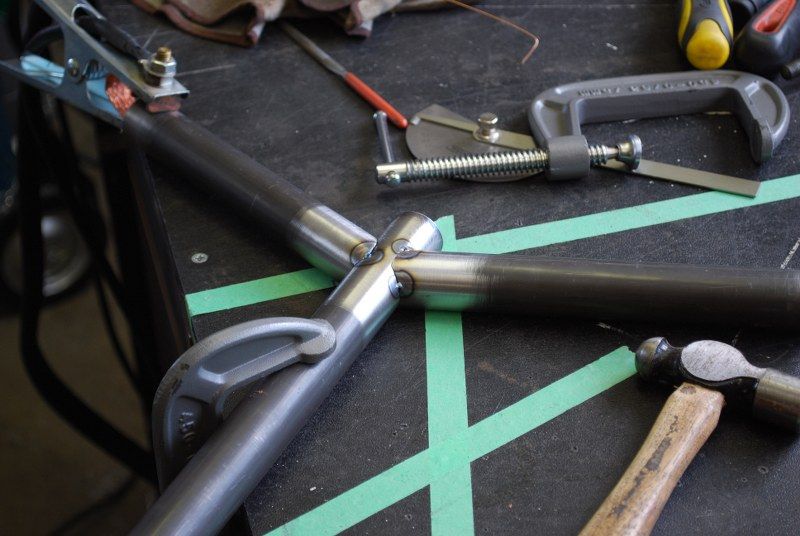
The start of many, many fitups of those bloody top tubes
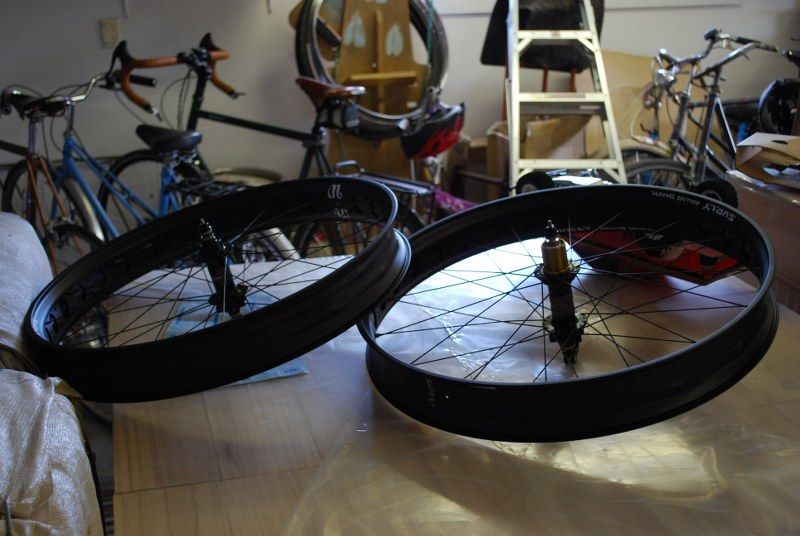
The wheels arrived - yay!
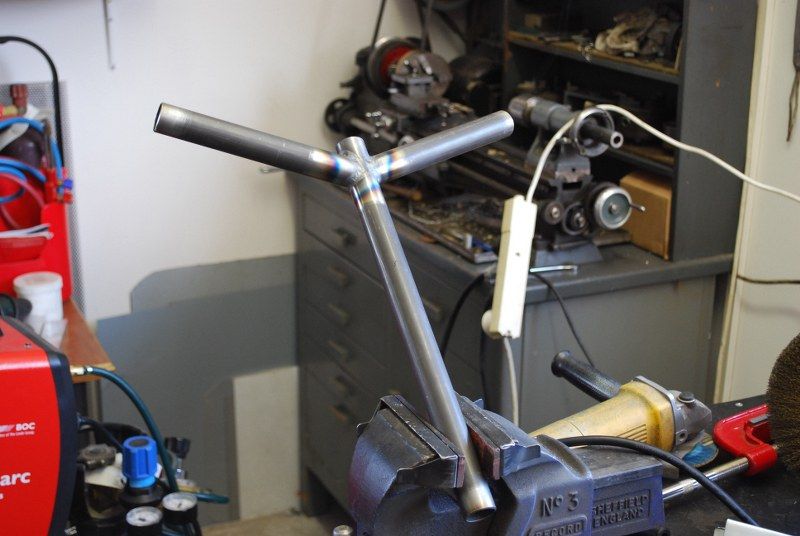
I started the forks using Paragon dropouts, unfortunately my TIG skills are not yet that great and they ended up too untidy to use, hence;
The start of my fully custom front dropouts.
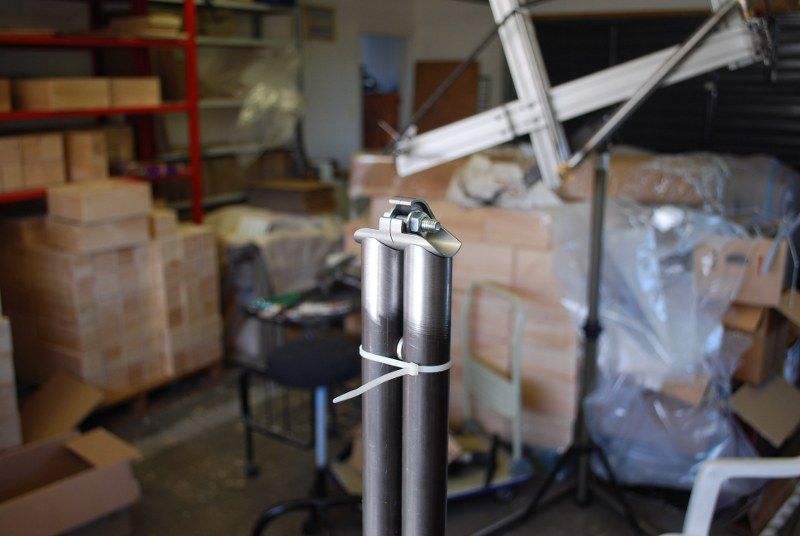
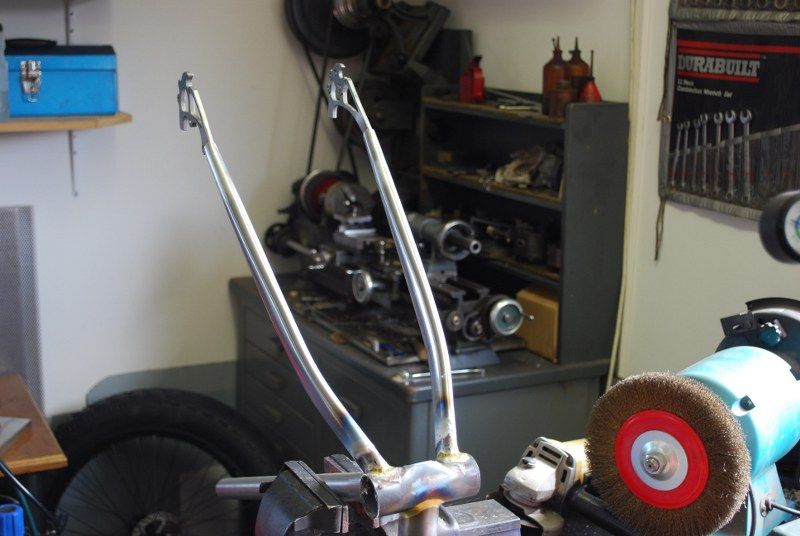
Fork legs
Brazing the chainstays
More chainstays
The outside fillet on both of these had a bit of porosity, I had to grind it all out and redo that bit, I am not sure exactly why this is so as I made sure things were clean. Maybe not clean enough...
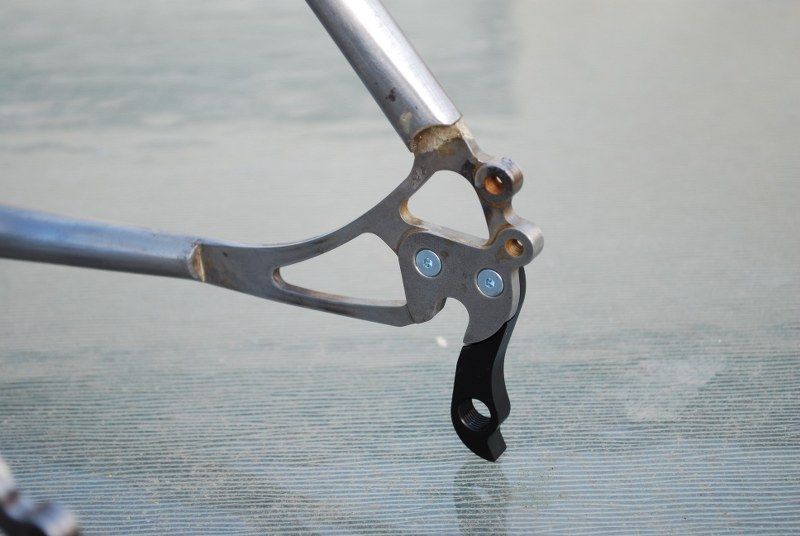
Rear dropouts from Paragon, I silver soldered these in.
Check out the mad photography skillz - depth of field yo
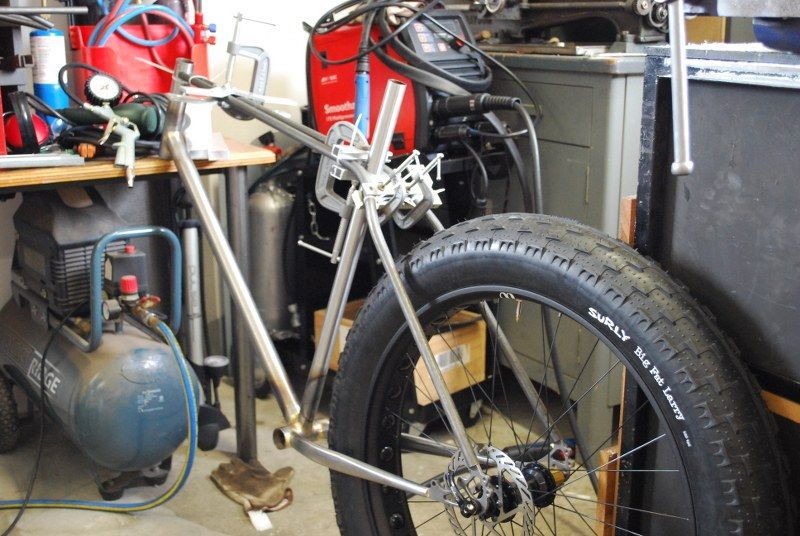
Fitting up the rear wheel to see if it fits at all
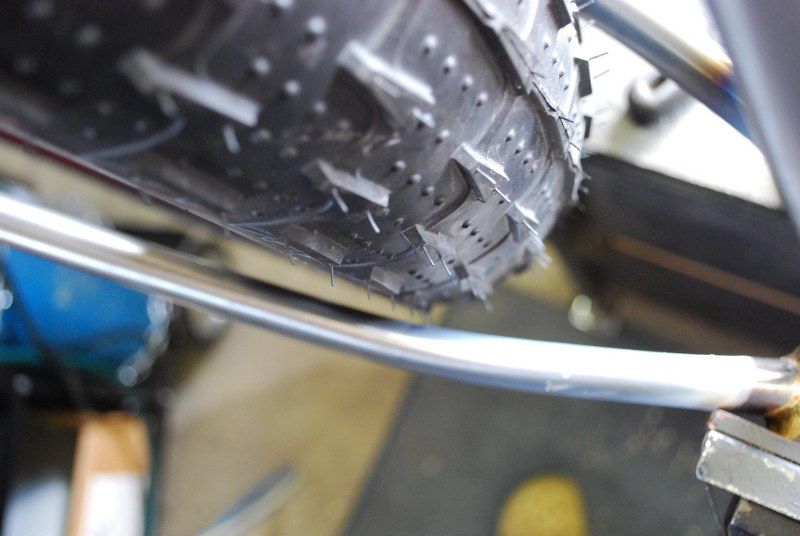
Hard to get lots of clearance with Big Fat Larry 4.7" tyres!
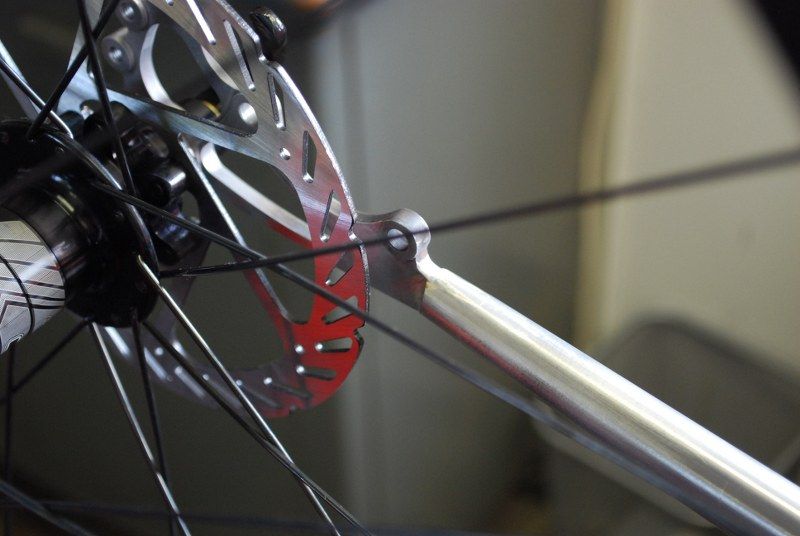
I checked the brakes all lined up as well
I got this laser profiled for the seat plate
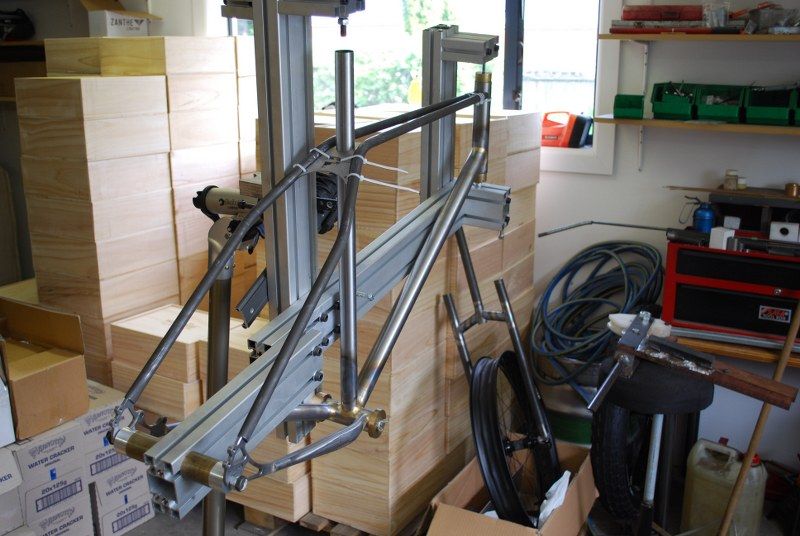
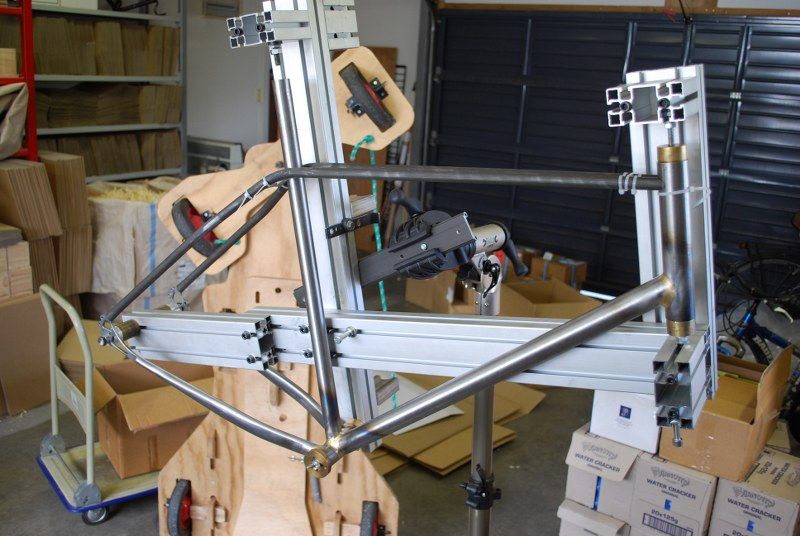
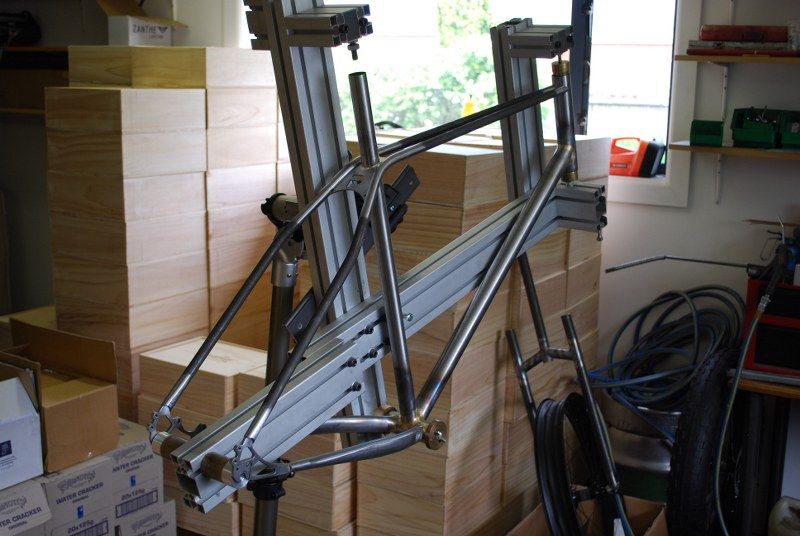
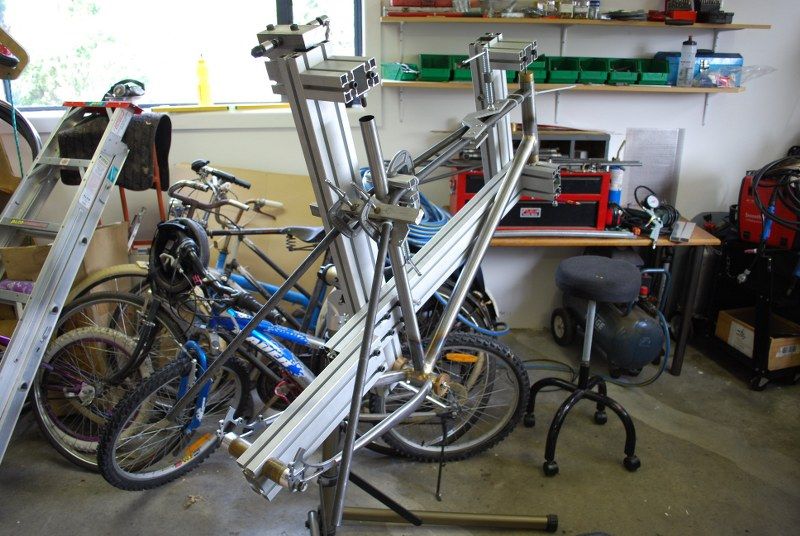
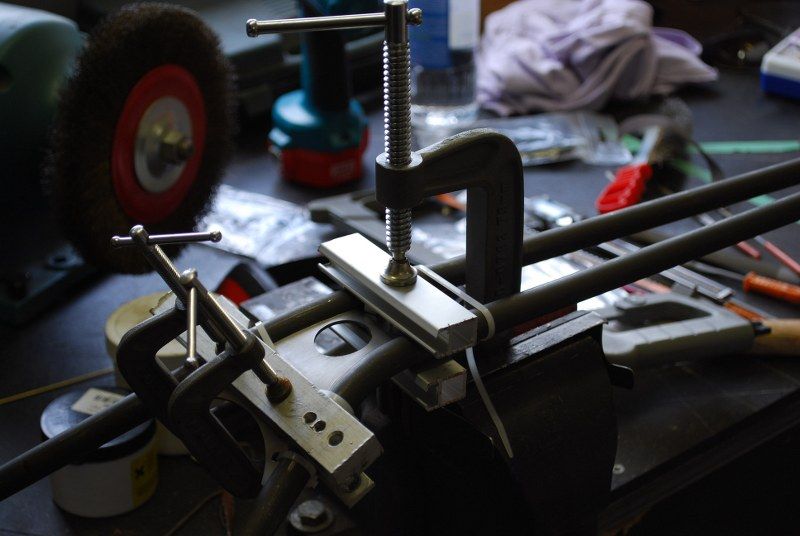
I bent it up and jigged it in place, it was immediately apparent that the tubes were sitting too wide, so I rejigged it all with a fair bit of width taken out.
Endless fitting up and checking before I made the first cut of those hard won tubes
But then I bit the bullet and mitered in the front
Now just the back bends to do
Back bends achieved.......but
I am just not happy with how the lower bends ended up, I wanted them to tuck right around the tyre, but through a slight (yes again - I know) miscalculation they ended up there. I am sure they would be alright, but I suspect I will be allowing Leanne to retire just that bit sooner on Monday.
So I cracked on with the forks...
TIGged the dropout tubes - not yet perfectly tidy but I am getting better every day.
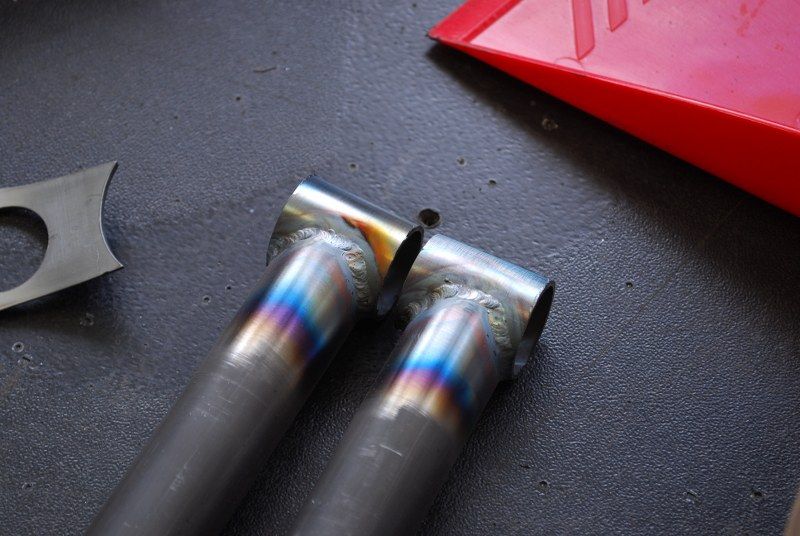
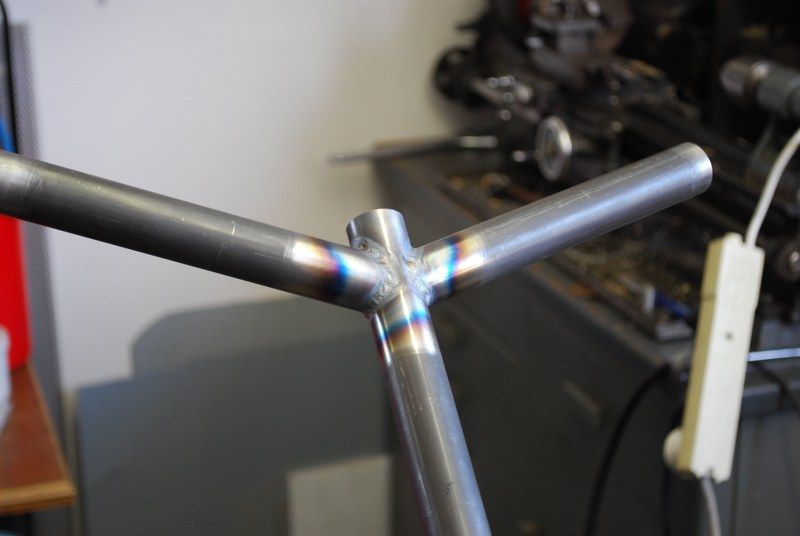
TIGged the crown tubes.
I made sure there was a good overlap of all the fork joints as burning away the edge of the tube end was my downfall when welding the Paragon dropouts.