Showing posts with label Fork jig. Show all posts

Wednesday, 16 April 2014

Fork it

I may have mentioned that I was not 100% happy with the forks on the Fatness, the biggest issue being the steerer tube flexing quite disconcertingly under load. This was because I used straight gauge 4130 where I should have used a proper butted tube. Various tiresome things have got in the way of doing anything about it, but now things have progressed.

One of the issues preventing progress is that I was really quite unhappy with where my TIG welding skills were at. I started the new forks a few weeks ago, but the welding of the crown parts to the steerer was frankly terrible, with lots of bubbles and voids and large chunks of tungsten thrown into the mix. I could TIG weld once upon a time, so why couldn't I do it now? This stalled things because I want 100% confidence in something as stressed as a fork and I fell into framebuilders funk.

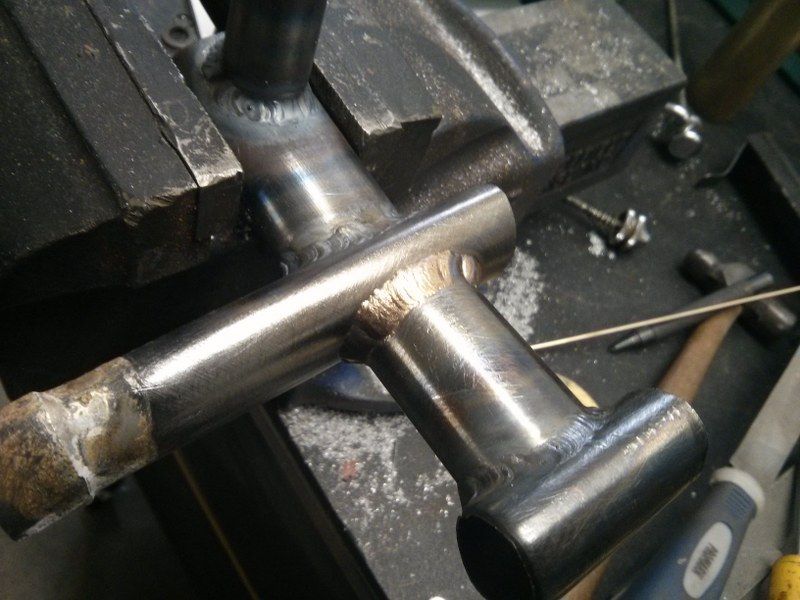
As it happened I had ordered enough parts for two sets of forks, so a few days ago I decided to start in fresh on the second set. I did a few trial welds with the same issues, then decided to swap the tungsten from the recommended thoriated type to a ceriated one that came with the machine. What a difference! It was like coming home and settling in front of the fire with a hot toddy. And so I cracked on with super renewed enthusiasm. The skill is still not at the level it was when I did it for a job, but it is way, way nicer than it was.

Mitering in the fork tubes
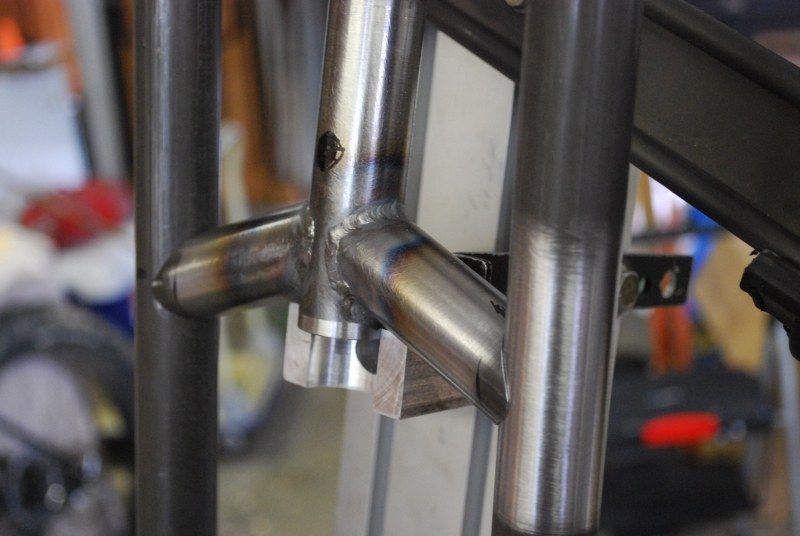
Some slightly better then previous welds, yesterday. The next ones were much better than this.
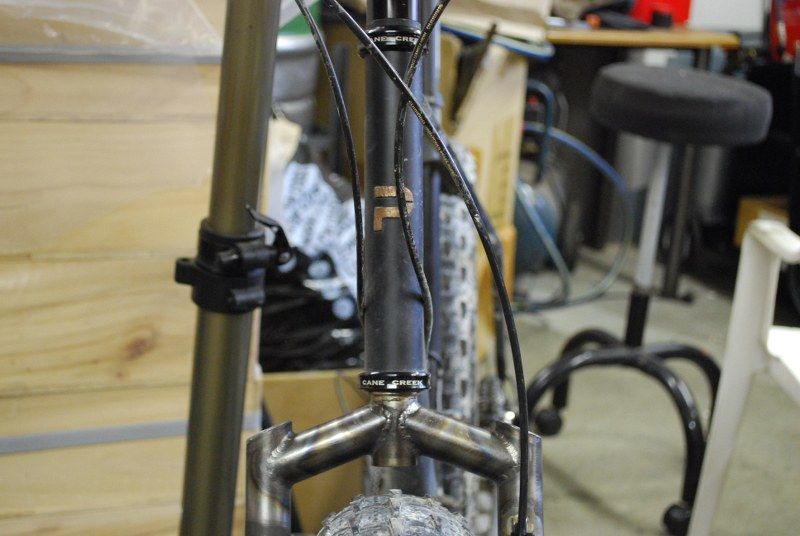
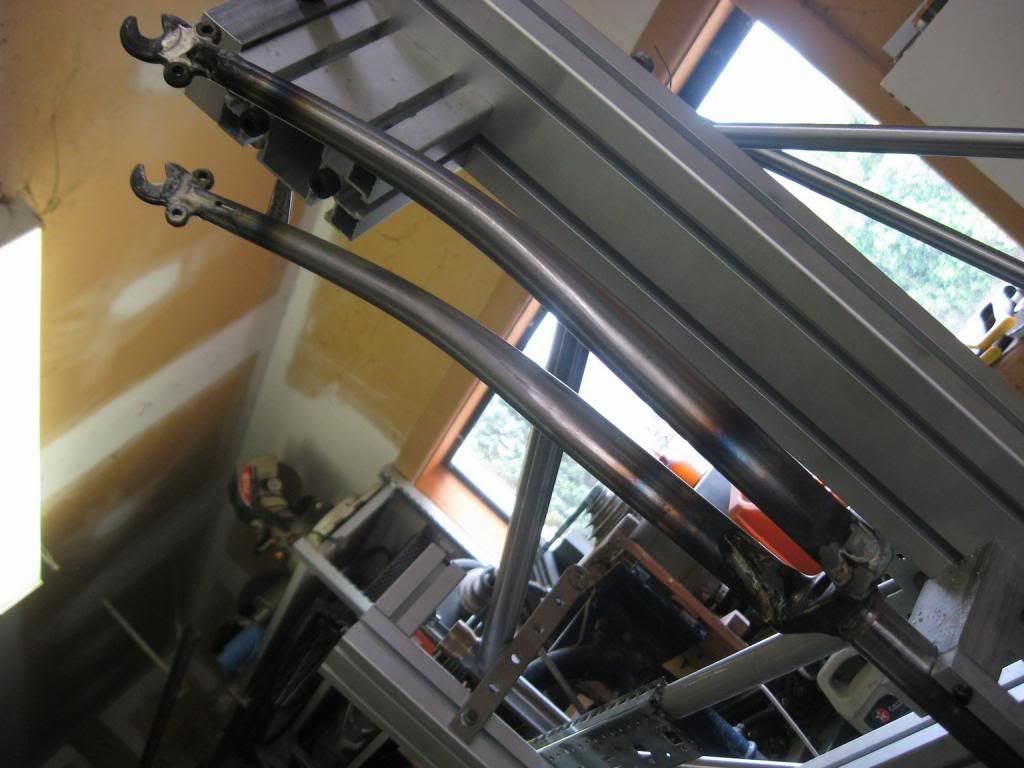
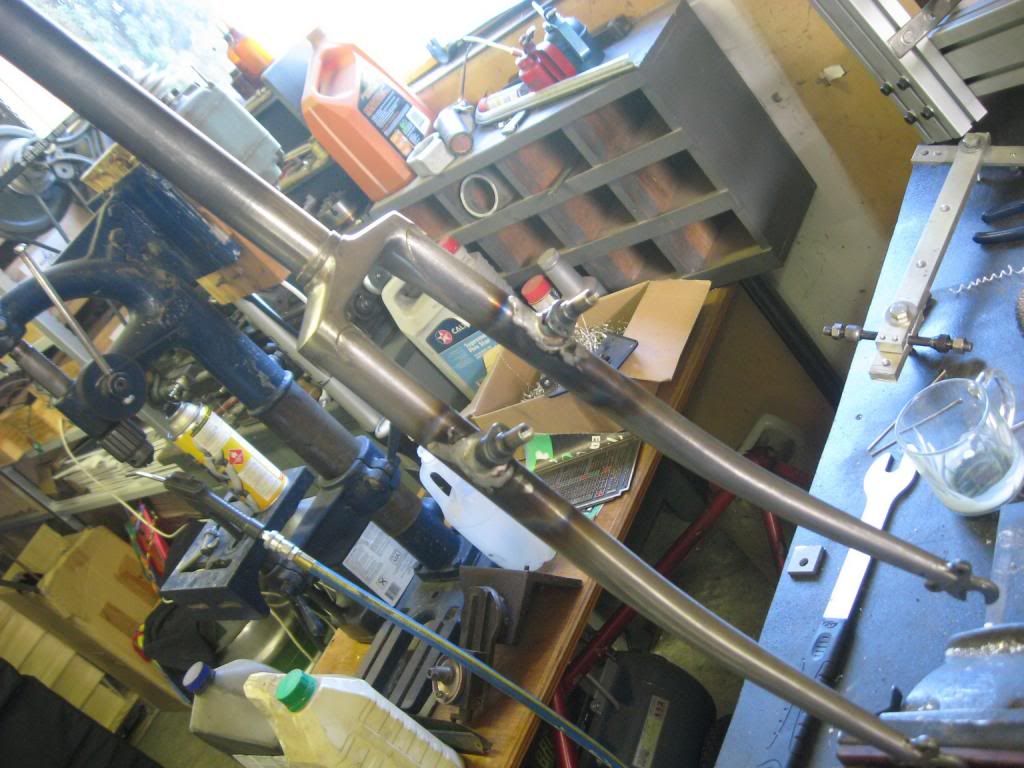
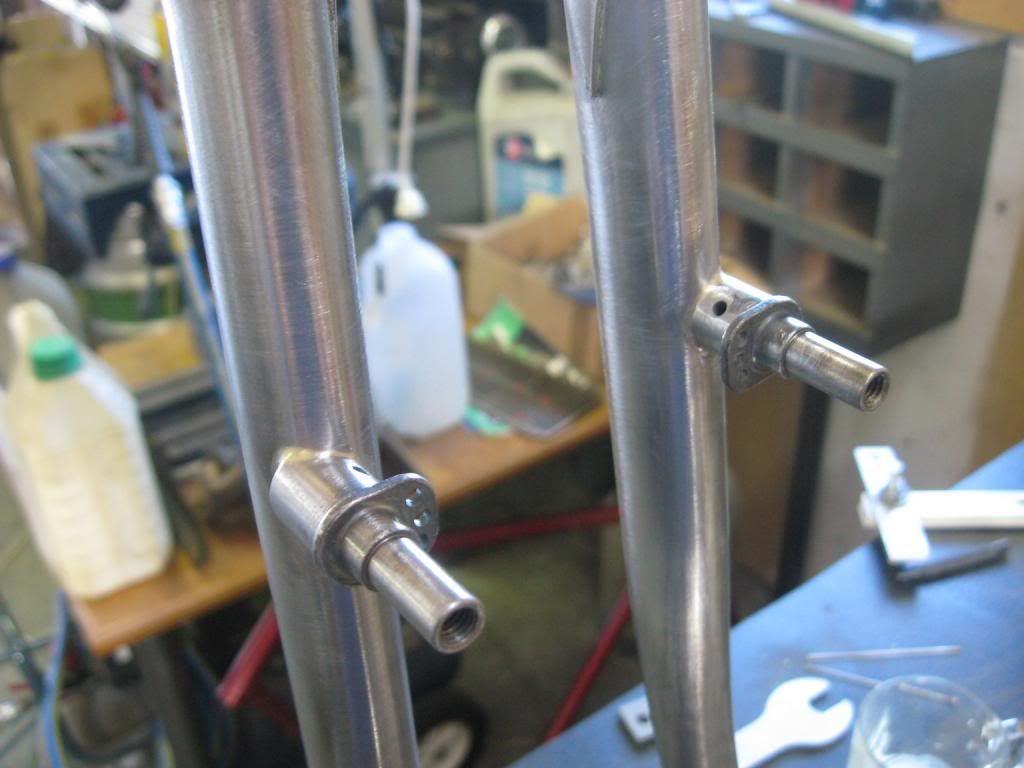
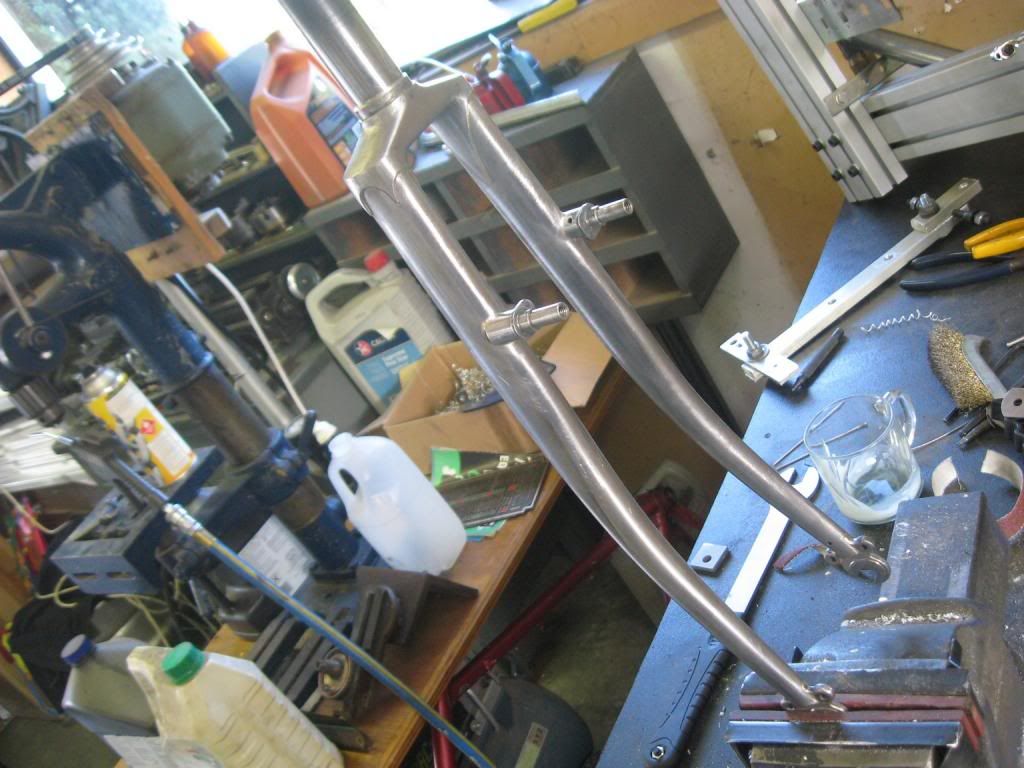
All fitted up. I changed the design detailing a bit, the fork tubes are closer to each other for a start, this was defined by the Ceeway sourced plug in dropouts I used.
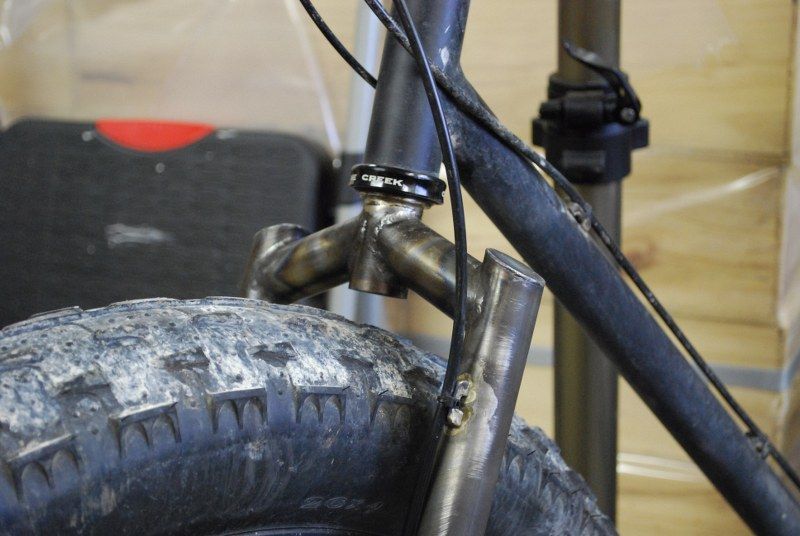
The fork is also taller to give a bit more vertical clearance. This slightly slackens the headtube angle, and I took a 10mm spacer out of the stem stack to drop it back to the previous height.
And I angled the fork tube caps and used flat sheetmetal instead of coins
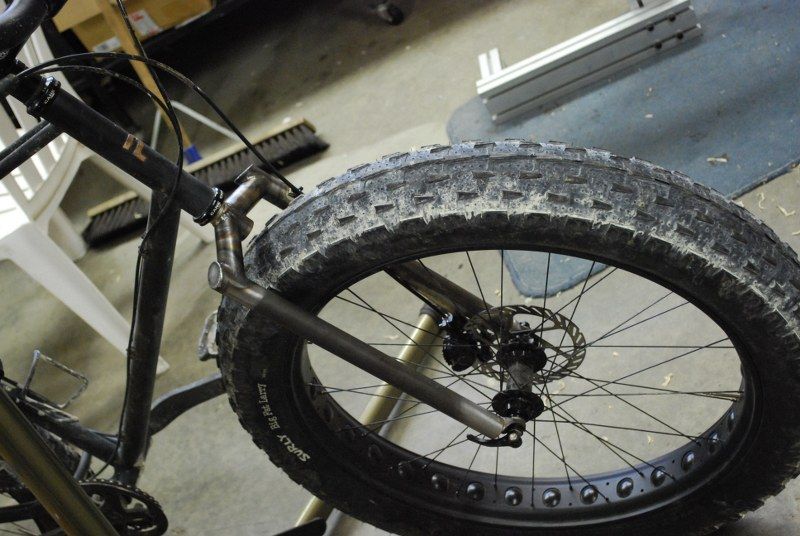
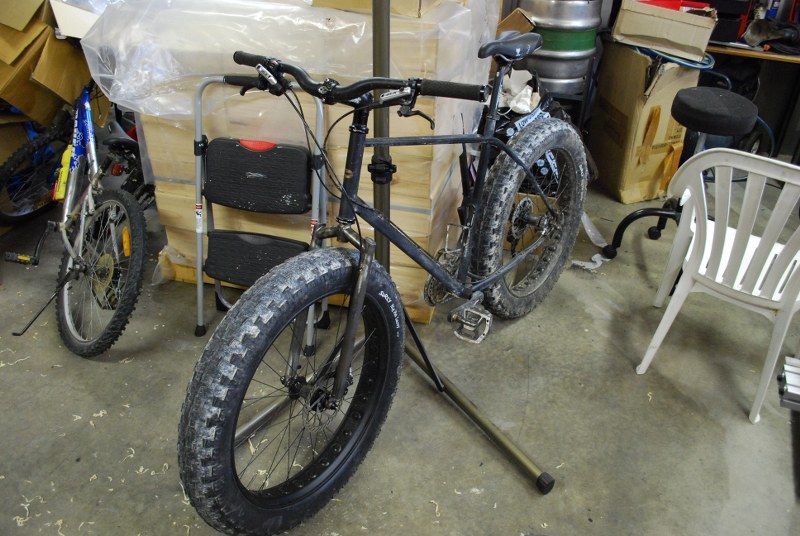
Well, it is a fork attached to a fatbike. Time to see if it will work....
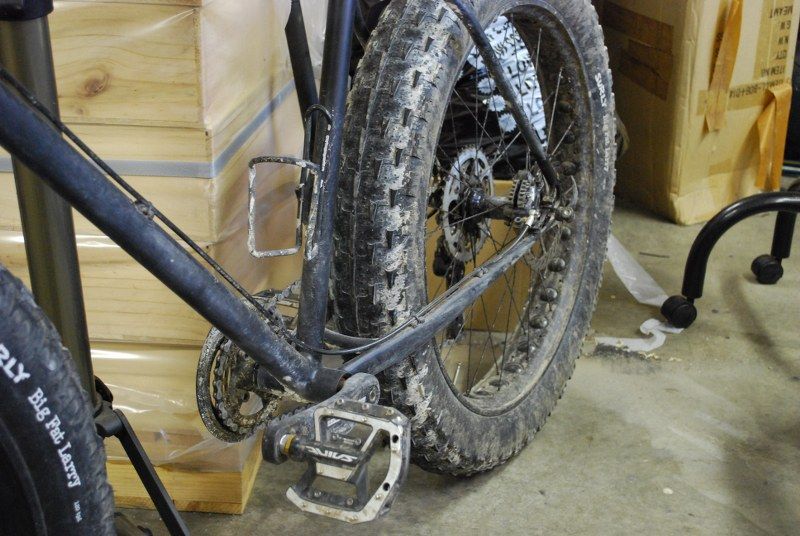
Yes, I have been riding some wet trails in the recent past. All trails in Christchurch are wet and will be for the foreseeable future.
So the plan is to ride it as it is for a week or two to see if there are any niggles, then strip it down for coating. The thin coat of primer is not really cutting it in the current conditions. I have been riding it a lot though.... including a trip with some fat friends to Hanmer.

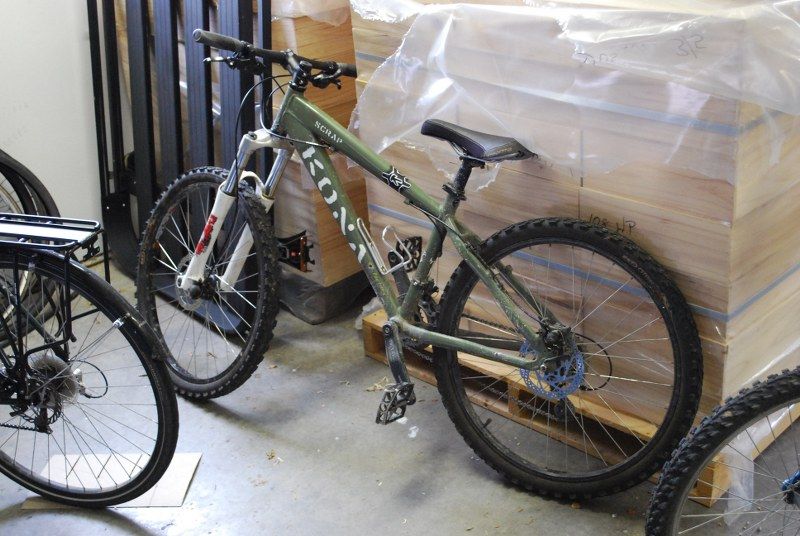
In other bike related news I built this up for my eldest daughter - I got sick of buying crappy kids bikes and I figured this would last her for a good long while. I got it as a stripped frame and forks with wheels and brake calipers. By the time I bought a headset/BB/chain/cassette/hanger/derrailleurs/discs/levers/shifters/tyres it became probably the least economic option possible. But it looks sweet and will last forever. She loves it.


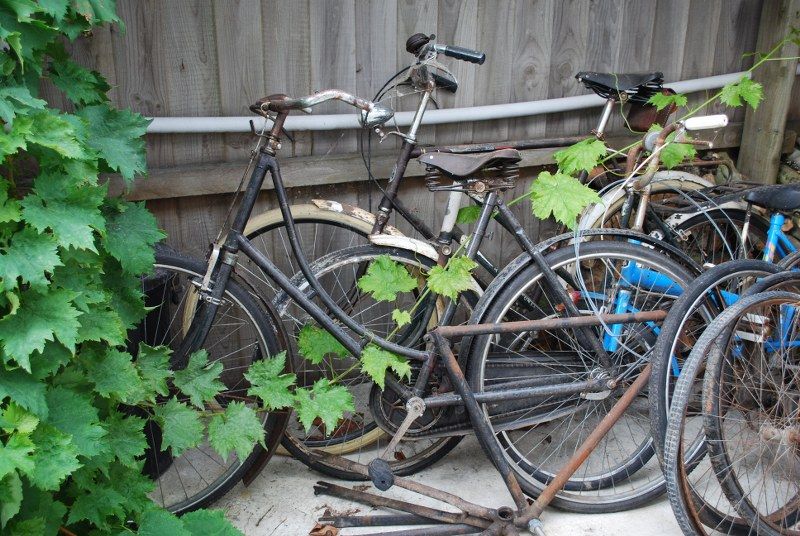
I also spotted these forlorn looking beasties in the woodshed, I will need to bring them inside for the winter I imagine.


In other, other bike related news I have a new set of tubes awaiting me in the garage. These are to make into my wife's fattie, which I may well TIG now, and looking further out I have plans for an updated commuter with disc brakes and much other secret goodness.

Tuesday, 22 October 2013

MIG, TIG, Jig

Update time!

Much has been happening, with the focus being on jigs and fixtures rather than actual framebuilding, but a wee bit of mitering snuck in regardless.

First up; the last frame jig mod...

Rear spacers to bring the dropouts to 170mm, awkward little blighters with an M10x1.0 thread on the inside to match the axle, and an M10x1.5 to take a standard bolt on the outside. This is because I do not have a 170mm skewer.

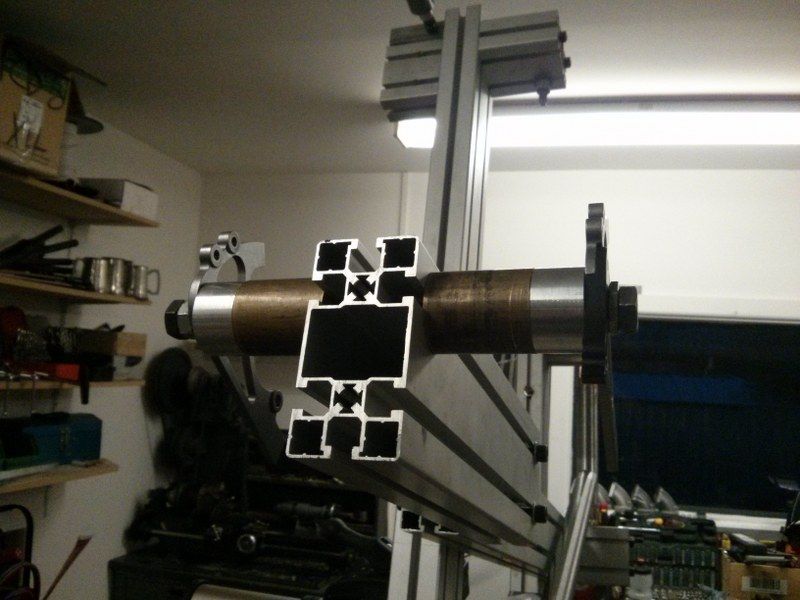
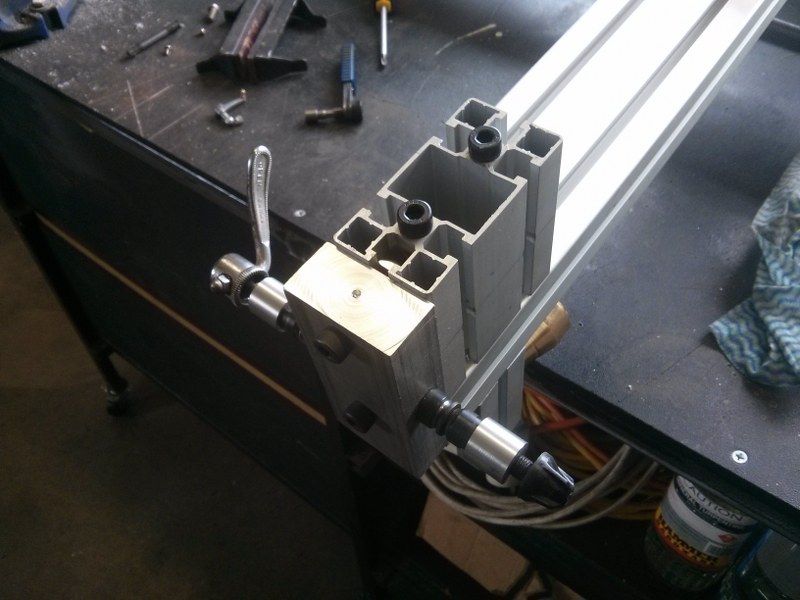
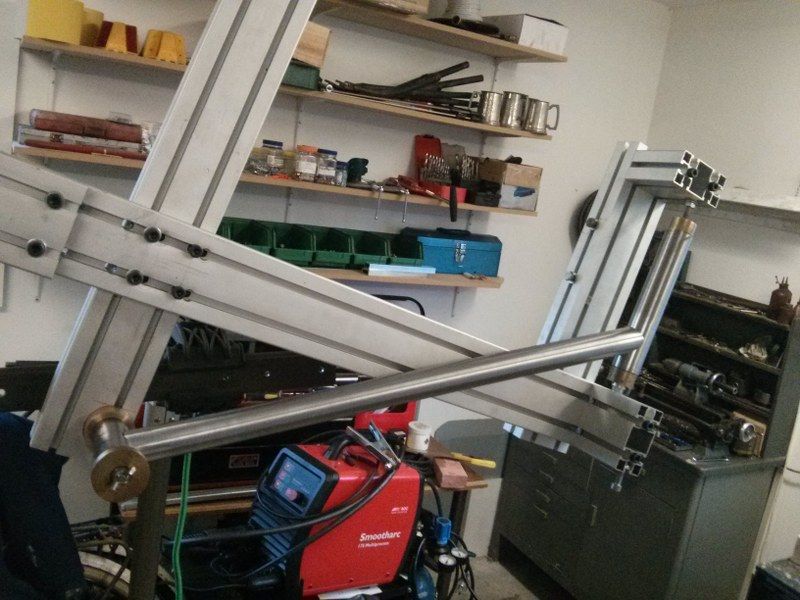
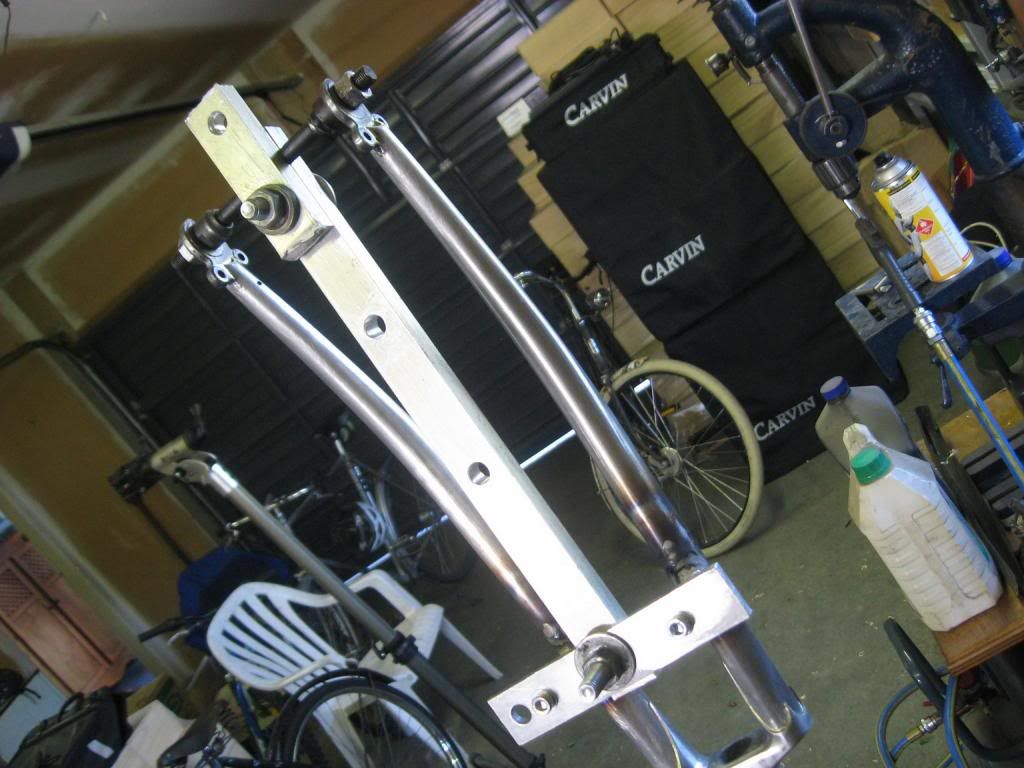
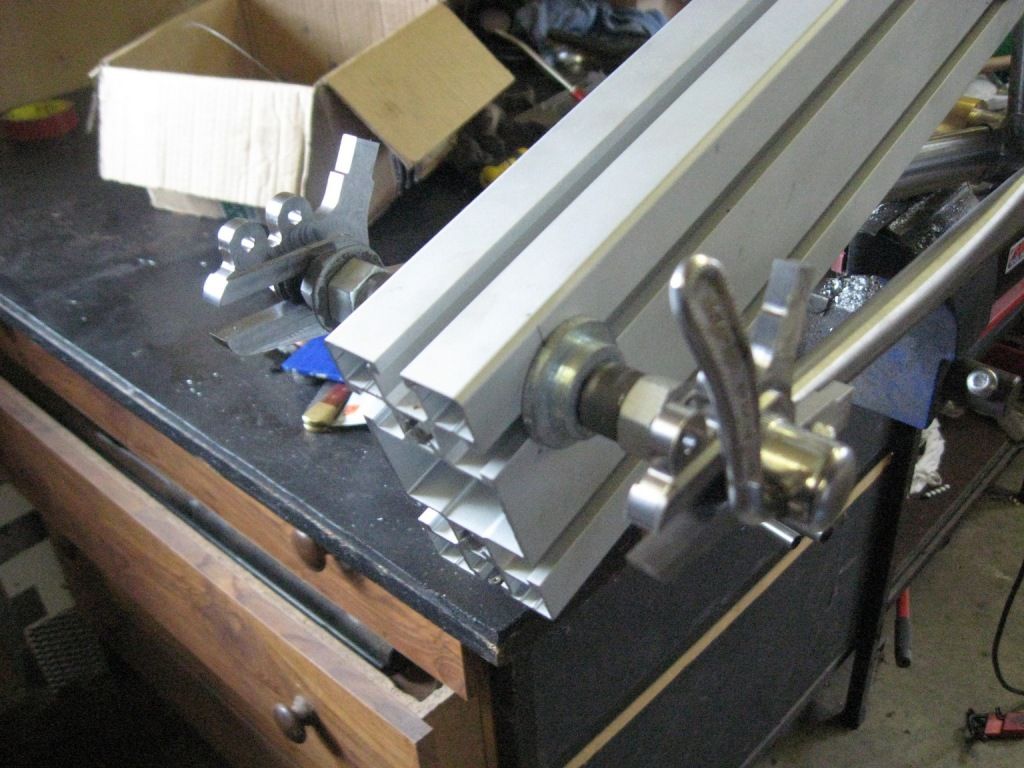
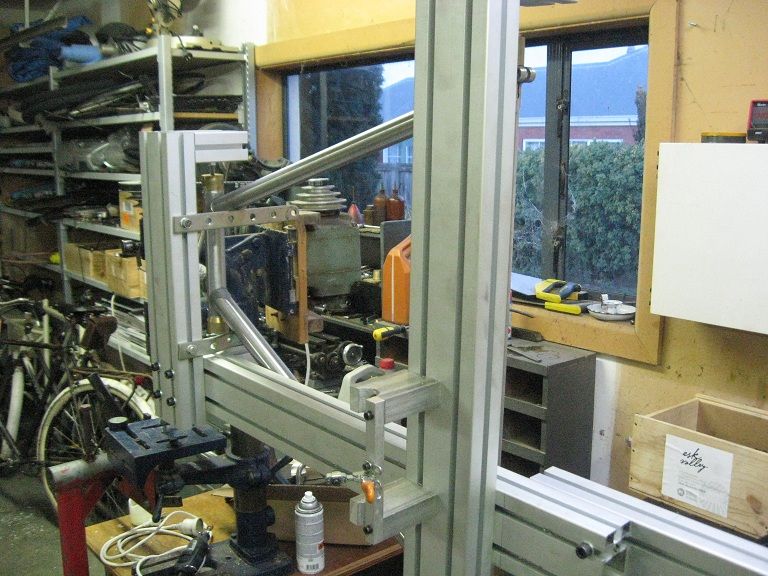
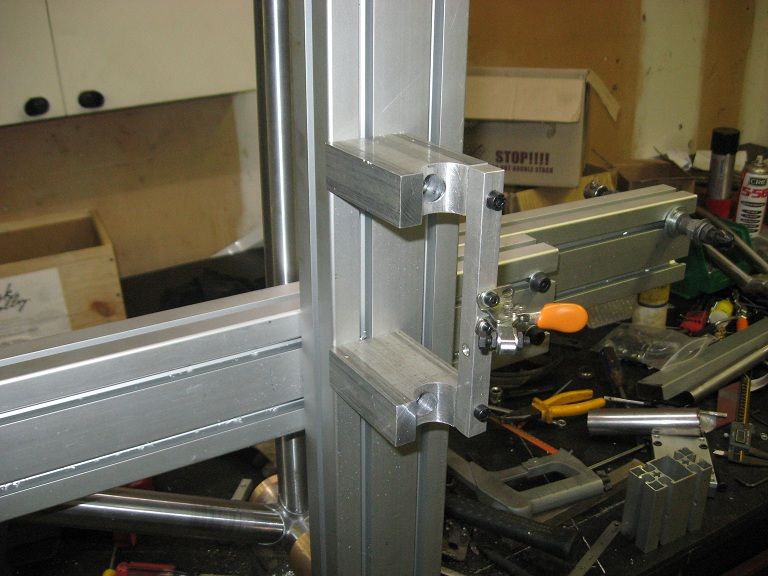
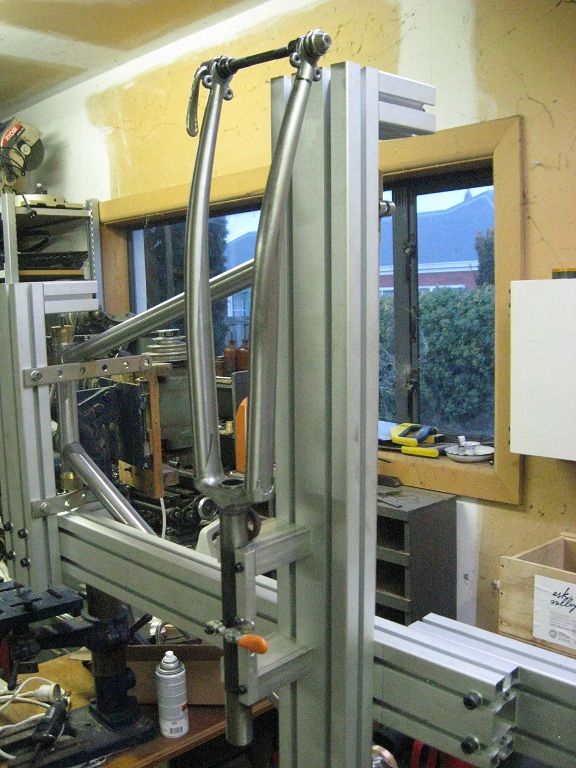
Next I decided to tweak the fork jig to suit what I wanted as this was going to be cheaper than buying new bits of Minitec to form the backbone of a separate jig;

Front dropout spacers as per the rear dropout methodology, but these have an M9x1.0mm thread - try finding that tap in Placemakers on a Saturday morning.... These I tapped all the way through and screwed and loctited in a short cut off section of hollow axle at either end, because I could then use a rear skewer to clamp it all up.
Sorted, give or take a bit of setup time....
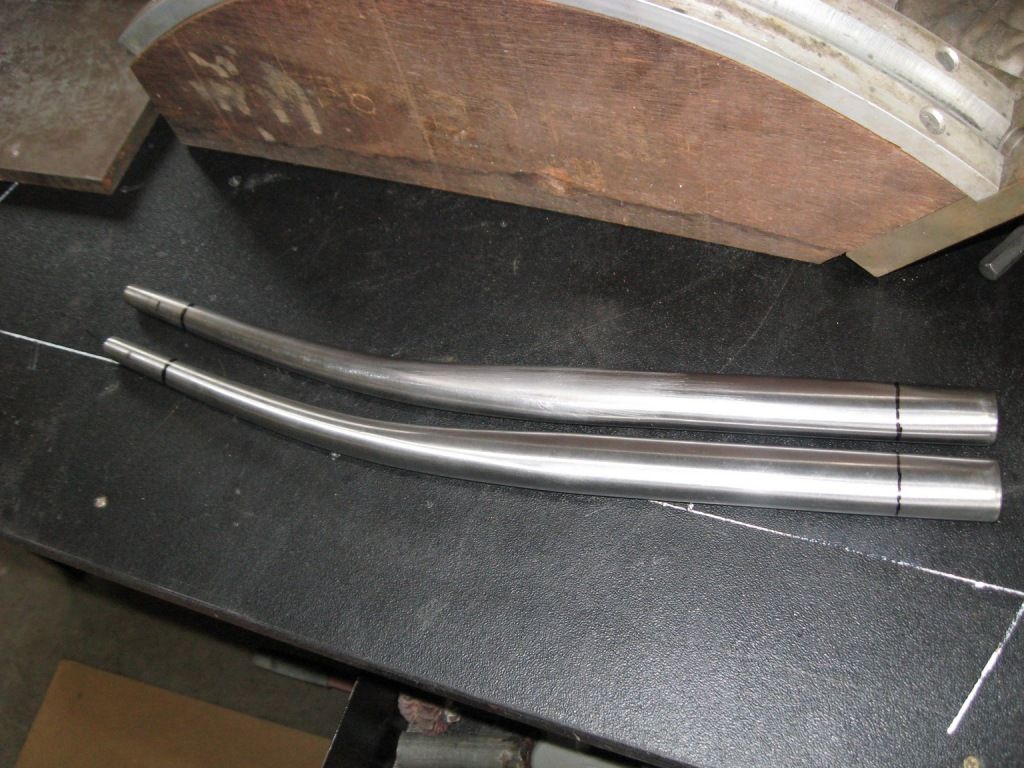
I then turned my attention to bending tubes.... now, I had a day off last Friday, and I spent a fair bit of time avoiding child minding duties by crashing about the place trying to find a good but cheap tube bender. The problem I have is that I have precisely four bends to create, so spending $640 on a tube bender simply wasn't making mathematical sense. I couldn't find anything decent for less than that sort of money so I thought I may as well have a hack and something quick and dirty to do the job. I only need 35 degrees of bend so this cut down the required effort somewhat..

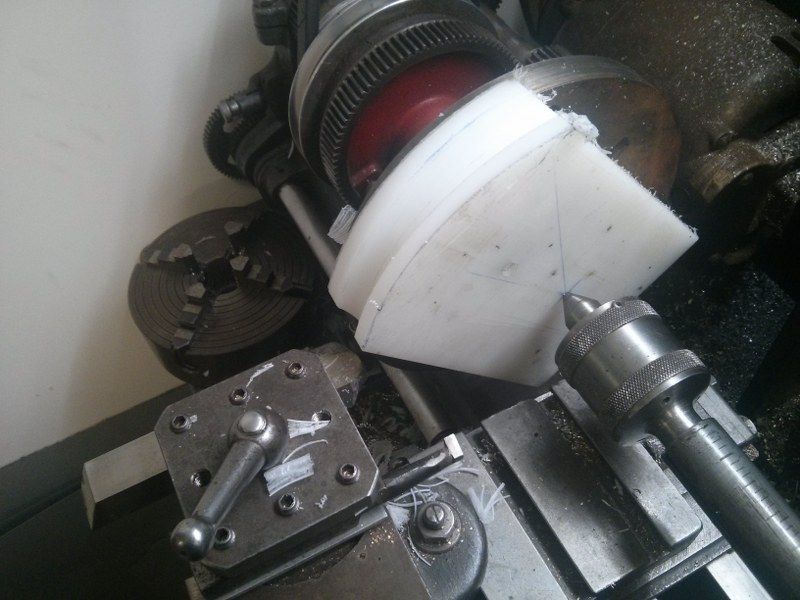
Turning the main former - I found a dirty great chunk of tool steel in the drawers of the Grayson and formed the entire 8mm radius in that with an angle grinder (With many years of experience the use of an angle grinder can be elevated into the realms of art). I used the same tool to cut the form into a block of aluminium for the roller.

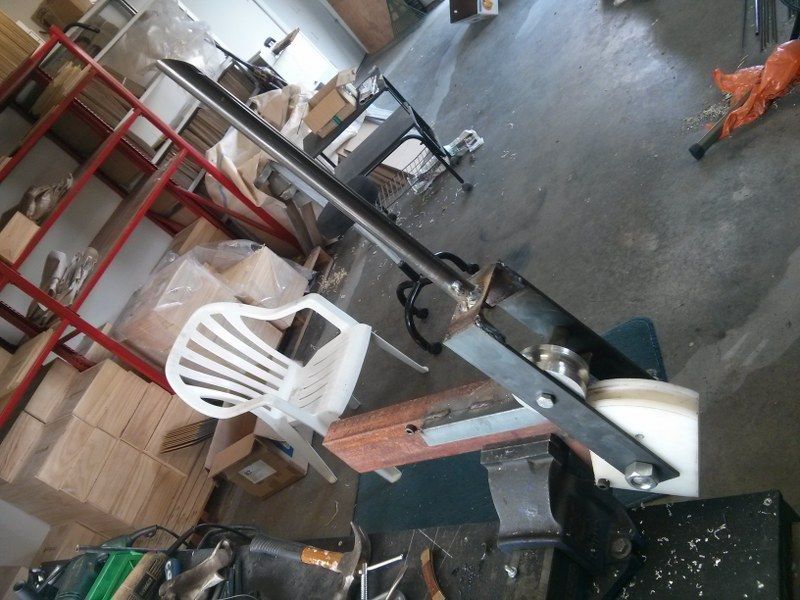
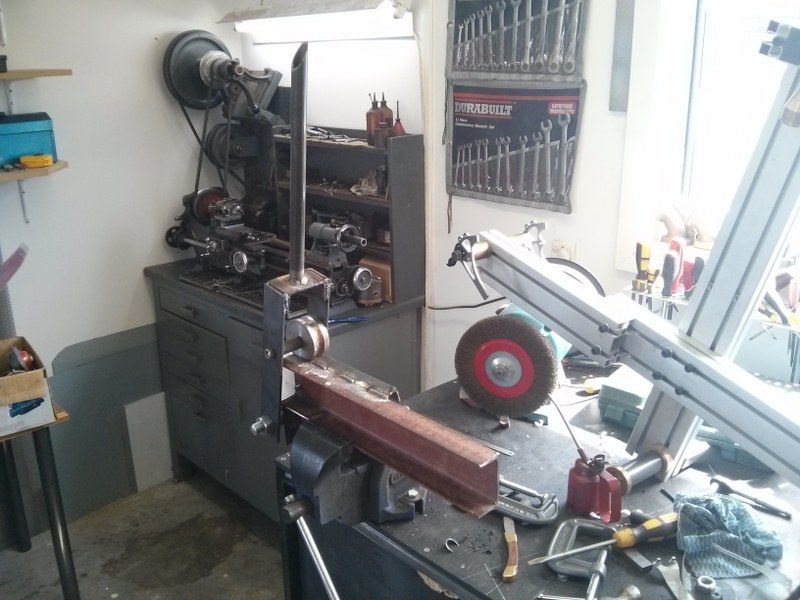
That abortive frame jig channel has finally found some use
I used my new Mig to slap it together, this is proving to be a sound investment already, it has a beautiful sharp crackling sound when welding. I thought I was being thick when trying it out because I couldn't find the wire speed adjustment - it turns out it adjusts it automatically depending on the amps selected. Technology in action right there, I'm impressed.
The result.
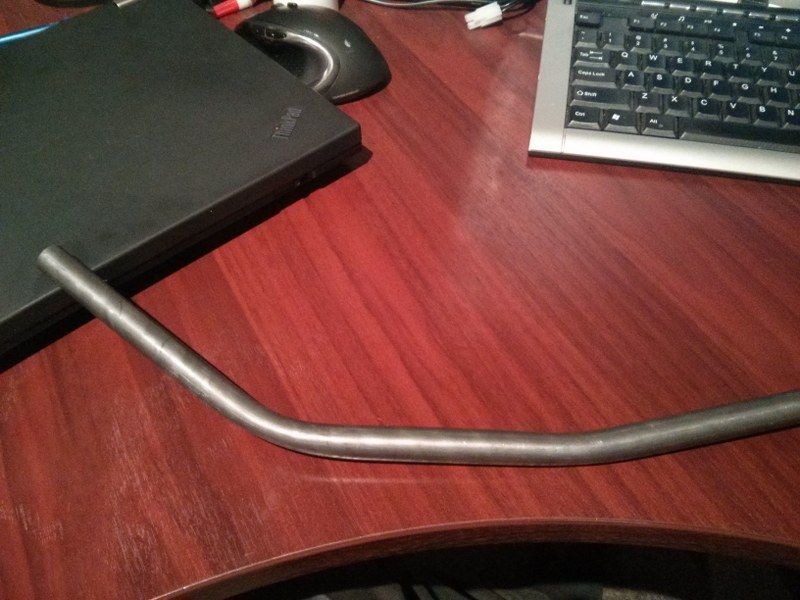
I bought an extra length of the 5/8ths tube for testing bends etc. It turns out there is a bit more crush than I am happy with on the bigger bend, so I think I will get a spring made up to fit inside. I may have a fiddle with heat as well, although I don't imagine I can get too carried away with that plastic former. This former is made from UHMWPE and sadly I can recall without any serious mental effort that UHMWPE stands for Ultra High Molecular Weight PolyEthylene. That info is a great line for pulling MILFS at parties, I can tell you. No, I cannot recall what MILF stands for sorry.

So this is all good stuff, and I am now pretty much in a position to crack on with the build. I have been boning up on my TIG skills (are you allowed to say 'boning up' these days?), even trying a wee bit of TIG brazing;

TIG and TIG brazing test pieces. Not bad looking, but then I tried a more complicated joint with the TIG brazing - this was less pretty.
This has pretty much fixed me on fillet brazing the frame, it is just so much more controllable than the TIG, although perhaps if the TIG had more refined controls (or I actually had some retained skill) this would be different.

Some manually mitered tubes, today.
 I then did a wee bit of mitering by hand, now that I have proved that the lathe is probably not best suited for this sort of thing, and I am now ready to weld the first two joints....

 While on my tube bender mission I spotted this at Scott Machinery, I have decided it shall be mine.

I may have to sell some bikes or children to get it, but get it I shall. I can simply make more bicycles and children as needed.

Saturday, 19 January 2013

A Circumhorizontal arc, Mammatus, and a set of forks

At last the long awaited Himalayan-like pinnacle of frame building has arrived, actual brazing!


Well actually I achieved silver soldering, as I simply could not get what I considered to be a satisfactory joint with brazing, a situation entirely due to a lack of skill on my part no doubt. After the abortive practice joints with the brazing rod I went and purchased some 45% silver rods and some flux (at great expense I will have you know) and after a few significantly more successful practices I set to work with steely determination and not a little cold sweating...


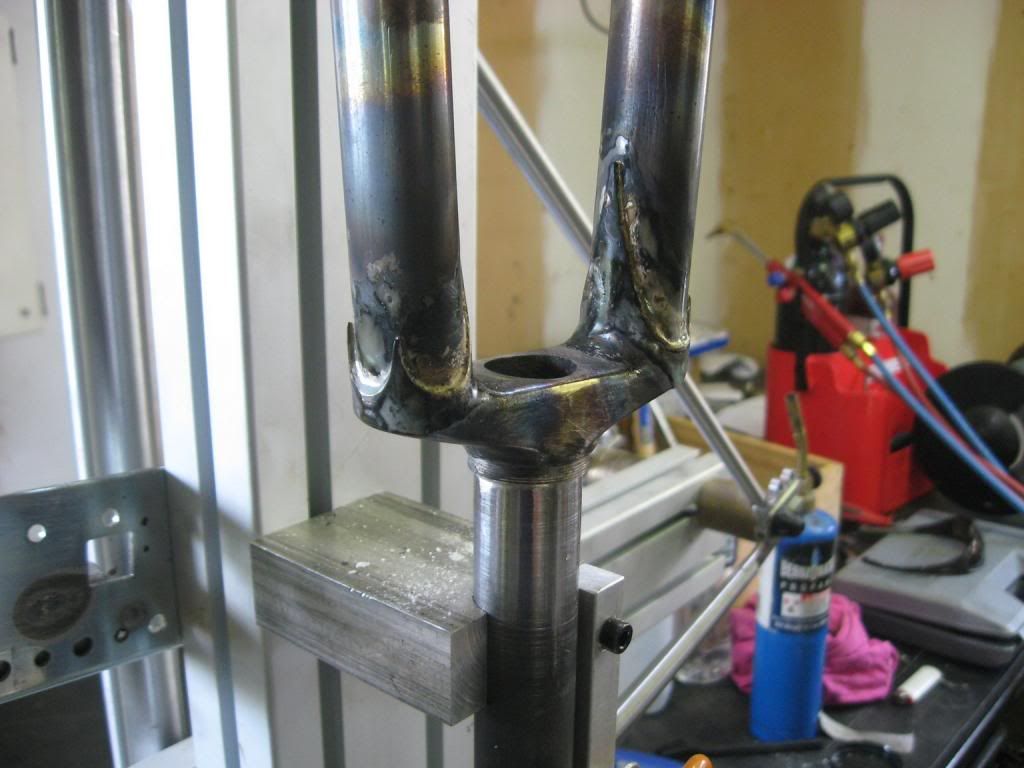
I did the fork crown to steerer tube first, probably the hardest joint to do due to the thickness of the metal parts - and this was extremely stressful as a result. I must have not put enough heat in the flame, or not had the correct joint clearance, or some other obvious bollox up, because it took ages to get the silver to wick through, and I actually thought I had blown it at one stage and pretty much gave up. I then cleaned the joint and saw that in fact the silver had penetrated the joint pretty well - not 100% all the way around, but thoroughly enough so that filling again it from the underside has given what I think will be a strong enough joint. I have already been thinking about the second set of forks with a triplane crown and smaller radius bends, so if it is no good then I will bin them and put it down to experience, but I am pretty confident these will be ok.

I also managed to get silver pretty much everywhere, and spent a fair chunk of time cleaning all that off. This gave me an excuse to buy some more tools, to be exact a set of rifflers.

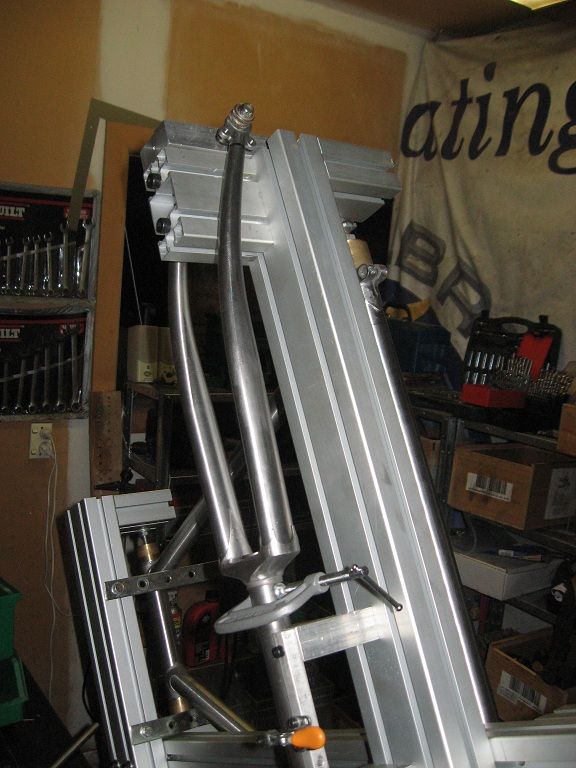
So all that happened in and around Christmas, so yesterday I decided that having a wee jig for the brake bosses would be a good idea, I threw this together pretty quickly out of random parts that were lying around, and the bosses got attached today;


All through this I spent a lot of time cleaning up the resulting joints, but clearly it is starting to come back to me as the brake bosses required fairly minimal clean up work;


If I didn't know any better, I would say that these look like a fairly convincing set of forks....

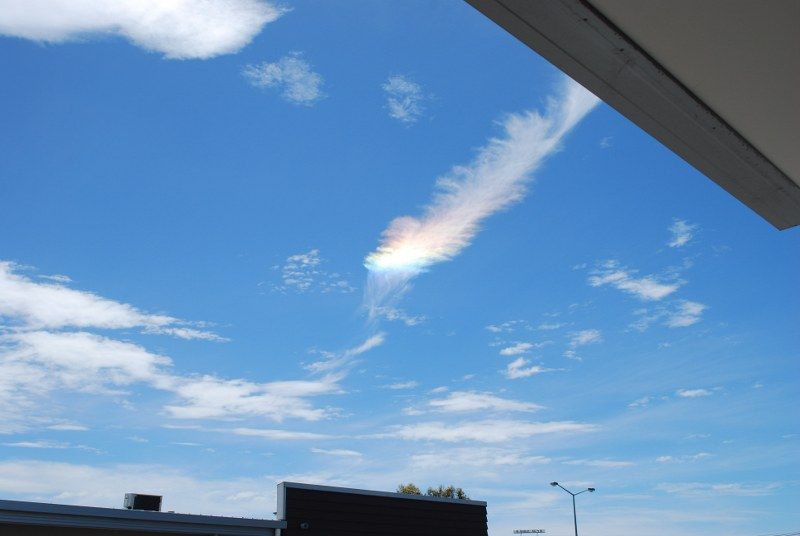
One day just before I went on my Xmas break we had a very rare and unusual cloud formation appear in the skies, and I tried to get a decent picture of it with my non existent photography skills;


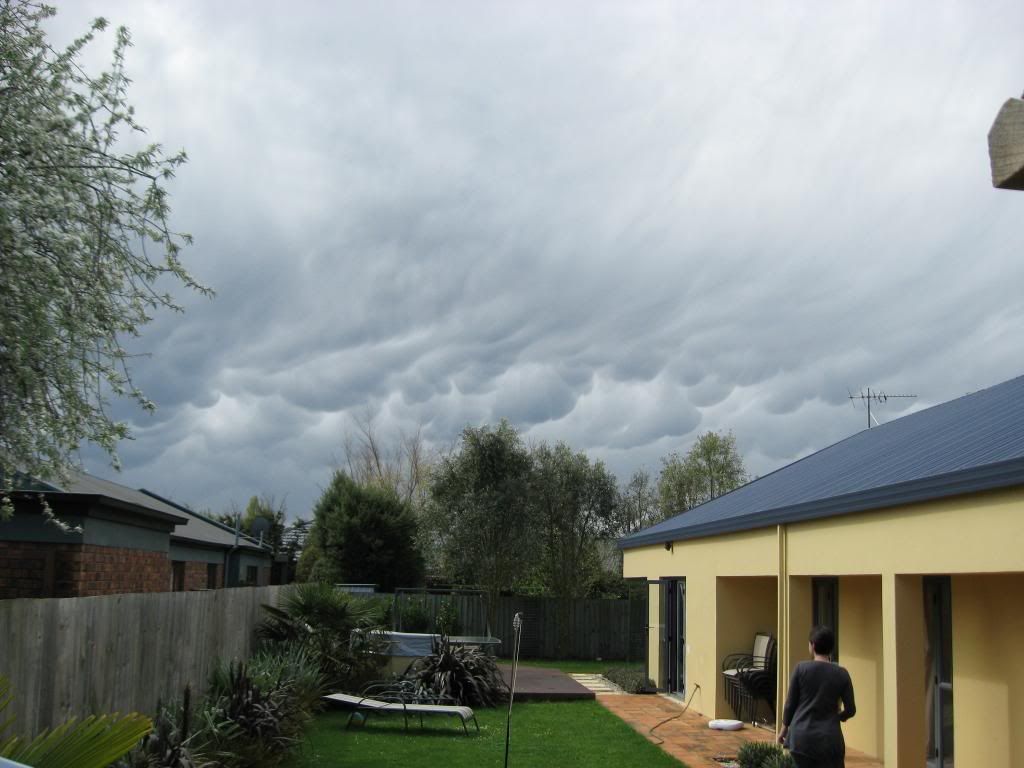
It is Circumhorizontal Arc, or Fire Rainbow, and was really spectacular. We get a few unusual clouds in this area of the world, I took this photo of Mammatus clouds a few years ago;


Next job (apart from my new career as a world famous nephographer) will be actually welding the frame - aaaargh.

I have a few things to get out of the way first, so don't be looking for rapid fire updates, but I promise more progress very soon

In other news I have pretty much decided to sell the copperbike, this comes about because I thought one way to reduce the incredible amount of fat around my belly would be to go up the port hills and therefore use more calories than can be replaced by my regular beer drinking. Needless to say I failed due to me nearly always riding on the flat and the lack of available gears on the bike. There are a few functional issues based around my physical limitations as well, so I will sell it to fund the purchase of a Surly LHT. This has many gears and hopefully a better riding position... we shall see.

Sunday, 12 August 2012

The Frogmouth MkII

The dropouts took quite a long time to get made, this is probably because I paid very little actual money to get them done, so this restrained me from ringing on a daily basis and chivvying things along... And this did not matter as it happens, because I have not been in anything like good enough form to do anything about it even if I had them to mess about with. The reason is that I had a serious bout of man flu. Usually in these circumstances I get about as much sympathy as one of the cats does when it has puked on the floor, but as my temperature peaked at 39.5 degrees I could point out that it probably wasn't psychosomatic, and that a wet flannel applied to the forehead just might help alleviate the hallucinations...

It took a full week before my consciousness felt like my body was something that it might think about inhabiting again, and today was the first day in a week and a half that I actually felt well enough to spend some time in the garage...

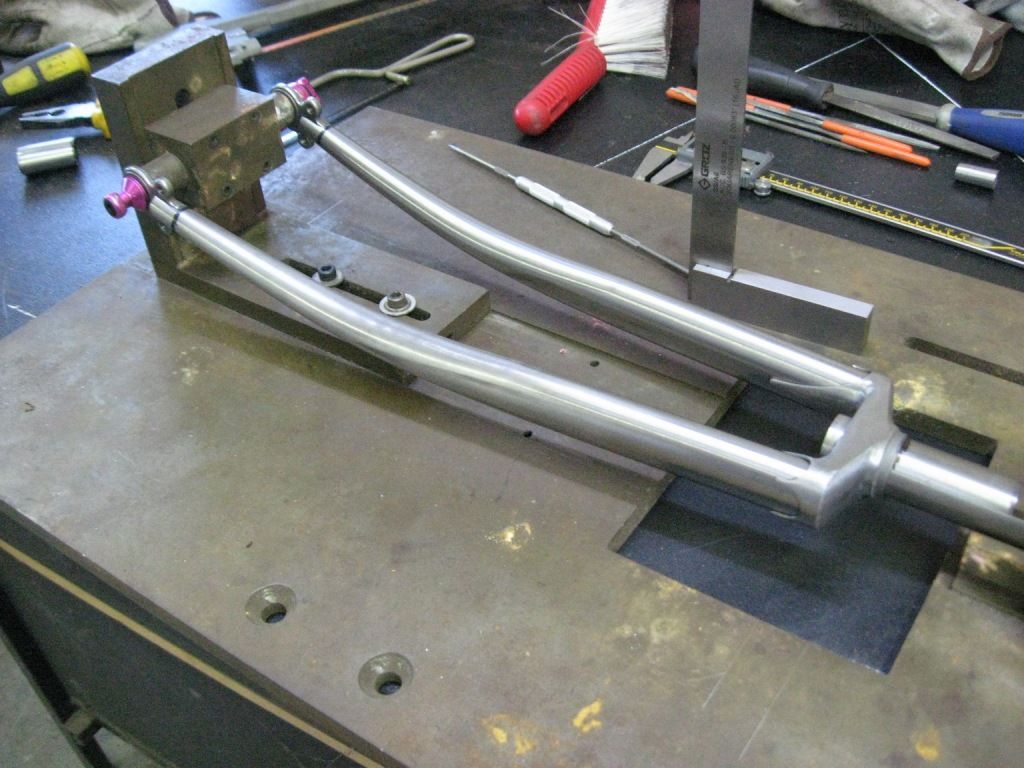
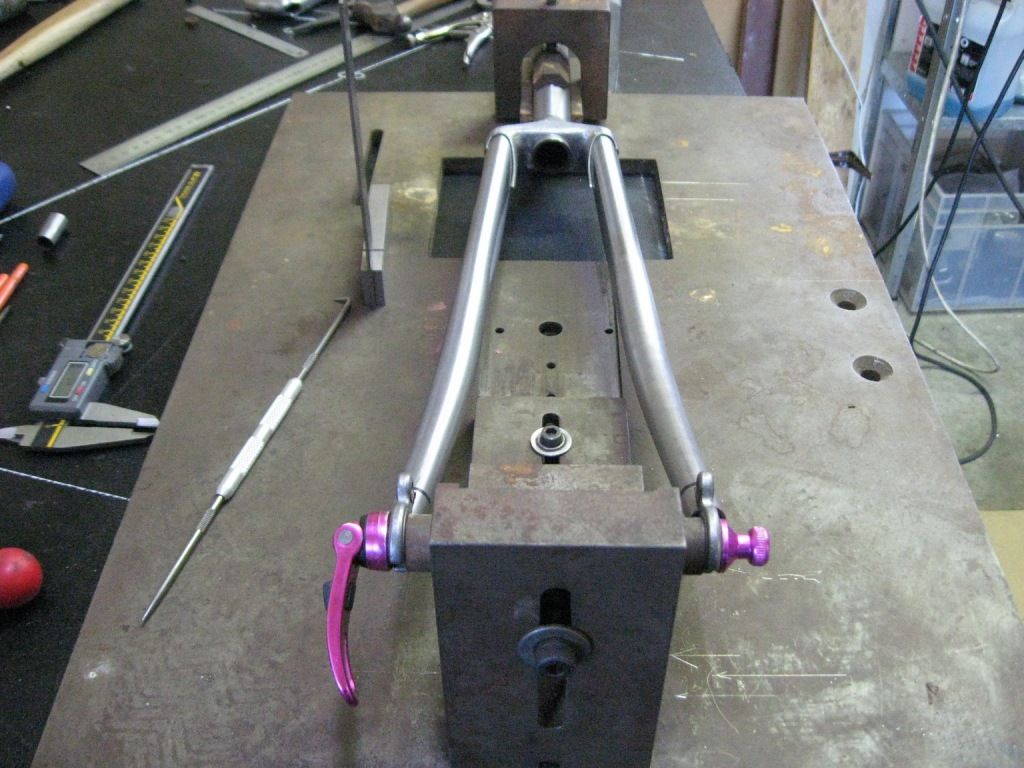
But to start, before I fell ill I did actually finish the fork jig;


And today I found myself contemplating this;


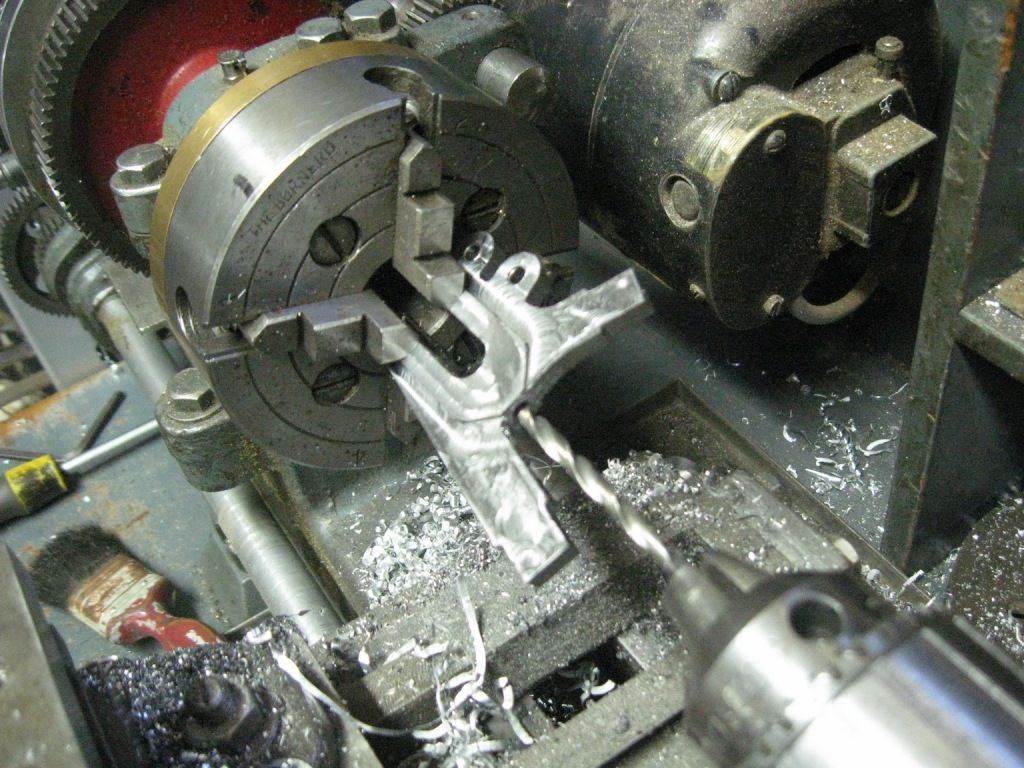
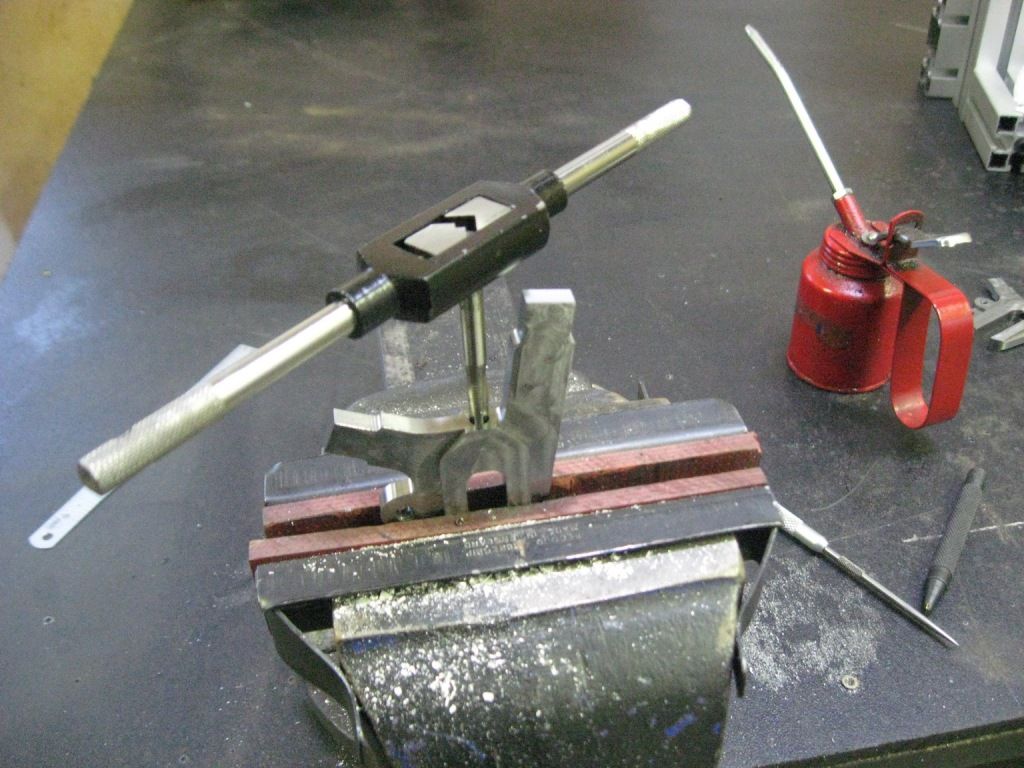
I had the basic shape machined out, but I still needed to drill and tap the axle adjustment and rack/guard threads. The trusty Grayson and it's plethora of attachments came to my aid;


I had to take all that very carefully as the steel was pretty hard and I was totally paranoid about breaking off a drill or a tap, fortunately things went swimmingly if a little slowly.

Once all that was done I gave the seat and chainstay tabs a bit of a tweak to align them to the tubes;


By which time I was pretty much shattered and had to come in for some tea and a drop of some very fine local beer...


Next job is to make the seat stays and chain stays fit the frogmouths. I have been wondering what to do with the top of the seat stays, I am deeply in love with the stays on this Sizemore;


But a straight copy of this would not exactly be stamping my mark of originality would it? I have a nebulous plan forming in the back of my mind as to what this could be, but we shall see in the fullness of time.

Saturday, 21 July 2012

Die MIFA fahrrad, und mehr Fahrradgabel jig

It has been 3 weeks since my last post, amazing how time gets out of hand. I have not been completely idle, but there has been sickness, drunkenness, coldness and laziness to distract from the main event..

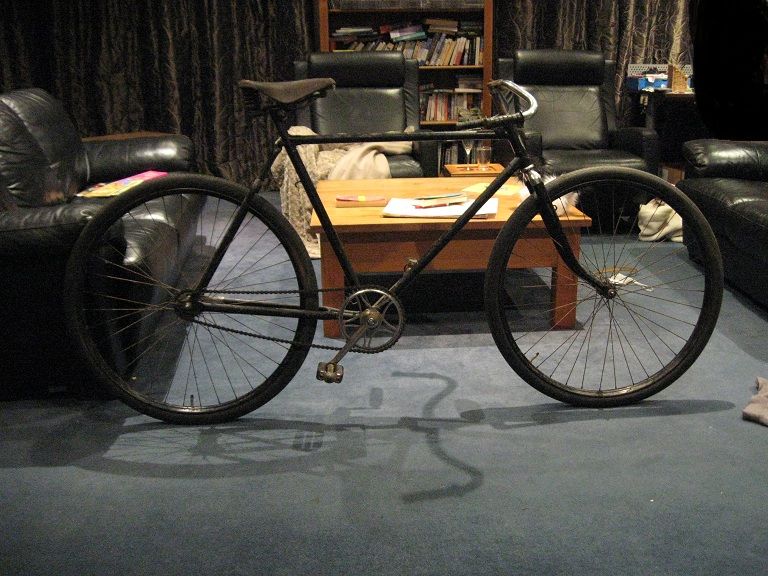
One of the more useful distractions has been this thing, which I got as a freebie along with the Gazelle. It has been languishing in bits in my garage, but I thought I had better put it together and see what the story was, and was pleasantly surprised with what resulted;


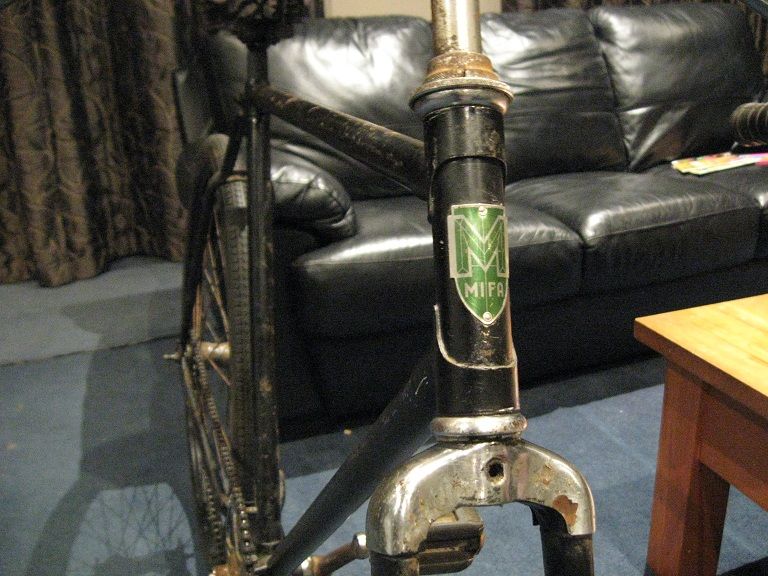
It is German and probably from the late 40's/early 50's. Hard to tell as there is not much info out there. Actually there probably is and I should clarify my position here; after 4 minutes of googling, not much info turned up. I imagine speaking German might help in this search though. It has some interesting features - square taper cranks for a start, and a sweet clampless attachment for the coaster brake arm. The tyres say 28 x 1.75, but english 28" tyres do not fit, so I assume it has 28"/700c or some deeply strange European variation thereof. The original German made tyres were still in basically functional condition, so I left them on. It also required a 24mm seatpost, so I had to make one to suit as this was missing. Making this has taught me no end of interesting stuff about my lathe and the auto feed....mostly that engaging the fast and slow feeds at the same time is a bad idea, and how to replace shear pins in the drive for the auto feed..... oops.

The Mifa was way too small for me so I have since sold it to one of the tweed boys, hopefully it will give good service.

And onto the framebuilding. A very nice man called Shaun lent me the Paterek DVD's, which made for some hours of fascinating watching. The main result of this was half a day spent die grinding all the lugs to give the correct clearance to the tubes, and a much clearer idea of what to do and when to do it during the brazing process.

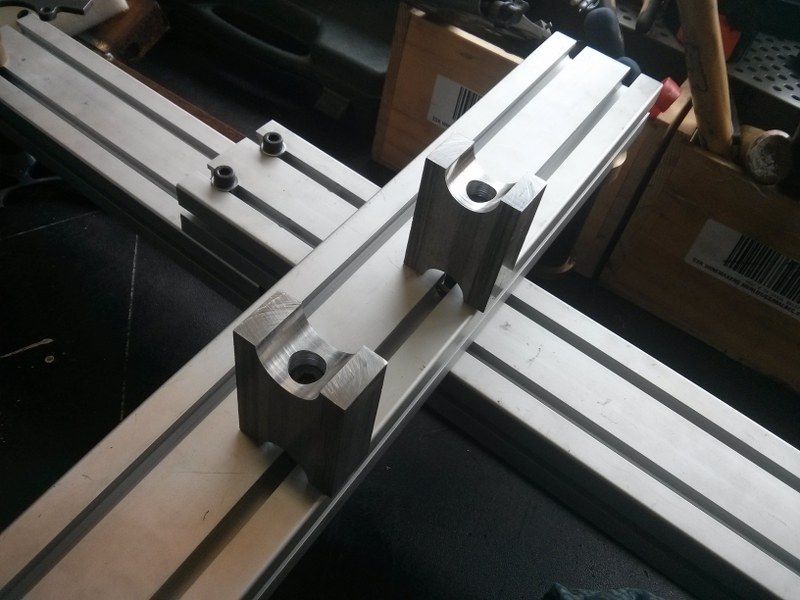
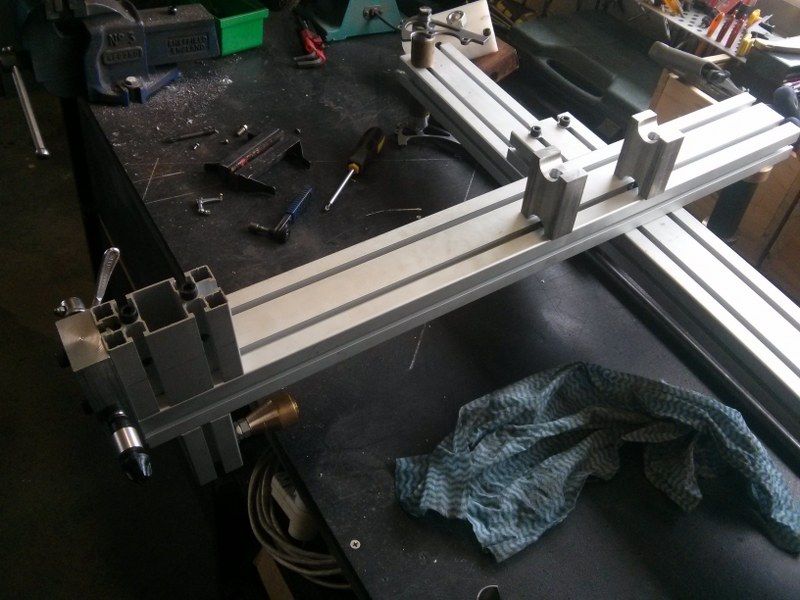
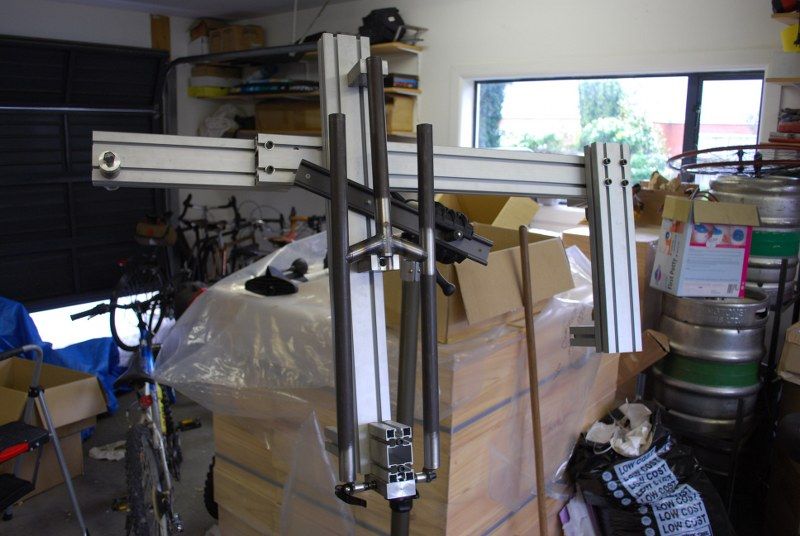
Now, a couple of weeks ago the fork jig fairy visited me in my sleep and pointed out that quite a few weeks had passed since I had received the fork jig, and that there was little sign of me actually using it to braze forks with, and (very nicely) asked for it back so he could use it to sort out the backlog of forks he had to build. He made some quite valid points, so I obligingly handed it back. I then got to thinking how nice it would be to have a fork jig of my very own, and then I got to thinking about how sweet it would be if it were part of the frame jig itself.

So today I spent some quality time with the Grayson and ended up with this;


Now I just need to spend a few more hours sorting out the axle attachment, which I will try to make adjustable so that other fork geometries can be built as well...

One of the reasons for slow progress has been the new dropouts. I decided to make these out of 4130 chromoly, and after a wee bit of investigation I found that P20 tool steel is a subtype type of 4130. This is a good thing because P20 is a very common material used in injection moulding tools, and in the course of my work I have quite a lot to do with this sort of thing, and indeed I know many toolrooms that have stacks of it lying round. After some discussions with my favourite machine shop I decided that it would be best to get them to CNC the dropouts for me, because they would then be exactly right first time... and these should be ready on Monday, I can make then make final prep for brazing. I am probably going to hire a gas plant over the weekend, so I would like to get everything ready and do it in one big hit.

Actually building this thing is getting scarily close...
Saturday, 19 May 2012

Fork 'n tweed

Slow but steady progress on the forks, I bent them up in the bend jig on Friday night, fitted up the fork ends on Saturday and cut them to length for the fork crown today.


The bending was interesting, I couldn't get the first tube to bend over the last 5 degrees of the jig even though I was putting the full and not insubstantial Chumly into it, so I tried again with a bit of heat. This wasn't enough either so I ended up giving it a love tap from a rubber mallet which did the trick no problems. The second one then followed pretty quickly, followed even quicker by an attack of the cold sweats when I realised the bends didn't quite match up between the two tubes... however my past life as a fitter welder came to my aid and a few more judicious taps with the rubber mallet had things lining up perfectly - whew. I then drew an outline around my newly created fork bends and scanned it into the computer, which allowed me to import the scan into the CAD program and model up what I actually had. A few masterful keystrokes left me with a lovely representation of the fork bends and the forks I could now create;


If only my steerer tube was long enough, that would nearly be ready for brazing....
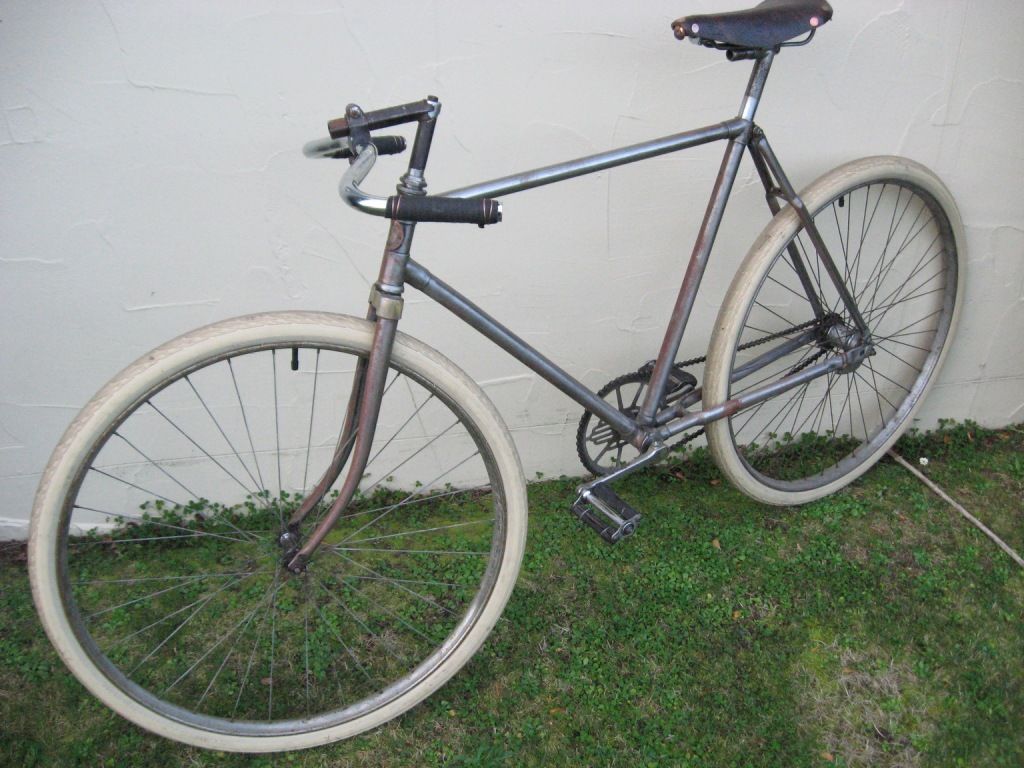
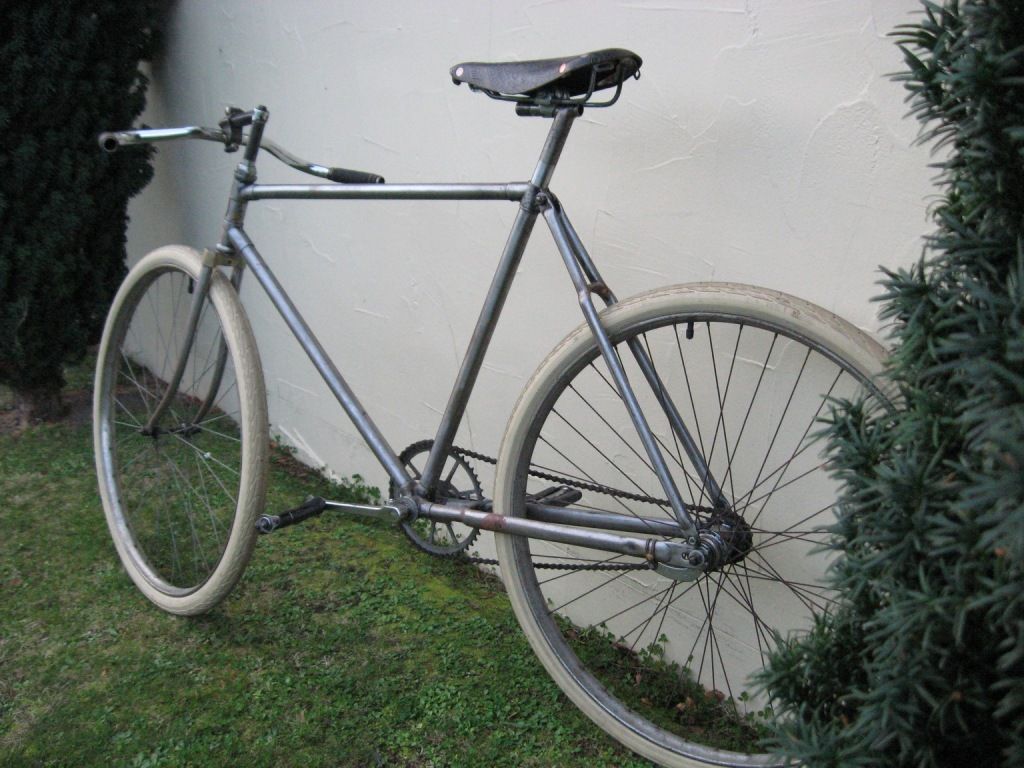
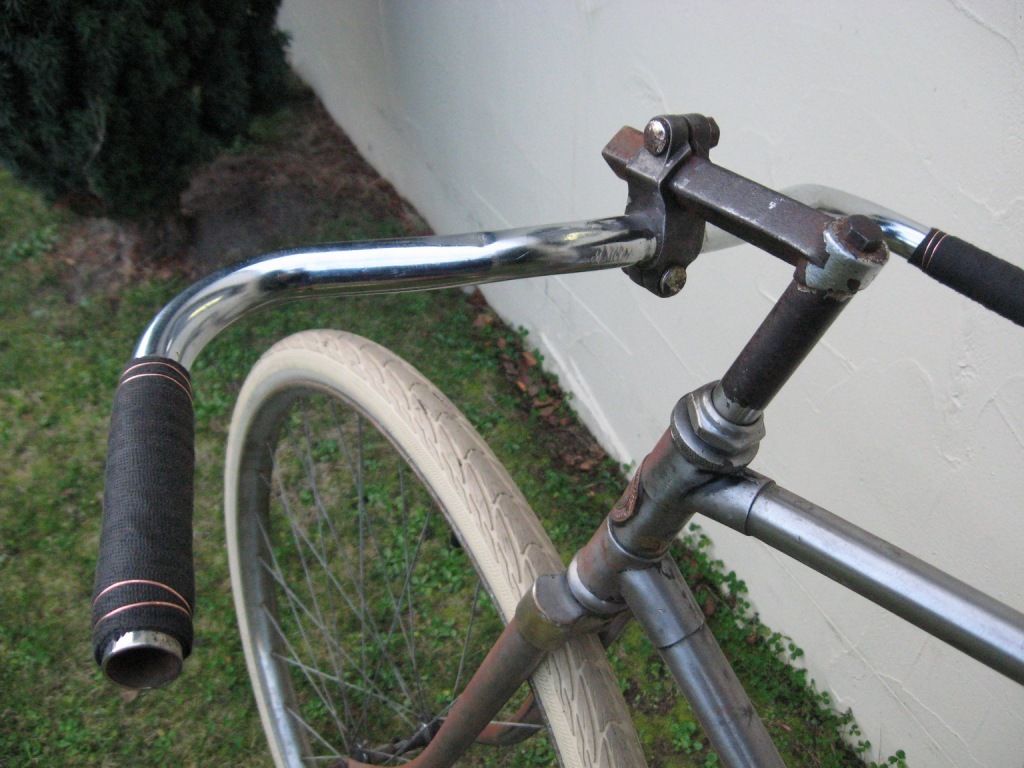
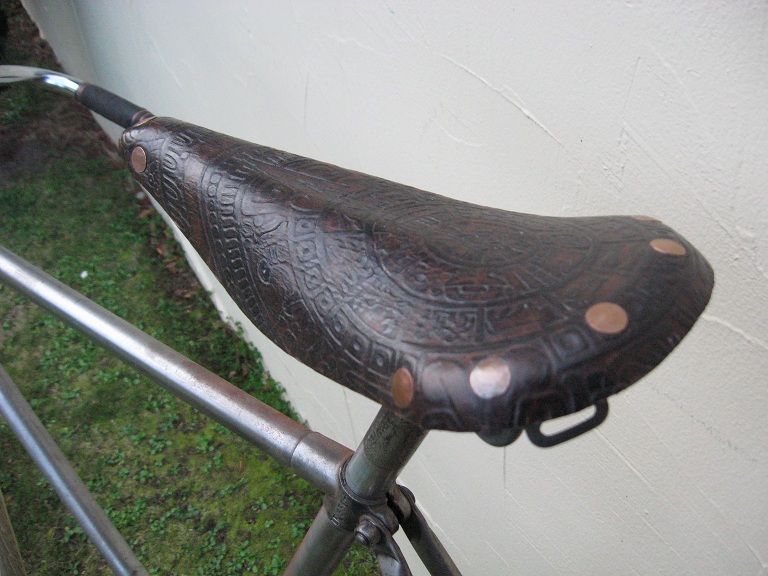
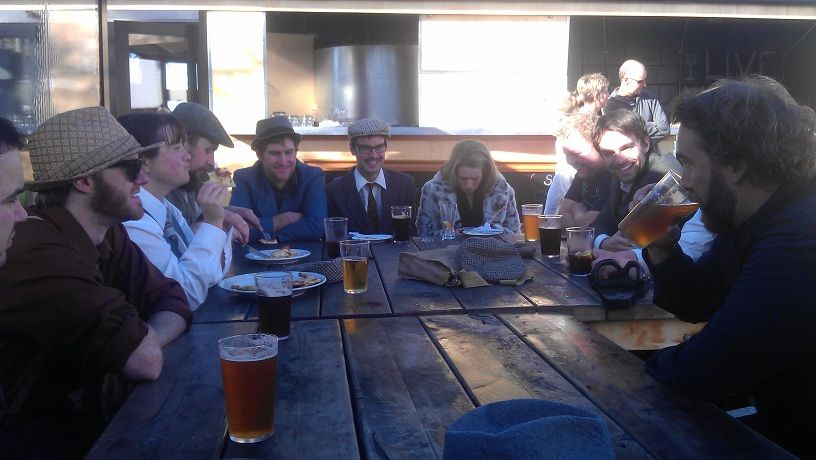
So apart from my varied familial duties that kept my garage time to a minimum this weekend, I also partook of a bit of tweeding today on my 1930ish Hercules pathracer;


My delicate back was giving me gyp so on the way back I flipped the bars to help with the ridiculously uncomfortable seating position, the comfort transformation was remarkable. This is good news for me as I am swapping the Herc for an old Gazelle very soon, I should be able to ride far further with that. As it was we covered a solid 20 odd kilometers, yelling out our war cry of  'Smash the Lycra!' as we raced the roadie boys (with some success I might add) along Cashmere road.. I cannot tell you how much fun this is.


If you want to come along, join the group here, it is the best thing ever.