Showing posts with label Tweed. Show all posts

Sunday, 6 October 2013

Tiny Cracks and Pogward Fatness

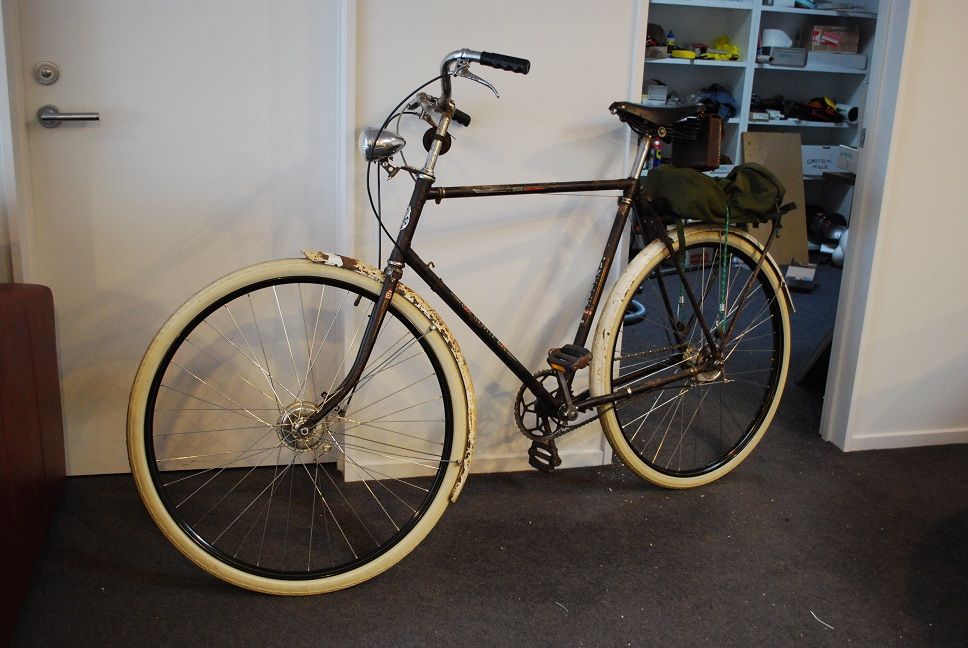
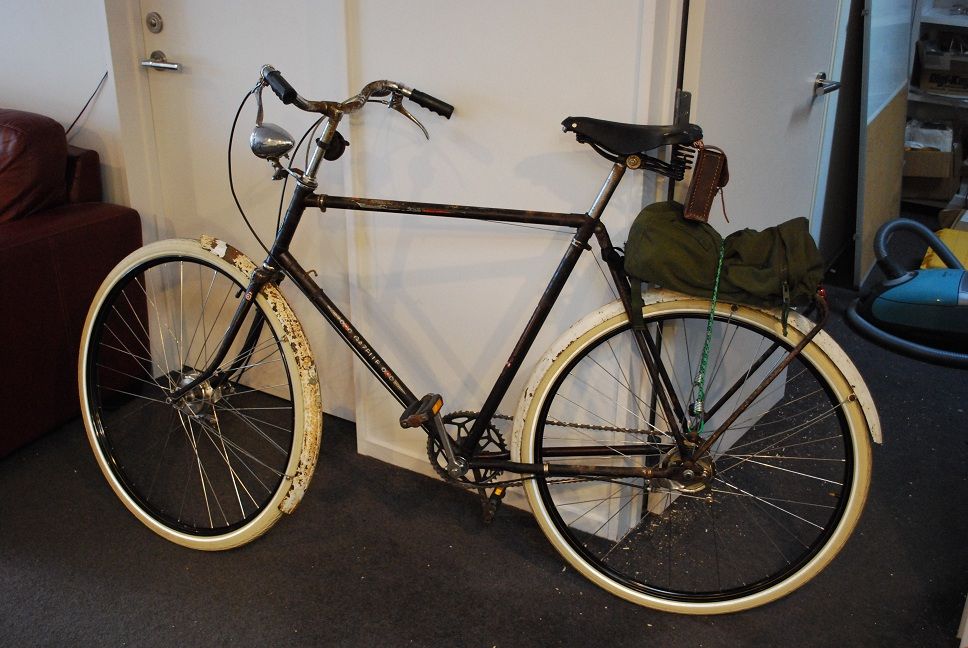
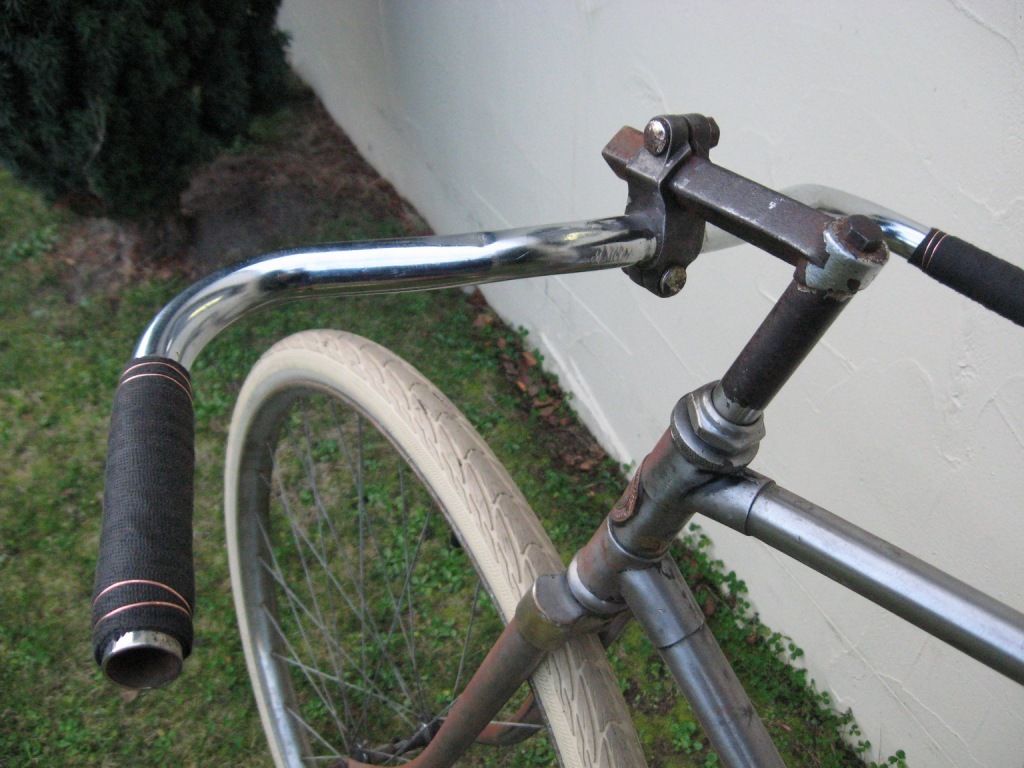
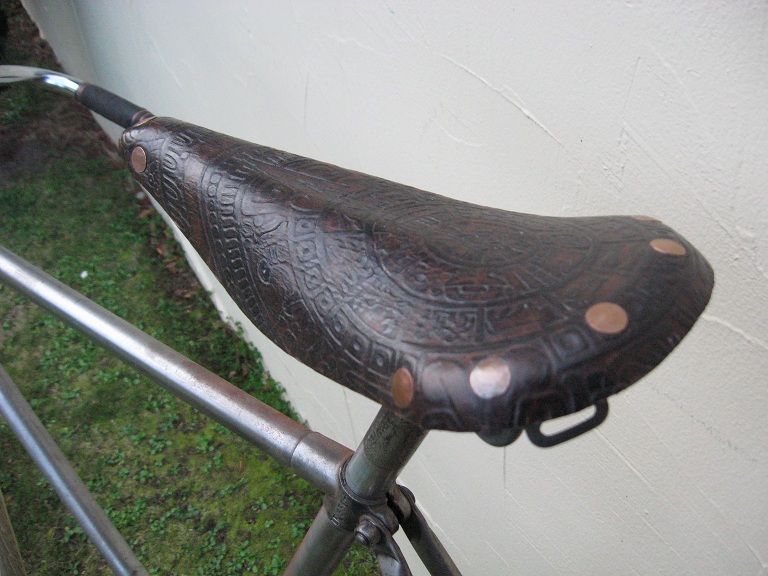
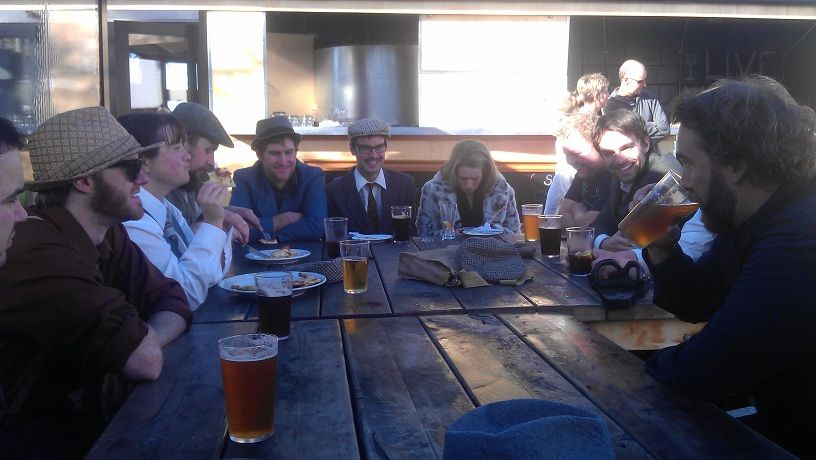
So last Sunday I dressed in my best dapper tweed and went along to the Christchurch City Council Open Streets event (apologies to those without twitface, these are the best set of photos I could find and link to). I decided to take the Pogward along, as my normal tweed bike is still in the depths of my garden shed, behind many other large and difficult to move items. I was going for the mid 20th century randonneur look, so I removed the rack and added the handlebar bag from the Surly onto the seat of the Pogward, a move that worked so well it has stayed there all week.

All went well and it was a rather enjoyable outing, I even met someone who had actually been reading this blog which was amusing.... however during the event I noticed a very slight hairline crack on the top brazed joint of the stem. Clearly this needed sorting, as historically my face doesn't deal very well with impacting the ground from nearly 2 meters up, and I have a pretty robust avoidance policy in these situations.
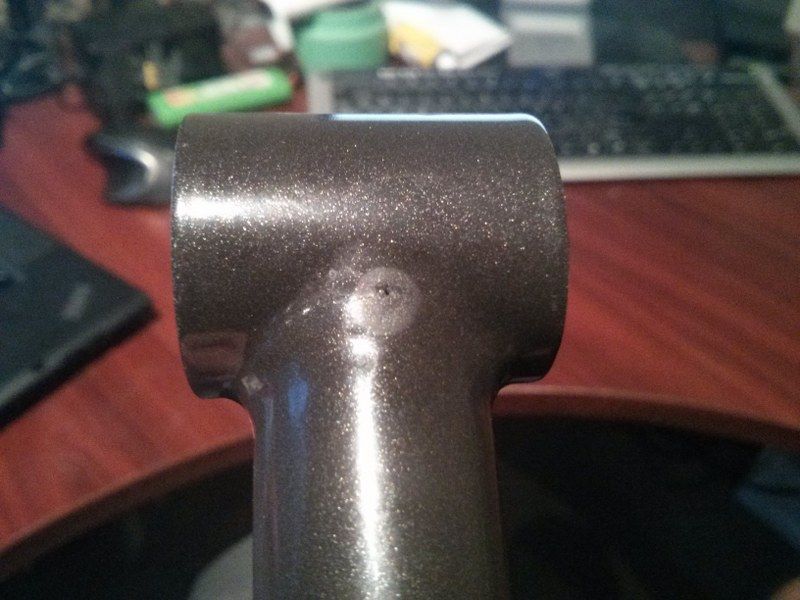
Hard to see the actual crack, but it has obviously propagated from that wee pit

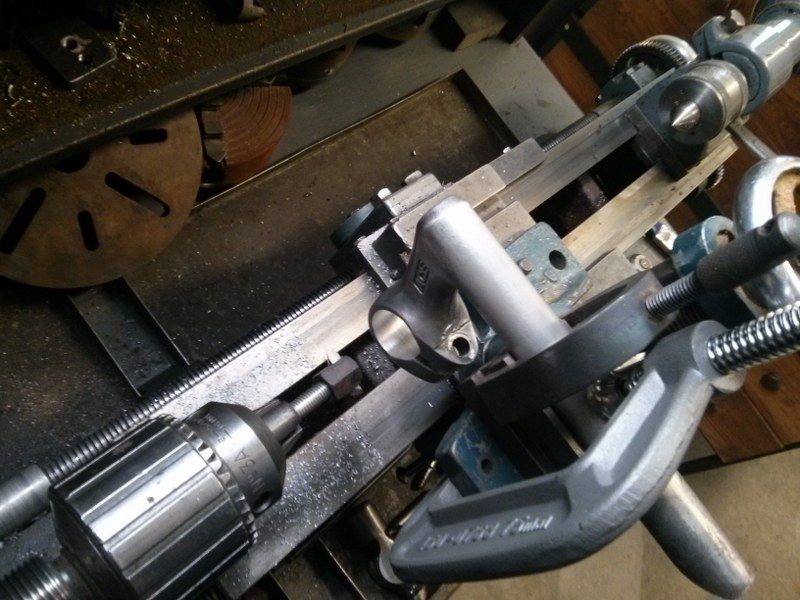
After I gingerly rode home I pulled the stem off and set about finding a temporary replacement until I could sort it further. the only thing I could find in my box of goodies was an old Ace stem with roughly the right geometry, but unfortunately it had a 25.4mm bore, and the VO bars are 26mm. I had a think about how I could sort this out using what kit I had in the garage. Serendipitously I discovered almost immediately that the Grayson has a morse taper in the spindle which means you can mount a drill chuck in there. This meant that I could just possibly pretend that it was a mill not a lathe, and bodge ensued;
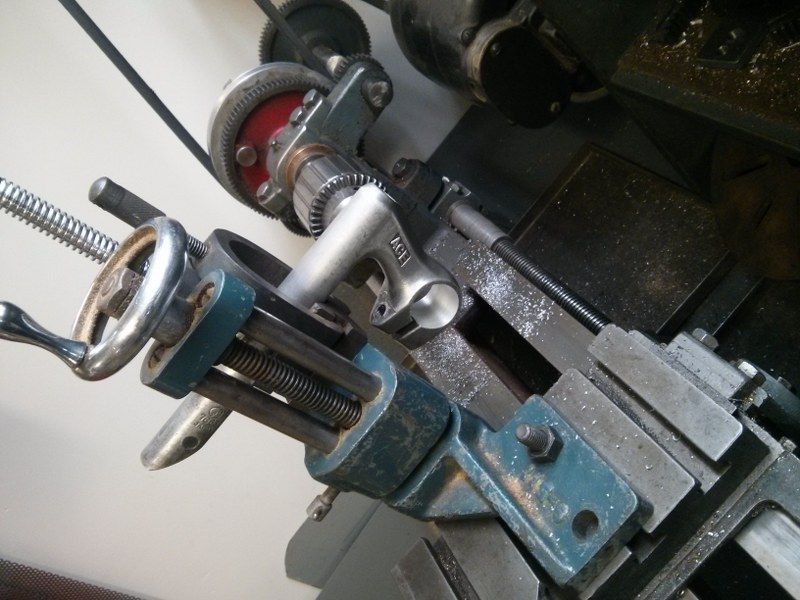
Not pretty or particularly rigid, but it did work
I made a special boring tool for the job from a bolt and a double height nut, incredibly hard to adjust but again, it worked well enough
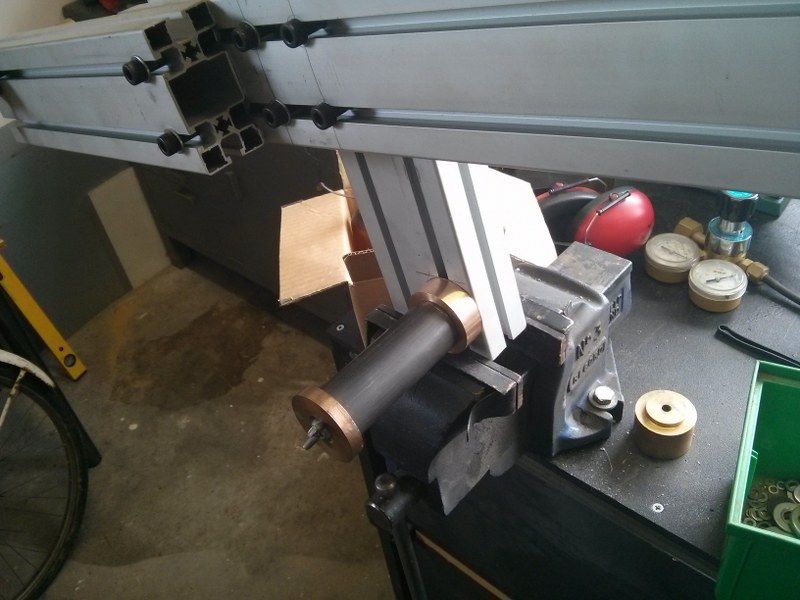
I had some 1" solid bar that had centerdrill holes in each end, I used this to align the stem bore with the lathe centerline. Things wobbled a bit during the machining process, so I took it very gently. I really must buy myself a mill, I have needed one badly so many times over the last year.

This was all good fun and meant I could actually ride the bike to work again, but clearly this was just a distraction from the real excitement of the week;
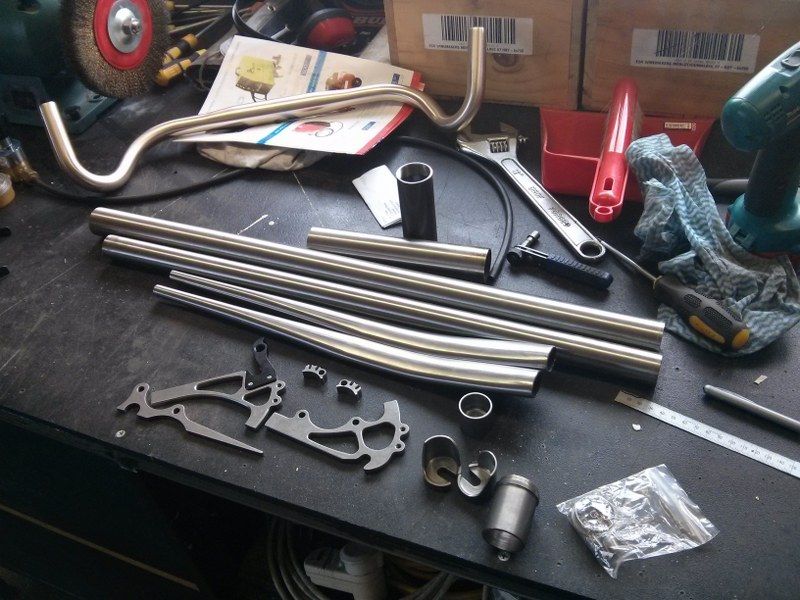
Shiny things, yesterday
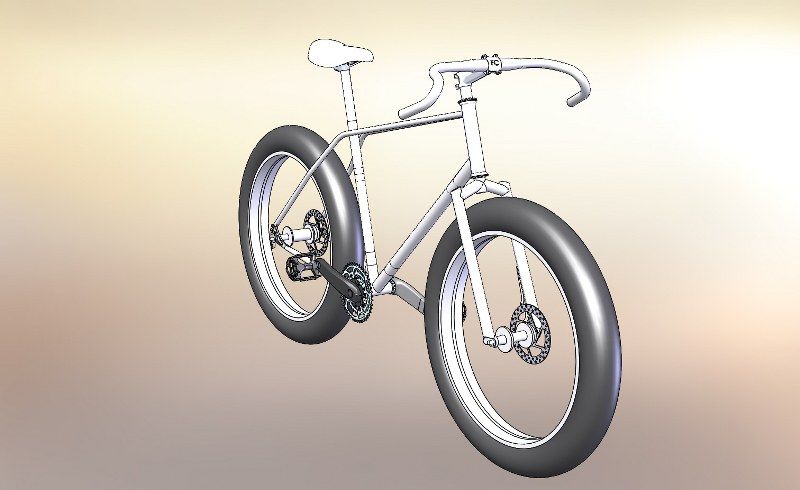
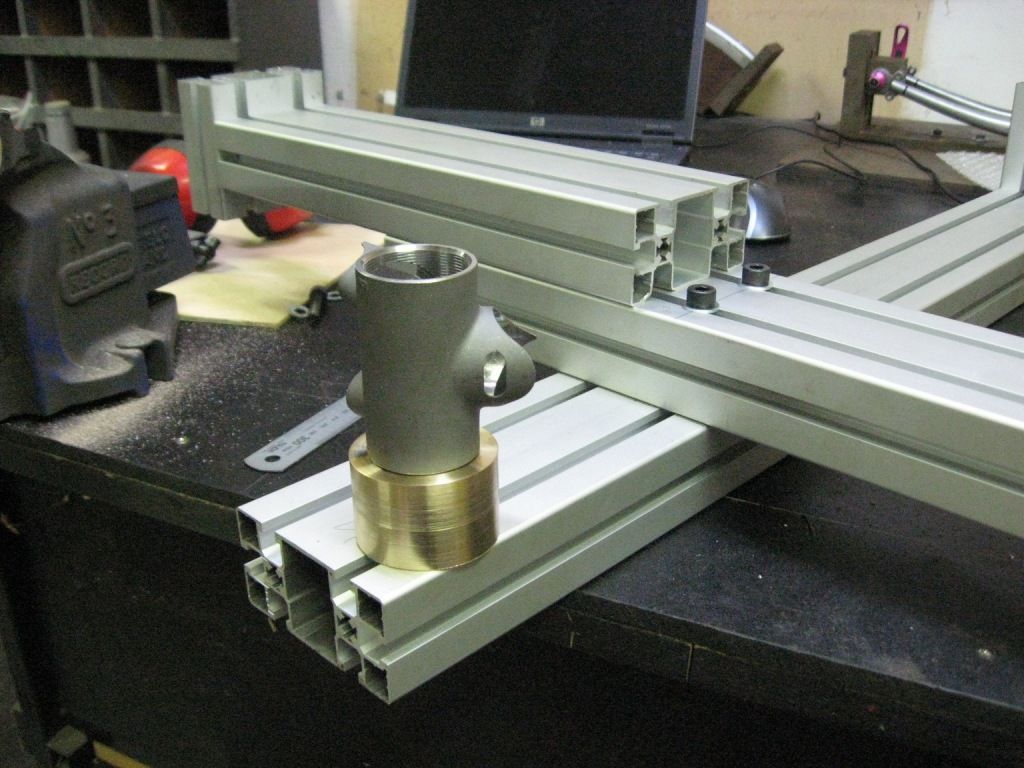
What is that? I hear you asking.... and the answer is; The bits for the next Pogward Frame O' Joy™, which will just possibly look a bit like this;

Mmmm, the fatness of it all.
Yes a Fatbike. I have fancied one of these for a while having ridden a couple previously. The bars are from Tardme, the tubes are from Ceeway and the miscellanea are from Paragon Machine Works. The bars are On-One Midge Offroad Drop Bars, which I got just cos they looked sexy and I thought might look well on a frame such as this. The tubes are oversize mountainbike Columbus Thron tubes, I got those again because I was happy with the robustness vs weight of these tubes on the commuter, stick with what works I say. The Paragon stuff is pretty sweet CNC'd kit and there is the major benefit of having CAD models on the website, which makes modelling a frame in CAD very quick.

The keen eyed amongst you may notice that there are no seat stays or top tube in the parts collection, this because the design harks back to a BMX I had when I was 12 or so which had twin top tubes all the way from the head tube back to the dropouts. This bike was fully chromed and the envy of all who spied it, at least in my mind it was... If I can capture a wee bit of that misty eyed goodness in this frame then I will have succeeded. The tube for that and the forks is currently on order from Lianne, I should see it in the next couple of weeks.

So this weekend was given over to modifying the frame jig to suit the new geometry. This is where noob assumptions have caught me out - I never imagined I would be making a frame with a 100mm wide bottom bracket, a 170mm rear dropout spacing, a 135mm front spacing, a 1-1/8th threadless steerer or even a frame with different head tube/seat tube angles. I spent considerable time drilling and filing things to get the jig to fit the geometry, then started to sort out the mounting points;
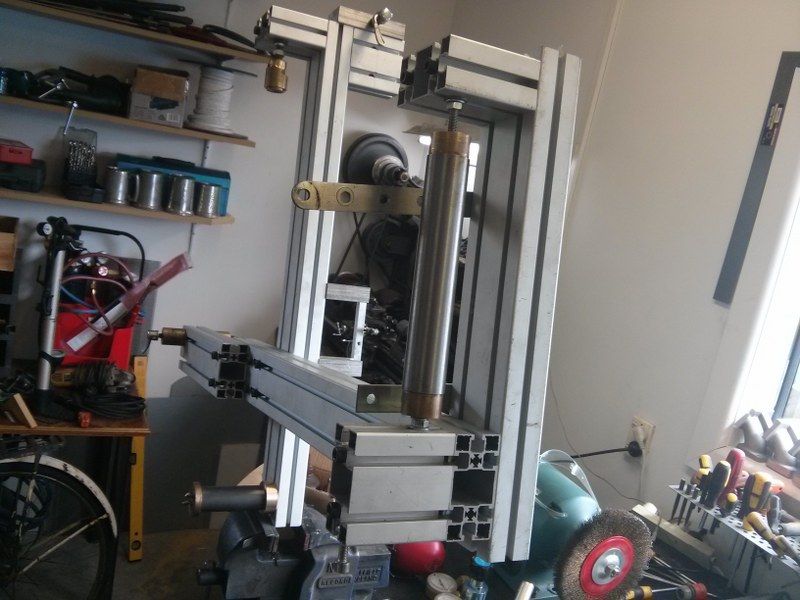
The headtube and seat stay just needed the top mounts slipping down a tad
Bottom Bracket mounting needed a new inner mount to get the correct spacing
Next up will be the axle spacing, this will probably be addon bits rather than reworking the whole thing, I just need a couple more taps to do this. After that is the fork jig, a bit more of a serious effort will be needed here unfortunately. Maybe I will make a whole new jig to keep it easier to handle, I am not sure yet.

So the frame will either be Tig welded or fillet brazed, I haven't yet decided that either.... I have just bought a new welder that is a combo Mig/Tig, but the Tig function is pretty unsophisticated compared to some machines I have used in the past, so requiring a wee bit of skill to get a sweet joint. Balancing this is my slightly increased fear of fillet joints cracking, a recent experience of which has tainted things a bit. Fillet brazing is probably going to be the way though, I shall just pay a lot more attention. The forks I definitely will Tig, the many kilograms worth of Chumly they will see has already decided that....

A lot to think about then, and much more to discuss - gears, wheelsets, brakes etc....

Saturday, 21 July 2012

Die MIFA fahrrad, und mehr Fahrradgabel jig

It has been 3 weeks since my last post, amazing how time gets out of hand. I have not been completely idle, but there has been sickness, drunkenness, coldness and laziness to distract from the main event..

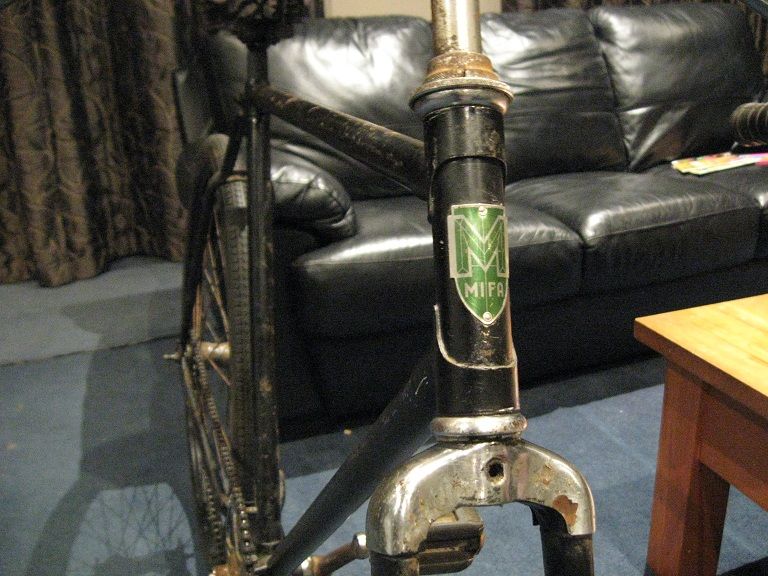
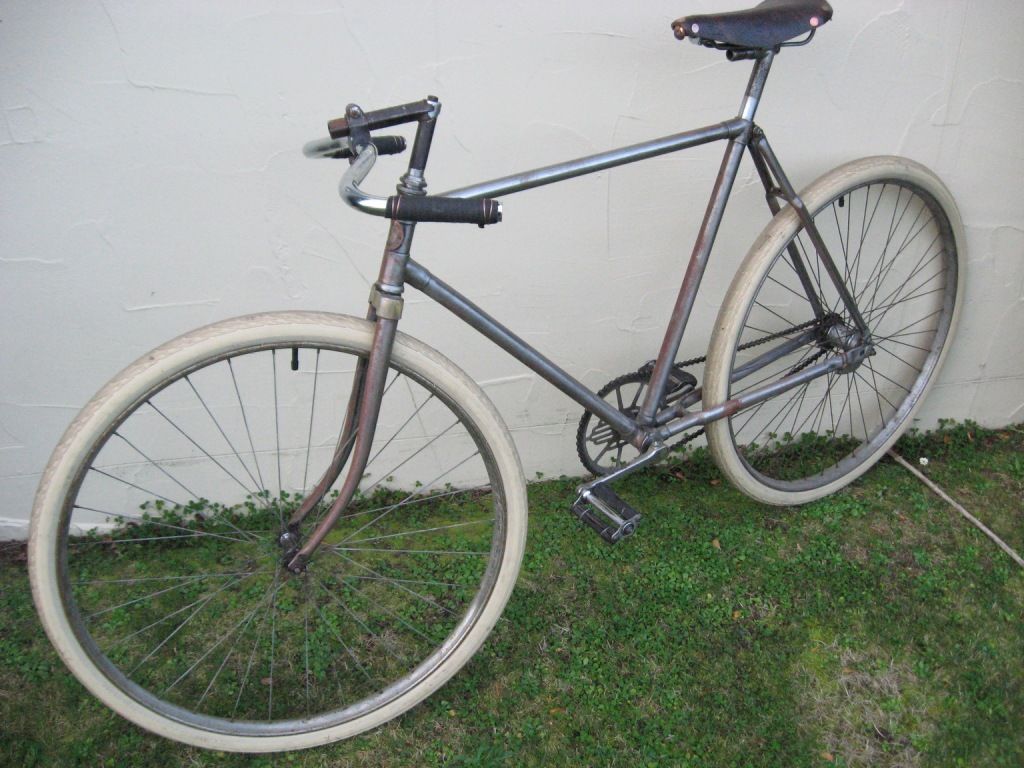
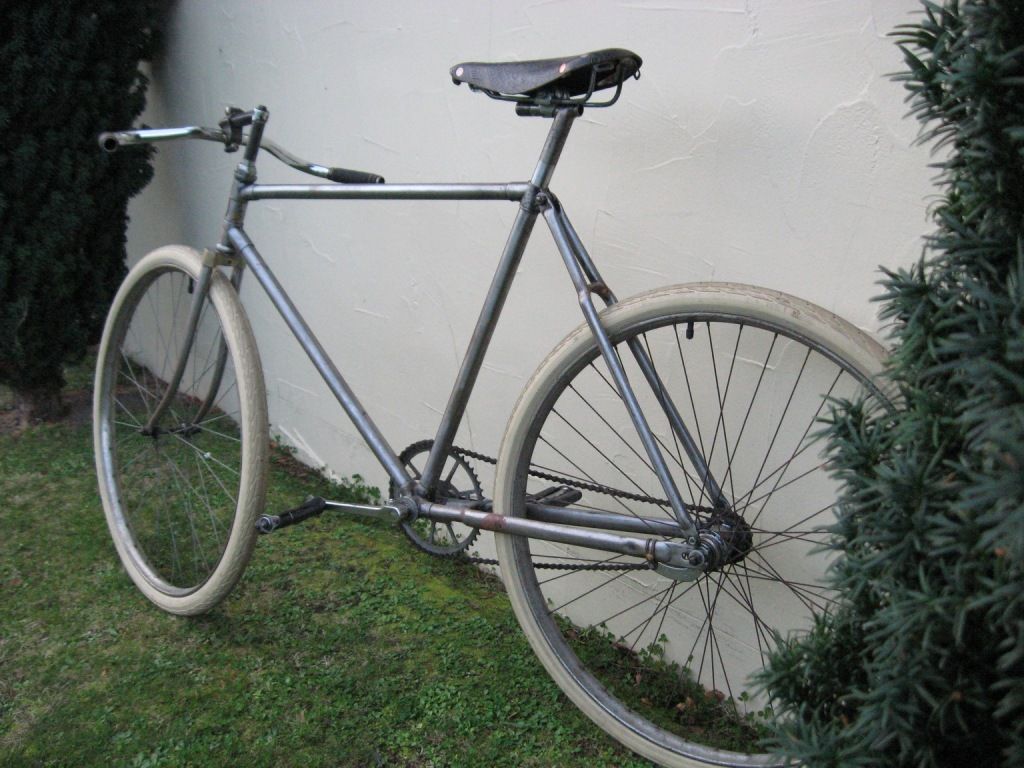
One of the more useful distractions has been this thing, which I got as a freebie along with the Gazelle. It has been languishing in bits in my garage, but I thought I had better put it together and see what the story was, and was pleasantly surprised with what resulted;


It is German and probably from the late 40's/early 50's. Hard to tell as there is not much info out there. Actually there probably is and I should clarify my position here; after 4 minutes of googling, not much info turned up. I imagine speaking German might help in this search though. It has some interesting features - square taper cranks for a start, and a sweet clampless attachment for the coaster brake arm. The tyres say 28 x 1.75, but english 28" tyres do not fit, so I assume it has 28"/700c or some deeply strange European variation thereof. The original German made tyres were still in basically functional condition, so I left them on. It also required a 24mm seatpost, so I had to make one to suit as this was missing. Making this has taught me no end of interesting stuff about my lathe and the auto feed....mostly that engaging the fast and slow feeds at the same time is a bad idea, and how to replace shear pins in the drive for the auto feed..... oops.

The Mifa was way too small for me so I have since sold it to one of the tweed boys, hopefully it will give good service.

And onto the framebuilding. A very nice man called Shaun lent me the Paterek DVD's, which made for some hours of fascinating watching. The main result of this was half a day spent die grinding all the lugs to give the correct clearance to the tubes, and a much clearer idea of what to do and when to do it during the brazing process.

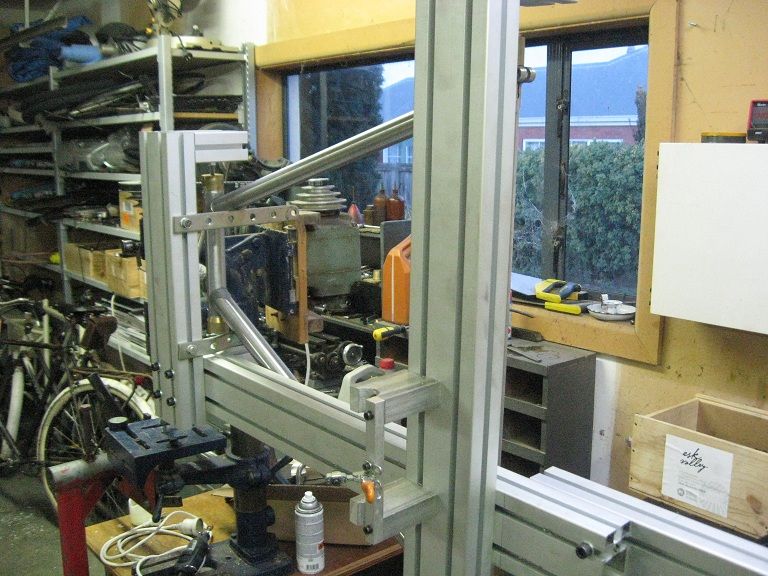
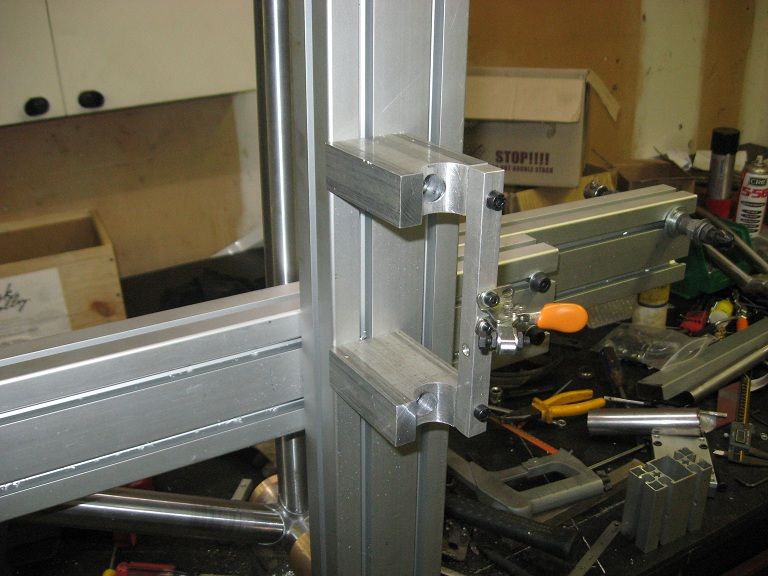
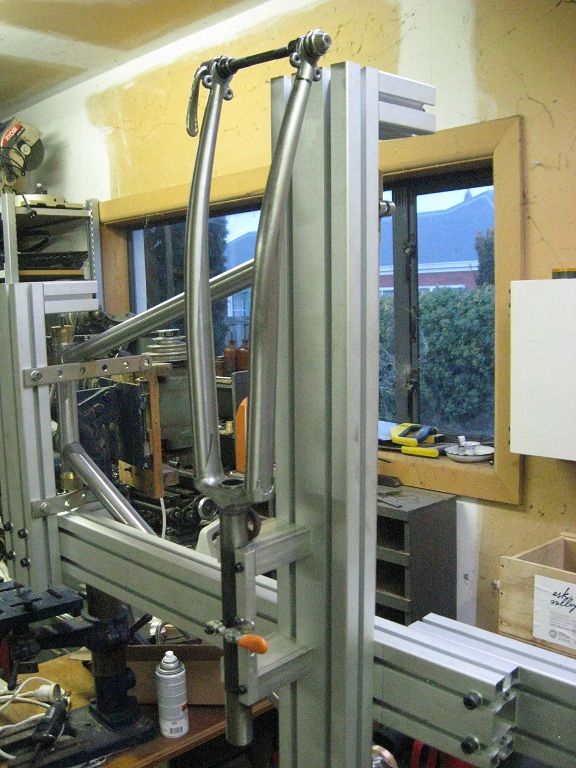
Now, a couple of weeks ago the fork jig fairy visited me in my sleep and pointed out that quite a few weeks had passed since I had received the fork jig, and that there was little sign of me actually using it to braze forks with, and (very nicely) asked for it back so he could use it to sort out the backlog of forks he had to build. He made some quite valid points, so I obligingly handed it back. I then got to thinking how nice it would be to have a fork jig of my very own, and then I got to thinking about how sweet it would be if it were part of the frame jig itself.

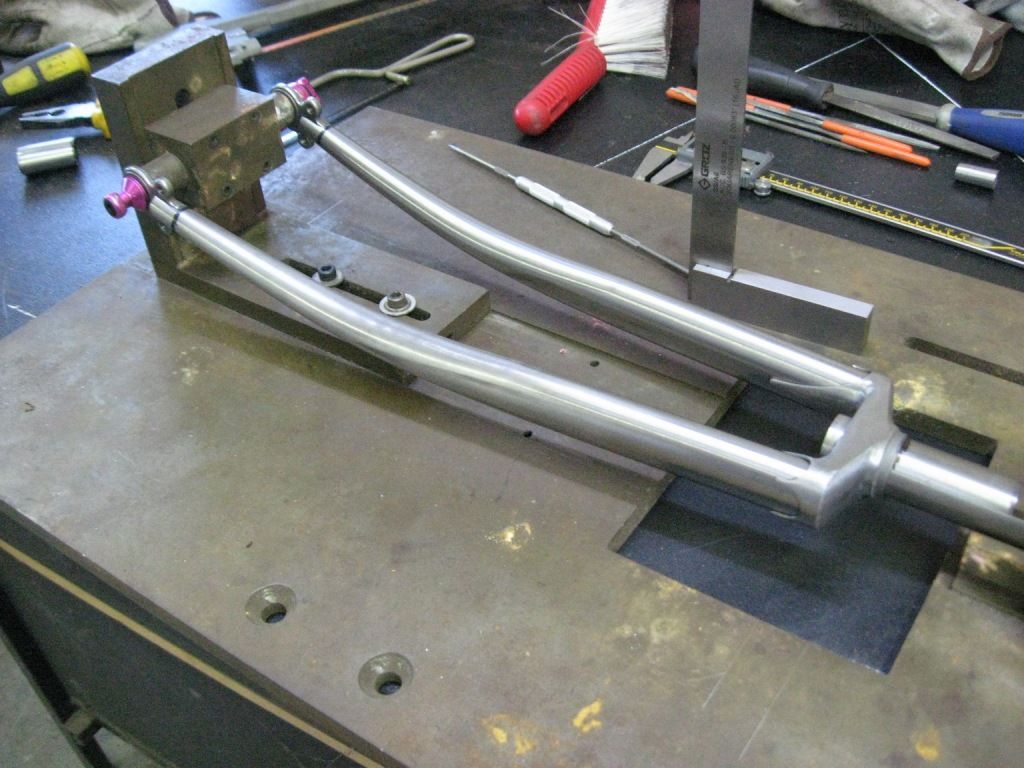
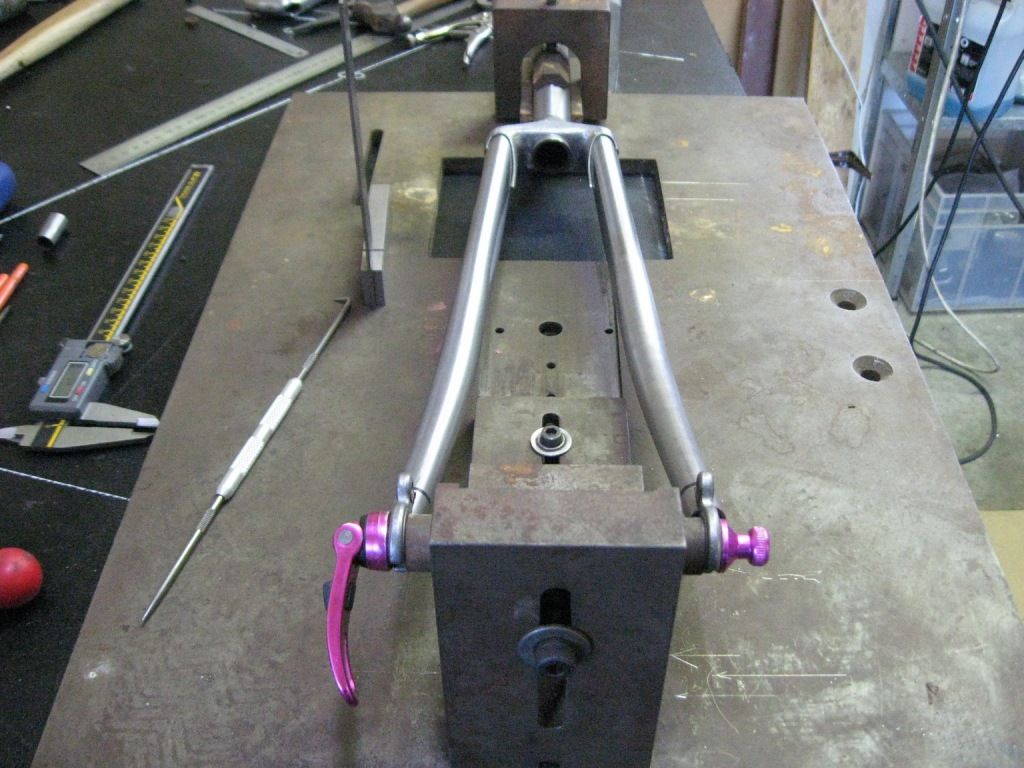
So today I spent some quality time with the Grayson and ended up with this;


Now I just need to spend a few more hours sorting out the axle attachment, which I will try to make adjustable so that other fork geometries can be built as well...

One of the reasons for slow progress has been the new dropouts. I decided to make these out of 4130 chromoly, and after a wee bit of investigation I found that P20 tool steel is a subtype type of 4130. This is a good thing because P20 is a very common material used in injection moulding tools, and in the course of my work I have quite a lot to do with this sort of thing, and indeed I know many toolrooms that have stacks of it lying round. After some discussions with my favourite machine shop I decided that it would be best to get them to CNC the dropouts for me, because they would then be exactly right first time... and these should be ready on Monday, I can make then make final prep for brazing. I am probably going to hire a gas plant over the weekend, so I would like to get everything ready and do it in one big hit.

Actually building this thing is getting scarily close...

Friday, 29 June 2012

A dropout rethink methinks

The dropouts have been preying on my mind while I have been busy sorting out the Gazelle the last week or so. I was never 100% happy with the tensioner adjustment being below the chainstay, I imagined careless parking would probably bend the screw, plus the design did not have the simple elegance that I look for when designing things - and when you get that, you know you probably have it right. A comment from philthy on my last post got me thinking about the durability of the dropout material, and that I should probably have made them from proper CroMo to match the rest of the frame, or at least faced the dropouts with stainless steel. Either way this meant I had probably wasted some time machining up those new ones.

However in my opinion, wasting time getting things wrong is the prime causes' way of preparing you to eventually get it right, so I have decided to have another go...

The initial design with the standard dropouts was going to require some tweaking of the bottom bracket chainstay angles to get the fit right, and once I set the new dropouts up in the jig it was pretty obvious that getting a few degrees off center angle on the chainstays was not going to be a problem.

So last night I sat down for a CAD session at the computer (my wife was gallivanting around the frankly scary pub selection in Addington with her Plunket/coffee/wine/AA group, and I was 'babysitting'), and assisted with my own suitable brain lubrication I smashed this out;


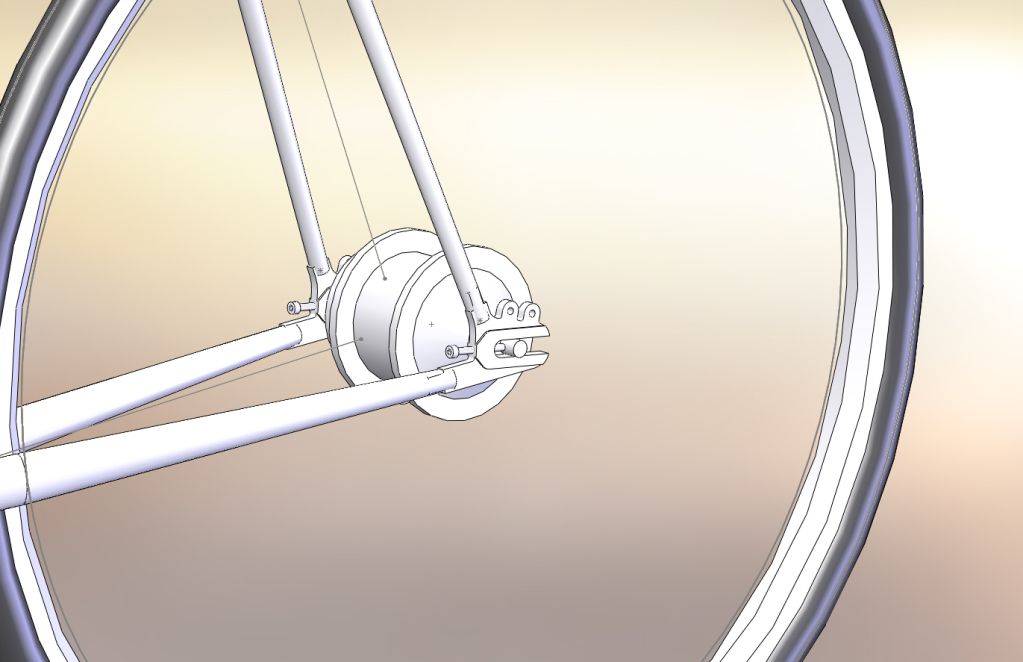
This design has the benefit of the adjustment being inside the frame, plus there are less curves and angles, making it more pleasing to the eye in my opinion. The only real issue is the adjustment screw taking a significant amount of meat away from the connection between the chainstay and the seatstay, but I can always beef this up some more, we will see. I call this design the frogmouth MkII, for obvious reasons.

Now I need to source some 8mm 4130 steel, and get to cutting...

I have been thinking hard about the brakes for this bike, initially I was intending to put standard MTB brakes. this would be ok but maybe not that pretty, I think that these might be a better option;


They are nice, if a little bit hard to get hold of in NZ.

The Gazelle has continued as it started, ie being extremely truculent no matter what I try to achieve with it, however the journey is fast drawing to a close. So close in fact that I foolishly decided to ride it to work yesterday. There were a few teething troubles (I needed to stop at least 4 times to adjust the gears, tweak the guards, clean my undies after trying to stop in traffic). I did however get a scalp on my ride home, but this was simply because I had maxed my FCN, so everything on 2 wheels was fair game.

Still it was fun, and I took a couple of pics to mark the occasion;


Those wheels where very time consuming, I bolloxed it up the first time not realising that the spoke holes were offset, plus I got the lacing wrong, plus the rims turned out to have larger than standard nipple holes, plus the spoke lengths were not quite right, etc etc... Dave very kindly sorted things out for me though, he is a solid chap.

I still need to shorten the brake lever arm at the front to make the brakes actually perform their function, and maybe find a new gear cable. And probably sort out a chain guard. And maybe find a pannier for it. Apart from that I think it is looking pretty swish and rather gentlemanly, don't you think?

Sunday, 27 May 2012

Framejig Ahoy, and bonus Gazelle of Doom...

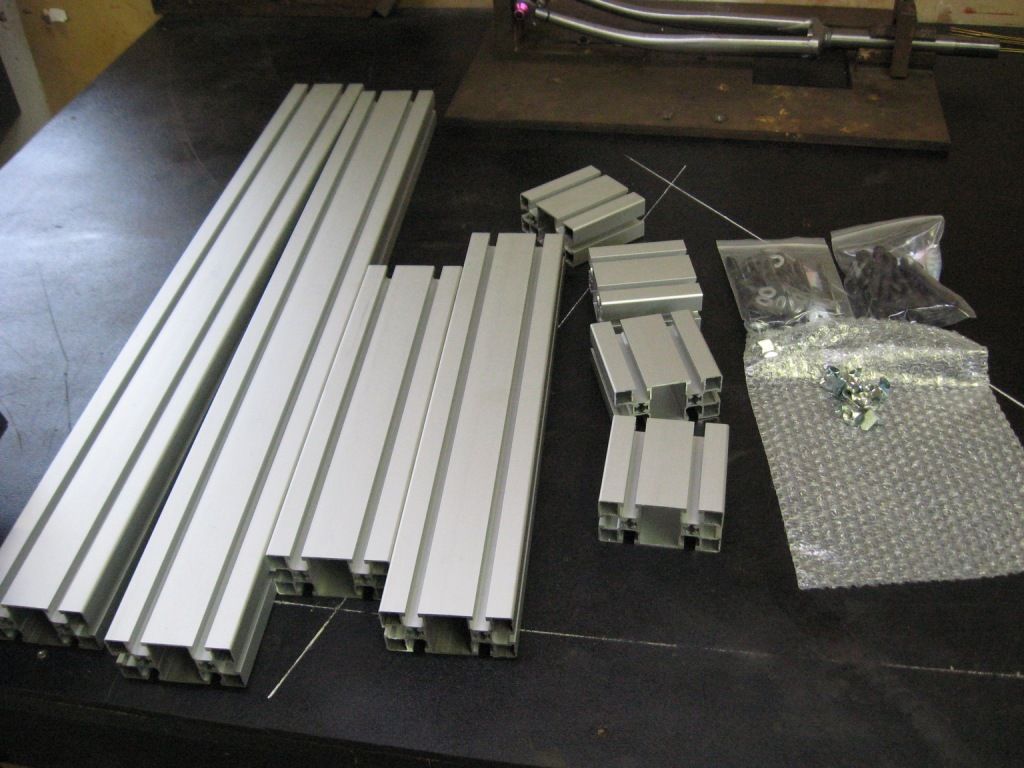
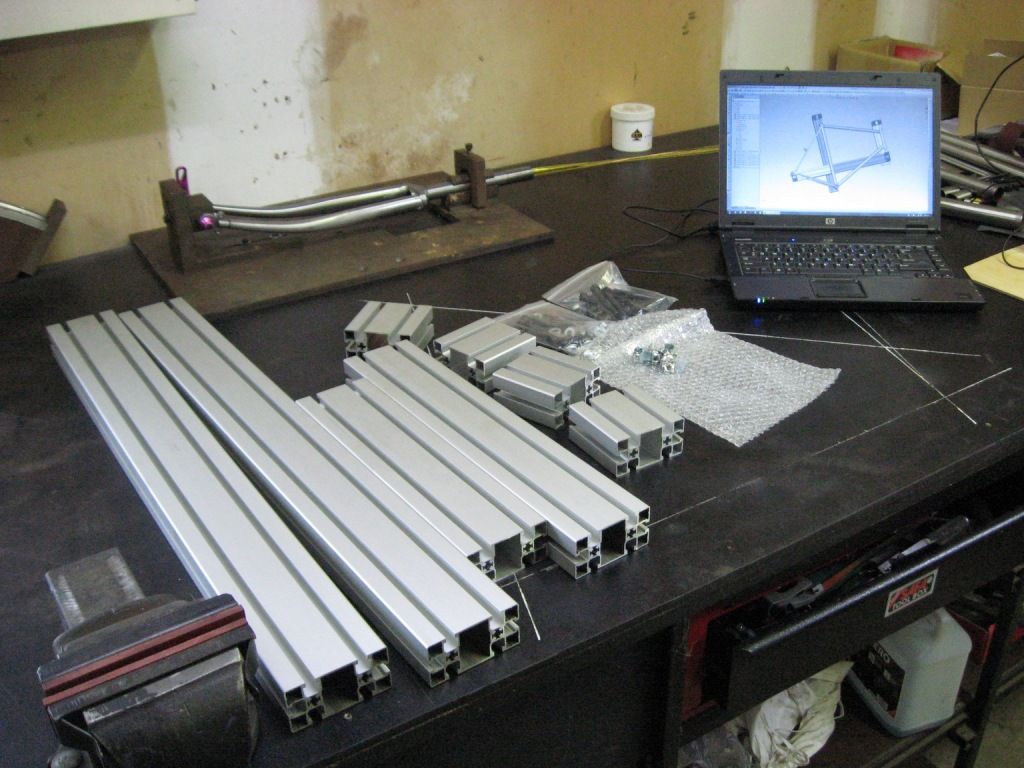
Mmmmm, Minitec


Now to make it look like that thing up there on the laptop...


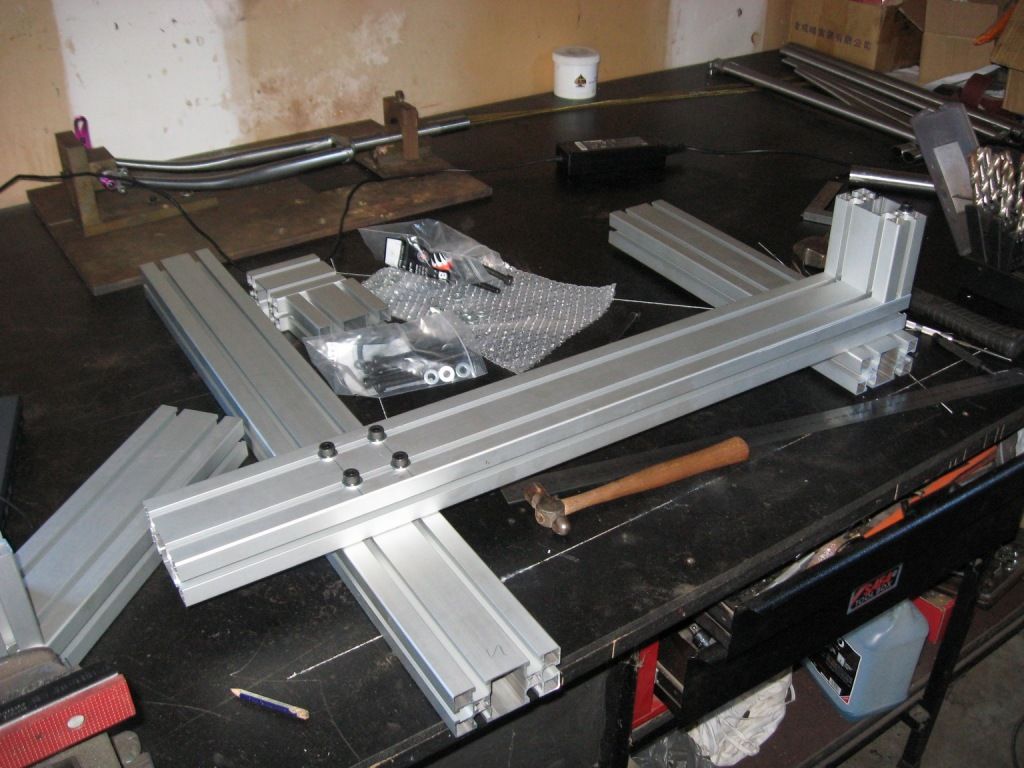
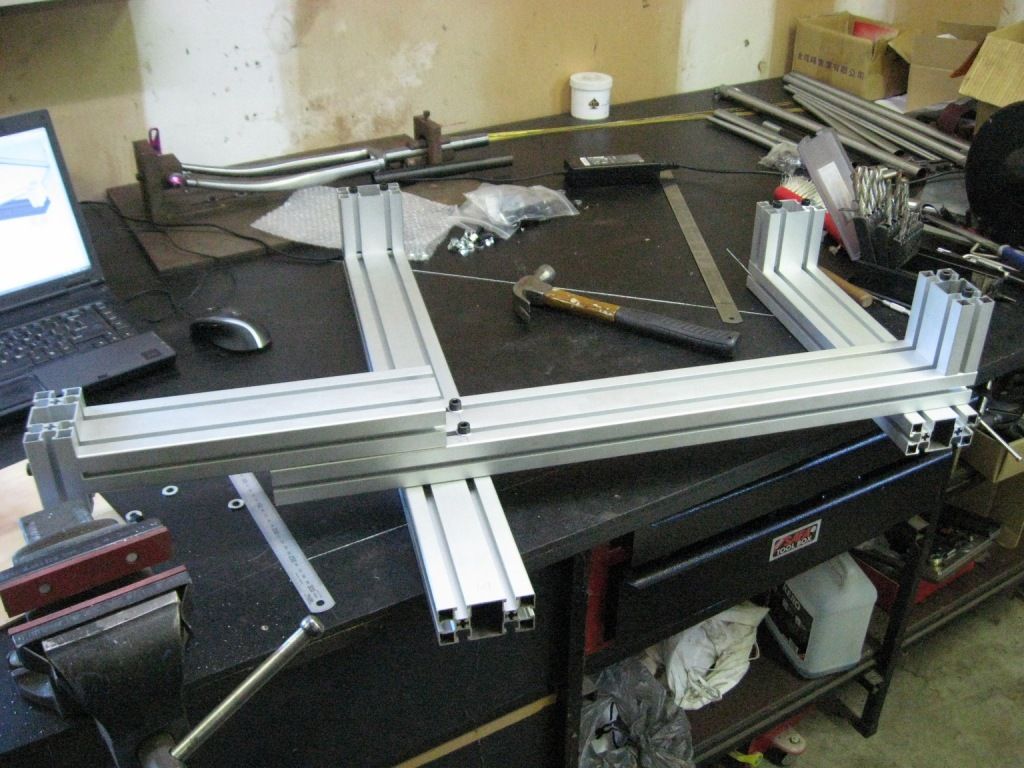
Sweet. This is already one brazillion times better than the steel jig effort, stiff as a schoolboy with his first stick mag.

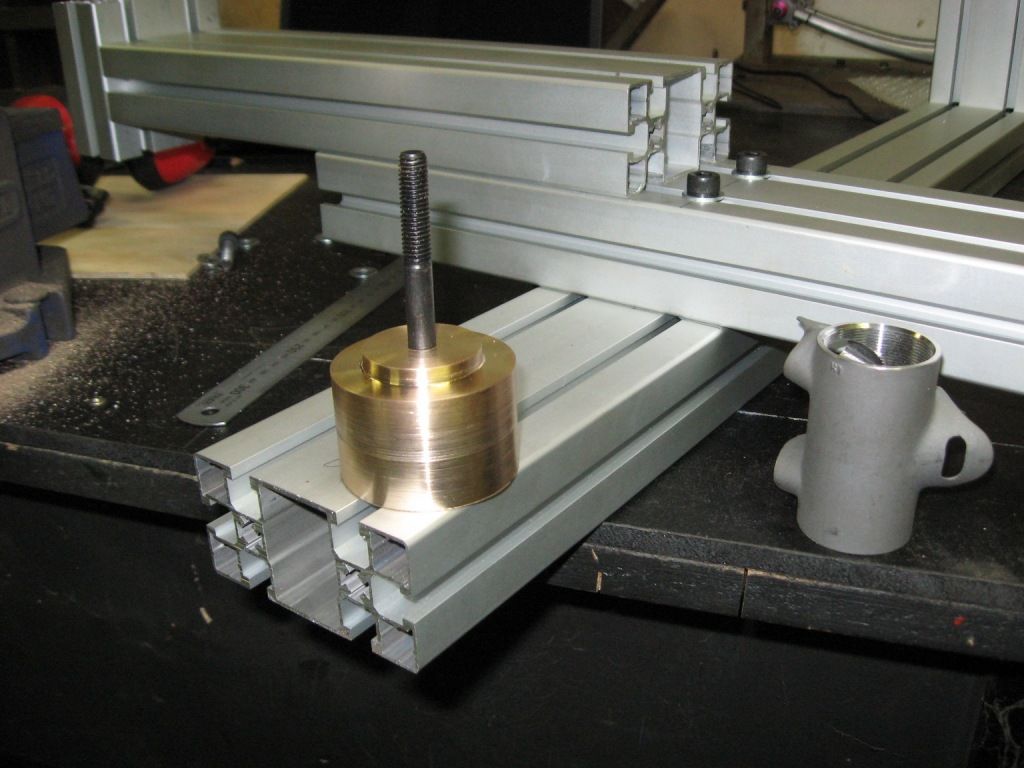
Now to  justify the massive expense of that lathe, this will account for one one half of a percent I would guess;


And that is pretty much where it sits right now, having well and truly used up any spousal goodwill I may have scraped together this week... this is mostly because the Gazelle finally arrived and I spend an extraordinary amount of time getting it to the rideable stage, but still nowhere near finished;


The pics do not do justice to the sheer size or ridiculous rake this thing has.

Everything was against me on this thing, every bolt was rusted up or broken off, and the sweet drum brake wheels are going to need re rimming which is why it has a spare set of 28"s on it for now. The rims actually turned out to be 700c, not the end of the world as I had a set of 700x45 tyres lying around. I thought I would chuck them on despite the poor condition of the rims, just to get it up and running, however one went bang before I even got it onto the bike...

The 700c rims are because it was actually built in 1977, so is a really quite irritating mix of old school design and newish school parts, ie the cotter crank axle was a Thompson type with pressed in shells. Of course I managed to smash one of the cones trying to remove one of the crankarms, rendering the entire crank useless. I then had to machine down a threaded bottom bracket shell and press the whole thing in. It worked well, but what a rigmarole.

On the positive side, the drum brakes were in good condition once cleaned up, and the Sturmey Archer 3 Speed was in perfect condition. A stripdown, clean and reassembly was all that was required there.

To ride it is very spacious and comfortable, and with a set of guards and various other accoutrements it will serve me well as my future Tweed Steed.

Saturday, 19 May 2012

Fork 'n tweed

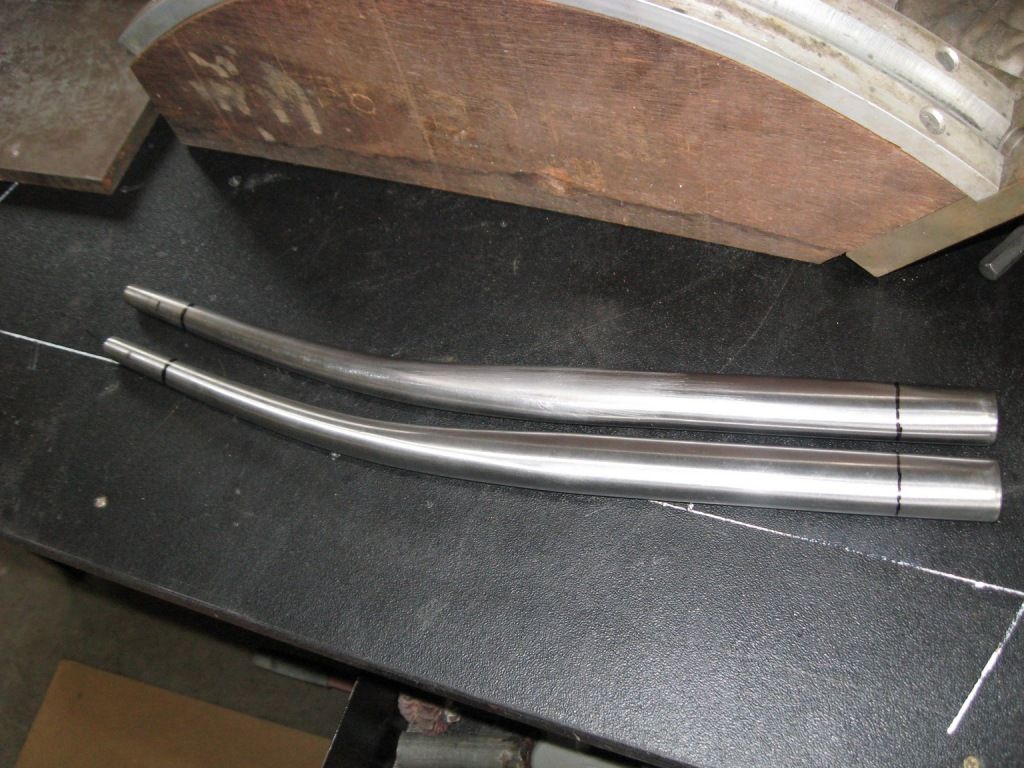
Slow but steady progress on the forks, I bent them up in the bend jig on Friday night, fitted up the fork ends on Saturday and cut them to length for the fork crown today.


The bending was interesting, I couldn't get the first tube to bend over the last 5 degrees of the jig even though I was putting the full and not insubstantial Chumly into it, so I tried again with a bit of heat. This wasn't enough either so I ended up giving it a love tap from a rubber mallet which did the trick no problems. The second one then followed pretty quickly, followed even quicker by an attack of the cold sweats when I realised the bends didn't quite match up between the two tubes... however my past life as a fitter welder came to my aid and a few more judicious taps with the rubber mallet had things lining up perfectly - whew. I then drew an outline around my newly created fork bends and scanned it into the computer, which allowed me to import the scan into the CAD program and model up what I actually had. A few masterful keystrokes left me with a lovely representation of the fork bends and the forks I could now create;


If only my steerer tube was long enough, that would nearly be ready for brazing....

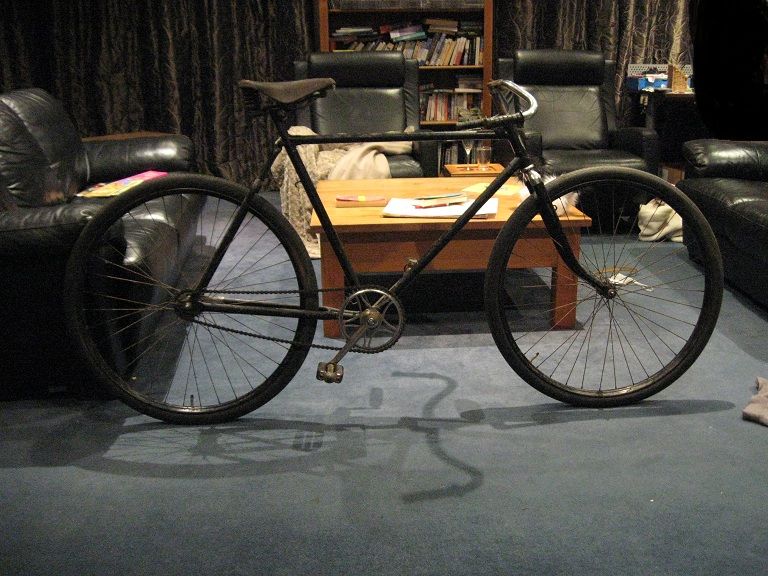
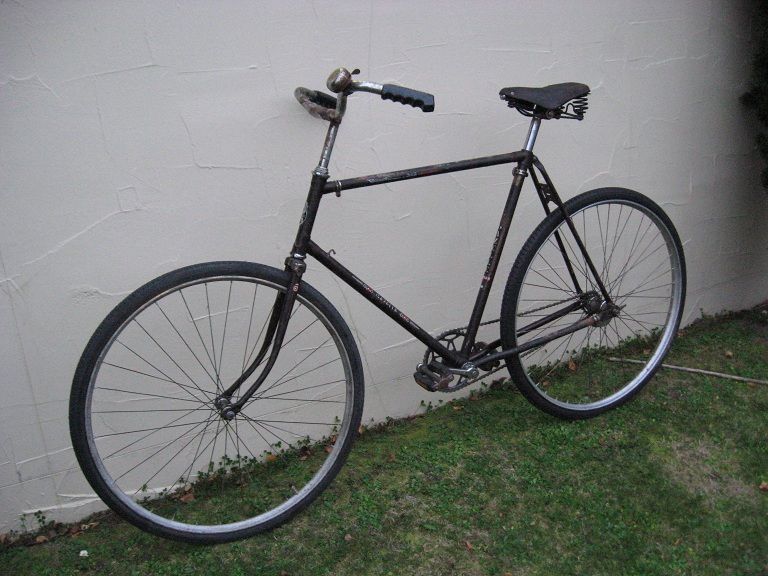
So apart from my varied familial duties that kept my garage time to a minimum this weekend, I also partook of a bit of tweeding today on my 1930ish Hercules pathracer;


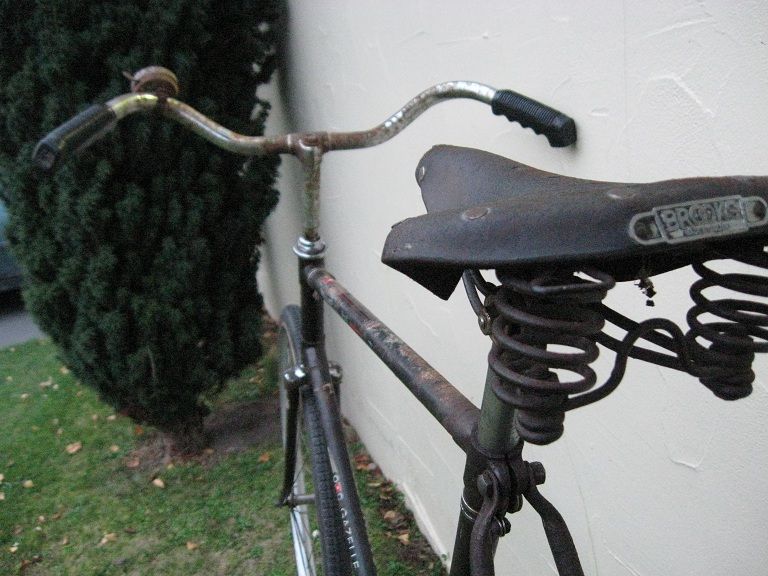
My delicate back was giving me gyp so on the way back I flipped the bars to help with the ridiculously uncomfortable seating position, the comfort transformation was remarkable. This is good news for me as I am swapping the Herc for an old Gazelle very soon, I should be able to ride far further with that. As it was we covered a solid 20 odd kilometers, yelling out our war cry of  'Smash the Lycra!' as we raced the roadie boys (with some success I might add) along Cashmere road.. I cannot tell you how much fun this is.


If you want to come along, join the group here, it is the best thing ever.