Tuesday, 28 August 2012

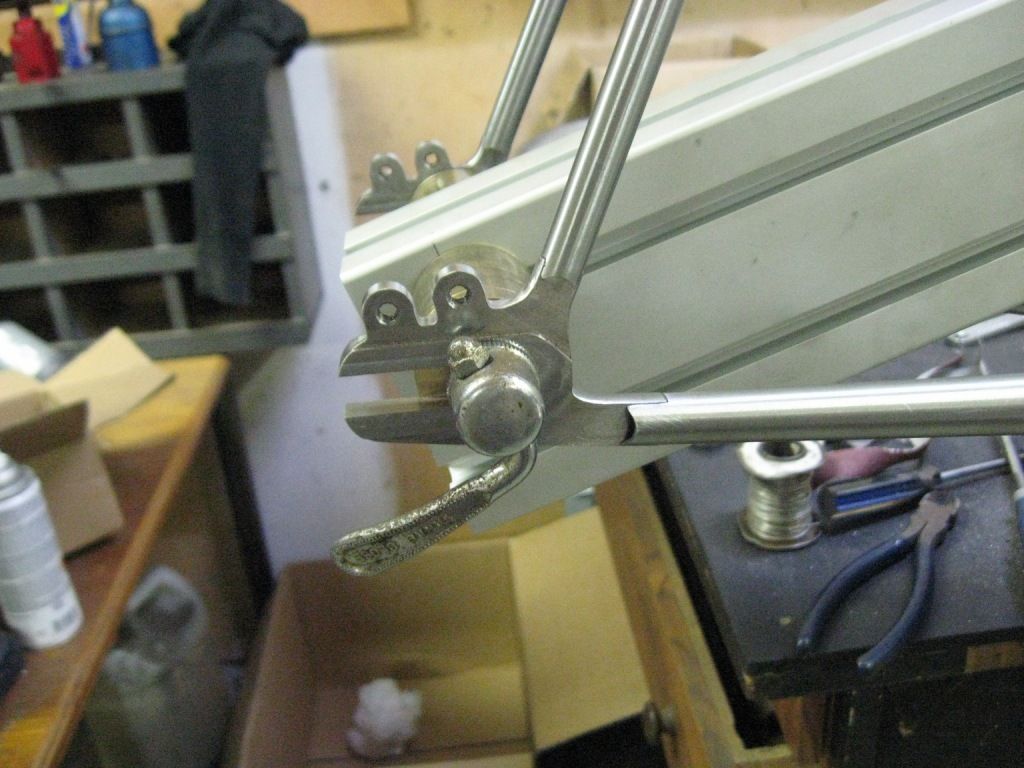
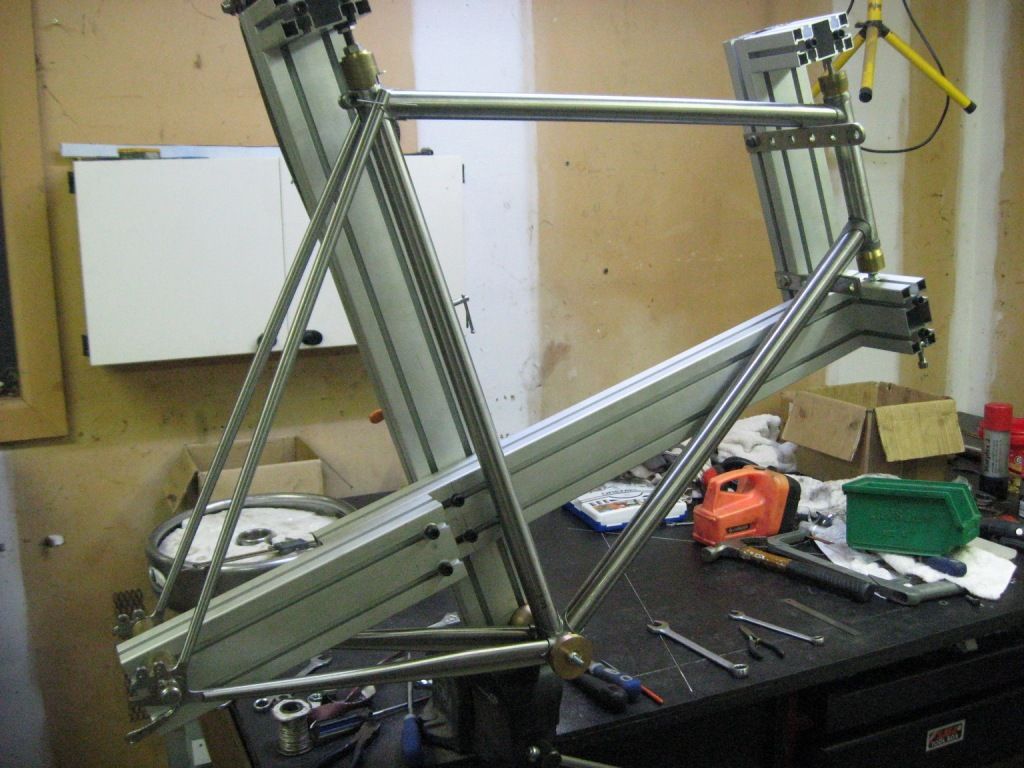
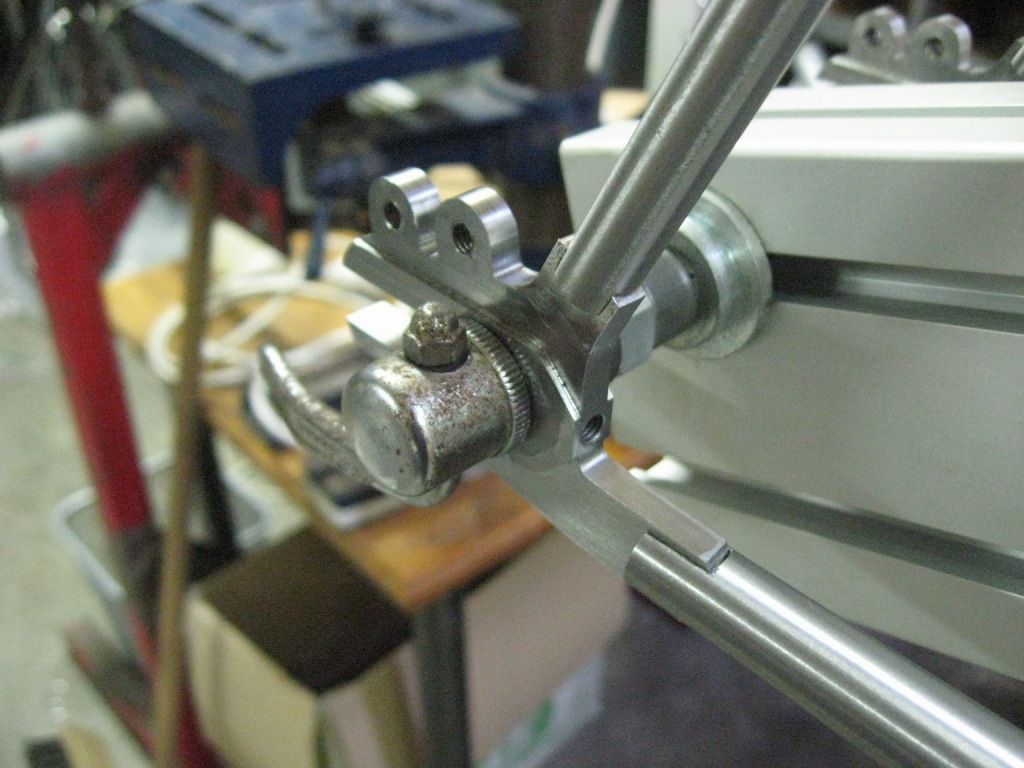
The actually fitted Frogmouth MkII

Another quick and dirty update;

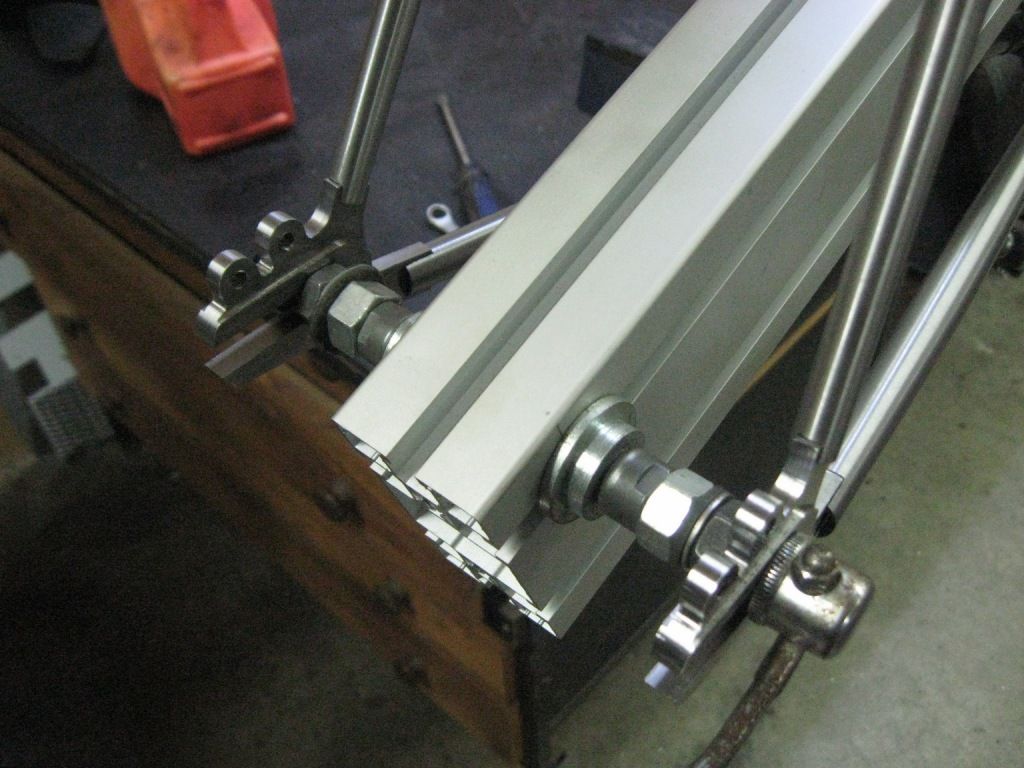
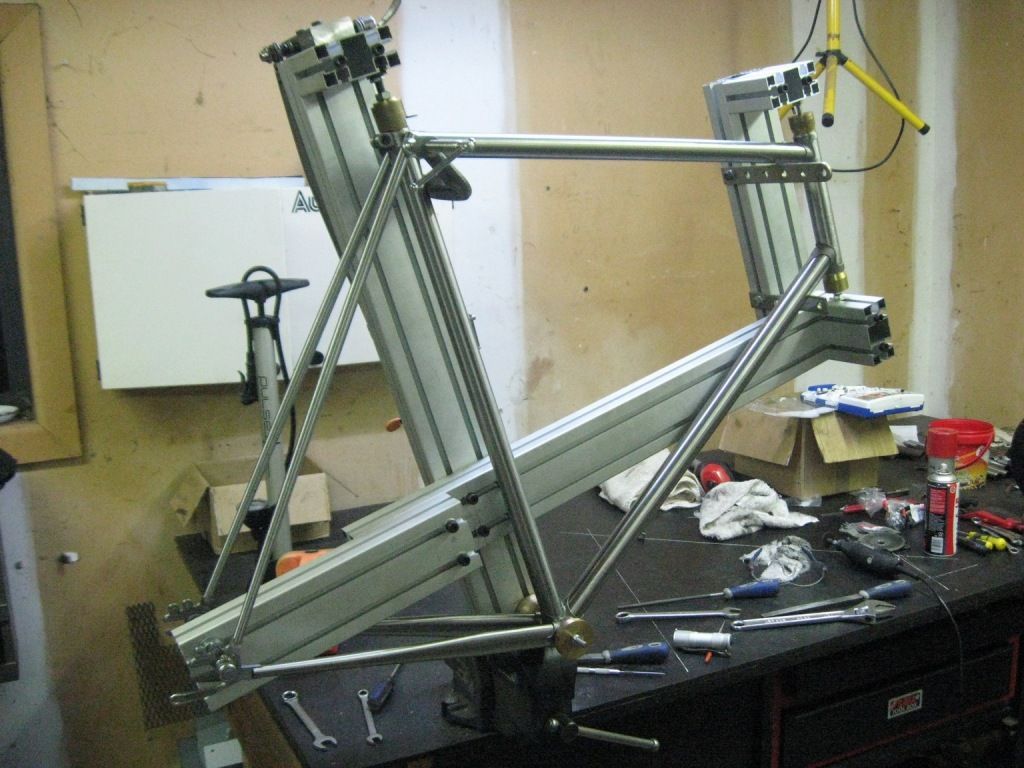
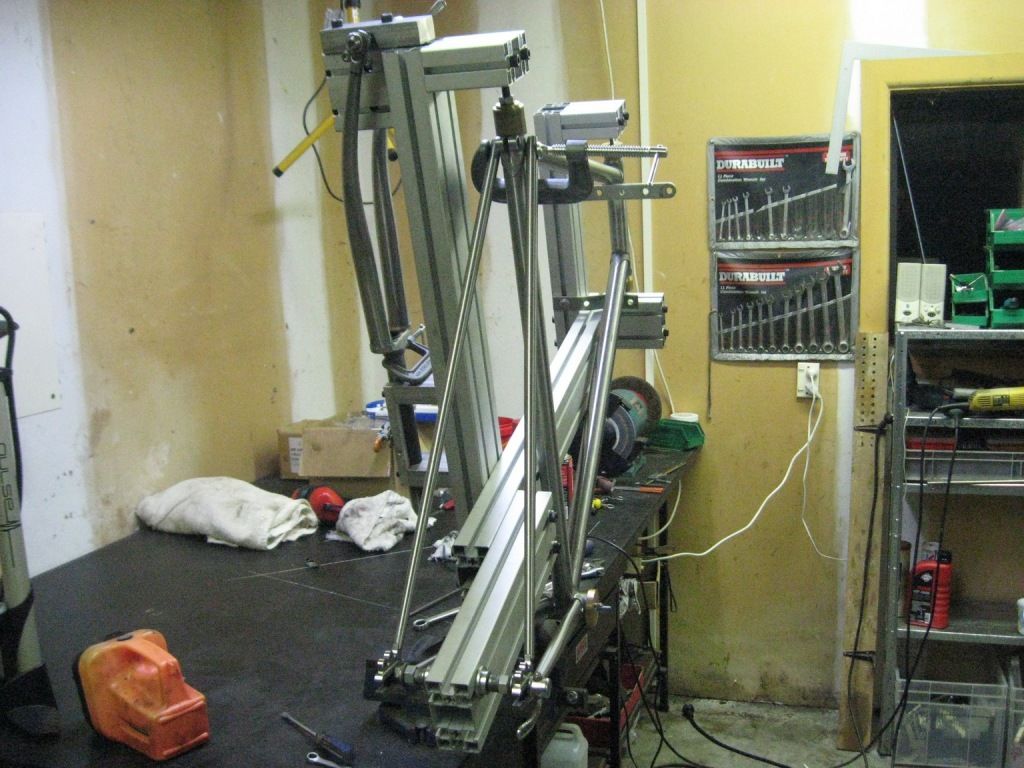
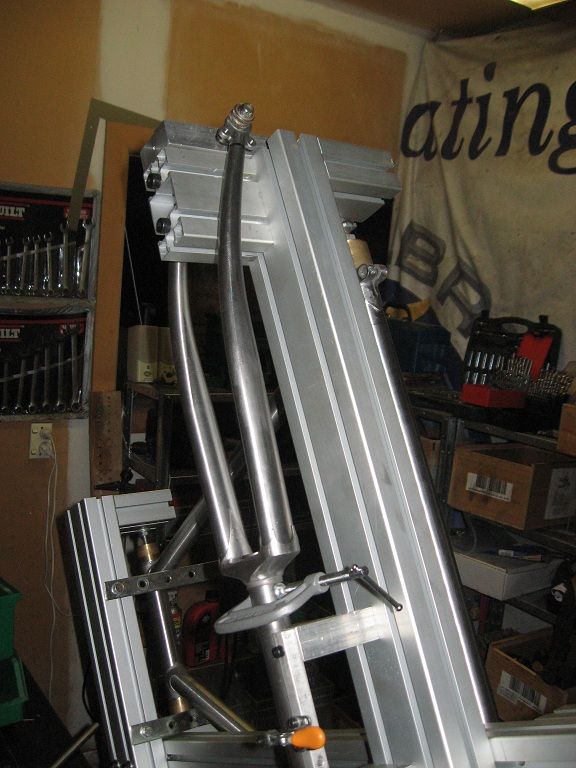
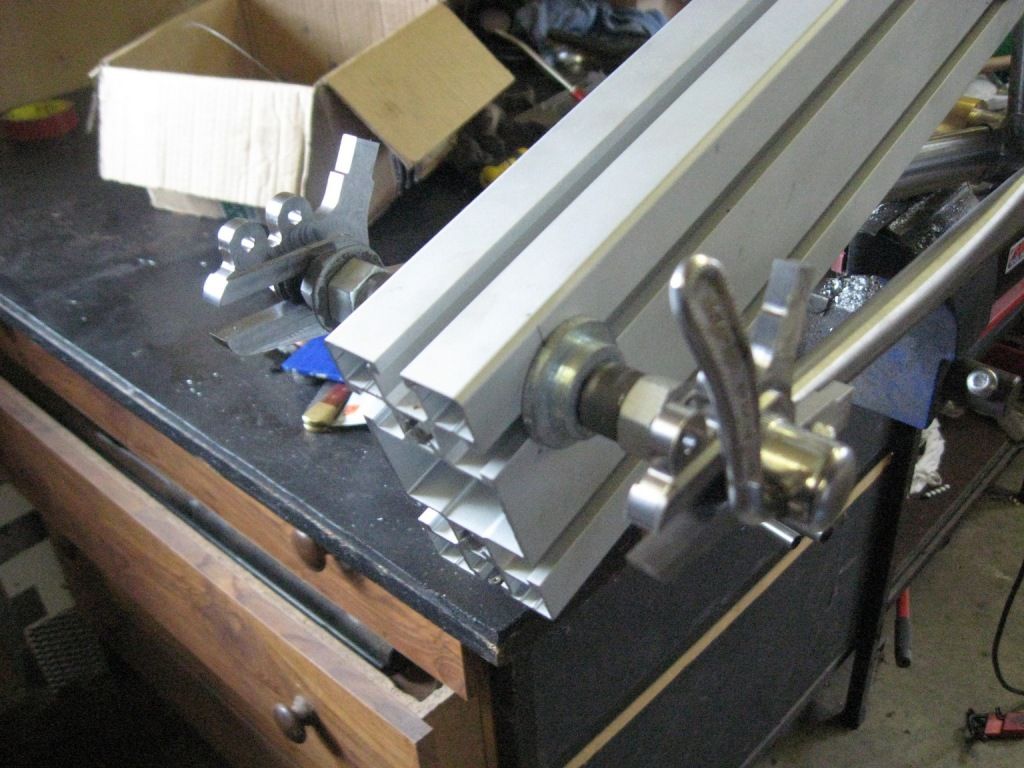
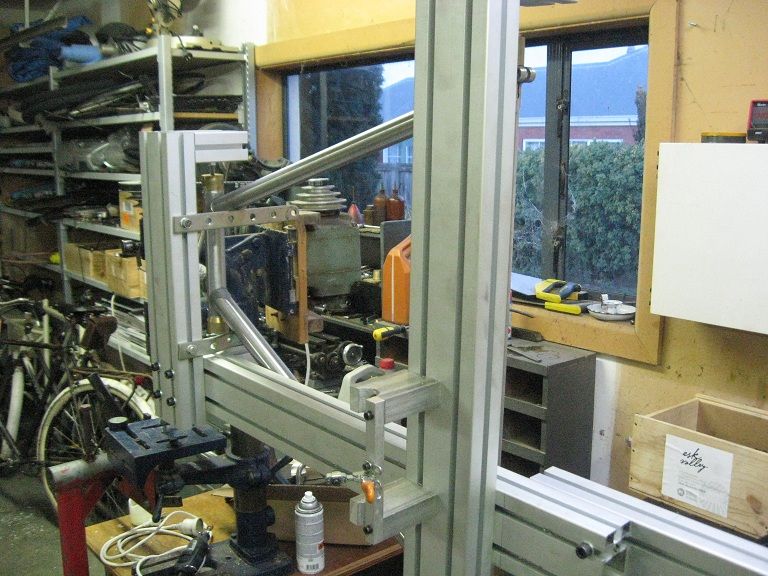
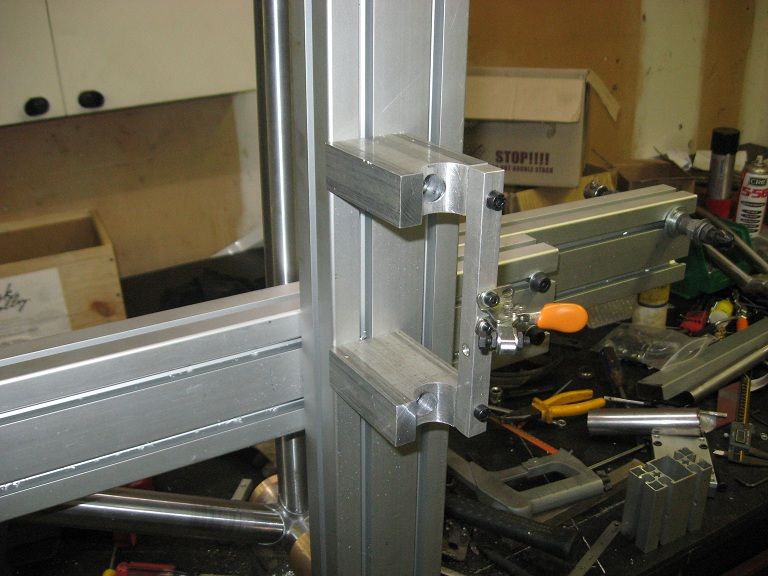
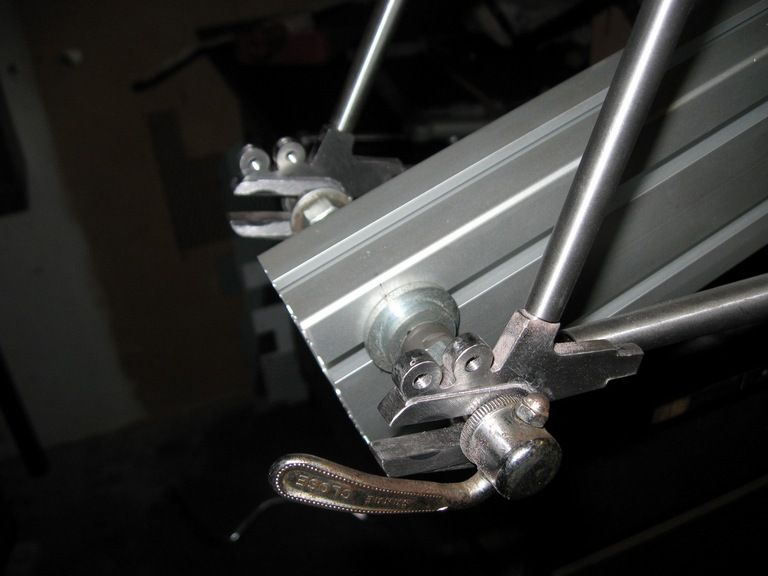
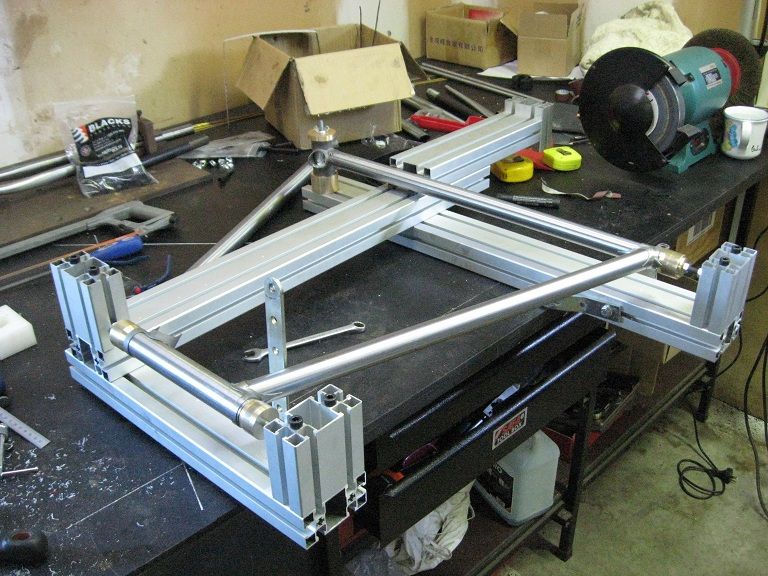
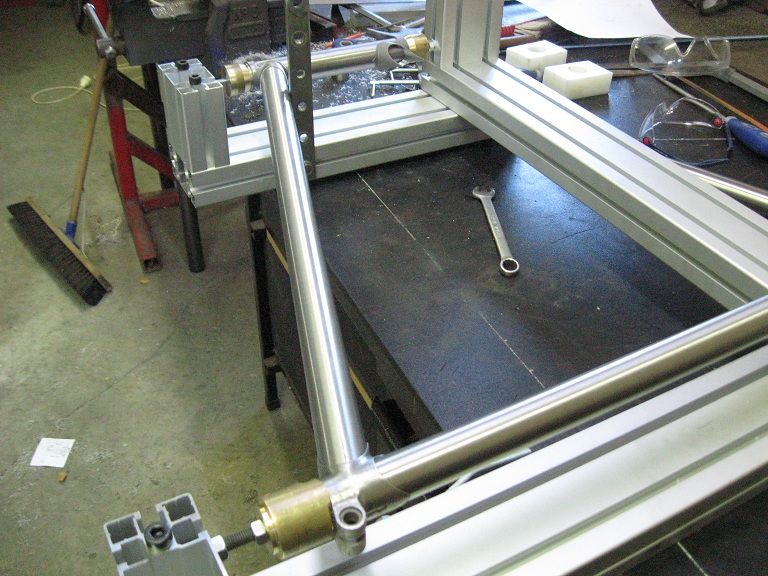
Tonight's effort was to blend in the dropouts to the tubes as you can see below, however over the weekend I also modded the jig a bit as I was not happy with how square the dropouts were being held. Doing this also meant that the dropout spacing and centering is bang on now.


Also I just remembered that all this time I have neglected to tell you all about the tubeset that this work of art is being made from. It is all Thron OS tubing, which is a reasonably light, double butted, mid range tubeset that seemed to be the best compromise between weight and robustness. I have found a few references to how well suited it is for the amateur framebuilder due to its slightly better heat resistance, so it seemed the best bet. Time will tell I guess, but assuming that my welding will stand up to the job, then I am hoping the tubes will stand up to the immensity of Pogward that will be pounding it on a daily basis...

Wednesday, 22 August 2012

The mostly fitted Frogmouth MkII

A short but sweet update today as not much has been occuring - due to me basically falling asleep at every available opportunity and having little motivation to stand in a frigid garage with only the awesome weirdness that is Radio Ferrymead for company.

However, two nights ago I decided that I had better show willing for the sake of my vast internet audience (Hi Jones!), so I dragged myself down the hallway, and a remarkable thing happened....

Somewhere in the weeks of sickness I had totally forgotten about the actual, genuine pleasure that comes from removing little shavings of steel from tubes. There is something about the almost trancelike state and total focus that you achieve (mostly due to the fear of rushing and bolloxing it up admittedly) that makes the process such an incredible pleasure. The wee pile of filings that grow, the tangy curl of smoke you sometimes get during a filing stroke, the careful edging towards the right cut depth, it all contributes to the state.

But as much as anything there is the feeling of rightness that you are crafting something. It is not anything like the short term pleasure of buying a new gadget, you are actually creating the thing the you intend to use, and hopefully building genuine quality into it. If only more of life could be like that.

Anyway, enough misty eyed reflection, I am starting to sound like Mr Pirsig;


Clearly some more shaping and fettling of the dropouts is needed, and there are multitude of bits still to make, but goodness me that is looking very framelike.

Sunday, 12 August 2012

The Frogmouth MkII

The dropouts took quite a long time to get made, this is probably because I paid very little actual money to get them done, so this restrained me from ringing on a daily basis and chivvying things along... And this did not matter as it happens, because I have not been in anything like good enough form to do anything about it even if I had them to mess about with. The reason is that I had a serious bout of man flu. Usually in these circumstances I get about as much sympathy as one of the cats does when it has puked on the floor, but as my temperature peaked at 39.5 degrees I could point out that it probably wasn't psychosomatic, and that a wet flannel applied to the forehead just might help alleviate the hallucinations...

It took a full week before my consciousness felt like my body was something that it might think about inhabiting again, and today was the first day in a week and a half that I actually felt well enough to spend some time in the garage...

But to start, before I fell ill I did actually finish the fork jig;


And today I found myself contemplating this;


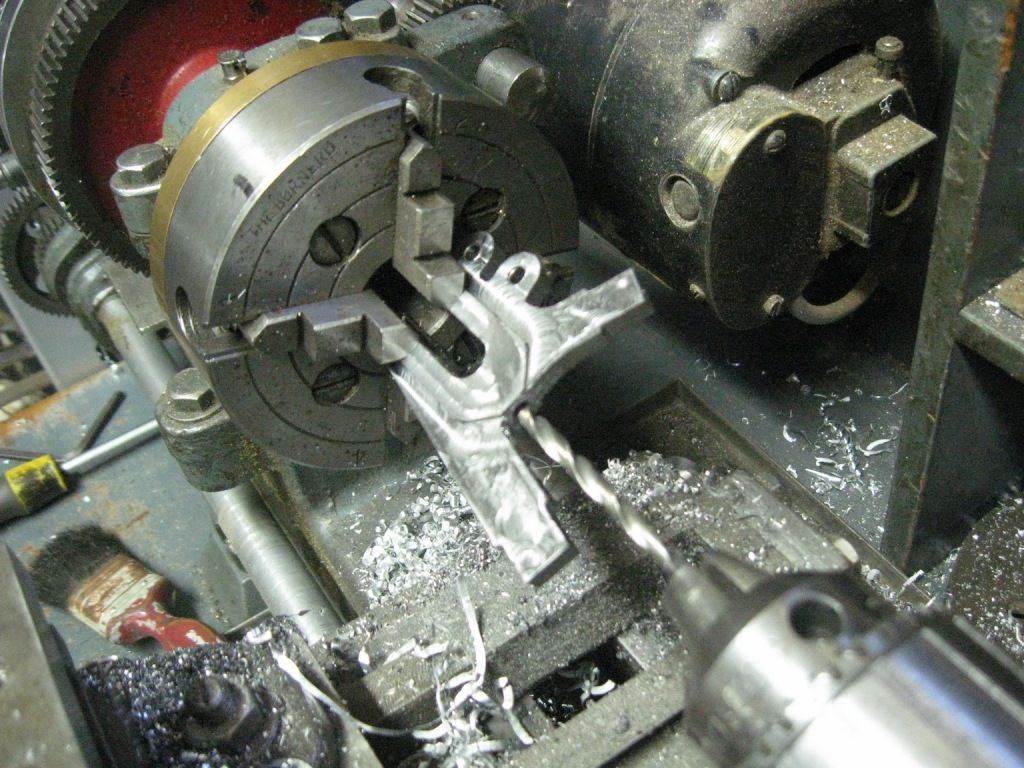
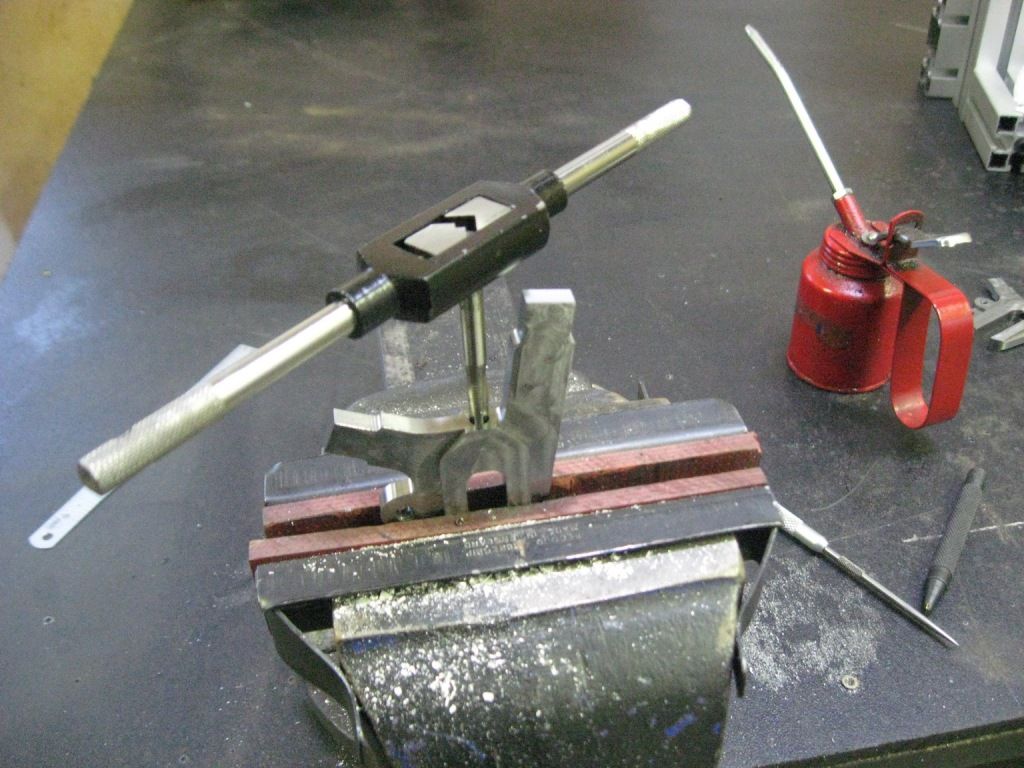
I had the basic shape machined out, but I still needed to drill and tap the axle adjustment and rack/guard threads. The trusty Grayson and it's plethora of attachments came to my aid;


I had to take all that very carefully as the steel was pretty hard and I was totally paranoid about breaking off a drill or a tap, fortunately things went swimmingly if a little slowly.

Once all that was done I gave the seat and chainstay tabs a bit of a tweak to align them to the tubes;


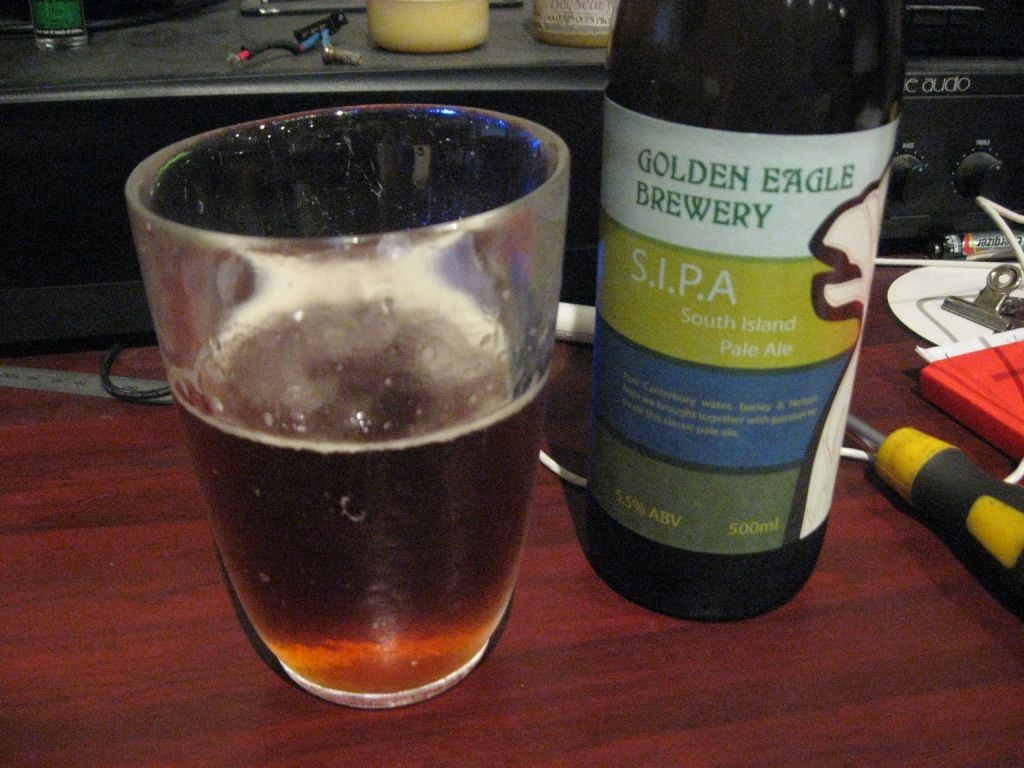
By which time I was pretty much shattered and had to come in for some tea and a drop of some very fine local beer...


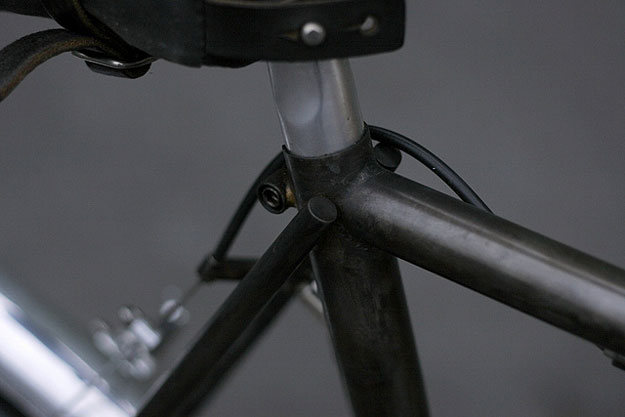
Next job is to make the seat stays and chain stays fit the frogmouths. I have been wondering what to do with the top of the seat stays, I am deeply in love with the stays on this Sizemore;


But a straight copy of this would not exactly be stamping my mark of originality would it? I have a nebulous plan forming in the back of my mind as to what this could be, but we shall see in the fullness of time.

Saturday, 21 July 2012

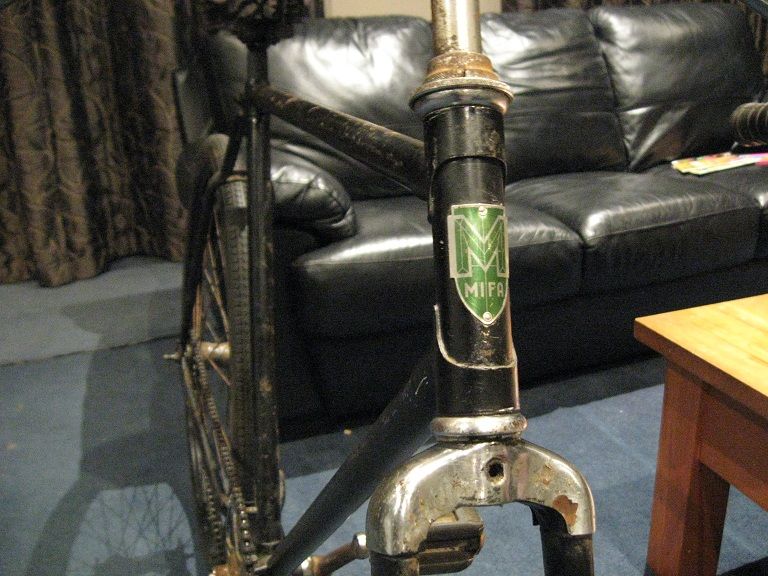
Die MIFA fahrrad, und mehr Fahrradgabel jig

It has been 3 weeks since my last post, amazing how time gets out of hand. I have not been completely idle, but there has been sickness, drunkenness, coldness and laziness to distract from the main event..

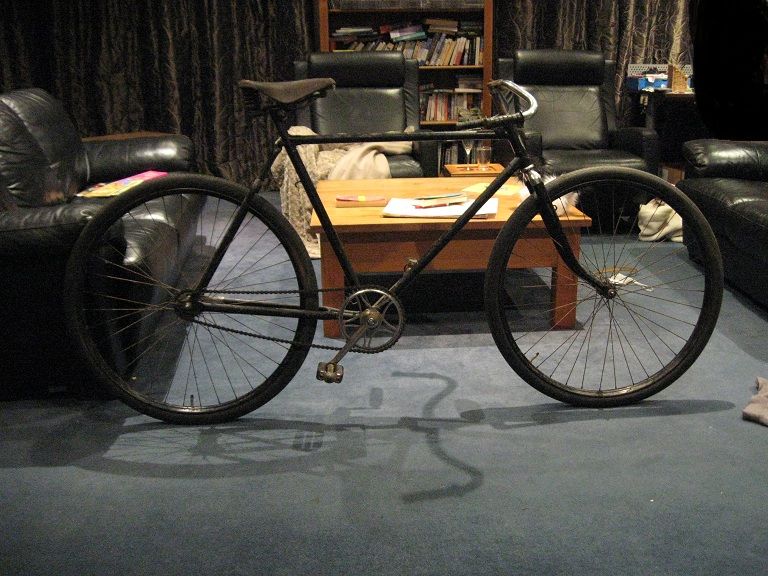
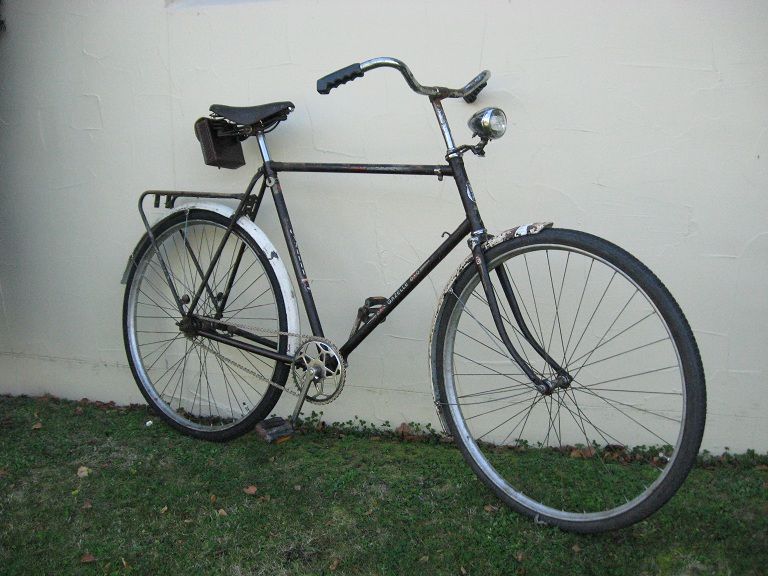
One of the more useful distractions has been this thing, which I got as a freebie along with the Gazelle. It has been languishing in bits in my garage, but I thought I had better put it together and see what the story was, and was pleasantly surprised with what resulted;


It is German and probably from the late 40's/early 50's. Hard to tell as there is not much info out there. Actually there probably is and I should clarify my position here; after 4 minutes of googling, not much info turned up. I imagine speaking German might help in this search though. It has some interesting features - square taper cranks for a start, and a sweet clampless attachment for the coaster brake arm. The tyres say 28 x 1.75, but english 28" tyres do not fit, so I assume it has 28"/700c or some deeply strange European variation thereof. The original German made tyres were still in basically functional condition, so I left them on. It also required a 24mm seatpost, so I had to make one to suit as this was missing. Making this has taught me no end of interesting stuff about my lathe and the auto feed....mostly that engaging the fast and slow feeds at the same time is a bad idea, and how to replace shear pins in the drive for the auto feed..... oops.

The Mifa was way too small for me so I have since sold it to one of the tweed boys, hopefully it will give good service.

And onto the framebuilding. A very nice man called Shaun lent me the Paterek DVD's, which made for some hours of fascinating watching. The main result of this was half a day spent die grinding all the lugs to give the correct clearance to the tubes, and a much clearer idea of what to do and when to do it during the brazing process.

Now, a couple of weeks ago the fork jig fairy visited me in my sleep and pointed out that quite a few weeks had passed since I had received the fork jig, and that there was little sign of me actually using it to braze forks with, and (very nicely) asked for it back so he could use it to sort out the backlog of forks he had to build. He made some quite valid points, so I obligingly handed it back. I then got to thinking how nice it would be to have a fork jig of my very own, and then I got to thinking about how sweet it would be if it were part of the frame jig itself.

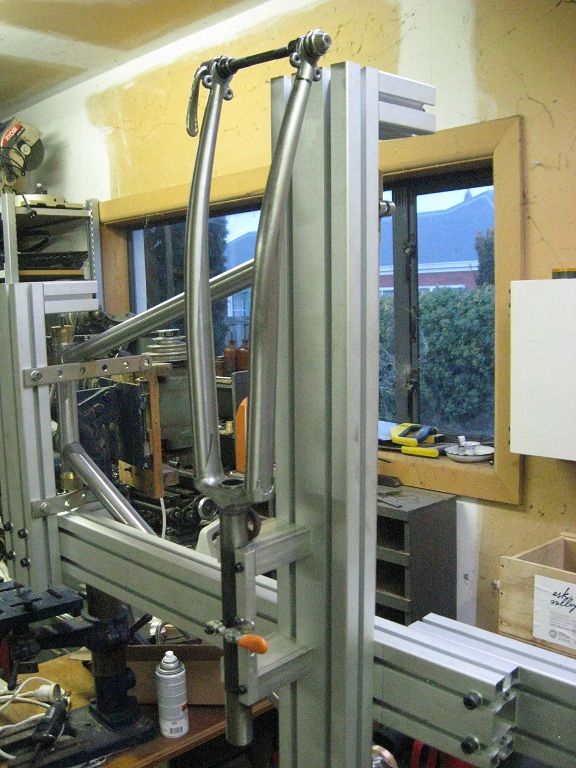
So today I spent some quality time with the Grayson and ended up with this;


Now I just need to spend a few more hours sorting out the axle attachment, which I will try to make adjustable so that other fork geometries can be built as well...

One of the reasons for slow progress has been the new dropouts. I decided to make these out of 4130 chromoly, and after a wee bit of investigation I found that P20 tool steel is a subtype type of 4130. This is a good thing because P20 is a very common material used in injection moulding tools, and in the course of my work I have quite a lot to do with this sort of thing, and indeed I know many toolrooms that have stacks of it lying round. After some discussions with my favourite machine shop I decided that it would be best to get them to CNC the dropouts for me, because they would then be exactly right first time... and these should be ready on Monday, I can make then make final prep for brazing. I am probably going to hire a gas plant over the weekend, so I would like to get everything ready and do it in one big hit.

Actually building this thing is getting scarily close...

Friday, 29 June 2012

A dropout rethink methinks

The dropouts have been preying on my mind while I have been busy sorting out the Gazelle the last week or so. I was never 100% happy with the tensioner adjustment being below the chainstay, I imagined careless parking would probably bend the screw, plus the design did not have the simple elegance that I look for when designing things - and when you get that, you know you probably have it right. A comment from philthy on my last post got me thinking about the durability of the dropout material, and that I should probably have made them from proper CroMo to match the rest of the frame, or at least faced the dropouts with stainless steel. Either way this meant I had probably wasted some time machining up those new ones.

However in my opinion, wasting time getting things wrong is the prime causes' way of preparing you to eventually get it right, so I have decided to have another go...

The initial design with the standard dropouts was going to require some tweaking of the bottom bracket chainstay angles to get the fit right, and once I set the new dropouts up in the jig it was pretty obvious that getting a few degrees off center angle on the chainstays was not going to be a problem.

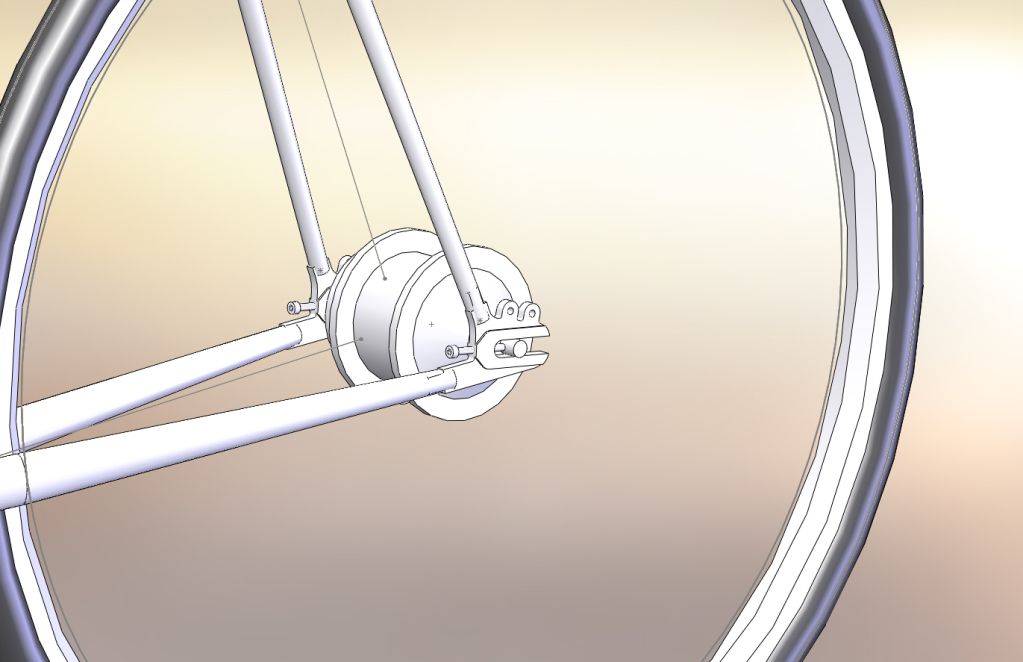
So last night I sat down for a CAD session at the computer (my wife was gallivanting around the frankly scary pub selection in Addington with her Plunket/coffee/wine/AA group, and I was 'babysitting'), and assisted with my own suitable brain lubrication I smashed this out;


This design has the benefit of the adjustment being inside the frame, plus there are less curves and angles, making it more pleasing to the eye in my opinion. The only real issue is the adjustment screw taking a significant amount of meat away from the connection between the chainstay and the seatstay, but I can always beef this up some more, we will see. I call this design the frogmouth MkII, for obvious reasons.

Now I need to source some 8mm 4130 steel, and get to cutting...

I have been thinking hard about the brakes for this bike, initially I was intending to put standard MTB brakes. this would be ok but maybe not that pretty, I think that these might be a better option;


They are nice, if a little bit hard to get hold of in NZ.

The Gazelle has continued as it started, ie being extremely truculent no matter what I try to achieve with it, however the journey is fast drawing to a close. So close in fact that I foolishly decided to ride it to work yesterday. There were a few teething troubles (I needed to stop at least 4 times to adjust the gears, tweak the guards, clean my undies after trying to stop in traffic). I did however get a scalp on my ride home, but this was simply because I had maxed my FCN, so everything on 2 wheels was fair game.

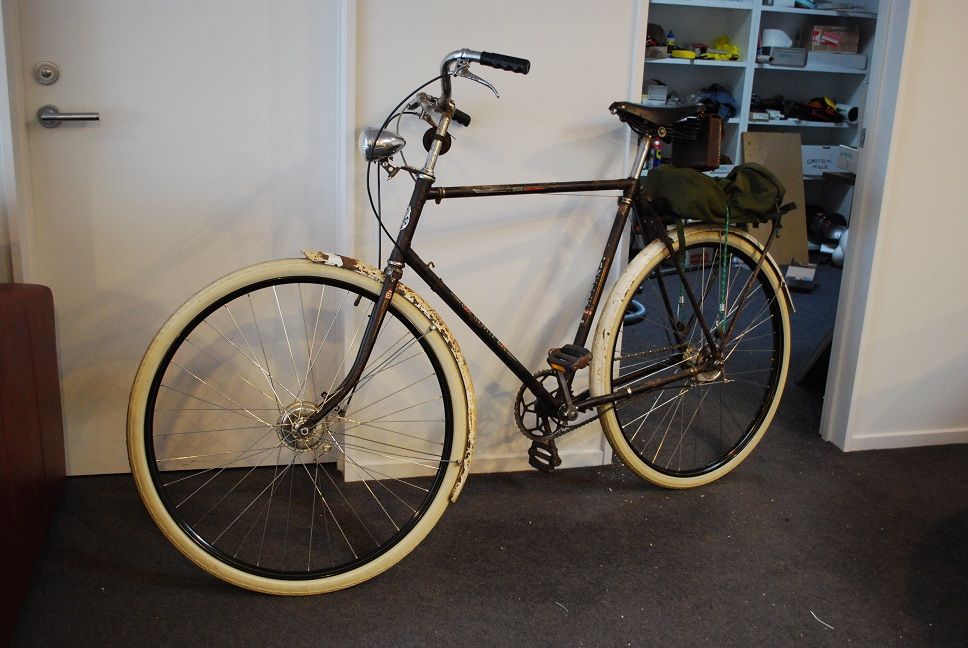
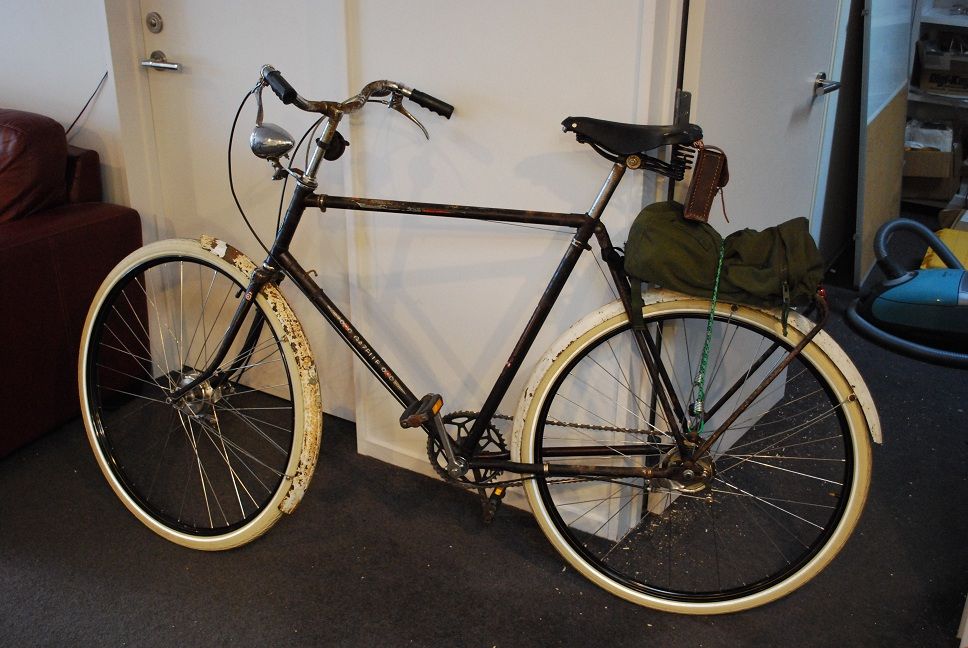
Still it was fun, and I took a couple of pics to mark the occasion;


Those wheels where very time consuming, I bolloxed it up the first time not realising that the spoke holes were offset, plus I got the lacing wrong, plus the rims turned out to have larger than standard nipple holes, plus the spoke lengths were not quite right, etc etc... Dave very kindly sorted things out for me though, he is a solid chap.

I still need to shorten the brake lever arm at the front to make the brakes actually perform their function, and maybe find a new gear cable. And probably sort out a chain guard. And maybe find a pannier for it. Apart from that I think it is looking pretty swish and rather gentlemanly, don't you think?

Sunday, 17 June 2012

Dropout fun

The great ebb and flow of shedweek has turned in my favour this last couple of weeks, the details of which will remain sketchy for fear of reprisals, but in short it involved my loving wife getting her way regarding the outside tiles currently being replaced by the insurance company, and yours truly paying a not inconsiderable amount of money to achieve tile satisfaction. Money well spent, as the look I get as I slink out the garage is significantly less worrying...

Anyway, this was the state of play a week or so ago, with all of the main tubes mitered in and looking pretty shmick I must say;


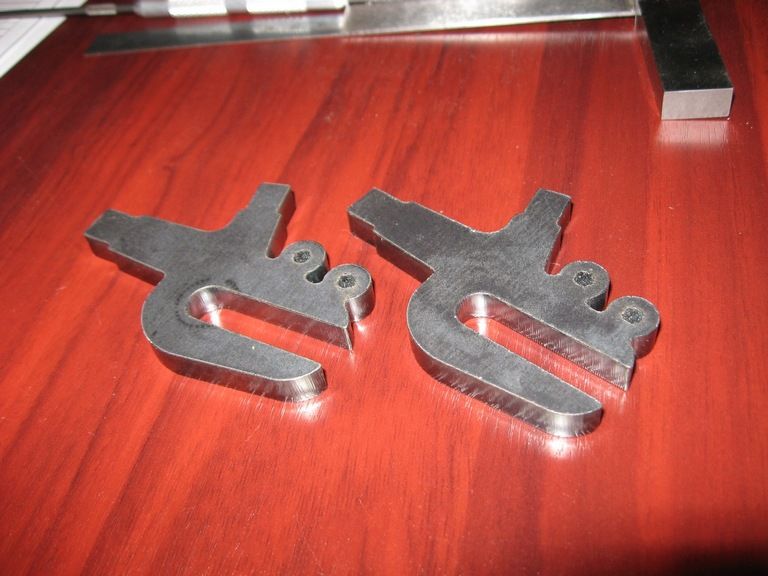
Now a while ago I mentioned some custom dropouts getting laser profiled, and these have mostly been the focus of attention this week - apart from a short evening mitering the chainstays into the bottom bracket.

This is what they looked like when I picked them up;


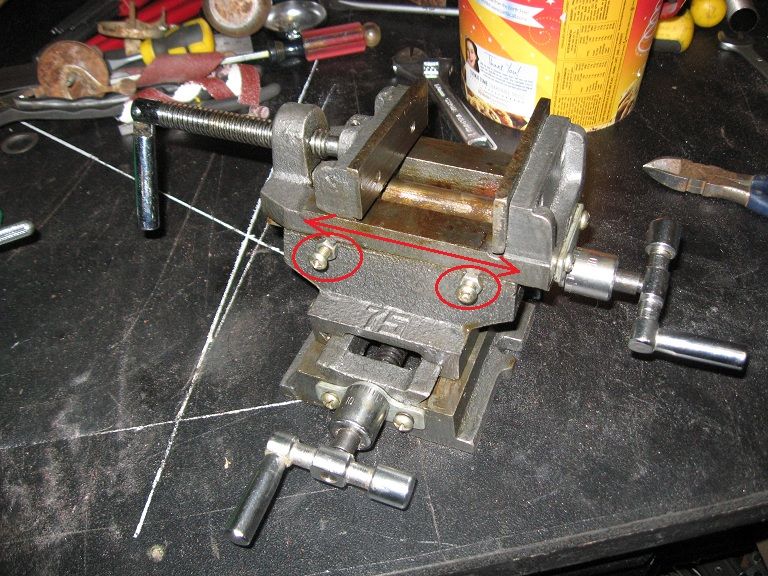
Now at this point I had the brilliant idea of using my lathe as a milling machine to cut away the excess steel on the faces, and that surely some form of compound slide attached to a vise, and then attached to the slide of the lathe would be functional, if a little awkward. The only immediately available thing (ie accessible from the comfort of my computer at 9.23pm on a Sunday night) was this thing on TM with a online price tag of $60. 'Gosh that is cheap' I thought to myself, 'how bad could it really be?' As it turns out the answer to that question is; 'Really, really bad'. So bad in fact, that it turned out to be not only laughably poorly made, but actually impossible to use...


Now using my crude illustration above as a visual stimulus, imagine the top slide being wound backwards and forwards (and feeling disturbingly crunchy while this is happening). Then imagine if you will this backwards and forwards movement causing, by way of a pretty significant interference, the two highlighted nuts to rotate. The more astute amongst you will realise that those two nuts are the locknuts for the slide adjustment, and that for these to rotate by way of moving the cross slide is in fact a wrongness that is so fundamentally wrong it is difficult to find expression for it.

I should have known really, I took the punt on a hydraulically adjustable work bench from the same company once for an assembly jig I was making, imagine our surprise when it turned up and the working surface had a built in drainage drop of 50mm across 600mm of table, but only in one corner....obviously the lesson learnt had dulled over the years and the prime cause had decided to refresh things for me.

So anyway, I then went to a real engineering supplier to try and find something better. After describing my experiences and what I wanted to achieve to the very helpful man, he stifled his mirth and said I should really talk to Sam. Sam was a small man with a rather impressive grey beard who had just arrived in the shop and was waiting patiently to give me his personal opinion of Topmaq, which was not very complimentary much to my surprise.

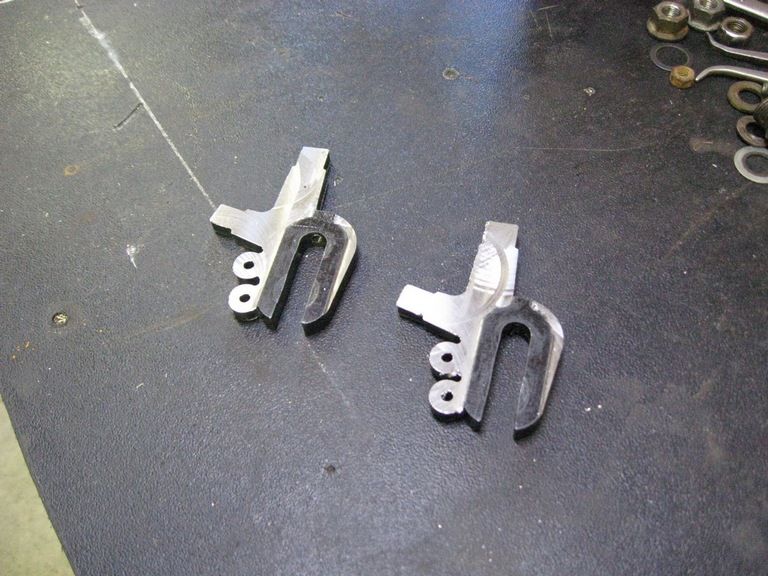
It turns out that Sam has a superbly equipped home workshop plus many interesting things to look at, including sweet vintage AJS and Matchless motorbikes. So for a couple of boxes of bourbon and coke Sam gave me free reign of his machinery, and the milling machine in particular got a fair bit of use, so I ended up with this;


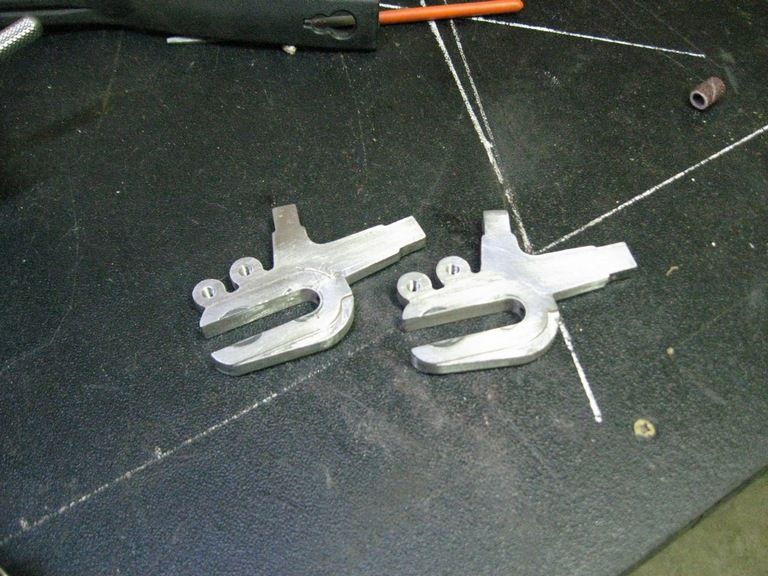
I then spent this afternoon with files and a dremel to get to this state of affairs;


Clearly there is a bit more to do there, but you get the idea...

In other news, I have purchased two new 28" rims from Dave, and have got the Gazelle hubs nickel plated. I (or Dave) just need to figure the correct spoke lengths and I will build those boys up pronto.


The Gazelle better be bloody grateful is all I can say.
Thursday, 7 June 2012

Mostly the gunblued bike...
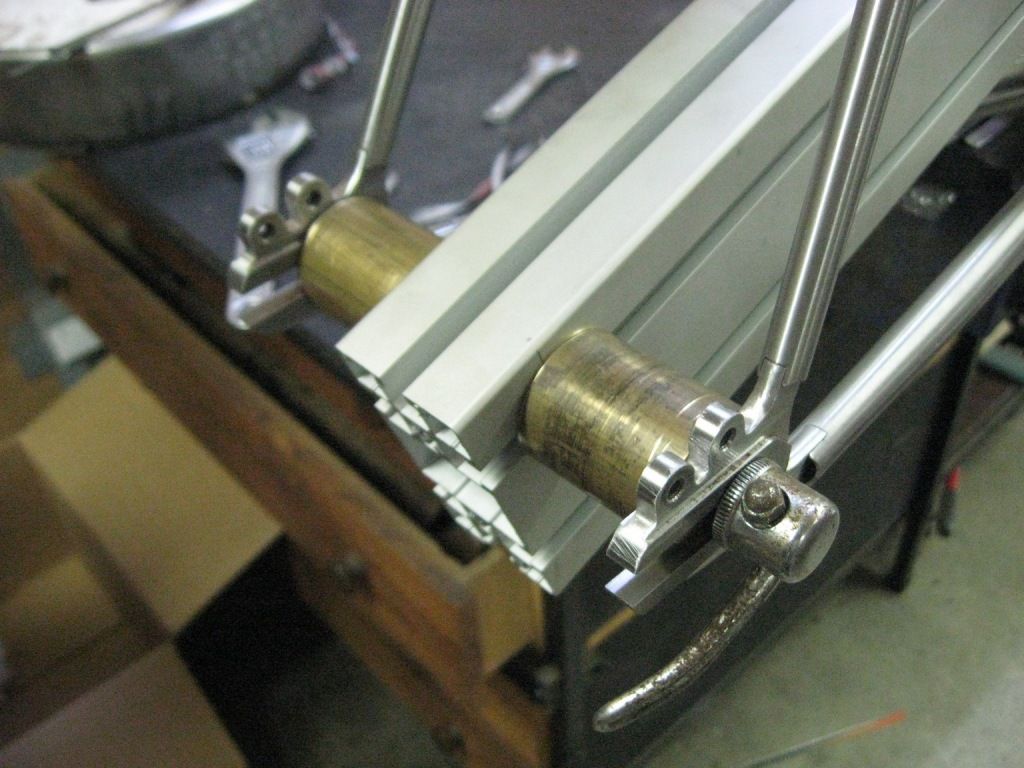
Things continue apace at Pogwards Large Emporium of Bicycles, the frame jig is finished enough to hold the main bit of the frame in place, and as such I have mitered the top tube and intend to start the downtube as soon as my shedweek is allowed to begin. This has been hampered by my eldest child's birthday party and the accompanying doting grandparents coming to visit. Even now I shudder at the thought of ever again having to endure in the same room a dozen 9 year old girls screaming the words to some dreadful One Direction song at the top of their lungs. Or for that matter having to constantly explain the workings of my Fathers Samsung Galaxy SII to him, ie the difference between an operating system and an app....He is the only person I know who still remembers all the phone numbers he needs, and this is simply because he cannot learn how to make a speed dial shortcut or use the search function. I am not sure how things have come to this sort of pass but apparently spending several hours machining brass in the garage rather than trying to cope with all this is frowned upon in modern society...


Framebuilding progress has been hampered by many other bicycle related nonsenses, ie getting the devastatingly handsome Bob to face the bottom bracket shell of the Gazelle for me (the shell being 70mm wide I had faced it back to 68mm with all the precision that can be had from an angle grinder - ie, not much precision). During the visit Bob also started handing out old 28" guards with a feverishness that can only come from the sure knowledge that doing this sort of thing can be bartered for extended shedweek. All this meant that the Gazelle now looks like this;


I am now working on getting the drum braked hubs up and running. Last week I stupidly totted up the probably cost of doing this (spokes, rims, tyres, replating the hubs etc), and I found myself breaking out in a cold sweat and talking in a squeaky voice for a while. After my testes had descended again I reasoned that I could simply sell every other wheelset I had, and when I needed to use a particular bike I could swap the wheels into that. Problem solved.

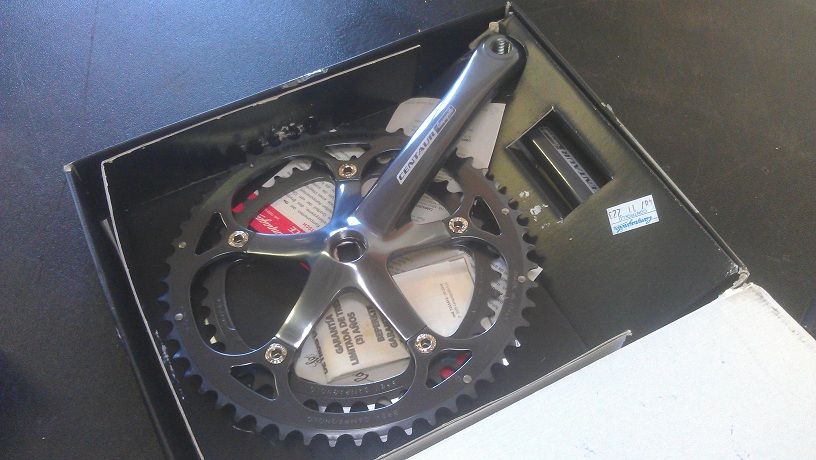
In other exciting news, a present arrived in the post for Gunmetal Bike - a NOS Campagnolo crankset in a very desirable (to me) 175mm crank length;


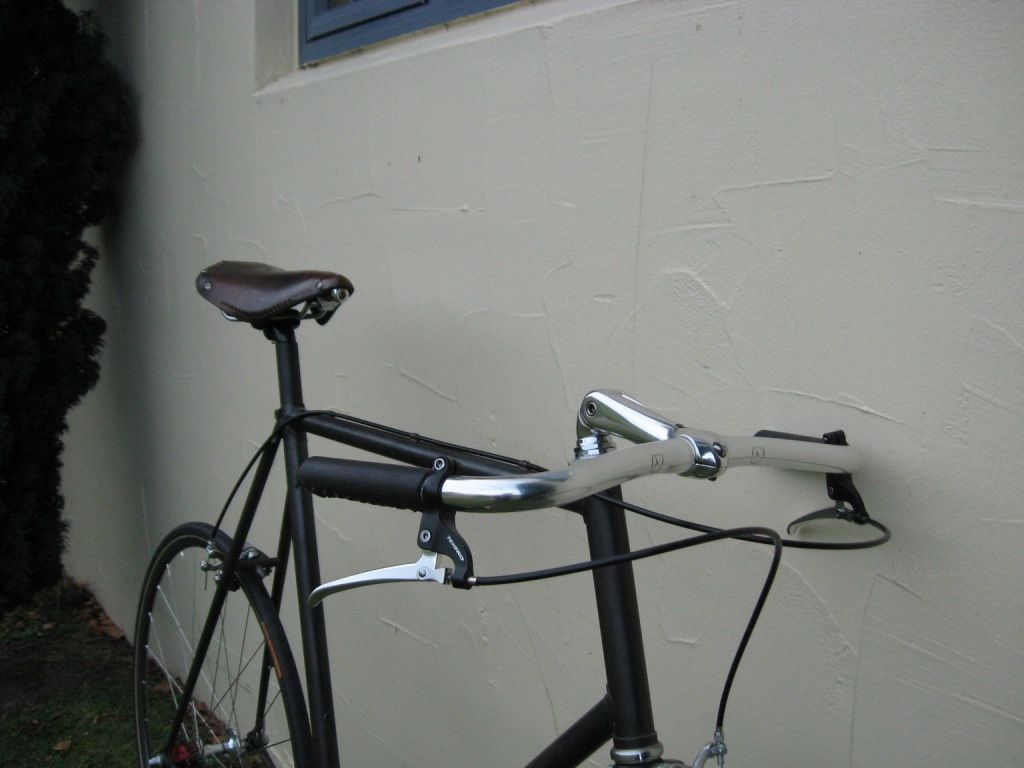
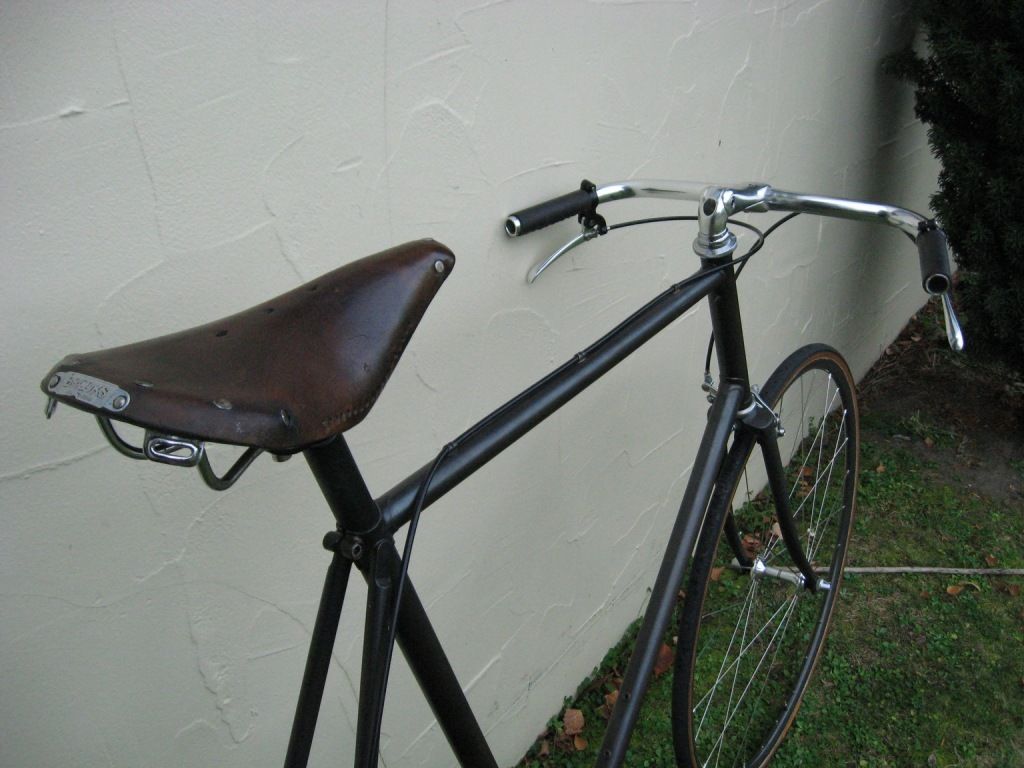
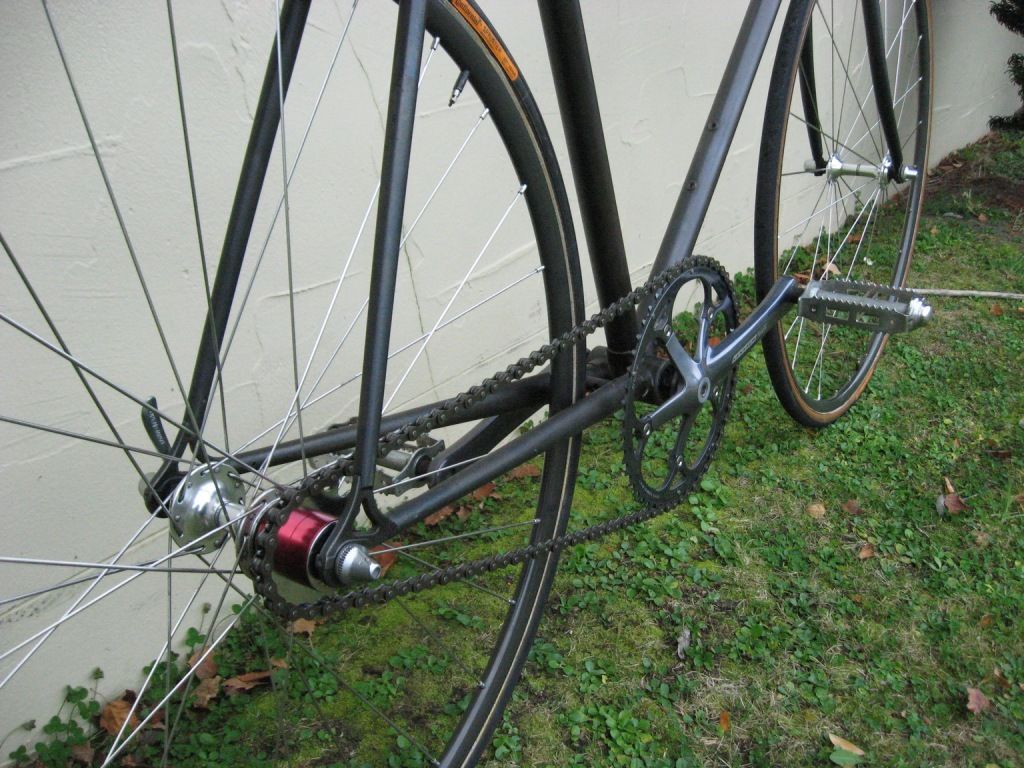
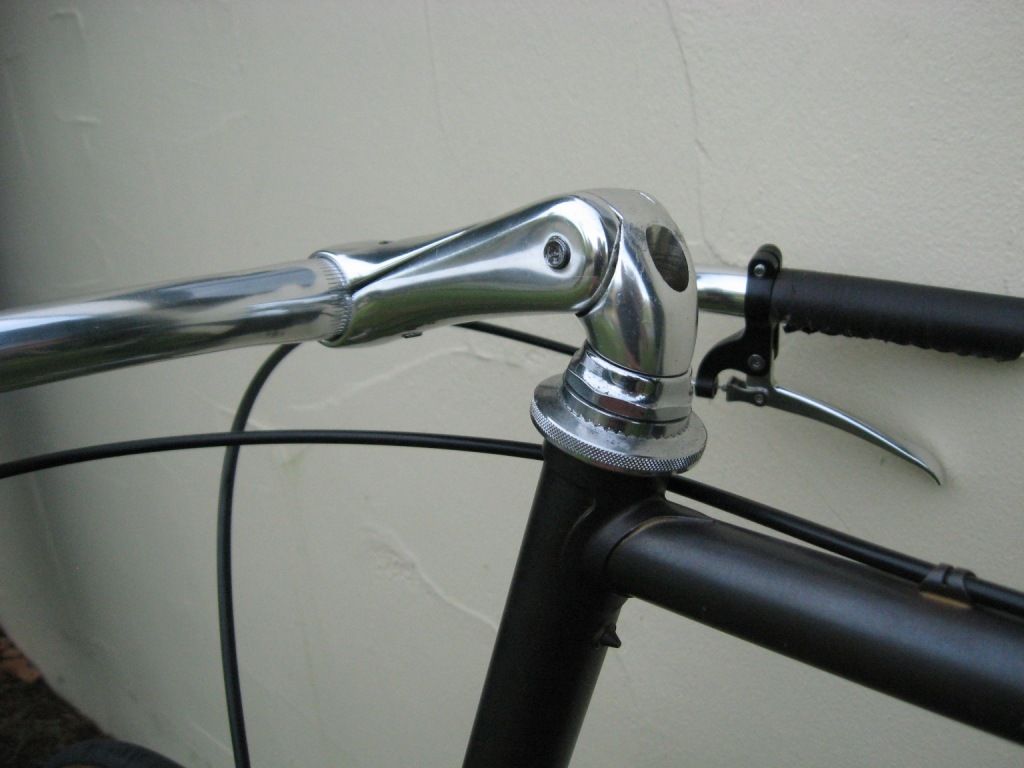
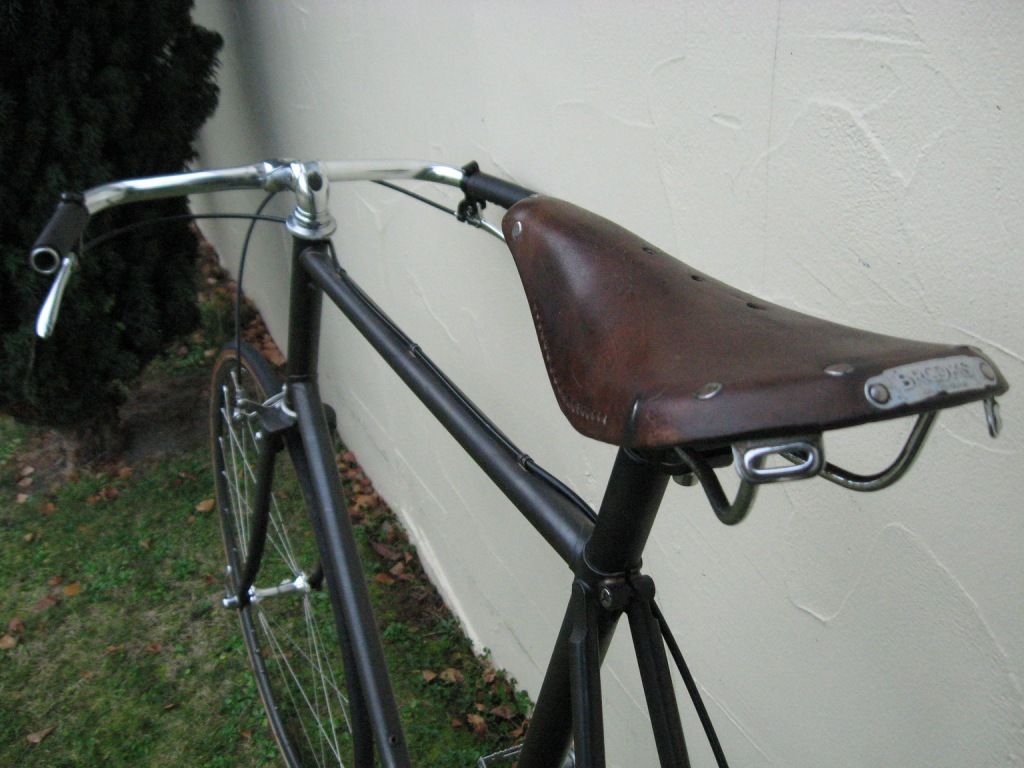
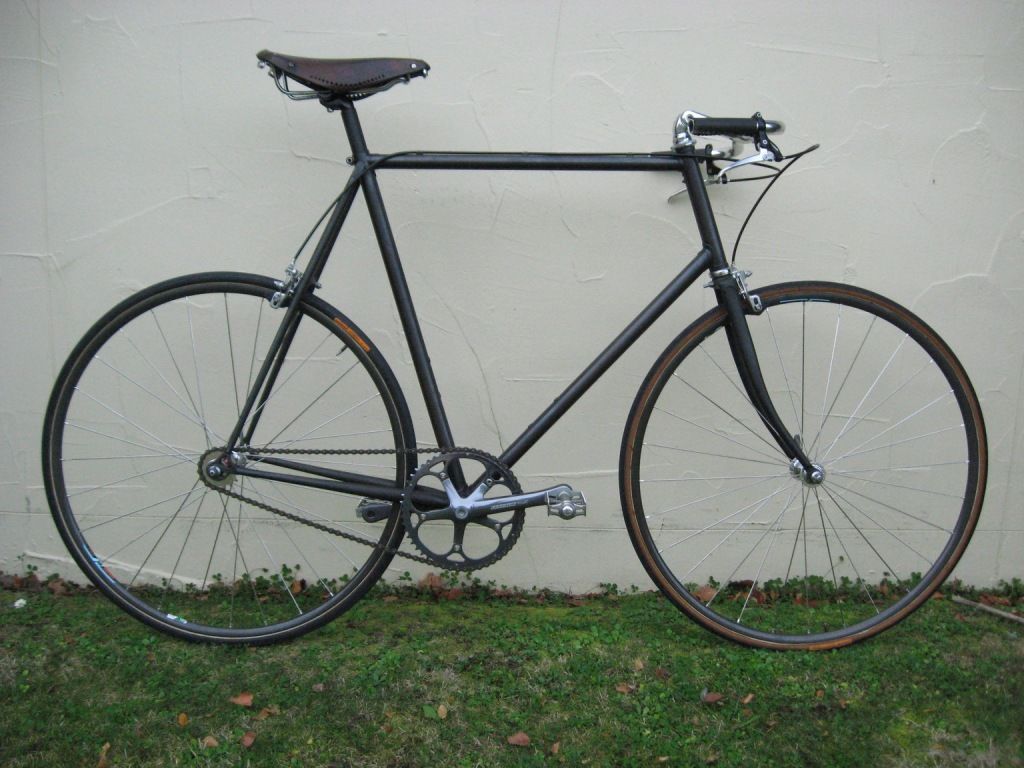
Gunmetal bike started as a pretty rough Tarini Tange 2 frame that I got for $20 off TradeMe, which I decided had to be gunblued. Due to the fact that I was excited by my success in so easily sourcing a pot of bluing compound, I slapped the stuff on without really reading the instructions..... this *kind of* went badly as a result, so I ended up doing it all over again. This means the colour is more chocolaty brown than blue, but I like it a lot.....


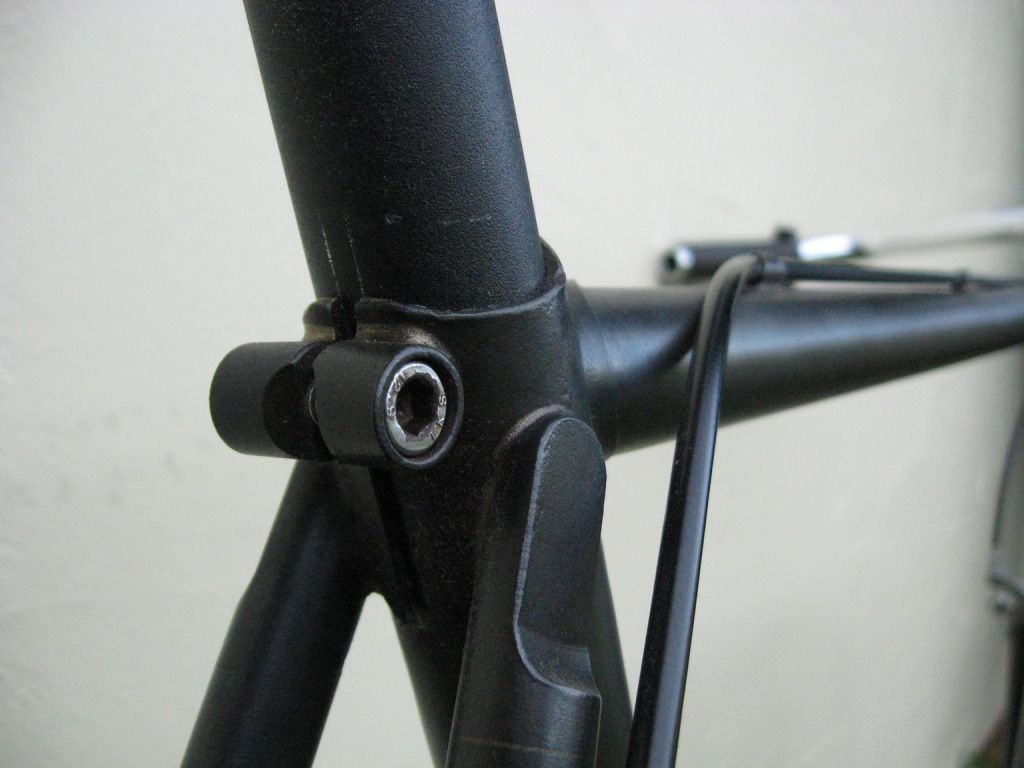
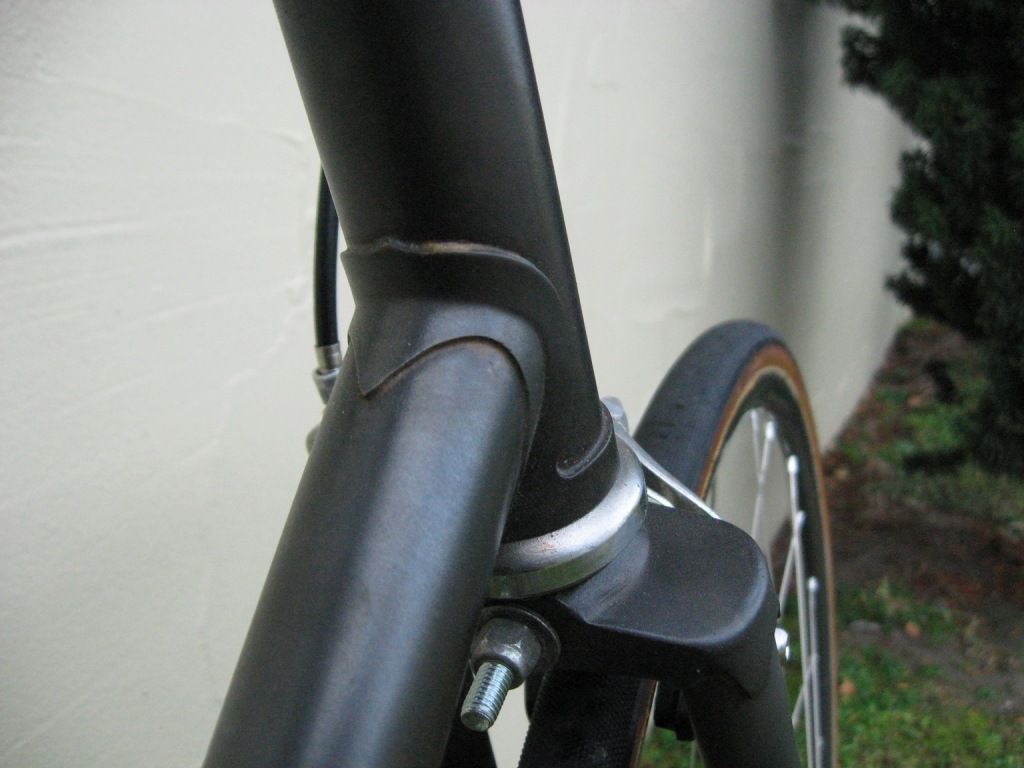
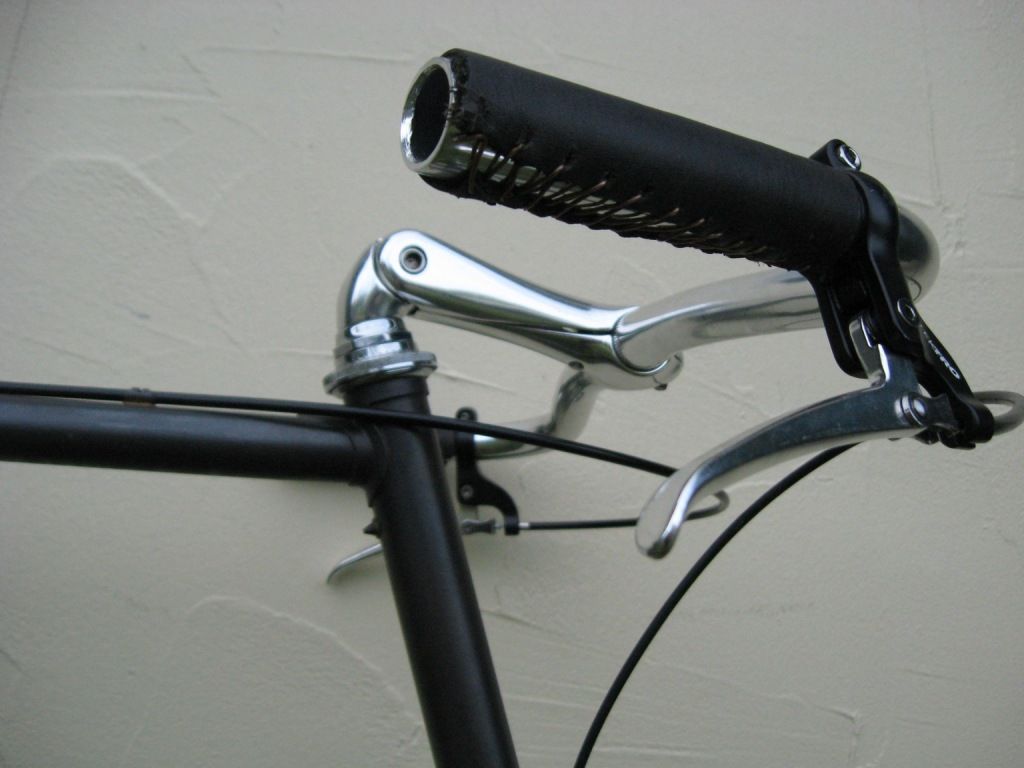
I really like how you can see the brazing beneath the finish, and the sweet Porteur bars, and the saddle, and pretty much everything... It is also ridiculously light, so the big gearing doesn't hurt my knees so much.

This bike is still a bit of a work in progress, as you can see there are a couple of areas that could do with improvement, and I might even build a new set of forks for it sooner or later.....