Showing posts with label Hope Fatsno. Show all posts

Saturday, 8 February 2014

Upgrades and Downhills

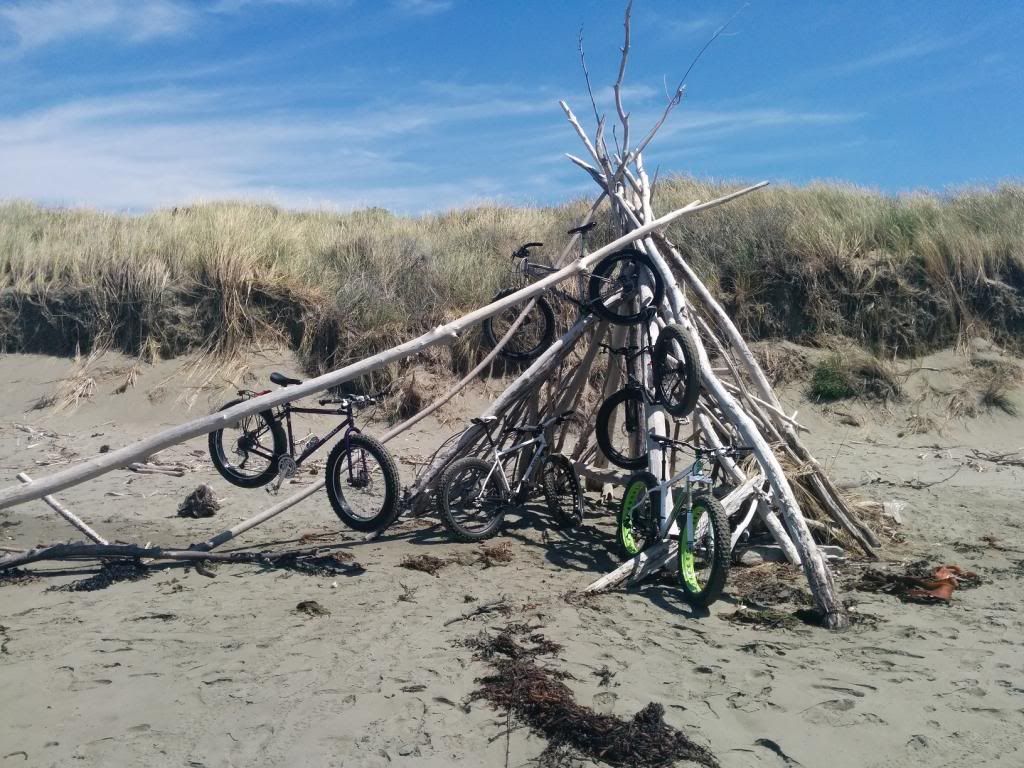
It has been a few weeks since I have blogged, firstly there was the Christmas break to contend with and secondly I have been spending a lot of time actually on the fattie...this included a group ride along the beach from Brighton Pier up to Spencer Park and back. This involved a fair amount of dune bombing and general foolishness, plus some racing along the Burwood Forest MTB tracks. More pics and info on this trip can be found here (assuming you have twitface).

I have coined a new collective noun; A lard of Fatbikes.

I have also spent a fair bit of time at Halswell Quarry doing loops on the singletracks there while I got used to the handling and capabilities of the beast, and have also done the Rapaki/Mt Vernon/Vic Park/Bowenvale Loop a couple of times. The first time up Rapaki made it pretty obvious I was going to need more gears, it was a serious grind and I needed to stop a few times to make it up without puking. I calculated what I would need based on the Disc Trucker gearing and adding a 30 tooth front simply wasn't going to cut it. To this end I made an investigation into monster cassettes, in particular this beast;

This gives a 42 tooth sprocket at the expense of the 17 tooth in a 10 speed cassette.

The problem was the leadtime, they have sold out and will not be shipping until March. There is also a NZ option coming on line in the form of a nice looking CNC beast from Revolution Components here in Christchurch, but again there would be a bit of a wait.

I decided I couldn't wait and so this happened pretty pronto;

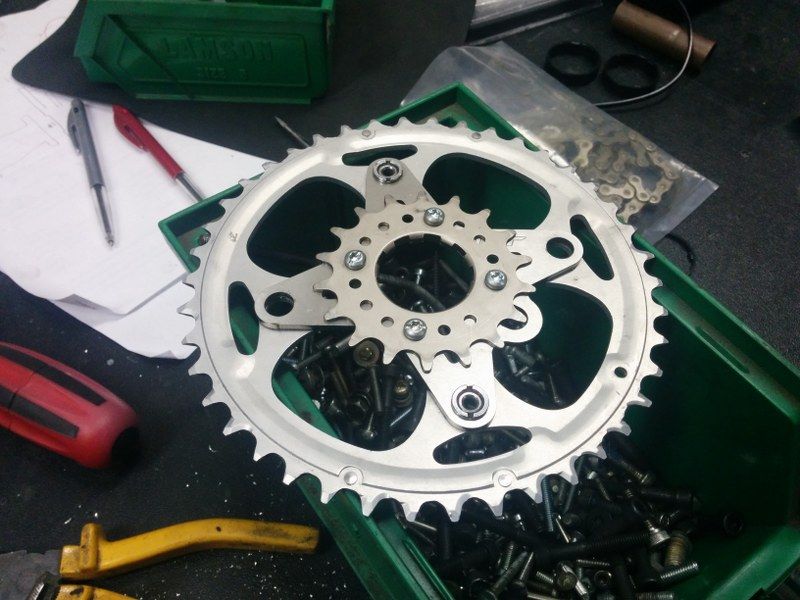
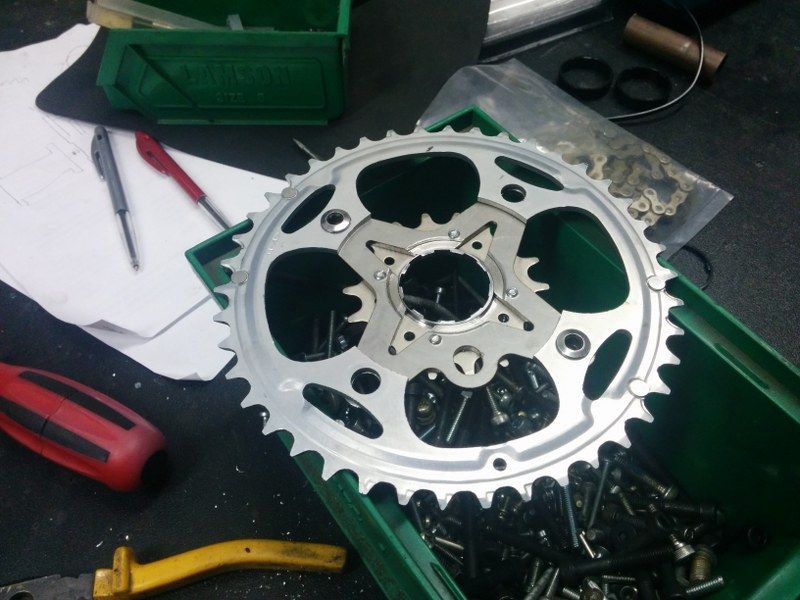
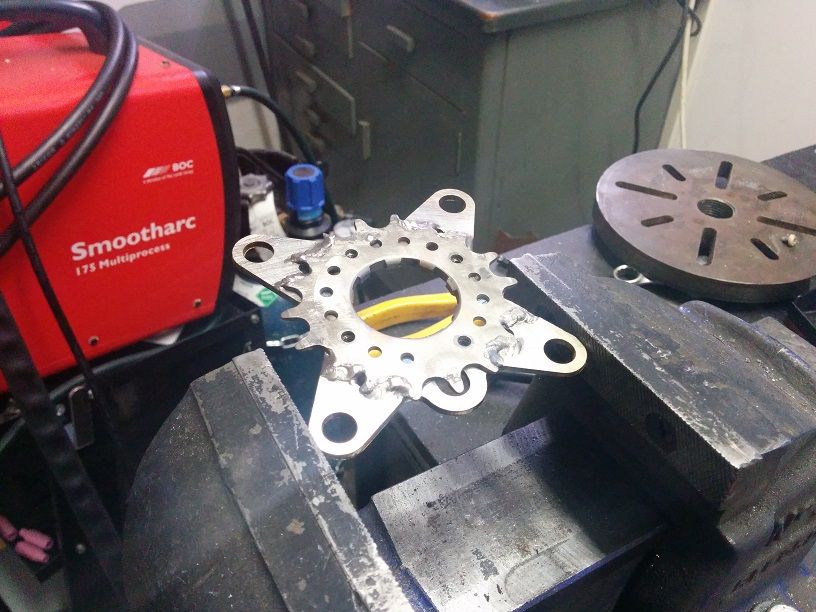
A Single Speed sprocket I had lying around, a laser cut BMX spider and a 42 tooth ramped front sprocket; jobs a goodun.
I initially screwed things together just to make sure of fitment and clearances.
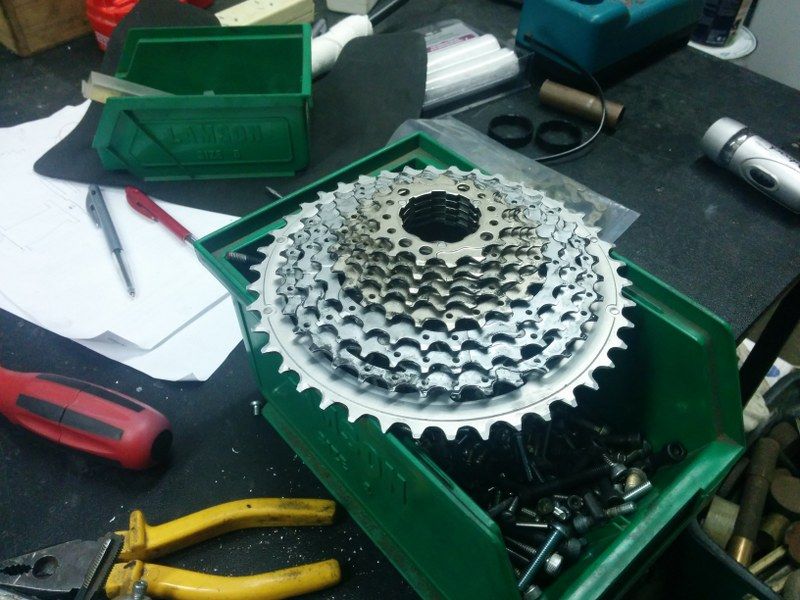
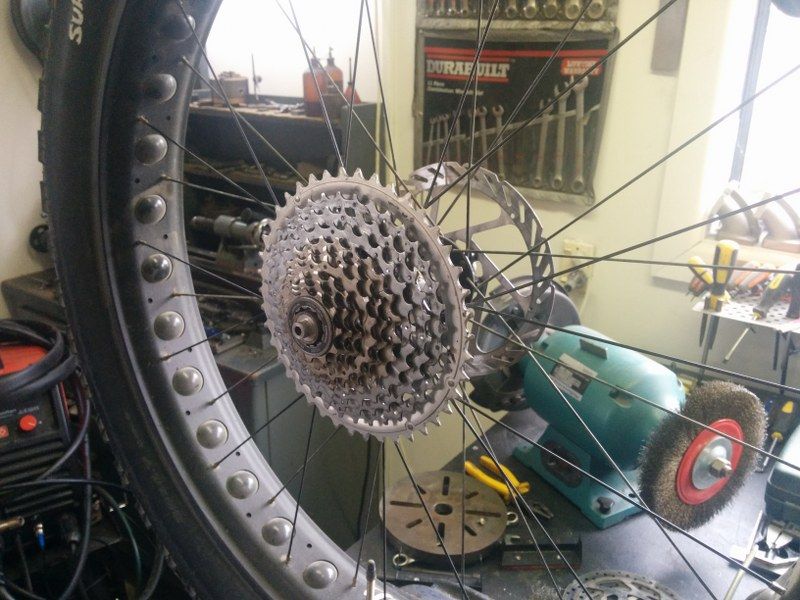
The SLX cassette is 11-36 teeth, I needed to split the middle cluster and remove the 17 tooth sprocket. This meant drilling out the pins, shortening them and peening the pins over to lock the cluster together again.
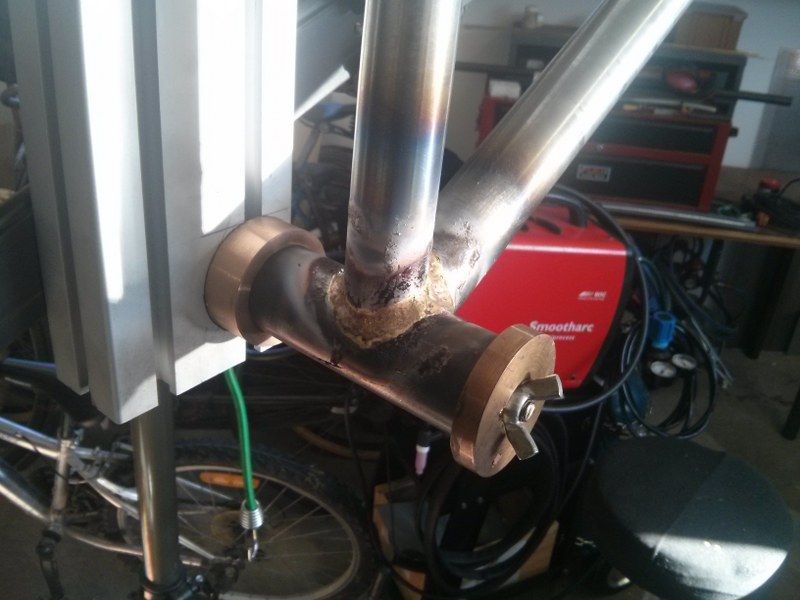
Once I was happy that everything would work I tigged the sprocket and spider together.
All fitted up.
A wee bit of tweaking to the dérailleur and all was good. The shifting is just possibly not as smooth into the 42T as it is for the rest, but it gets into gear and stays there no problem. The proof is in the pudding though and I did Rapaki again with nary a problem nor a stop to catch breath - great success!

The only worry is whether or not the extra torque from the sprocket will chew out my extremely clicky Hope freewheel, but I will pull it off in a couple of weeks to see how things look.

In other news I have upgraded the brakes as well, some of the descents through Victoria Park on my first ride there made it clear I would need more stopping power - the unfortunate condition of my undies made this abundantly clear. The Avid BB7's work just fine on my Disc Trucker, but were not giving me masses of confidence on the Fatness. T'internet told me the best bang for buck was going to be Shimano SLX M675's. These were ordered from Chain Reaction on a Friday morning and were dropped off the next Tuesday... I did use the DHL option but still I am impressed. Nothing like instant purchase gratification to oil the wheels of rampant consumerism.

The brakes work exceptionally well, they are extremely confidence inspiring...

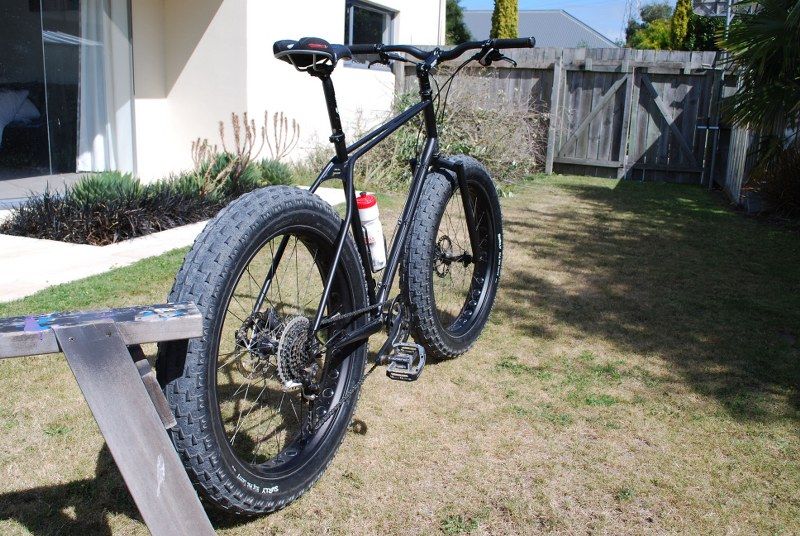
I cleaned and checked over the beast and took some pics today - this was after a hard core 2 hour session at the BMX track with my kids - a serious endurance test.
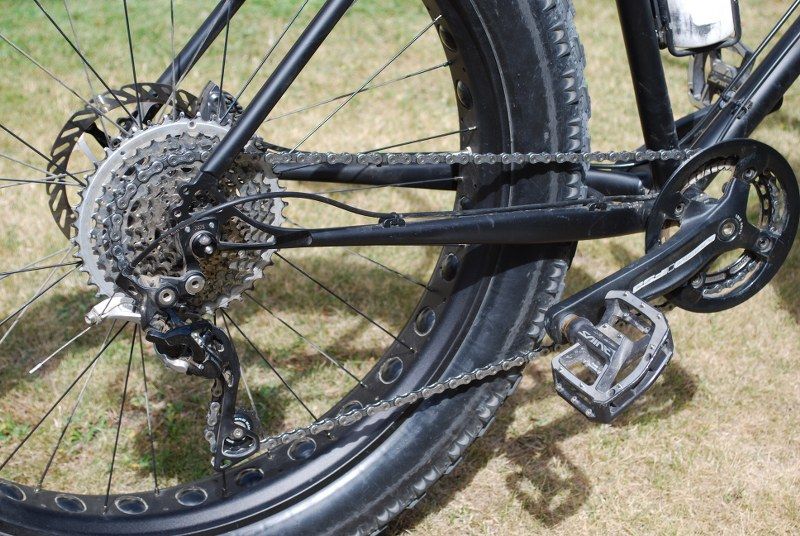
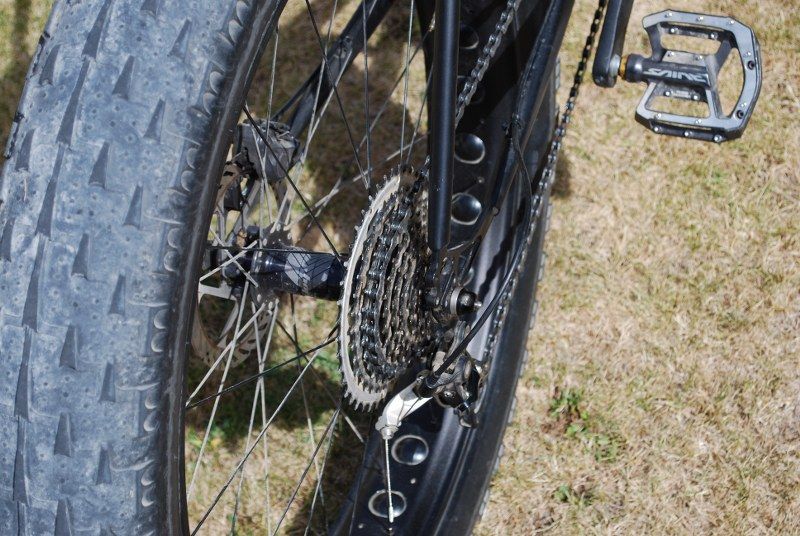
The XT dérailleur has no problems coping with the extra movement required.
Homebrew monster cassette in place and working sweet as bro.
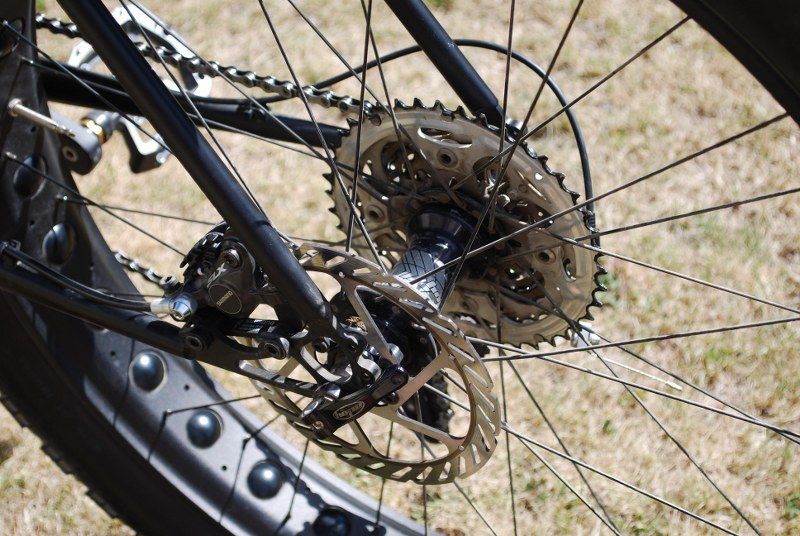
Tidy install of the SLX brakes at the back.
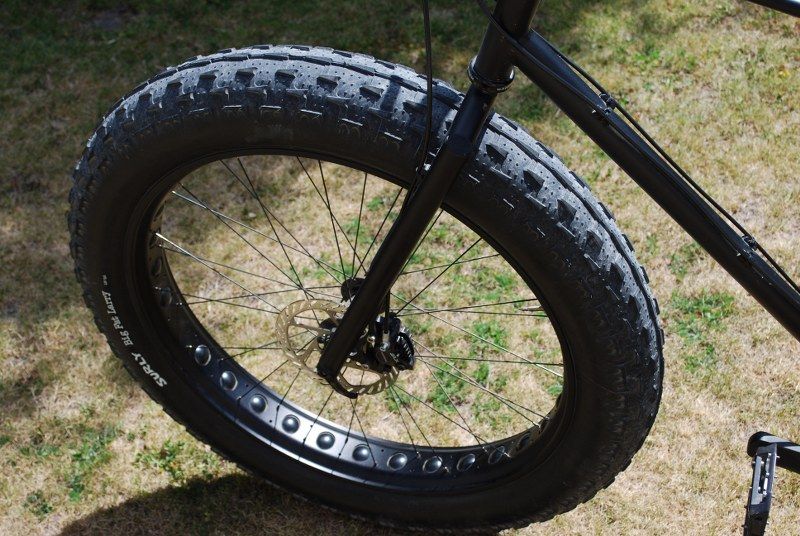
And at the front.
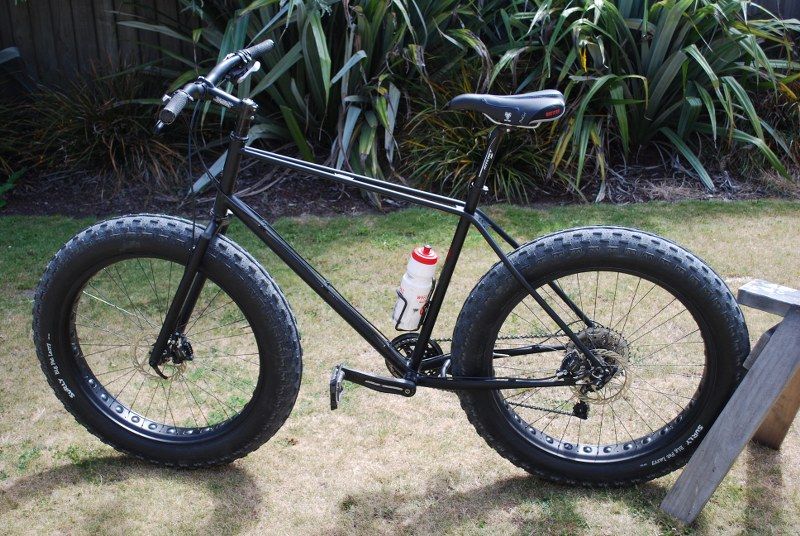
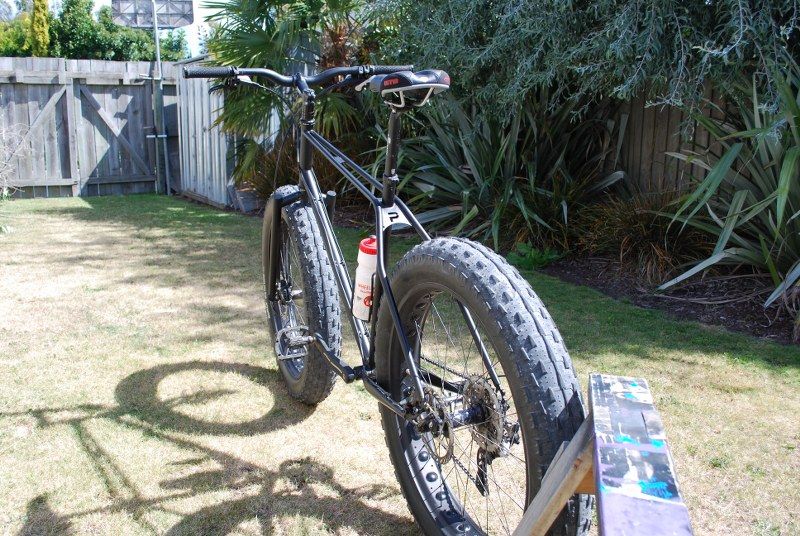
Only marginally living suburban lawn, today
Mmmmm fatness.
So the only real issue I have come up against is the front forks; I used plain gauge tube for the steerer and it moves around more than I am entirely comfortable with. There is no sign of plastic deformation or breakage, but I think I will make a new fork with a proper butted steerer anyway, just for my own confidence. Once this is done I shall get some proper paint on it, as the primer is already showing signs of wear...

We had a family ride around Mcleans Island last week, I moved the seat around so my lovely wife could use this instead of the slightly less appropriate Mixte she usually runs - she liked it so much that I suspect the next build might be another fattie just for her....

Tuesday, 3 December 2013

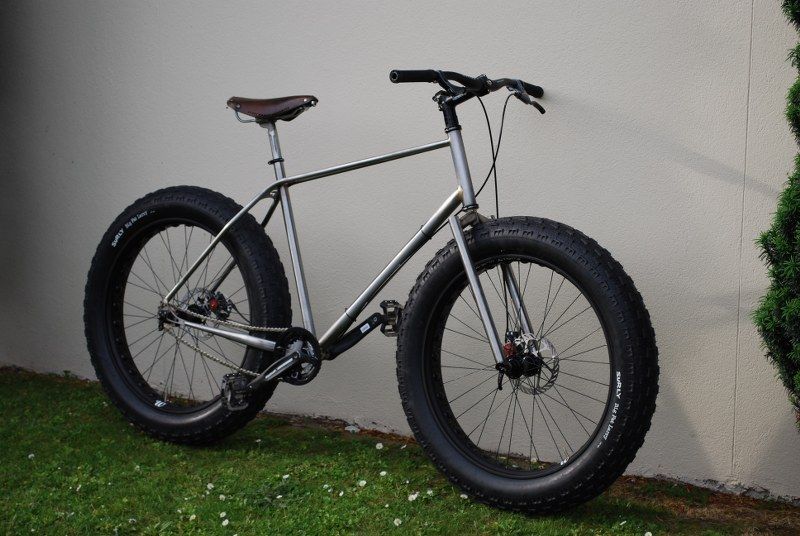
The Fatness

I have been cranking through the work on this as fast as I can in preparation for World Fatbike Day on December the 7th. Young Dave mentioned this when I went in to pick up the bits for the 2x9 drivetrain I intended to fit to the beast. I took this on board as I figured what better way to celebrate than with the birth of a new fatbike. Not a finished fatbike mind, but hopefully a functional one.

I have hit a couple of snags though..  mostly involving my utter noobness when it comes to dérailleur setups. Initially I had thought I would just fit the standardish 3.8" tyres, but fairly early on in the build when I saw just how awesomely fat the Big Fat Larry's are, I decided I needed to have them. Unfortunately the last time I paid any real attention to trivial things like chainlines was before this decision, so when it came time to attach the driving bits it was immediately apparent that the tyre was going to hit the chain for nearly every useful gear when in the small front sprocket.

I was a bit put out by this failure of Shimano to accommodate my requirements, but after a modicum of thought and calculation of ratios I decided that a 1x10 setup could be made to work, and as long as I didn't use the bike for land speed record attempts I would be pretty much ok. I then ordered a 32T downhill front ring, a 11-36 cassette and a nice dérailleur-shifter combo. This gives me a lowest gear pretty much equivalent to the Disc Truckers second lowest gear, which should be enough for getting up hills. These bits may take a week or 3 to arrive and I wanted to be mobile for the 7th, so I bought a single speed Kit off a very pleasant TradeMe chap called Dan. I suspect I could have talked to Dan a lot longer that would be appropriate for a supposed work day I was bunking off from, plus I was scared he would show me other bike parts and I would be powerless to resist, so I made my escape. I am now waiting on a single speed tensioner to make the thing actually rideable. Fingers crossed for this week.

The seatpost was another wee snag, I assumed that the ID of the seatpost was going to be 27mm according to the specification, which meant a simple job of reaming it out to 27.2 was going to be the go. Upon inspection the seatpost tube actually measured 26.6mm and it seemed a shame to thin things out too much, especially as Canyon flips will soon be part of my repertoire no doubt. I could only find a second hand Thompson Elite Inline seatpost on Trademe that was smallish enough at 26.8, so I grabbed it figuring it would do for now, and if it is too rough I would find something else later. In the mean time Dave leant me a vintage MTB post that at least allows me to get a seat on the thing.

I also had a wee beg on Vorb and borrowed some useful bits from a chap called Gumby - I can't tell you how useful that stuff has been - I owe that man a beer. I also did the same from an old workmate called Mike, and between the two suppliers I have sorted an acceptable cockpit sizing.

So anyway, today I decided I was going to ride it no matter what, even though I had a droopy chain, so I chucked the seat from my single speed onto it, checked everything over and rode it up the road. It was hilarious fun even though the chain meant I couldn't put any real power down. It feels pretty good, with no obviously bad handling characteristics or waywardness. It is a bit hard to say though so I shall wait till I have used it in anger. The main thing I notice is the incredible thrumming noise from those tyres...

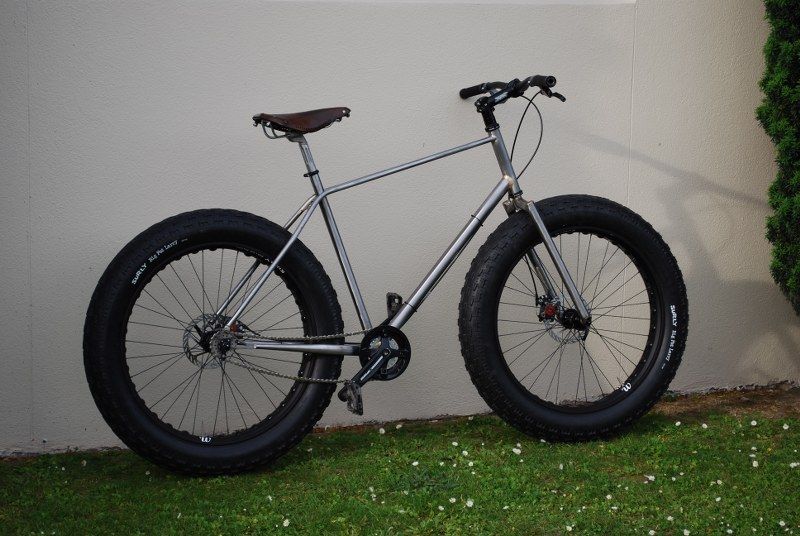
I dub thee 'The Fatness'
I am sure I could ride across the Cook Strait without pontoons on those tyres
I am gagging for that chain tensioner to arrive
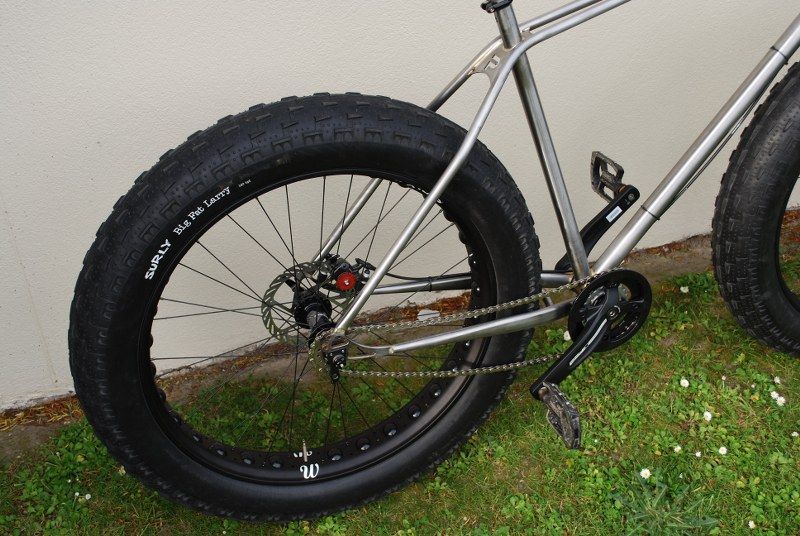
The offending drivechain area
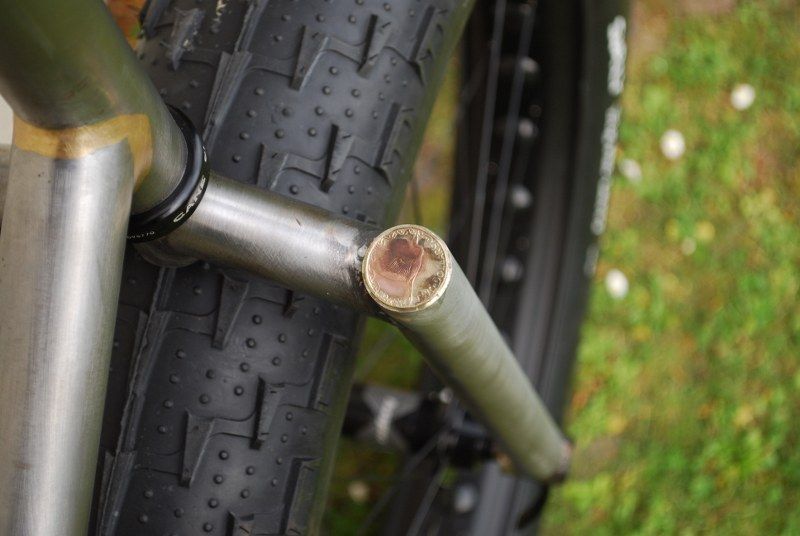
A probably illegal use of the local currency
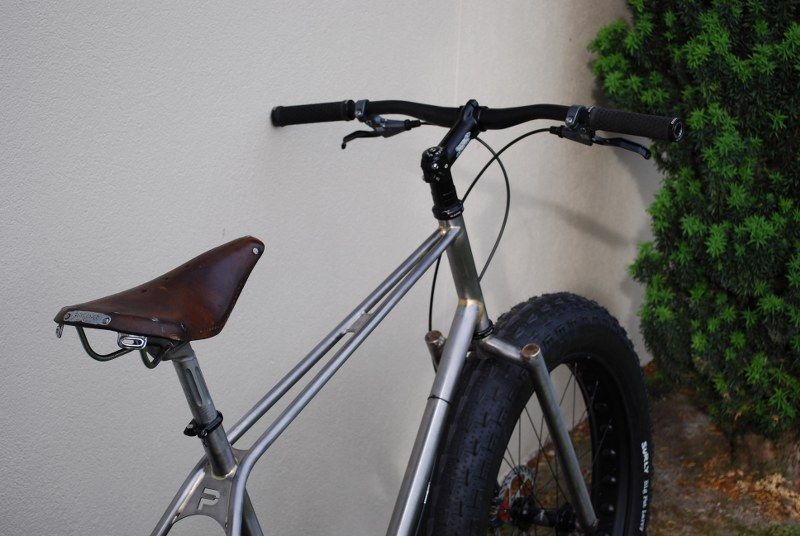
That vintage Brooks actually looks pretty good on The Fatness
So there is still quite a lot to do, I have ordered many many brazons from Ceeway that will allow me to tidily zip tie the cables to the frame. This system is on the disc trucker, and as I am using full length cable sheathing it makes a lot of sense. Then sorting the drivetrain and after that some testing is in order, and then many hours of cleanup before I get it coated. I am not sure exactly what this will be yet, but a decision is getting closer...

Friday, 1 November 2013

Tubular Balls

A fair amount of time has been spent since the last update, but it has been a 2 steps forward, one step backwards journey due to my seemingly endless stupidity....

So the last update left us with some inadequately formed bends in the test tube due to the jig crushing the tube. The first thing I tried was fitting a long 1/2" spring into the tube and trying again. This looked promising but was not quite there, probably because the tube ID is 14(ish)mm, and 12.7mm was not filling things up all that well.

I then bought a spring the next standard size up (standard for Century Springs at least - these come from America, virtually the last bastion of what I shall kindly call an antiquated measuring system), this spring had an OD of 14.3mm, but I figured quite rightly that it would wind into the tube without too much issue. I tried a couple of test bends which looked really good so I figured it was time to risk the real tubes - it was about now things started to go badly.

I had set up a smaller diameter tube to be the spring winding in and out helper, and this had a secondary function of measuring how far in the spring needed to sit to support the bend. I carefully measured this and wound in the spring, gingerly bent the tube and eagerly pulled it out to see the results - which was a completely crushed tube..... a bad word may have escaped my lips at this point.

Somehow I had managed to get the spring in the wrong position, carefully placed precisely 50mm away from the bend. What a tool. This was bad because the size of tube I had ordered was not a stock item and had to be shipped in from America - hence the 2 week wait. I now had precisely one good tube.

The next day I rang Lianne and asked if perchance she had ordered more of my tube - no she hadn't. She did however have quite a lot of tube with a smaller wall thickness - just over 0.7mm vs 0.9mm for the first tube. This should still be plenty strong enough so I ordered 2 lengths of that. This turned up the next day which was a result. I then bought a fresh spring, as the removal method of the old one had proved fatal to it's elastic limit - this may have had something to do with my state of mind as much as anything as I removed it.....

So today I set it all up again, very carefully checked the bend was in the right place, aligned in the jig etc, inserted the spring after checking it against my pencil marks on the tube and wrapping it with tape at the perfect insertion length, bent the tube.......... and got a bend that was halfway good and halfway crushed.

F________k.

(fill in the blanks, it will not be an intellectual stretch)

Somehow I had got the pencil markings for the jig alignment and for the bend proper mixed up and the spring was positioned only halfway along the bend. I genuinely do not understand how I could do that twice, maybe I am getting senile, which is eminently possible.. I bent the second tube just to prove that it was actually possible for a clearly retrograde intellect such as myself to achieve, and this turned out very well.

I shall ring Lianne on Monday.

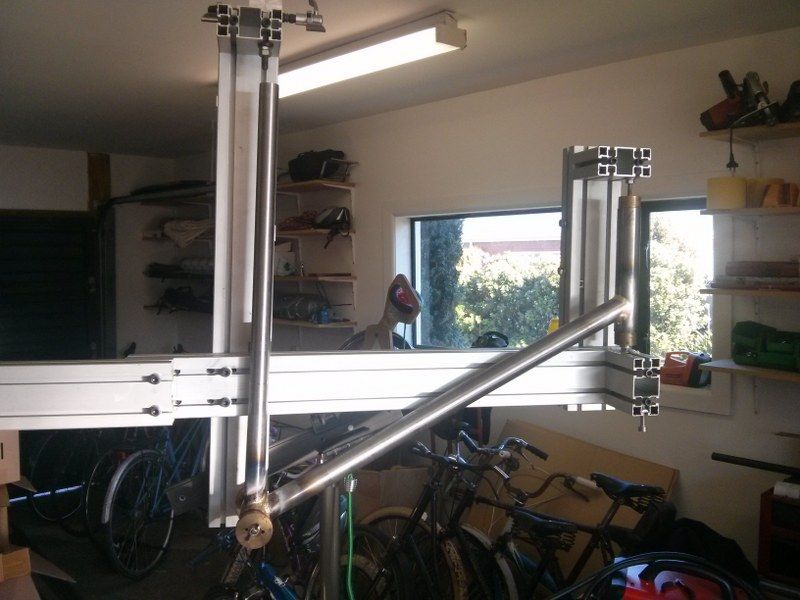
Anyway, in between all this I started welding things, then cleaning them up;

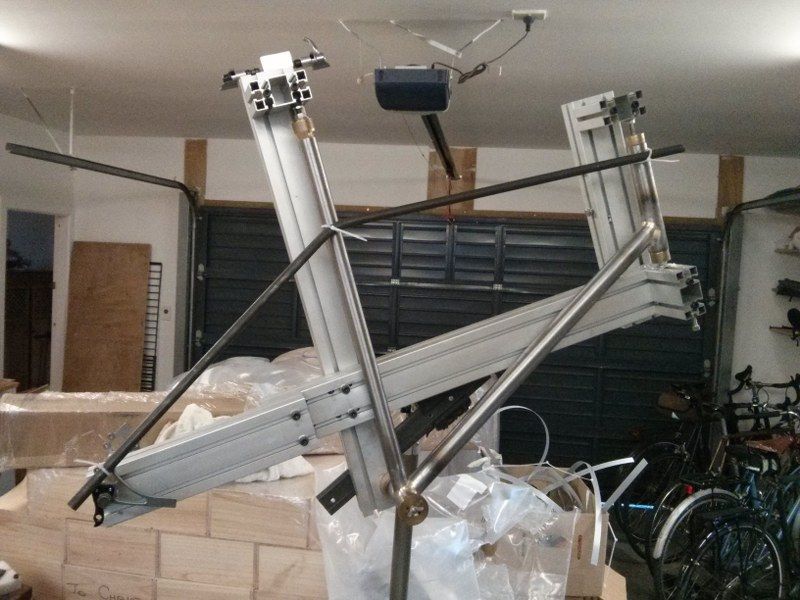
A wee bit of cold setting will be needed to straighten the seat tube

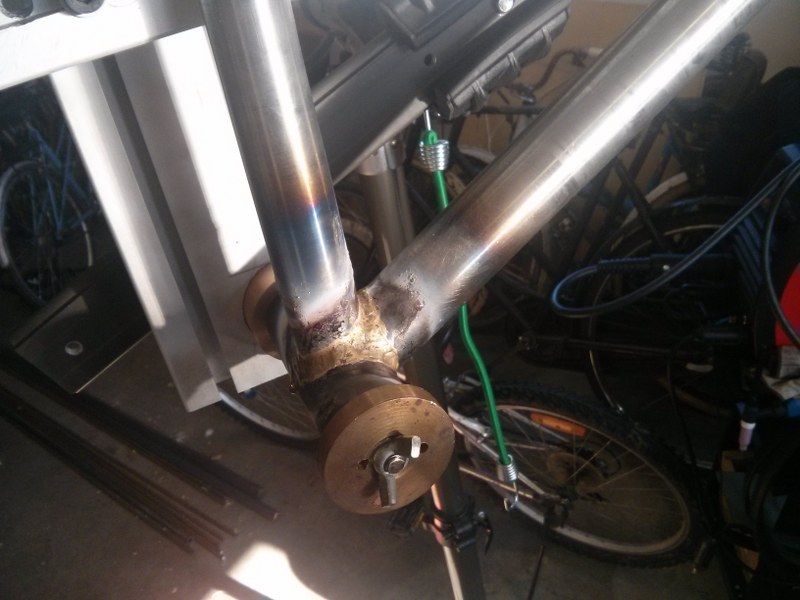
Raw welded tube
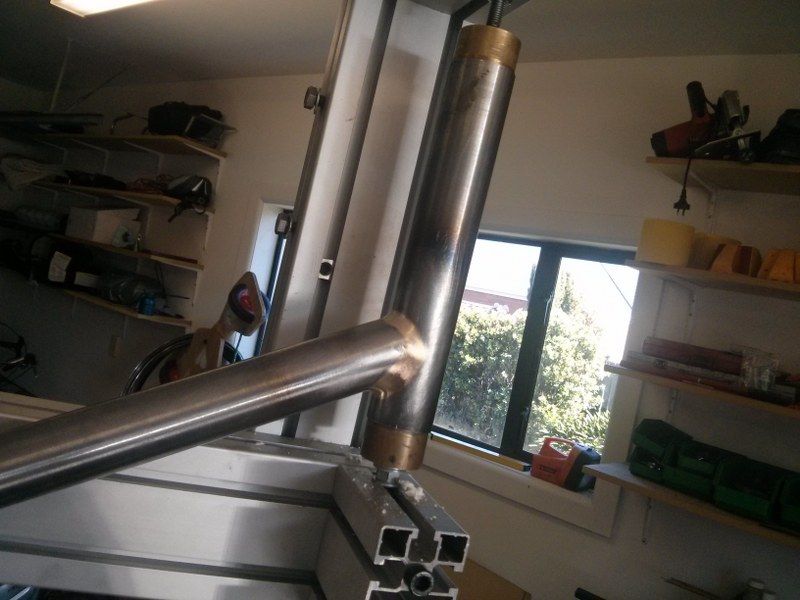
Raw welded tube, 2nd angle
Mostly cleaned up head tube joint
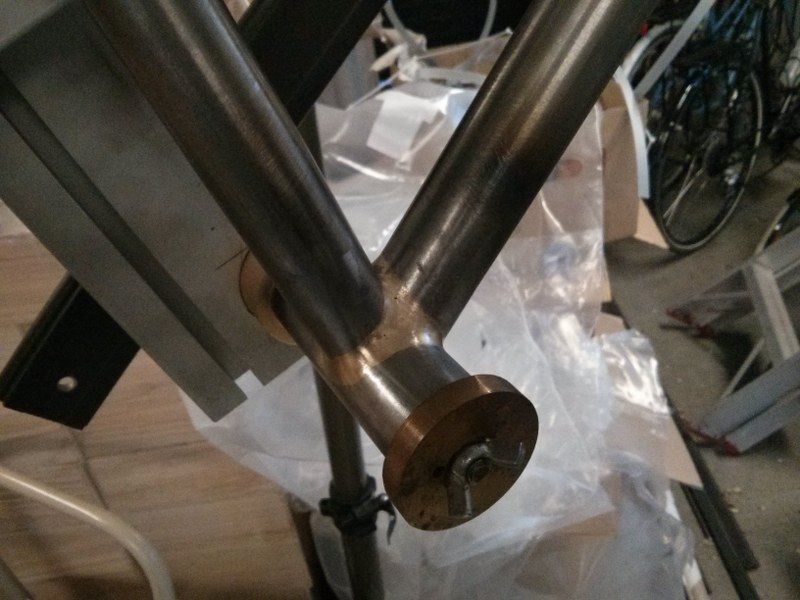
Mostly cleaned up head BB joint
Sortof getting the idea...
A single perfectly formed tube.
The other big news is the wheelset;

My actual wheelset, today.
My father had offered to pay for these, mostly because I asked him to. As I had decided it was an early Christmas present from him I did kind of use this as an excuse to go a bit further out there than I had intended. I therefore asked the extremely helpful Tristan from WheelWorks to sort something for me and he appears to have done a sweet job. These have Fatbike specific Hope Fatsno hubs laced to Surly Rolling Darryl rims, mmmm tasty. These should be here tomorrow or Monday, I am gagging I can tell you.