Sunday, 21 July 2013

1000km Running Report

Long time no blog...


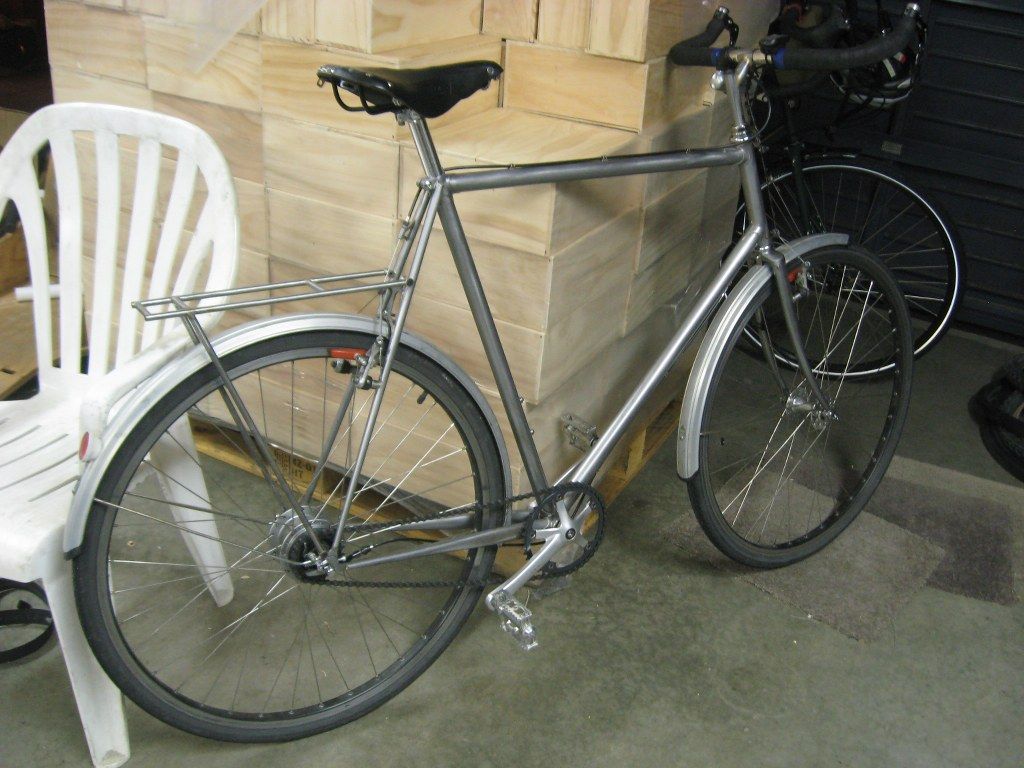
Not too much to report to be honest, except that sometime in the last few weeks I passed the 1000km  commuting mark on the Pogward - I have no idea exactly how far it is due to the lack of cycle computer, but it is definitely between 1000 and 1500kms...

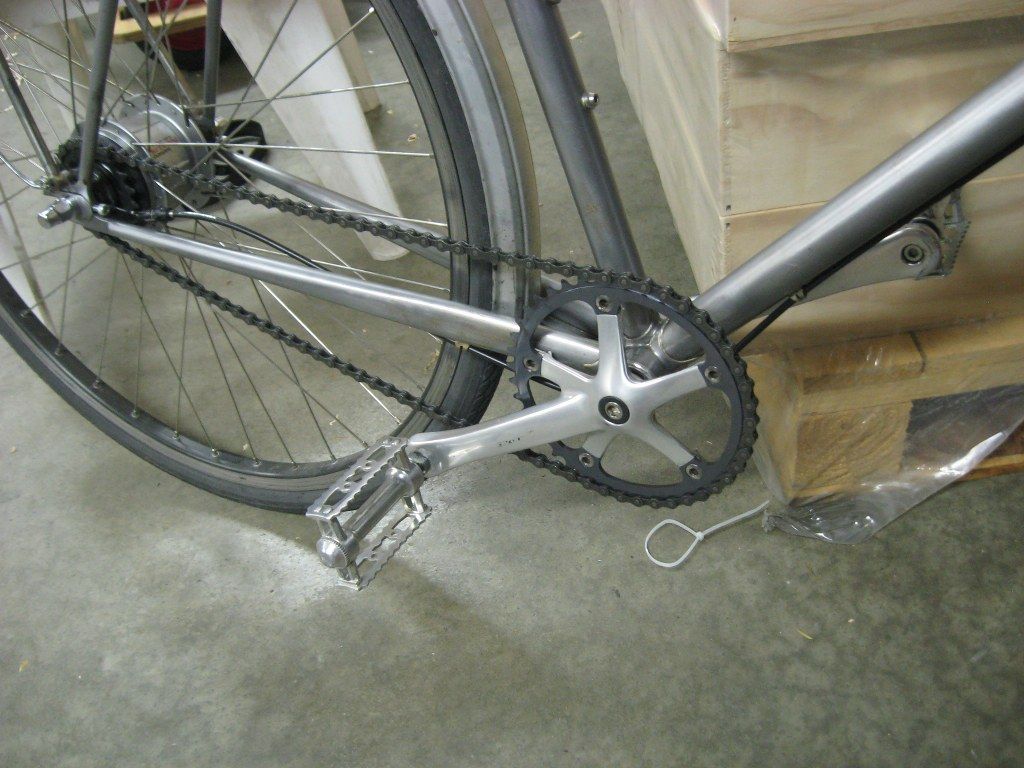
The only niggles to speak of have been a squeaky crank and an annoying tendency for the left hand rear axle nut to come loose, the crank being the most annoying because no matter how tight I got the crank bolt it started loosening off almost immediately. I have never had problems like this with square taper cranks before, so I am guessing that the tapers on the dirty old Campy cranks must have been worn. I solved the problem by buying a nice set of Shimano 600 cranks and a new bottom bracket to suit - this has been totally sweet for a good few weeks now. One extra benefit of the new cranks is that I was getting a wee bit of heel strike on the chainstays with the Campagnolo items, this has now been eliminated which is a pleasing side effect of the change.
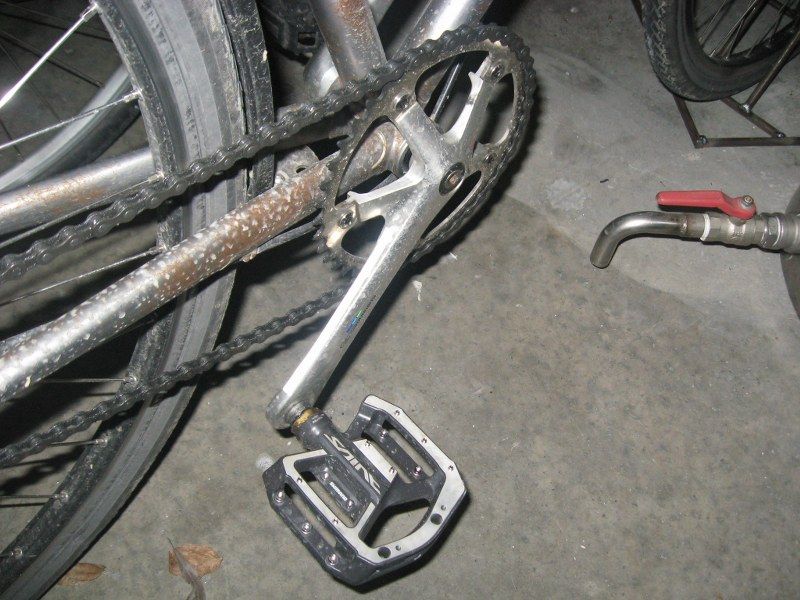
A filthy commuter, today.

As can be seen I also treated myself to a set of Shimano Saint pedals - I have these same pedals on the Surly now and they are very nice indeed, and should take the mountainous weight of yours truly with aplomb. There is also a sneaky Surly 42T Stainless Steel chainring hiding under the dirt and grime, this should also take many miles of punishment.

The axle nut comes loose over the course of a month or so, I might just double nut it for now, I just need to check it every couple of weeks at the moment...

This lack of exciting problems is really quite pleasing as the Pogward has had to deal with some fairly extreme conditions; snow, sleet and epic amounts of rain, so yay for me.
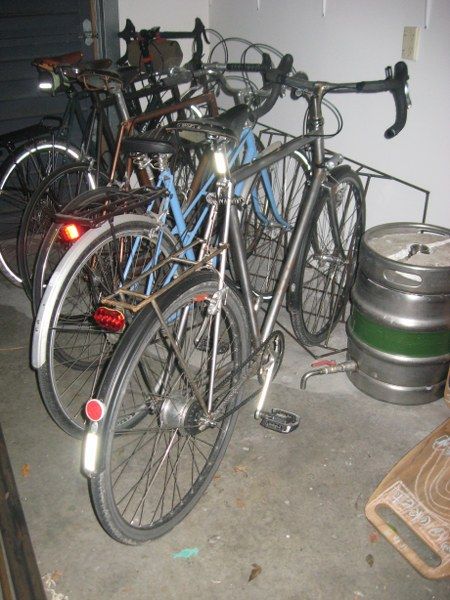
I have added much reflective shiny stuff in an effort to make myself more visible as you can see from the flash. This is probably pointless as Christchurch drivers are almost wilfully blind and/or careless when it comes to cyclists. I am not dead yet though, so there is hope it is doing something.
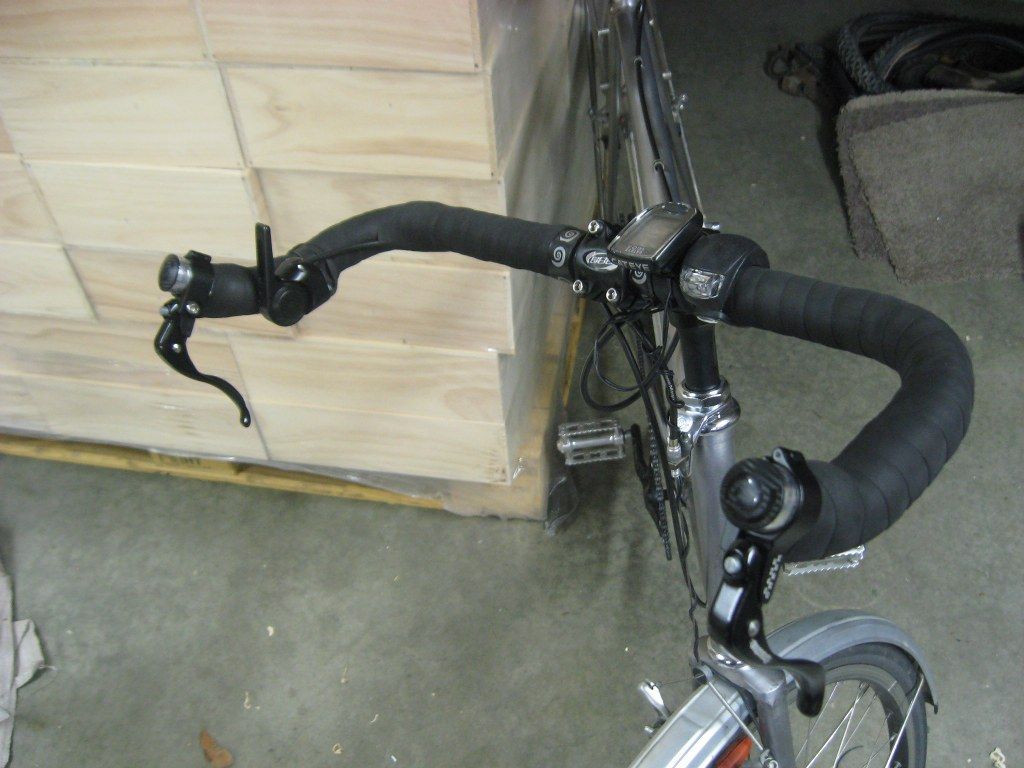
I have caved to peer pressure and replaced the BHT™ with some black electrical tape. I also bought some black brake pads, but these are to go with a set of old DiaComp brakes I just won off TradeMe, so total colour coordination will occur sometime later this week I would say.

You can see another quick and dirty project of mine in that pic, a 5 space angled bike rack. Unfortunately I have 10 bikes to find space for, so I shall build another the next free day I have. The angled thing is pretty good for minimising the space required while still allowing reasonable access, and my lovely wife appears to be pleased that they are not all draped around the garage as usual. Not as pleased as she would be if I dumped some of them at the tip I would venture, but still.
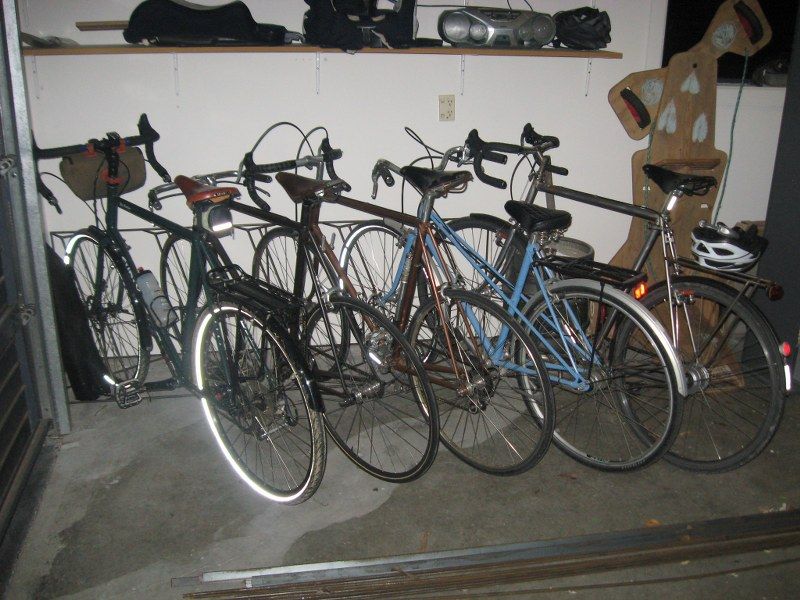
A motley collection of bicycles. I like how my wife's bike is the only one without a Brooks saddle.

I am just getting back into my weekend riding again, these rides have been pretty sparse of late due to our house getting earthquake repairs - we shifted out for 6 weeks, and the whole place was completely gutted and redone. It looks nice now, but many weekends have been filled up doing the many little jobs that have needed doing since the workmen have left. The actual work done on the house was of pleasingly high quality, although the cost of the extras we asked for was eye-wateringly steep. All I can say is; Get A Quote. Also for the record I must say that Canterbury EQR are a pack of lying, thieving, two-faced bastards whose mothers probably only bought them home from the hospital under duress.

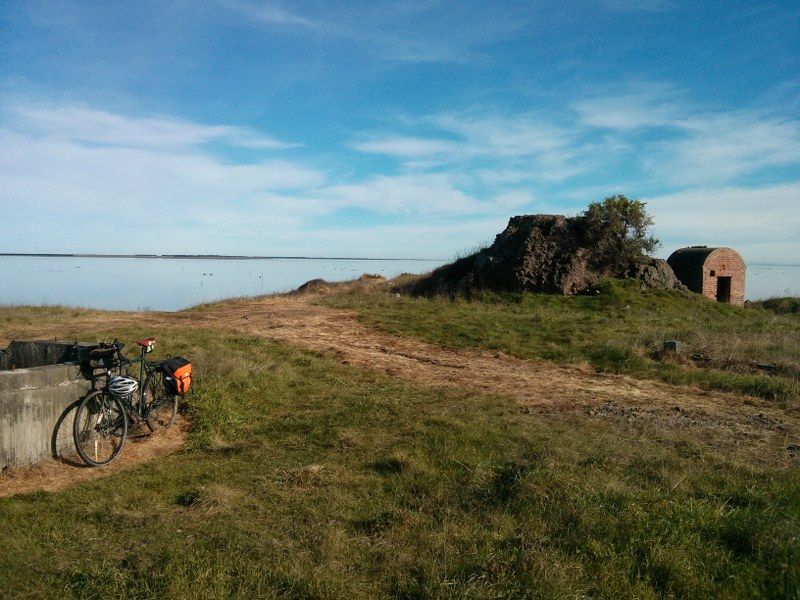
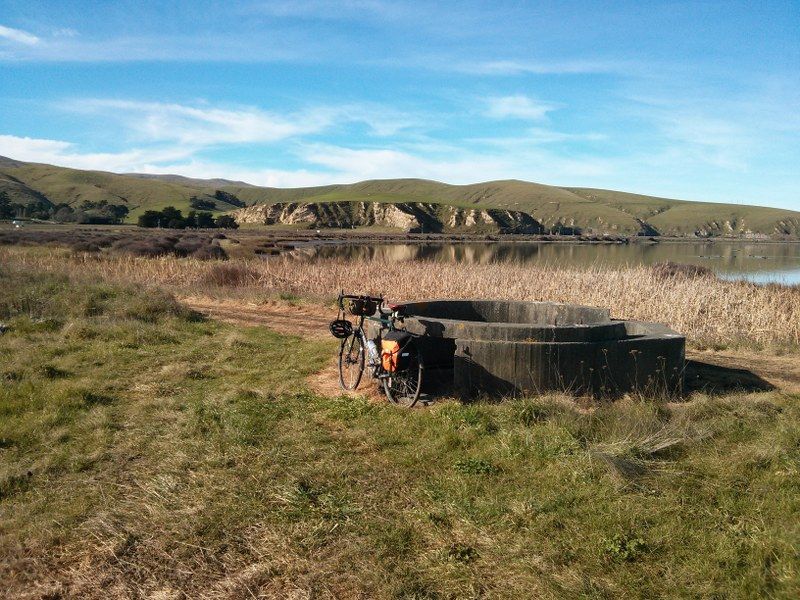
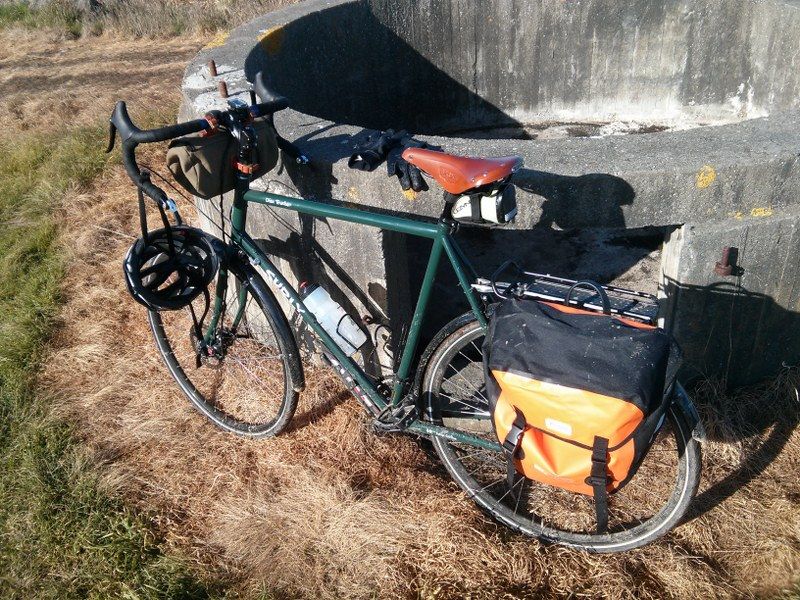
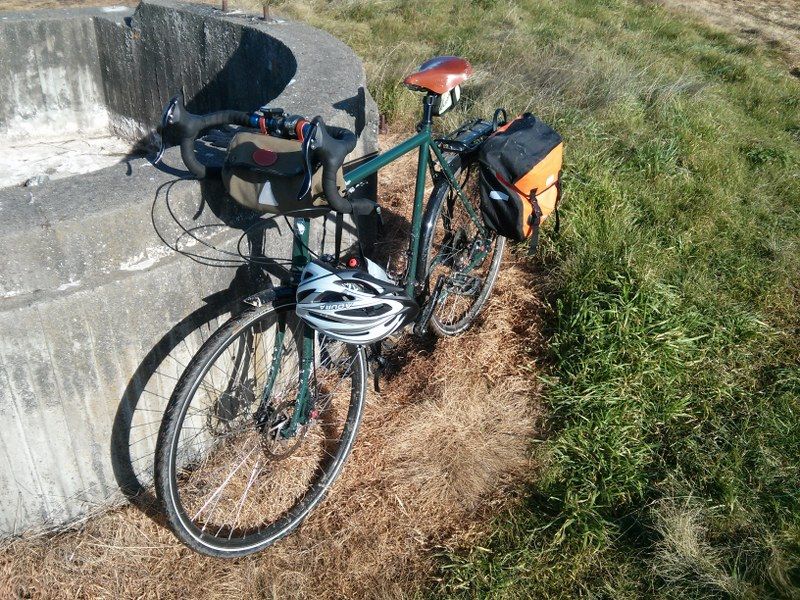
So this morning, to the obvious displeasure of my wife who had somehow got the impression that I had agreed to spend the day in the garden helping her tidy up, I decided to ride the rail trail down to Little River and back. This was exceedingly pleasant, as only time spent avoiding something tiresome can be. The track was a bit bumpier than I expected but the Surly took things in it's stride like a true champ. Together we showed our heels to a surprising number of people on mountainbikes, which should have been more suited to the terrain...

The weather, temperature and views were just perfect;

Tuesday, 16 April 2013

Now with added Randonneur

A few weeks have passed in a blissful state of commute, the weather has been pretty spectacular and the winds kind. I have also gradually increased my fitness levels such that atop the trusty Surly I made it to the top of Dyers Pass without stopping once, and even passed someone! Admittedly she had a good decade on me and admitted that she was quite hungover, but still, take the victories as they come I say.

There have been many small changes to the bike, and it is now getting where I want it to be give or take a few bits here and there. I had already decided that the bullhorns were not doing justice to the classic look of the frame, so on a whim I bid on a set of Salsa Short and Shallow Cross Bars on TradeMe, mostly because they were very cheap and the right diameters for what was wanted.

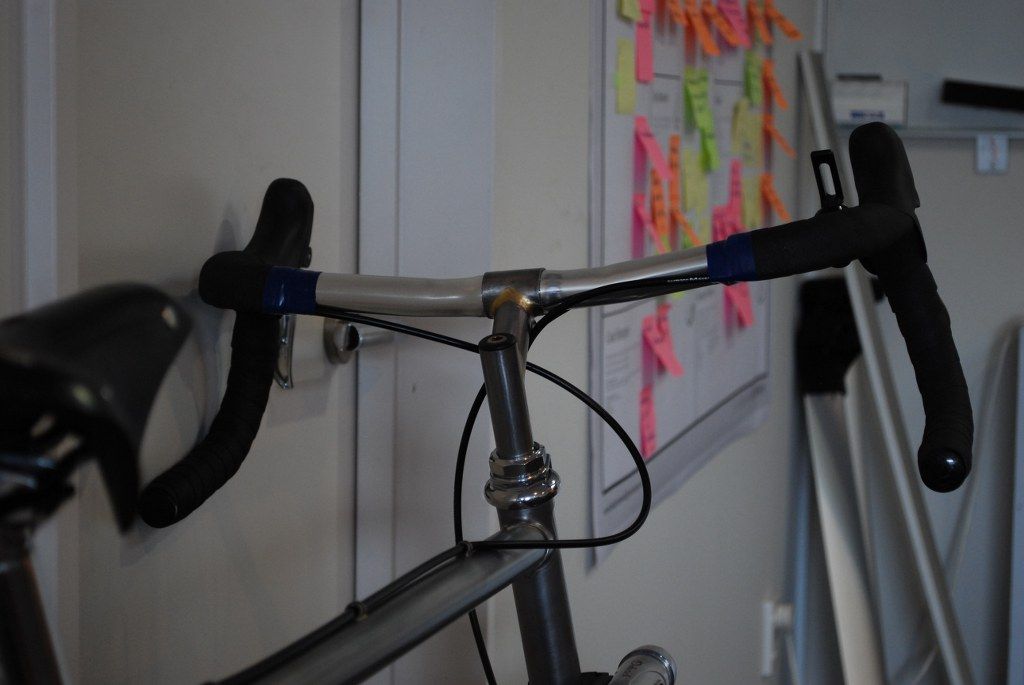
This turned out a mistake really as the ergoness looked faintly ridiculous on such a classic looking frame. The reach was also a bit short for my stem, so I then decided to find the perfect bars, and an extensive internet search gave me this result;
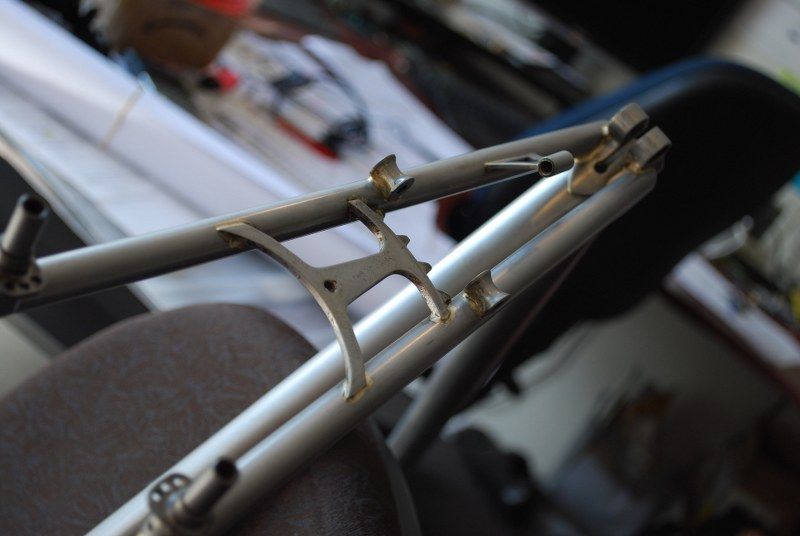
The Velo Orange Randonneur bars along with the very similar Nitto 136A. I thought to myself that both of these would be pretty hard to find in NZ, but then I looked to see if there was a local distributor for Velo Orange, and lo! Contact Dave at Velo Ideale..... as it turned out Dave had the perfectly sized set in stock right there, so I snaffled them pretty sharpish.

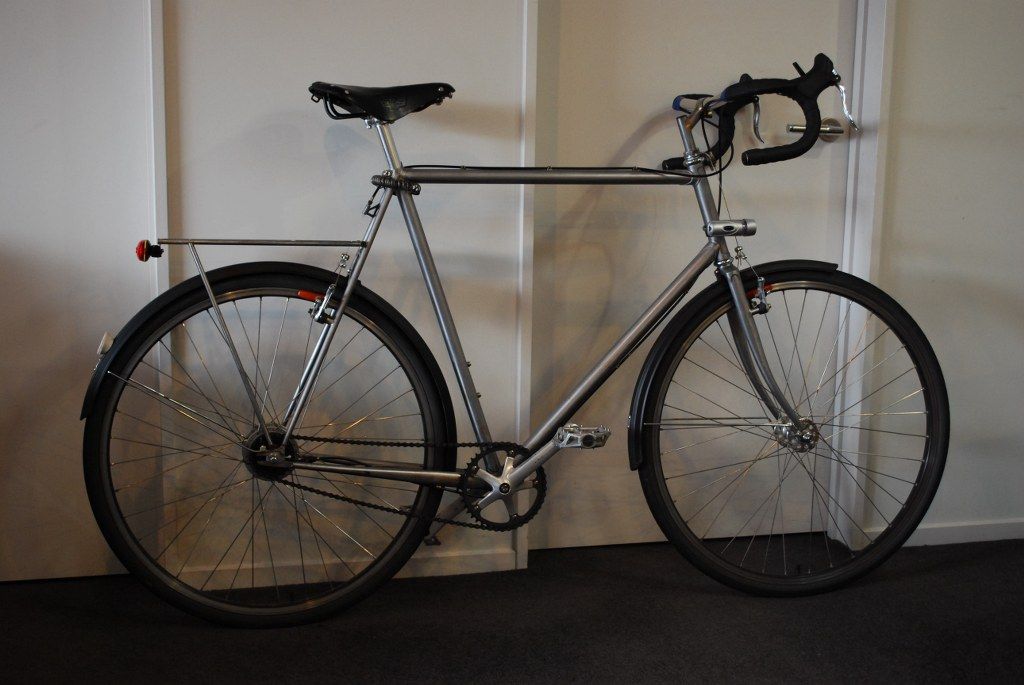
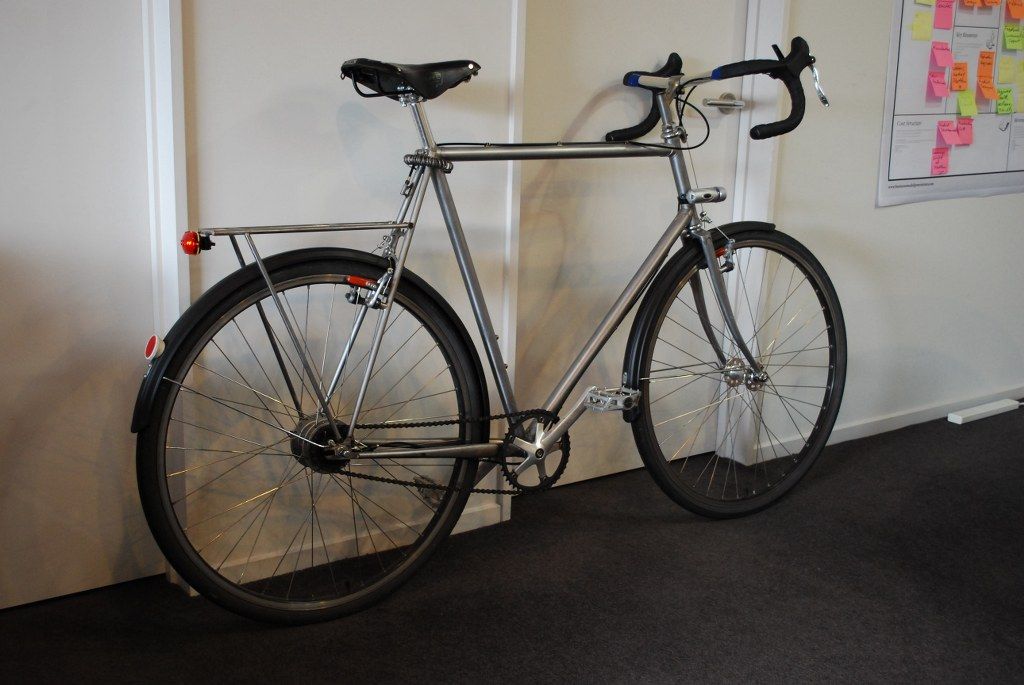
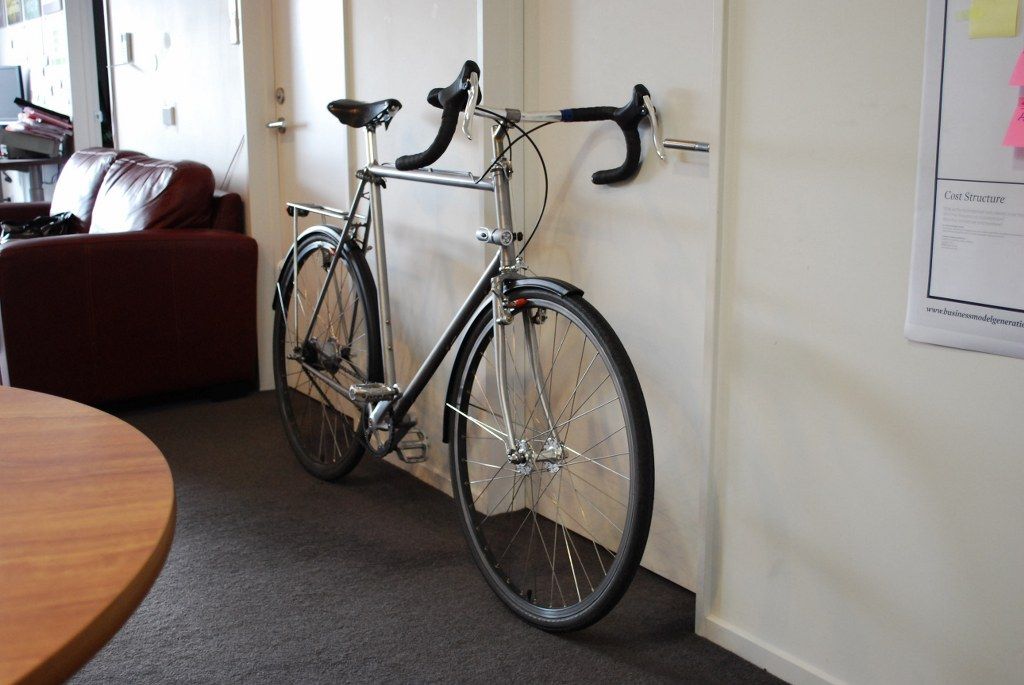
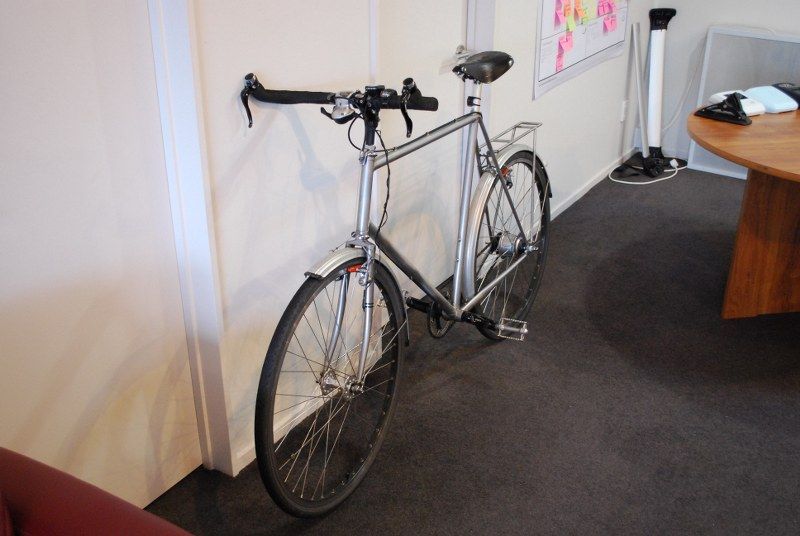
They were put on last night and I am really quite pleased with the look;
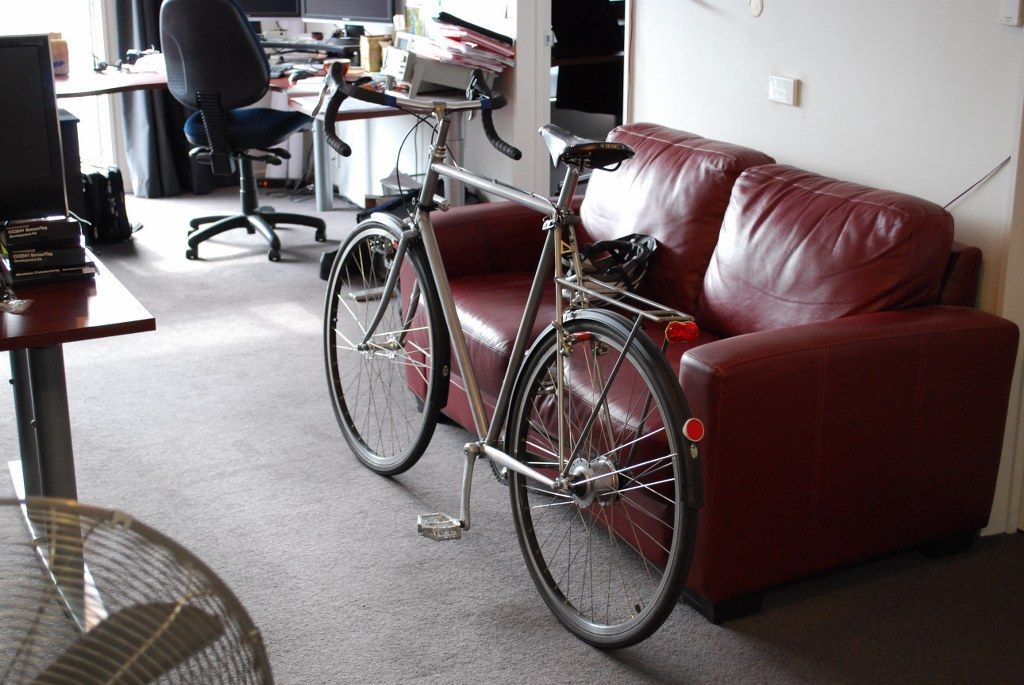
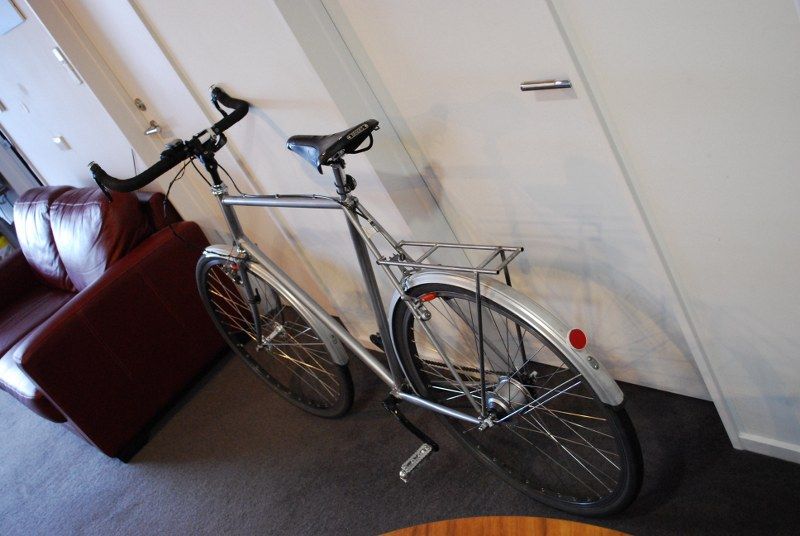
A burgundy leather sofa, today
As much as this bike lends itself, I have observed correct etiquette with bicycle photography; valves at the bottom, crank aligned with downtube etc.
I painted the guards black as well, it looks much cleaner...
I love the slight upward curve of those bars
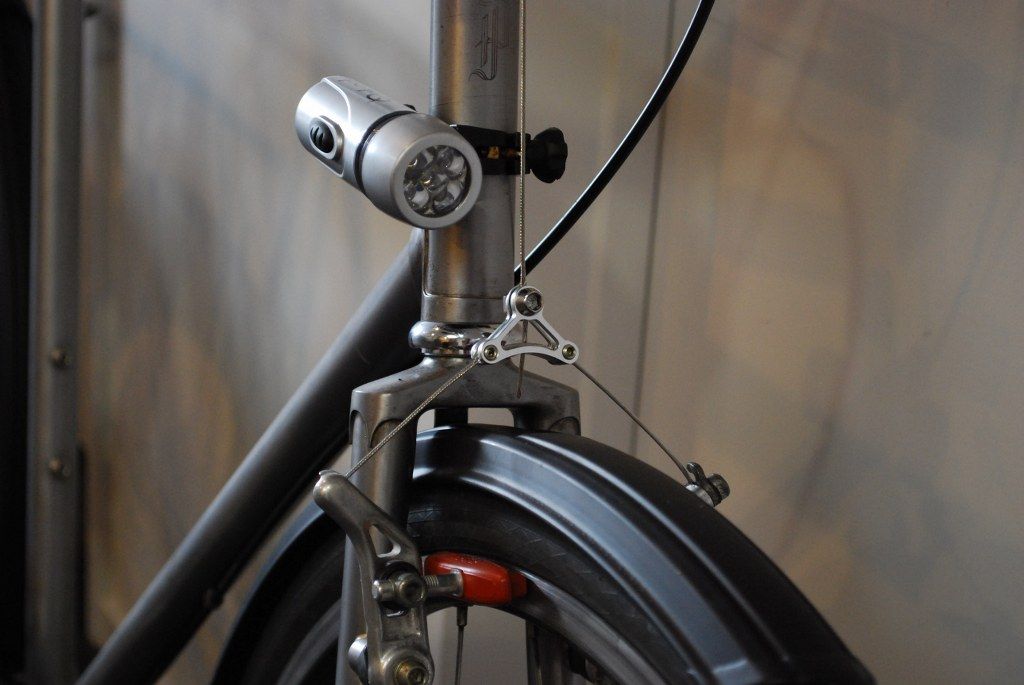
To clean up the look some more I did away with my cycle computer and relocated the light to the head tube. I also purchased those quite sexy little Tektro canti brake thingies from Dave as well, god I spend some money with that man.
My by now signature Blue Handlebar Tape (BHT™)
The stem has not broken yet, I am pleased
I reworked the Jtek Mount to be adjustable for both height and tilt, it is still slightly awkward to pull it back into 1st, and kind of in the way until you get to 5th, but I cruise in 6th and is dead easy to get there so it is an acceptable compromise.

The other slightly disturbing thing that has happened is this;

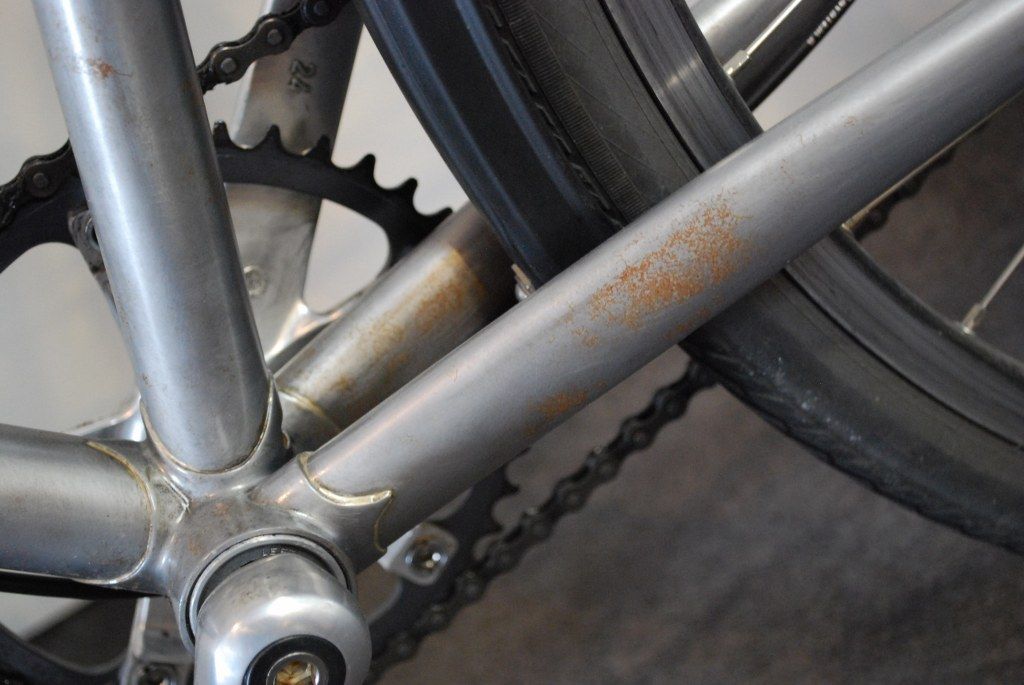
Fresh rust on a handbuilt bicycle frame, today
I fully expected it, but maybe not within 2 weeks of getting it coated. This just confirms my belief that paint is for mugs. I guess it is because the clear coat does not have an etch prime like paint does. I don't really mind as long as it does not get structural, but I am now toying with the idea of electroplated coatings. There is a particular one I have in mind, but it would mean sending the frame up to Auckland, which I am disinclined to do. We shall have to see.

Wednesday, 27 March 2013

The Fillet Brazed Stem and Campy Goodness

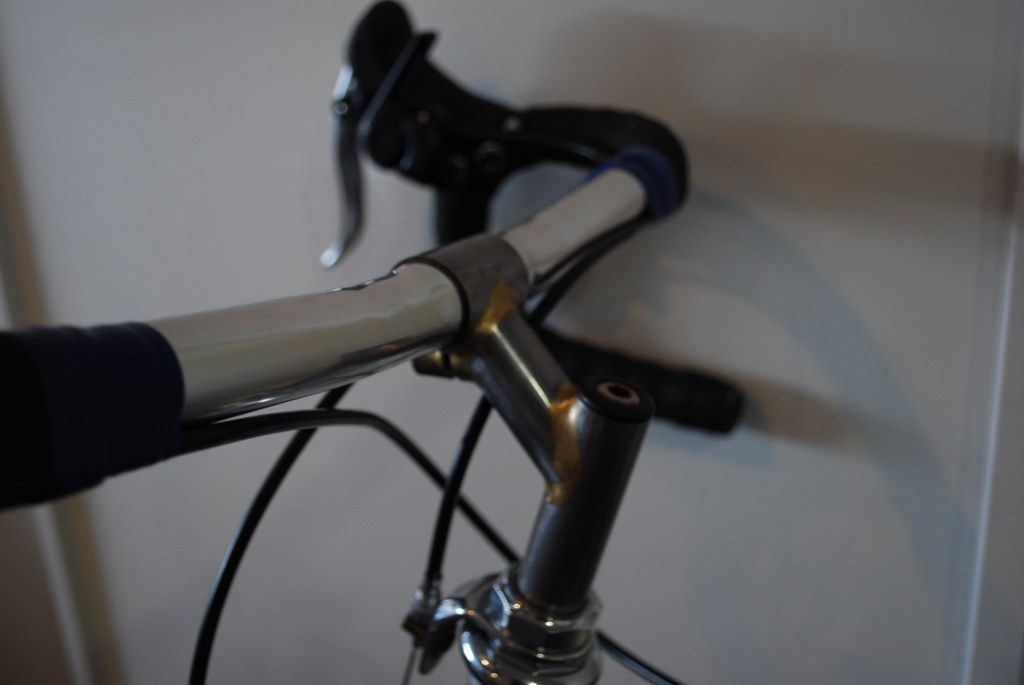
This weekend saw two of the final parts of this particular jigsaw fall into place; I finally received the Campagnolo square taper bottom bracket that I bought off Trademe, and I built a sexy new quill stem for the bike.

Getting the bottom bracket was great because it meant I could heave off the adequate but not really visually suitable FSA cranks and mount my decidedly second hand but still sexy 175mm Campagnolo cranks;


This pleases me quite a lot. The BB is a very narrow one and there is only a couple of mm clearance of the crank to the chainstay, but it means I can run the chainring on the outside of the crank and still get a straight chainline...

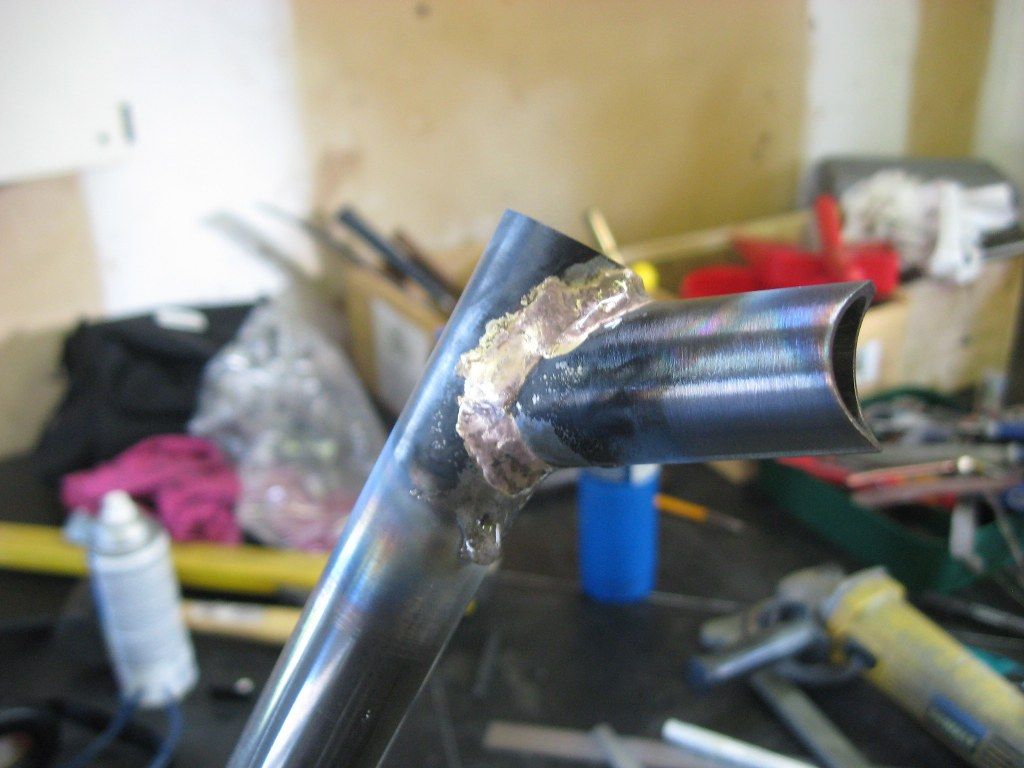
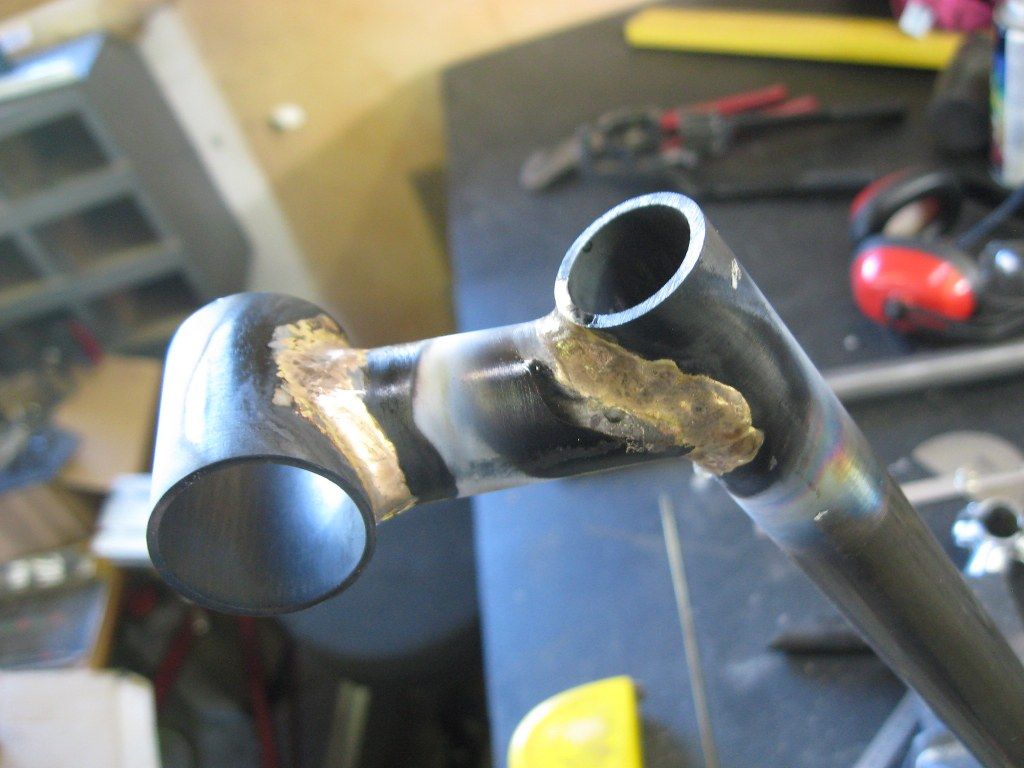
The next thing to sort was the stem, as I was unhappy with the visual bulk of the quill stem adaptor and BBB riser stem, I was convinced it would look better with a sleek raw steel number.

More 4130 goodness from Lianne
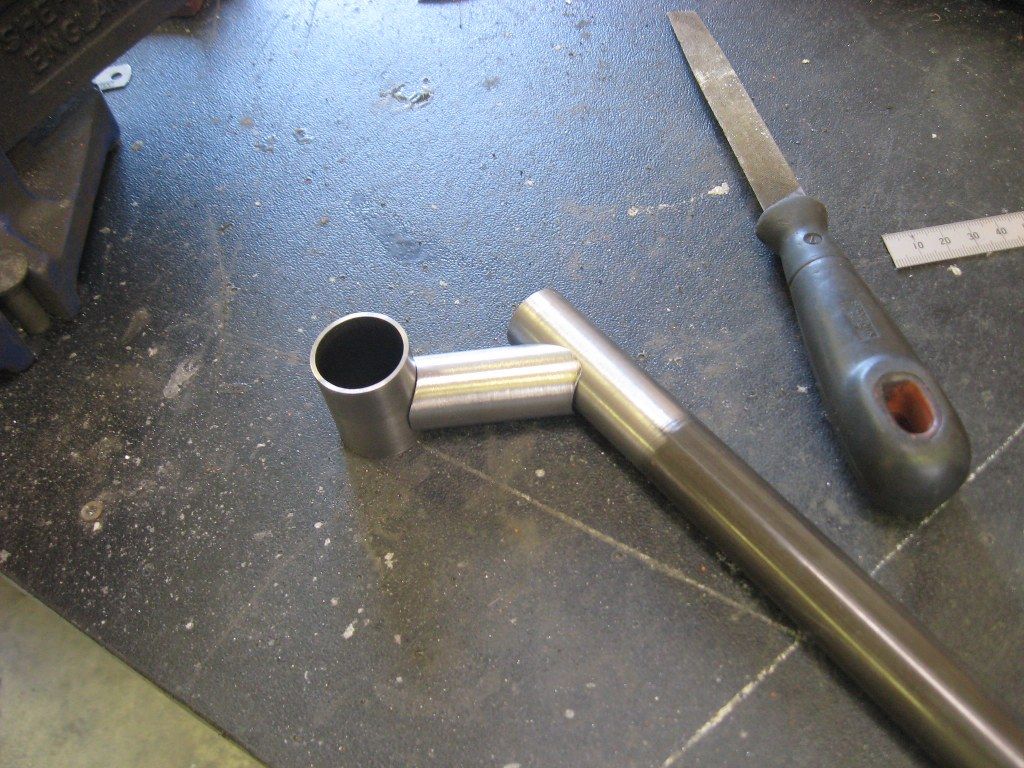
Some mitered tubes awaiting the balmy warmth of 3500°C
My first legit fillet braze - yay
I took an incredible amount care making sure the handlebar tube miter held the tube straight and true, there is no joy in a droopy bar.
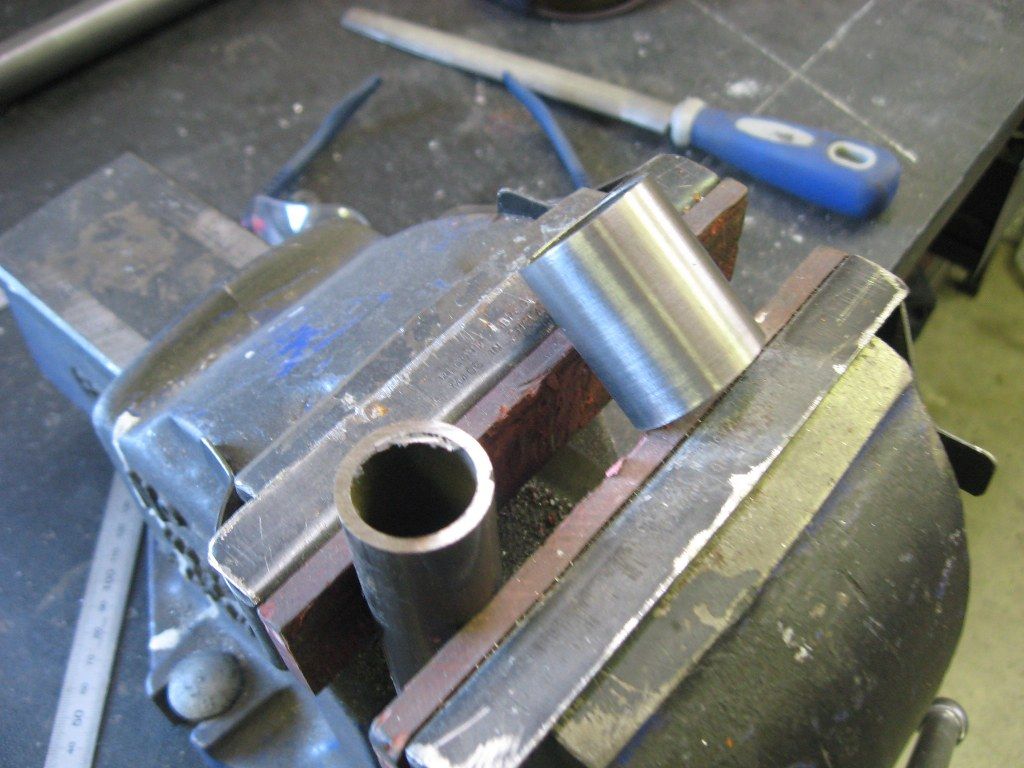
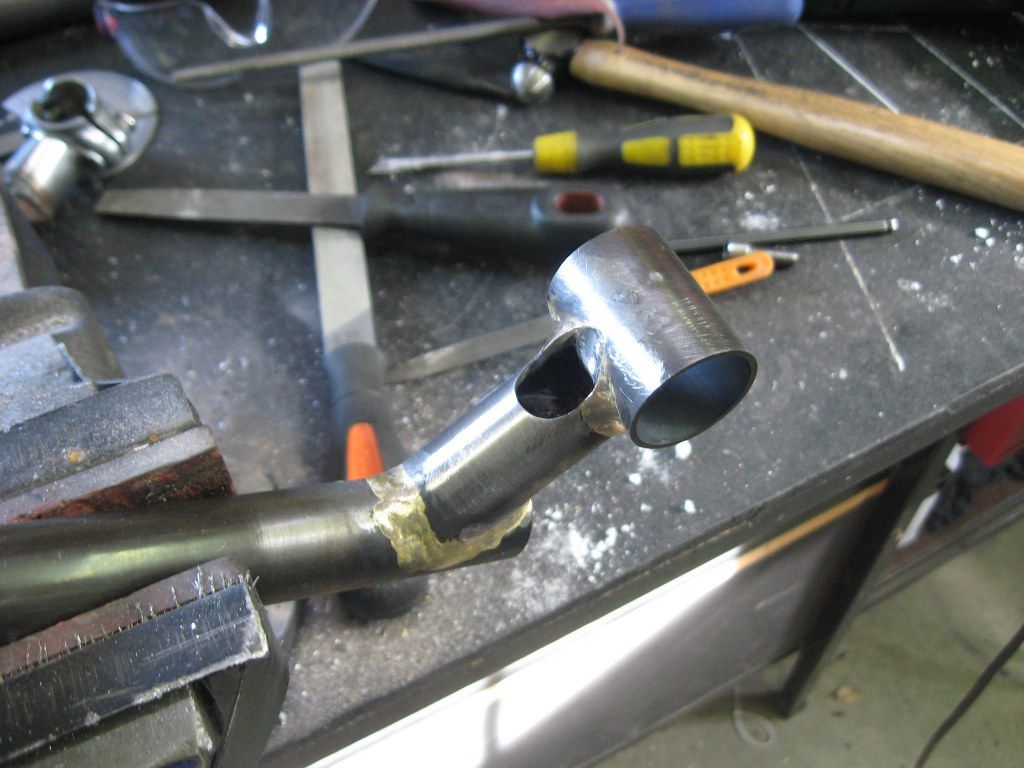
Cutting the hole for the clamp boss - I had made the boss on the Grayson a bit earlier but forgot to take pics
Braze in that bad boy
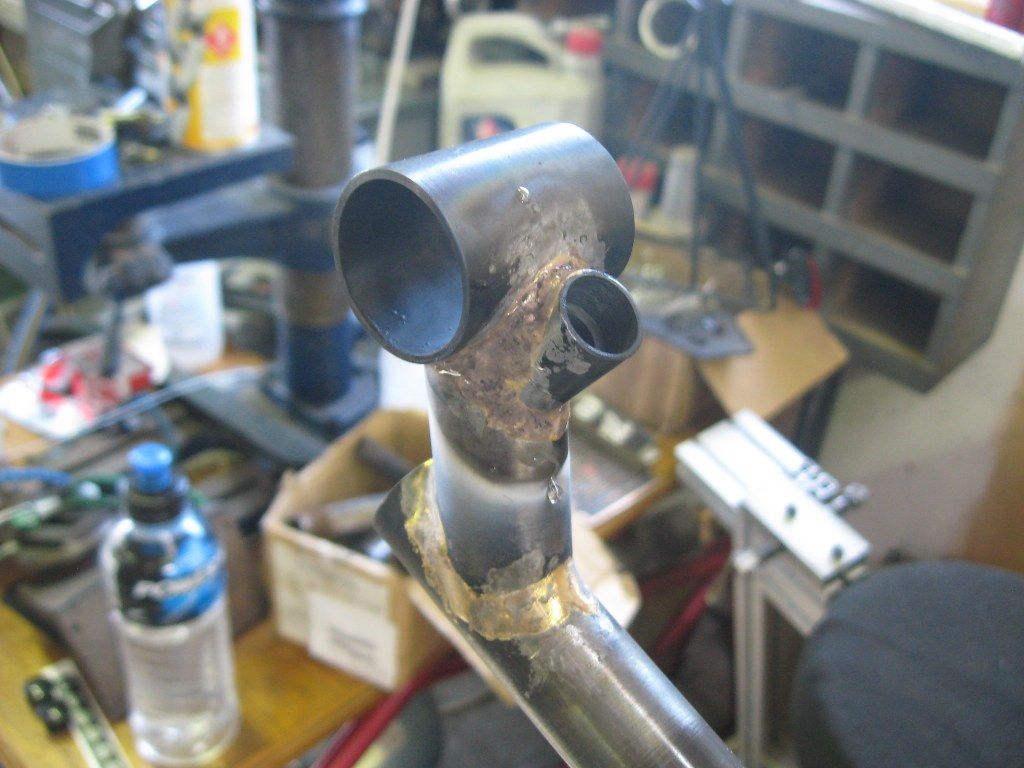
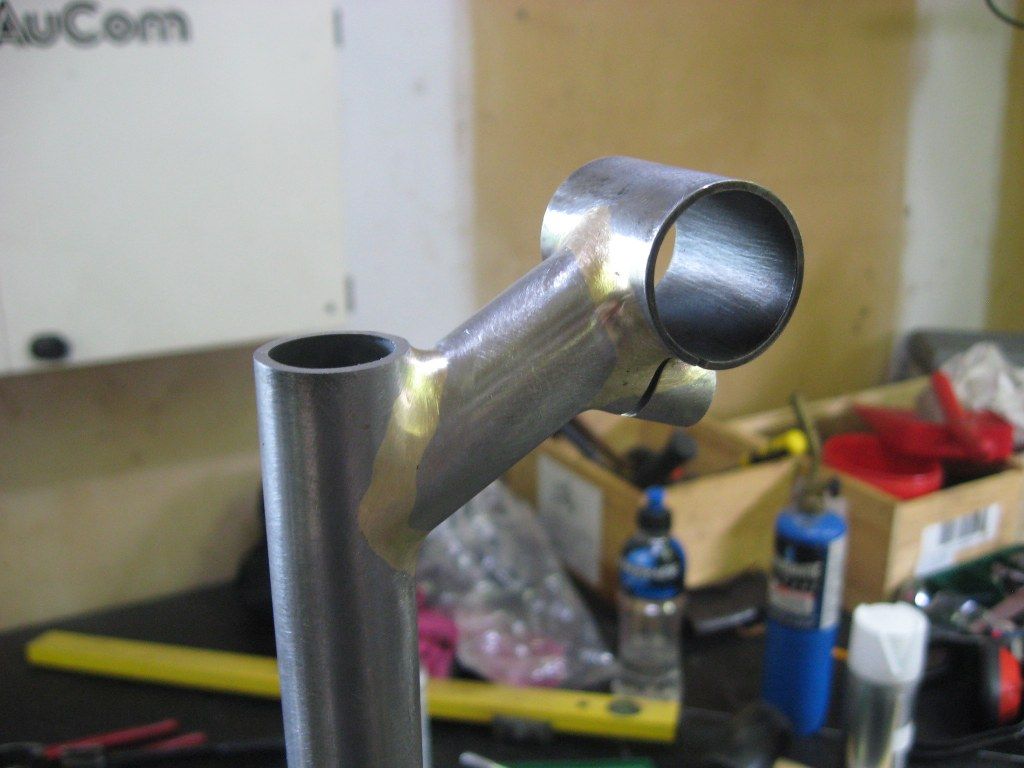
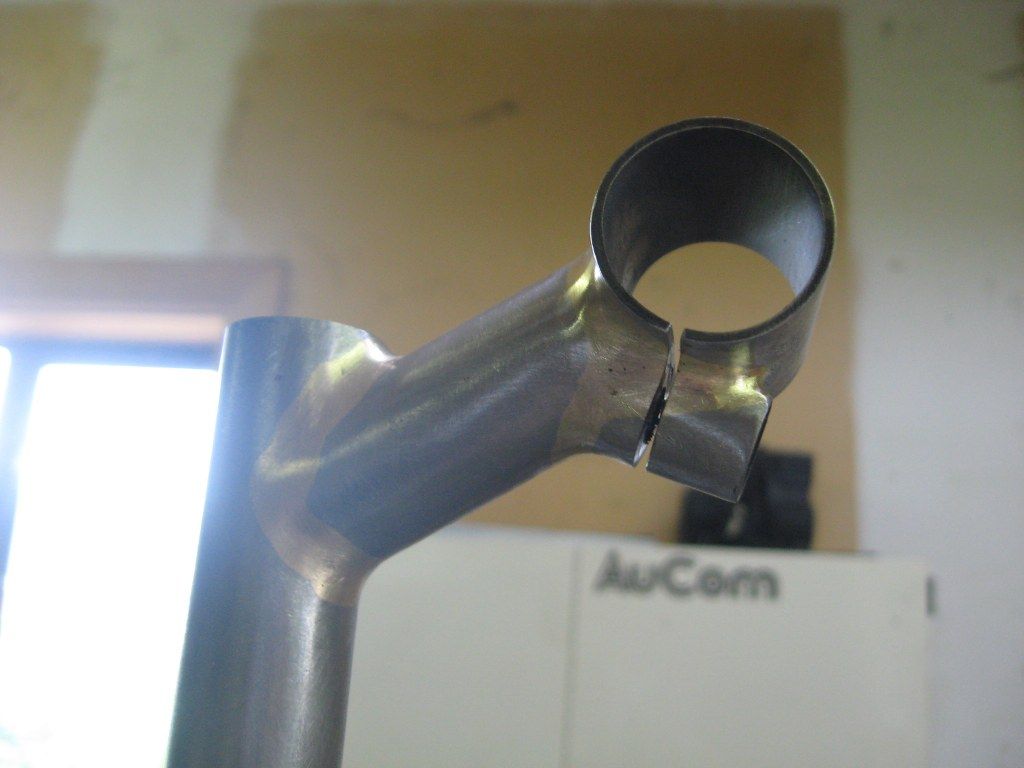
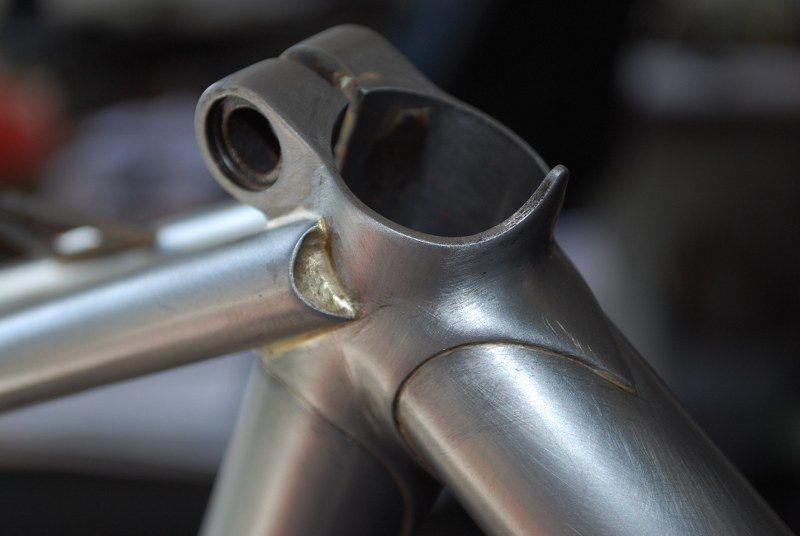
Then spend much time filing the fillets to look pretty, and also slit the boss and handlebar tube to form the clamping detail
Another view of the results of laborious filing
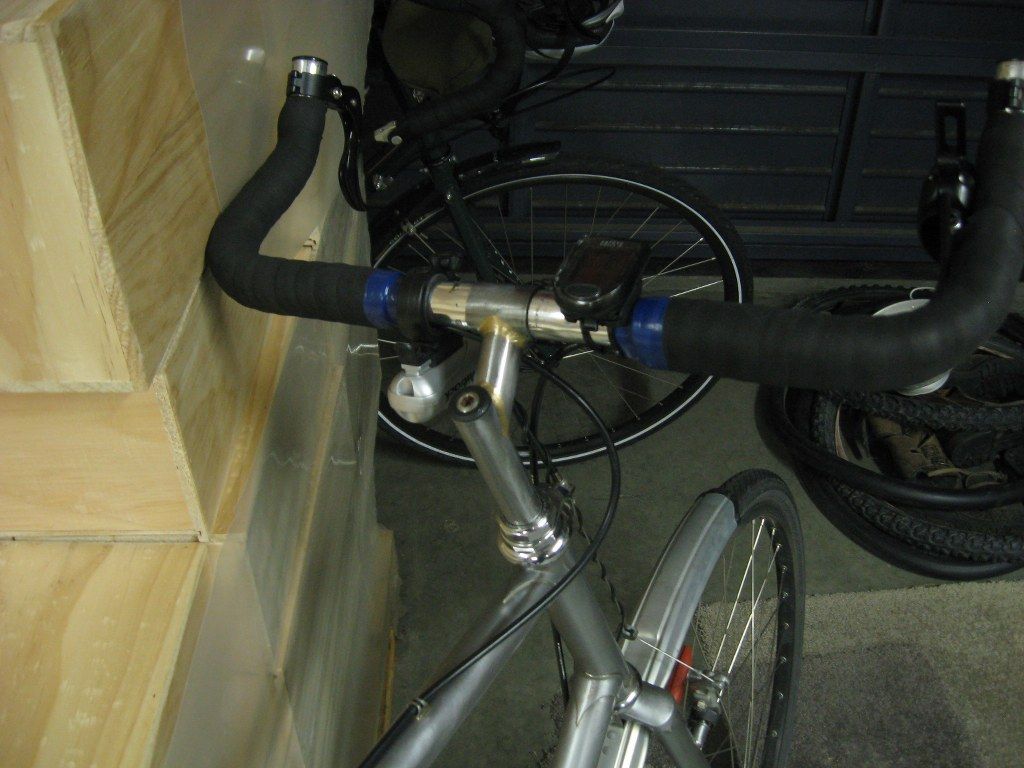
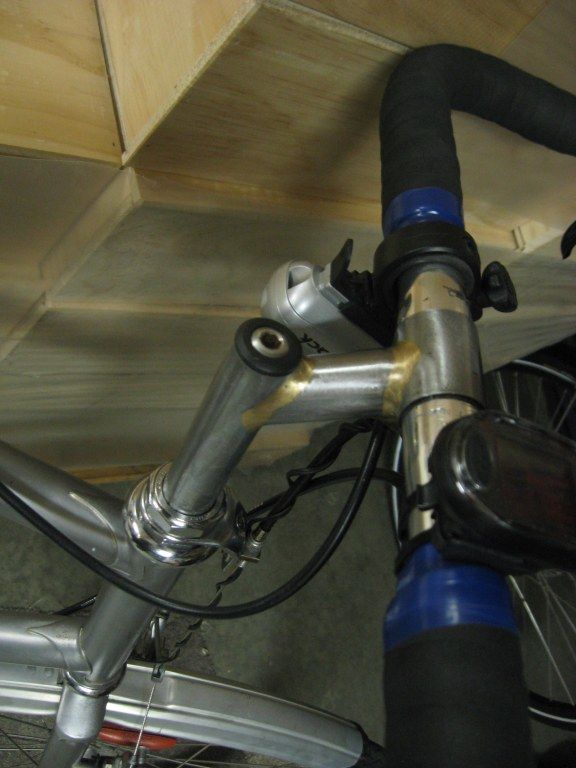
Finally fitted up to the bike after a slapped on layer of clear coat. I also made a new slightly sexier bracket for the Jtek shifter, but this was not very interesting and I forgot to take a pic of it.
Much more in keeping I reckon, although I again apologise for the blue electrical tape - I actually went to buy some more and they didn't have any black, so it is not my fault. This will be rectified at the first opportunity, I assure you.
The semi finished article
I have probably been convinced that I need to paint those mudguards black, maybe this weekend will see some loving given in this direction. I also need to braze a brake light mount tab on that rack and lay down some clear coat on it, but in reality I think I am pretty much done. This is sad in a way, however it is hopefully the start of many years and miles of service for this trusty steed...

Soon I think I will get someone who is more competent than me with a camera (ie anyone over the age of five) to take some arty shots for me so I can frame them and send them to my family for Christmas.

Wednesday, 20 March 2013

Shifting along nicely

The updates are coming thick and fast now, this one is all about this sexy little beast;


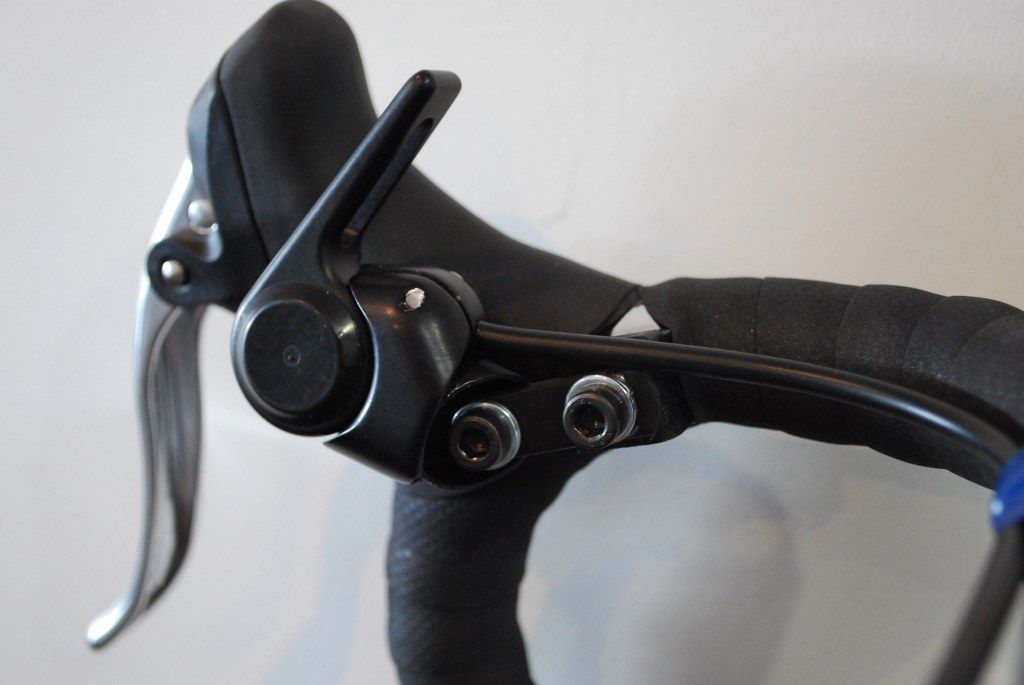
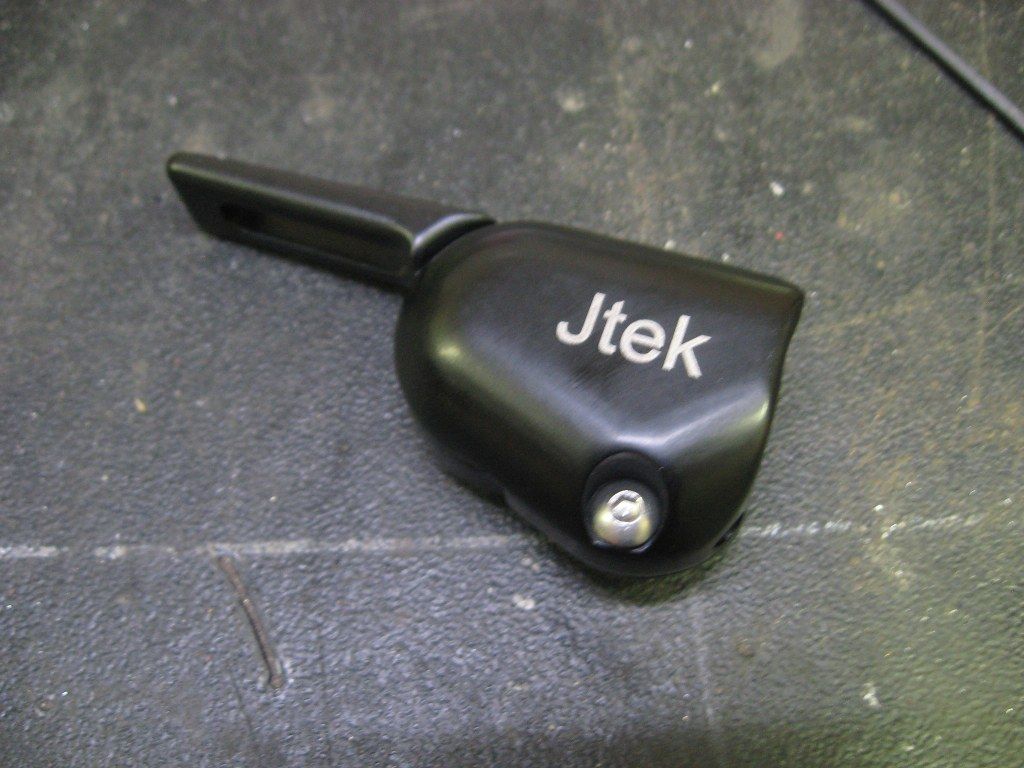
Which is a Jtek Bar End Shifter for Alfine 8 Speed Hubs.

It is a pretty nicely made bit of kit, the engineer in me could not resist pulling it apart to see what the gubbins looked like - basically it is all about two hefty sprung detent balls hooking into the correctly spaced detents. Nice and simple.

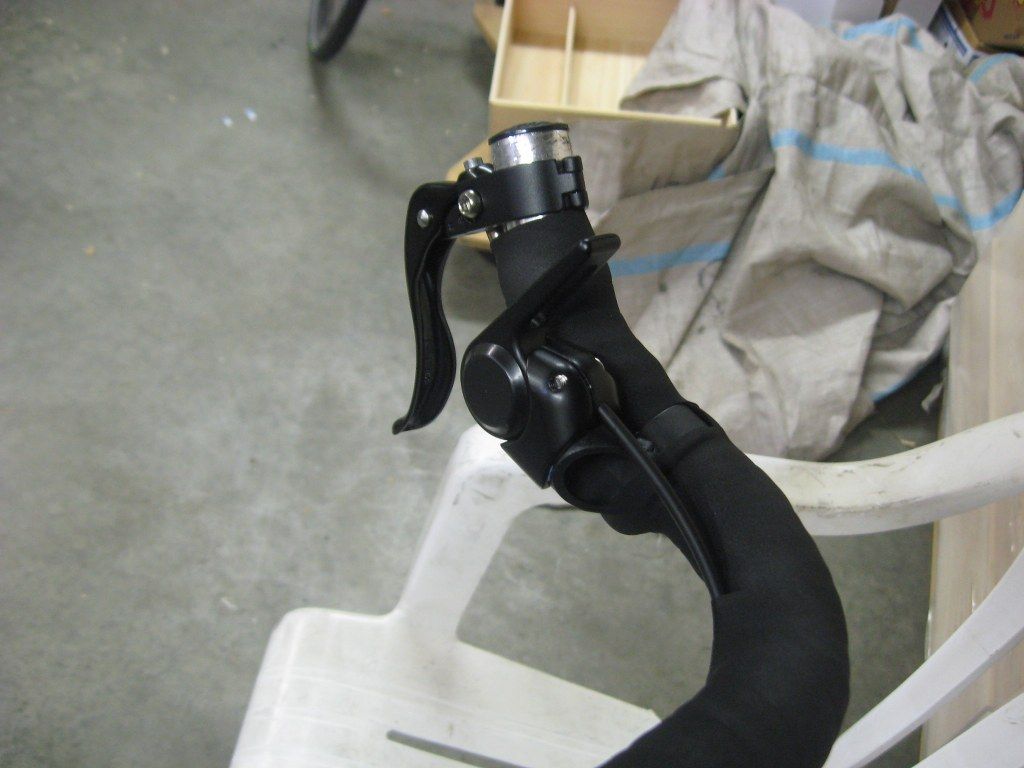
Now I had already decided that I would try and mount this right by my thumb at the end of the bars, so this meant I needed to make up a bracket to hold it in the right place. I pillaged my parts bin and came up with this quick and dirty beast;

Mmmmm, ugly
Beautified with a coat of MattyB and poorly wrapped bar tape
Rather less intrusive than the original I think

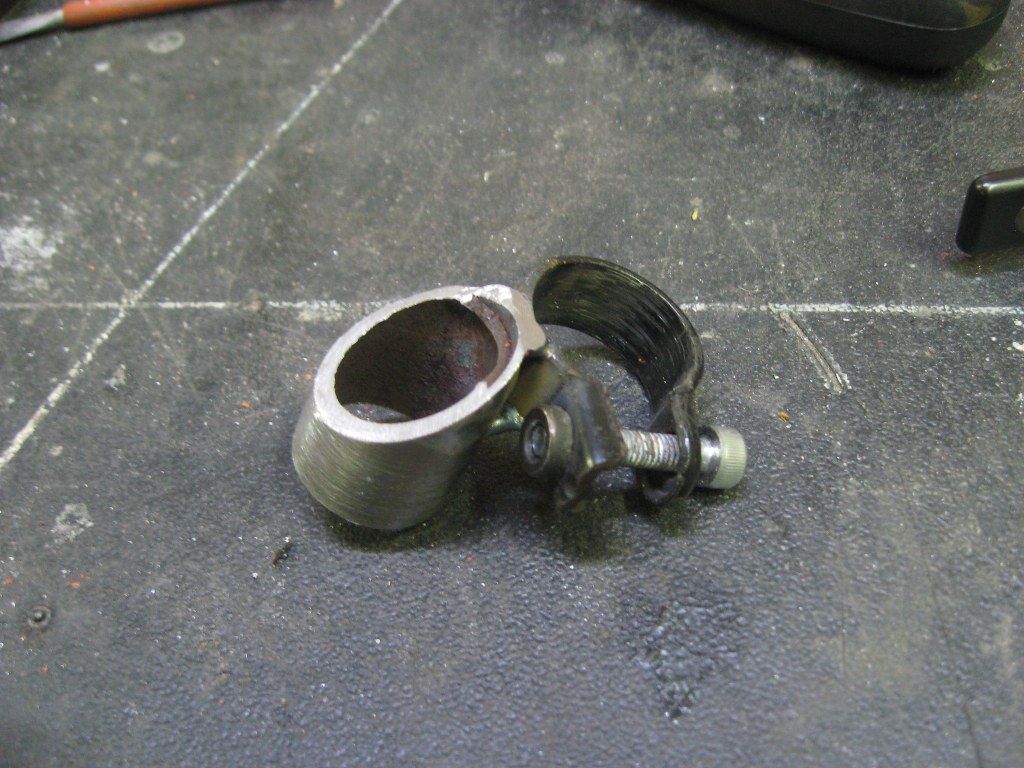
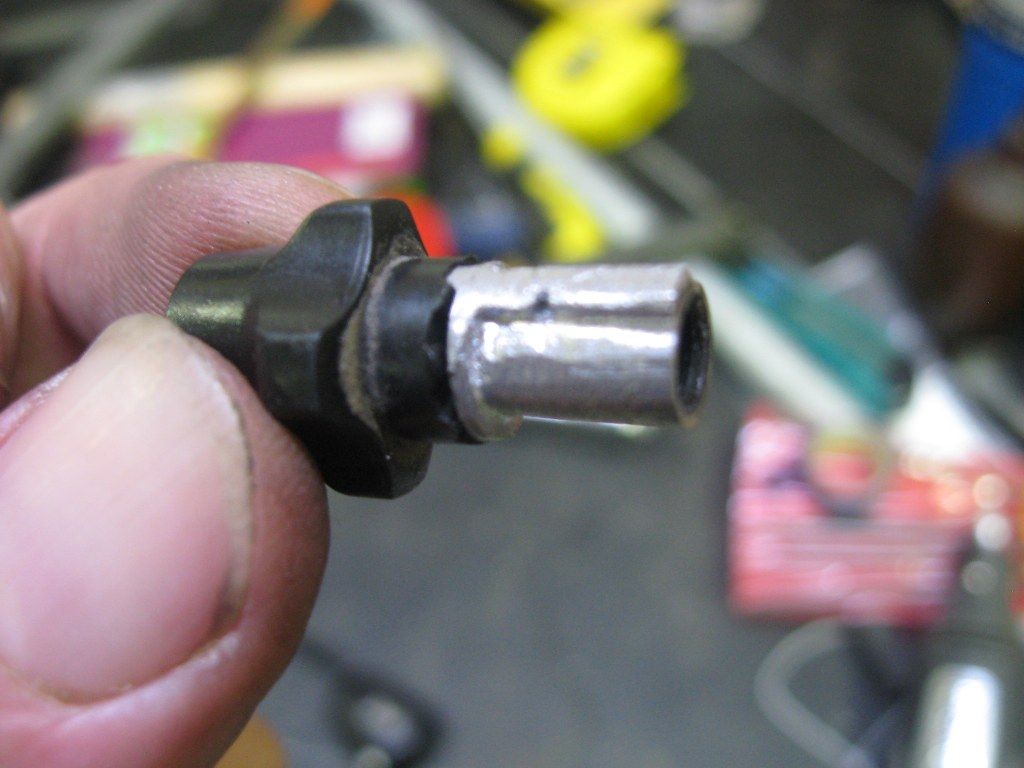
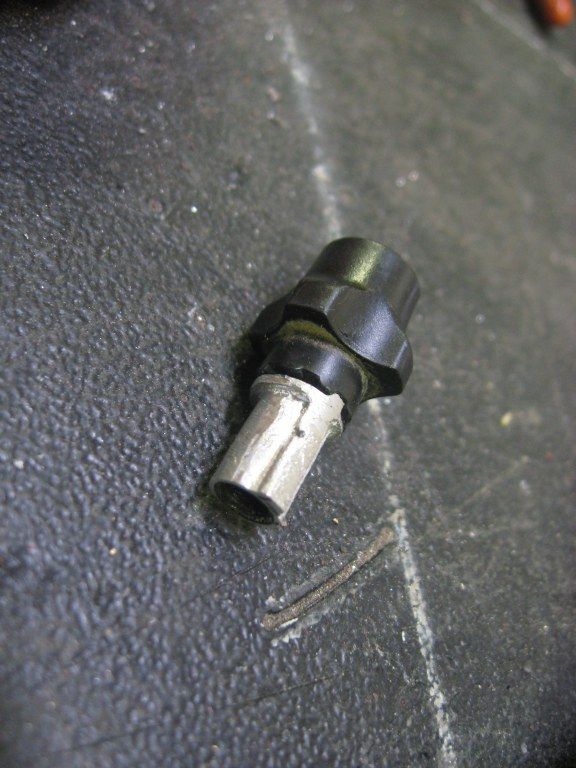
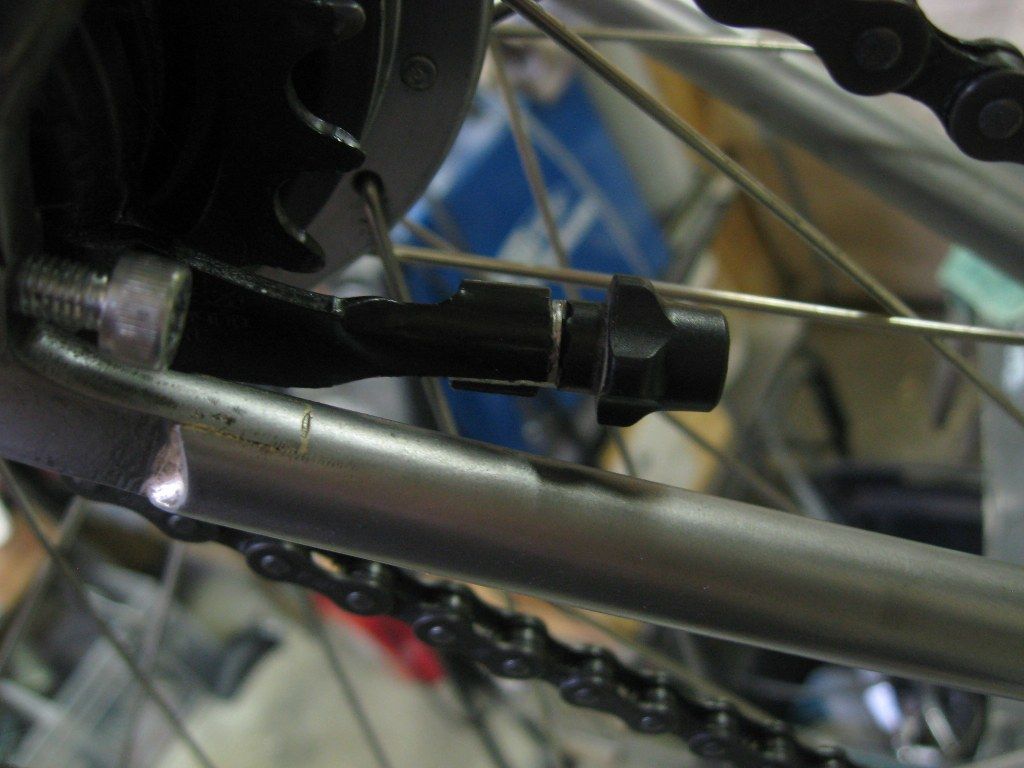
So that was fine, but one issue remained, which was the fact that the shifter has no provision for adjusting the cable length. I looked at the situation on the shifter, and then at the hub, and decided a mod at the hub end would be the least invasive. I then hacked up an old Shimano brake lever which had the adjustment detail I wanted, and after a short while I had it filed to approximately the right shape to fit in the cable stop on the hub;

A poor shadow of Bob's filing skills, but fit for purpose
I removed the wee metal tab and replaced it with my bit of engineering art.
So this all looked like it was going to work pretty well, and in reality it did. My ride this morning was a real pleasure, and while the position of the lever is not quite right, it needs to be slightly lower and further forward, it is a pretty good effort all up. The shifting was easy and surprisingly positive - it actually feels better than the original shifter, certainly easier to bang up 3 gears at a time.

I will soon make a far sexier version of the mount now I have proven the concept... I will try and minimise the amount of space taken up by the bracket as it is slightly too intrusive at the moment, not too bad at all, just not as good as it can be.

Awesomely, my stem tubing has turned up as well, so I can alienate my lovely wife even more now....

Tuesday, 19 March 2013

Putting it all together with kittens

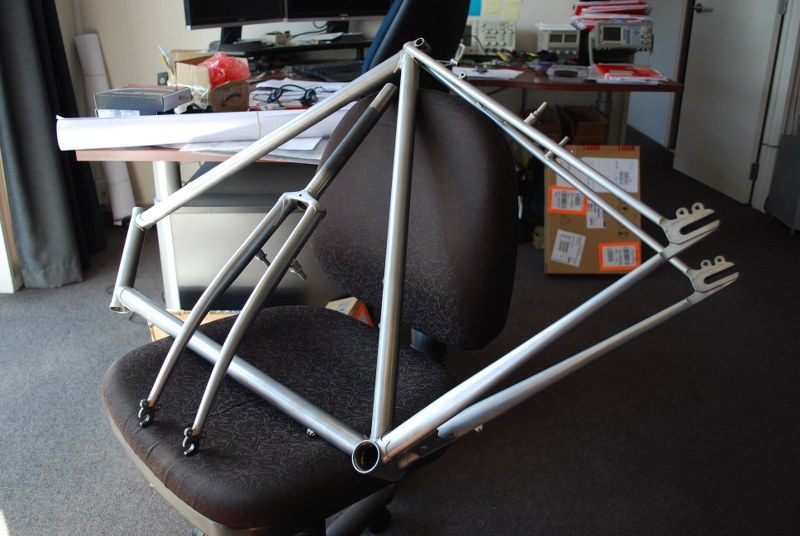
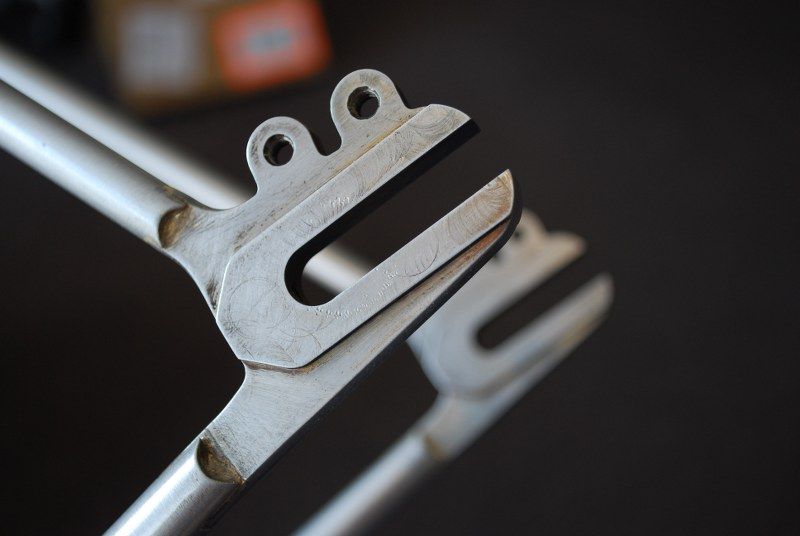
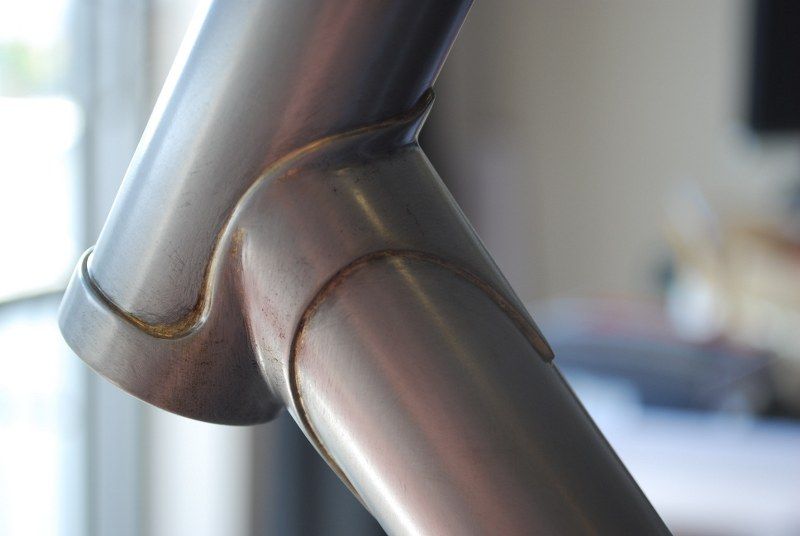
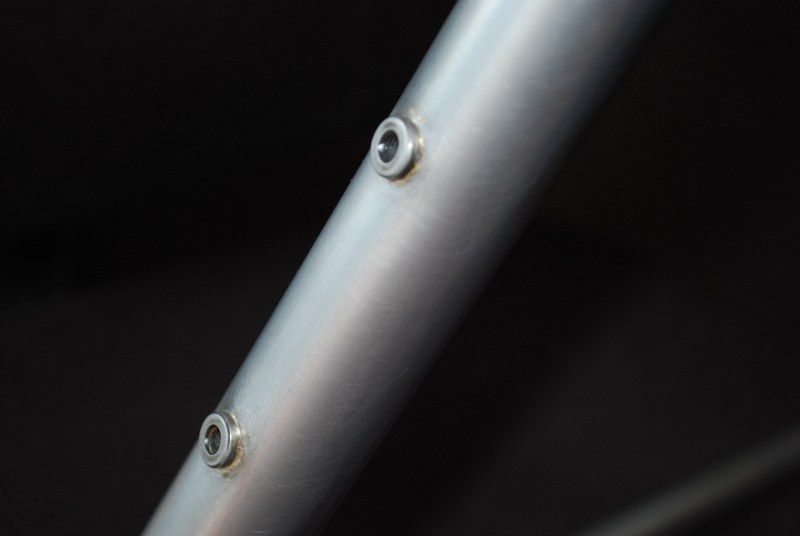
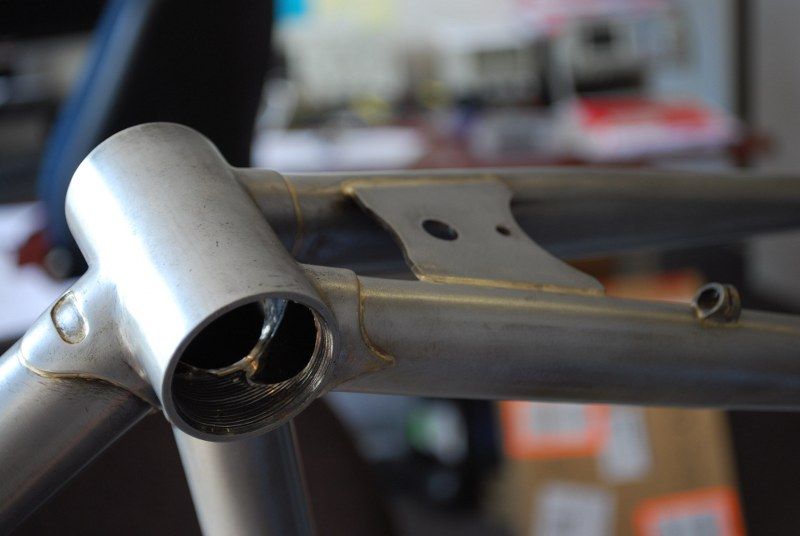
A fair bit of movement has been happening, I dropped the frame off to the painters and it was ready by Friday. I thought that I had nailed the finishing of the lugs well enough to look pretty sweet, but expecting a few scratches and things to show up. I was right on the money as the matt clear coat showed up every little sin. I hate to think how much time would be needed to get a finish like this ready for NAHBS. As this is a dirty daily commuter and not a show piece I am happy with the finish level. Interestingly I took these pics with my rather flash work camera, amazing how much better the photos look using this...

From a few feet away it almost looks like grey paint
The Frogmouth MkII singing his little heart out
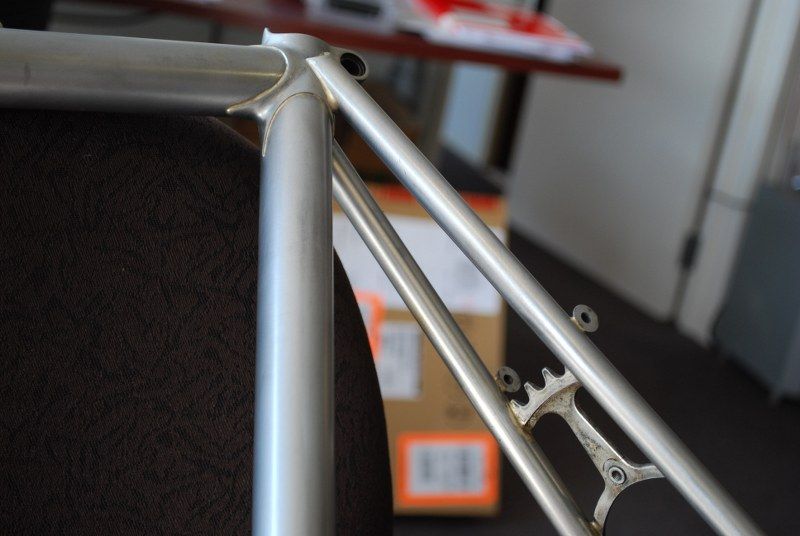
Here you see the extra brazeons for the rack mounting
A closeup of an averagely finished seat lug
A closeup of an averagely finished head tube lug
Some bottle mount brazons and the lovely scratchy finish
The further away you are the better it looks
The chainstay bridge
I like it, sort of steampunk industrial.

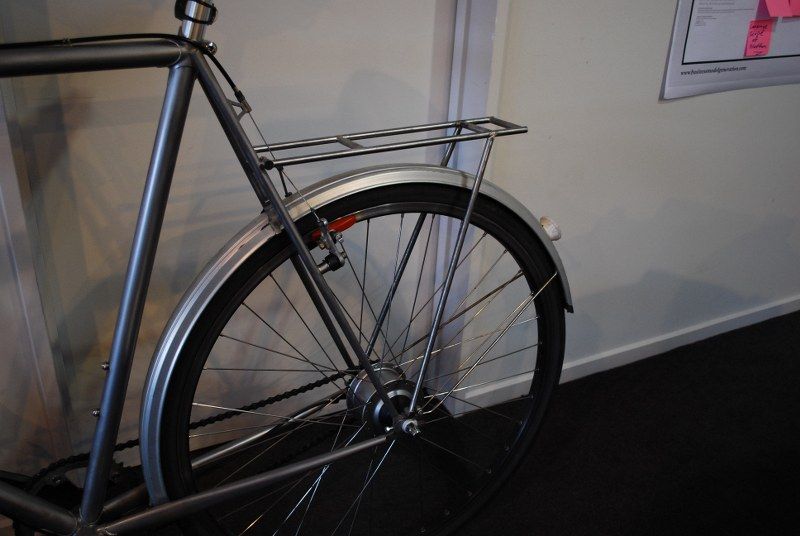
So over the weekend I bolted all the bits back on including the mudguards, and then I rocked into the build of a simple but effective rack. This was made out of some 3/8th 4130 tubes that I got from the lovely Lianne from Aviation and Performance Parts. I have also ordered the tubes for my stem that I am going to make soon.

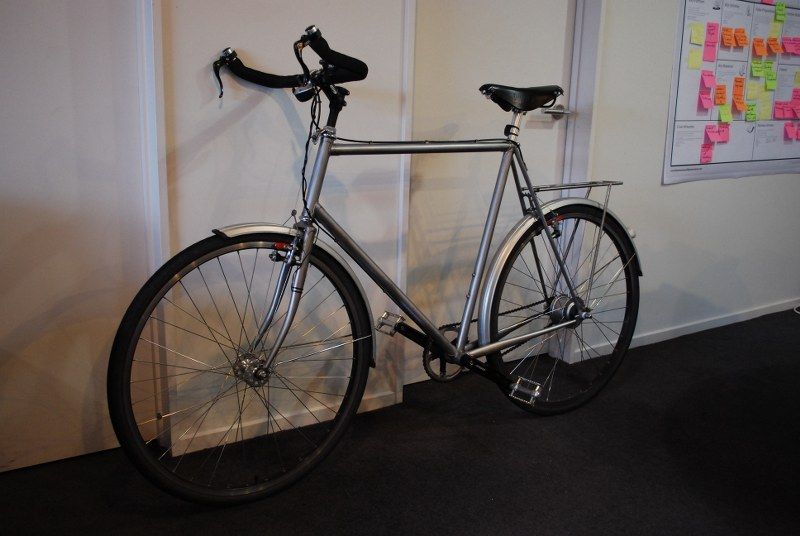
A fine gentlemanly steed
Can't get much simpler than that, I am pretty happy with it although it probably needs a bit more bracing. I will add that if it breaks

I have ridden it all this week so far, and apart from a lingering fear that the fork will break and I will smash my face into the tarmac, it is totally sweet.

In other news, we have bought two new Burmese kittens to replace one of our cats that died, they are pretty cute/awesome;


The ging runs up to you and flops down on his back so you can scratch his tummy just like a dog, and the brown one likes lying on my shoulders at all times, and purrs like a mad wee chainsaw when he does.

We need some names now, any suggestions welcome..